Hey guys - I was fortunate enough to receive this unit a little bit ahead of schedule. I will not be able to actually test the unit until this weekend. In the meantime, here are some pictures I took of the packaging and unit that may help you see the differences between the Imag 3 and Imag+.
First Impressions:
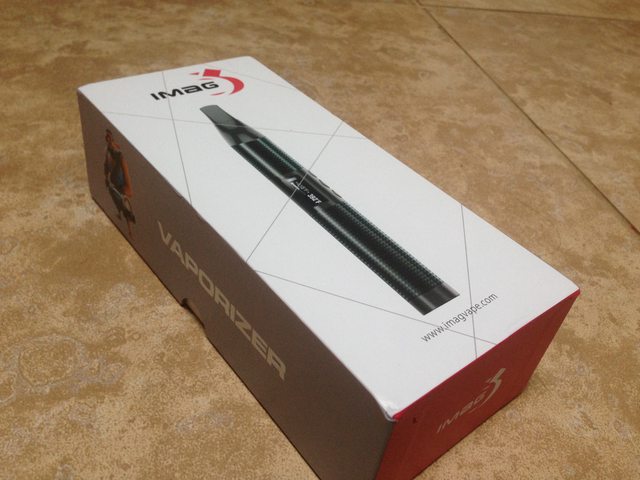
- According to the instructions, the unit should not be charged and used at the same time. I know there was some uncertainty about this with the previous Imag+, here it is explicitly stated in the back of the box.
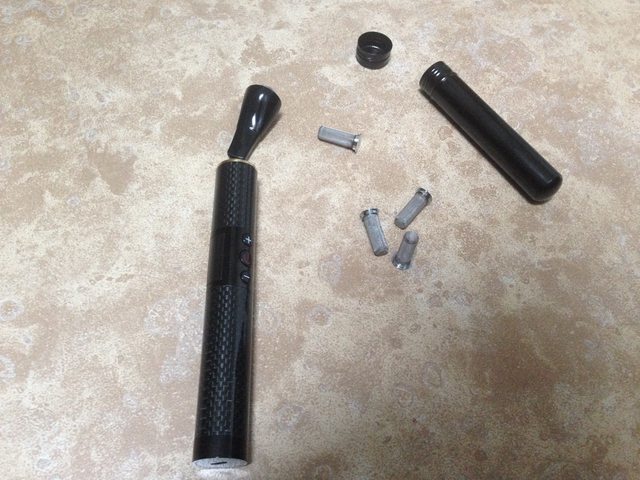
- You can fill the heating oven with herb directly or with a preloaded iBullet.
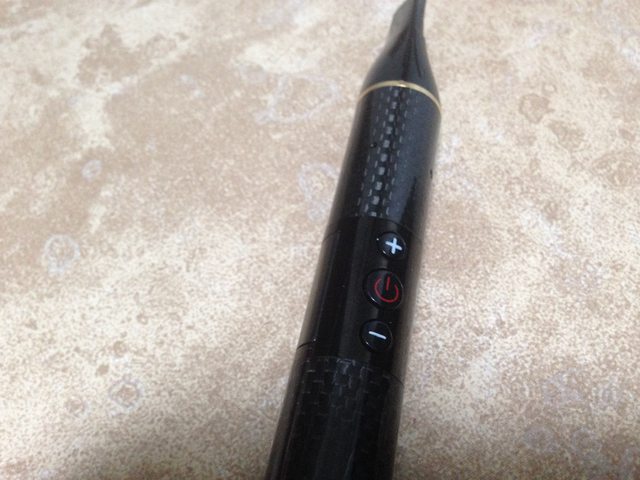
- To power the unit, you must hold it for three seconds, differs from the Imag+ three time push. I welcome this change as it's much easier to accidentally tap the power button three times than holding it (It's happened to me.)
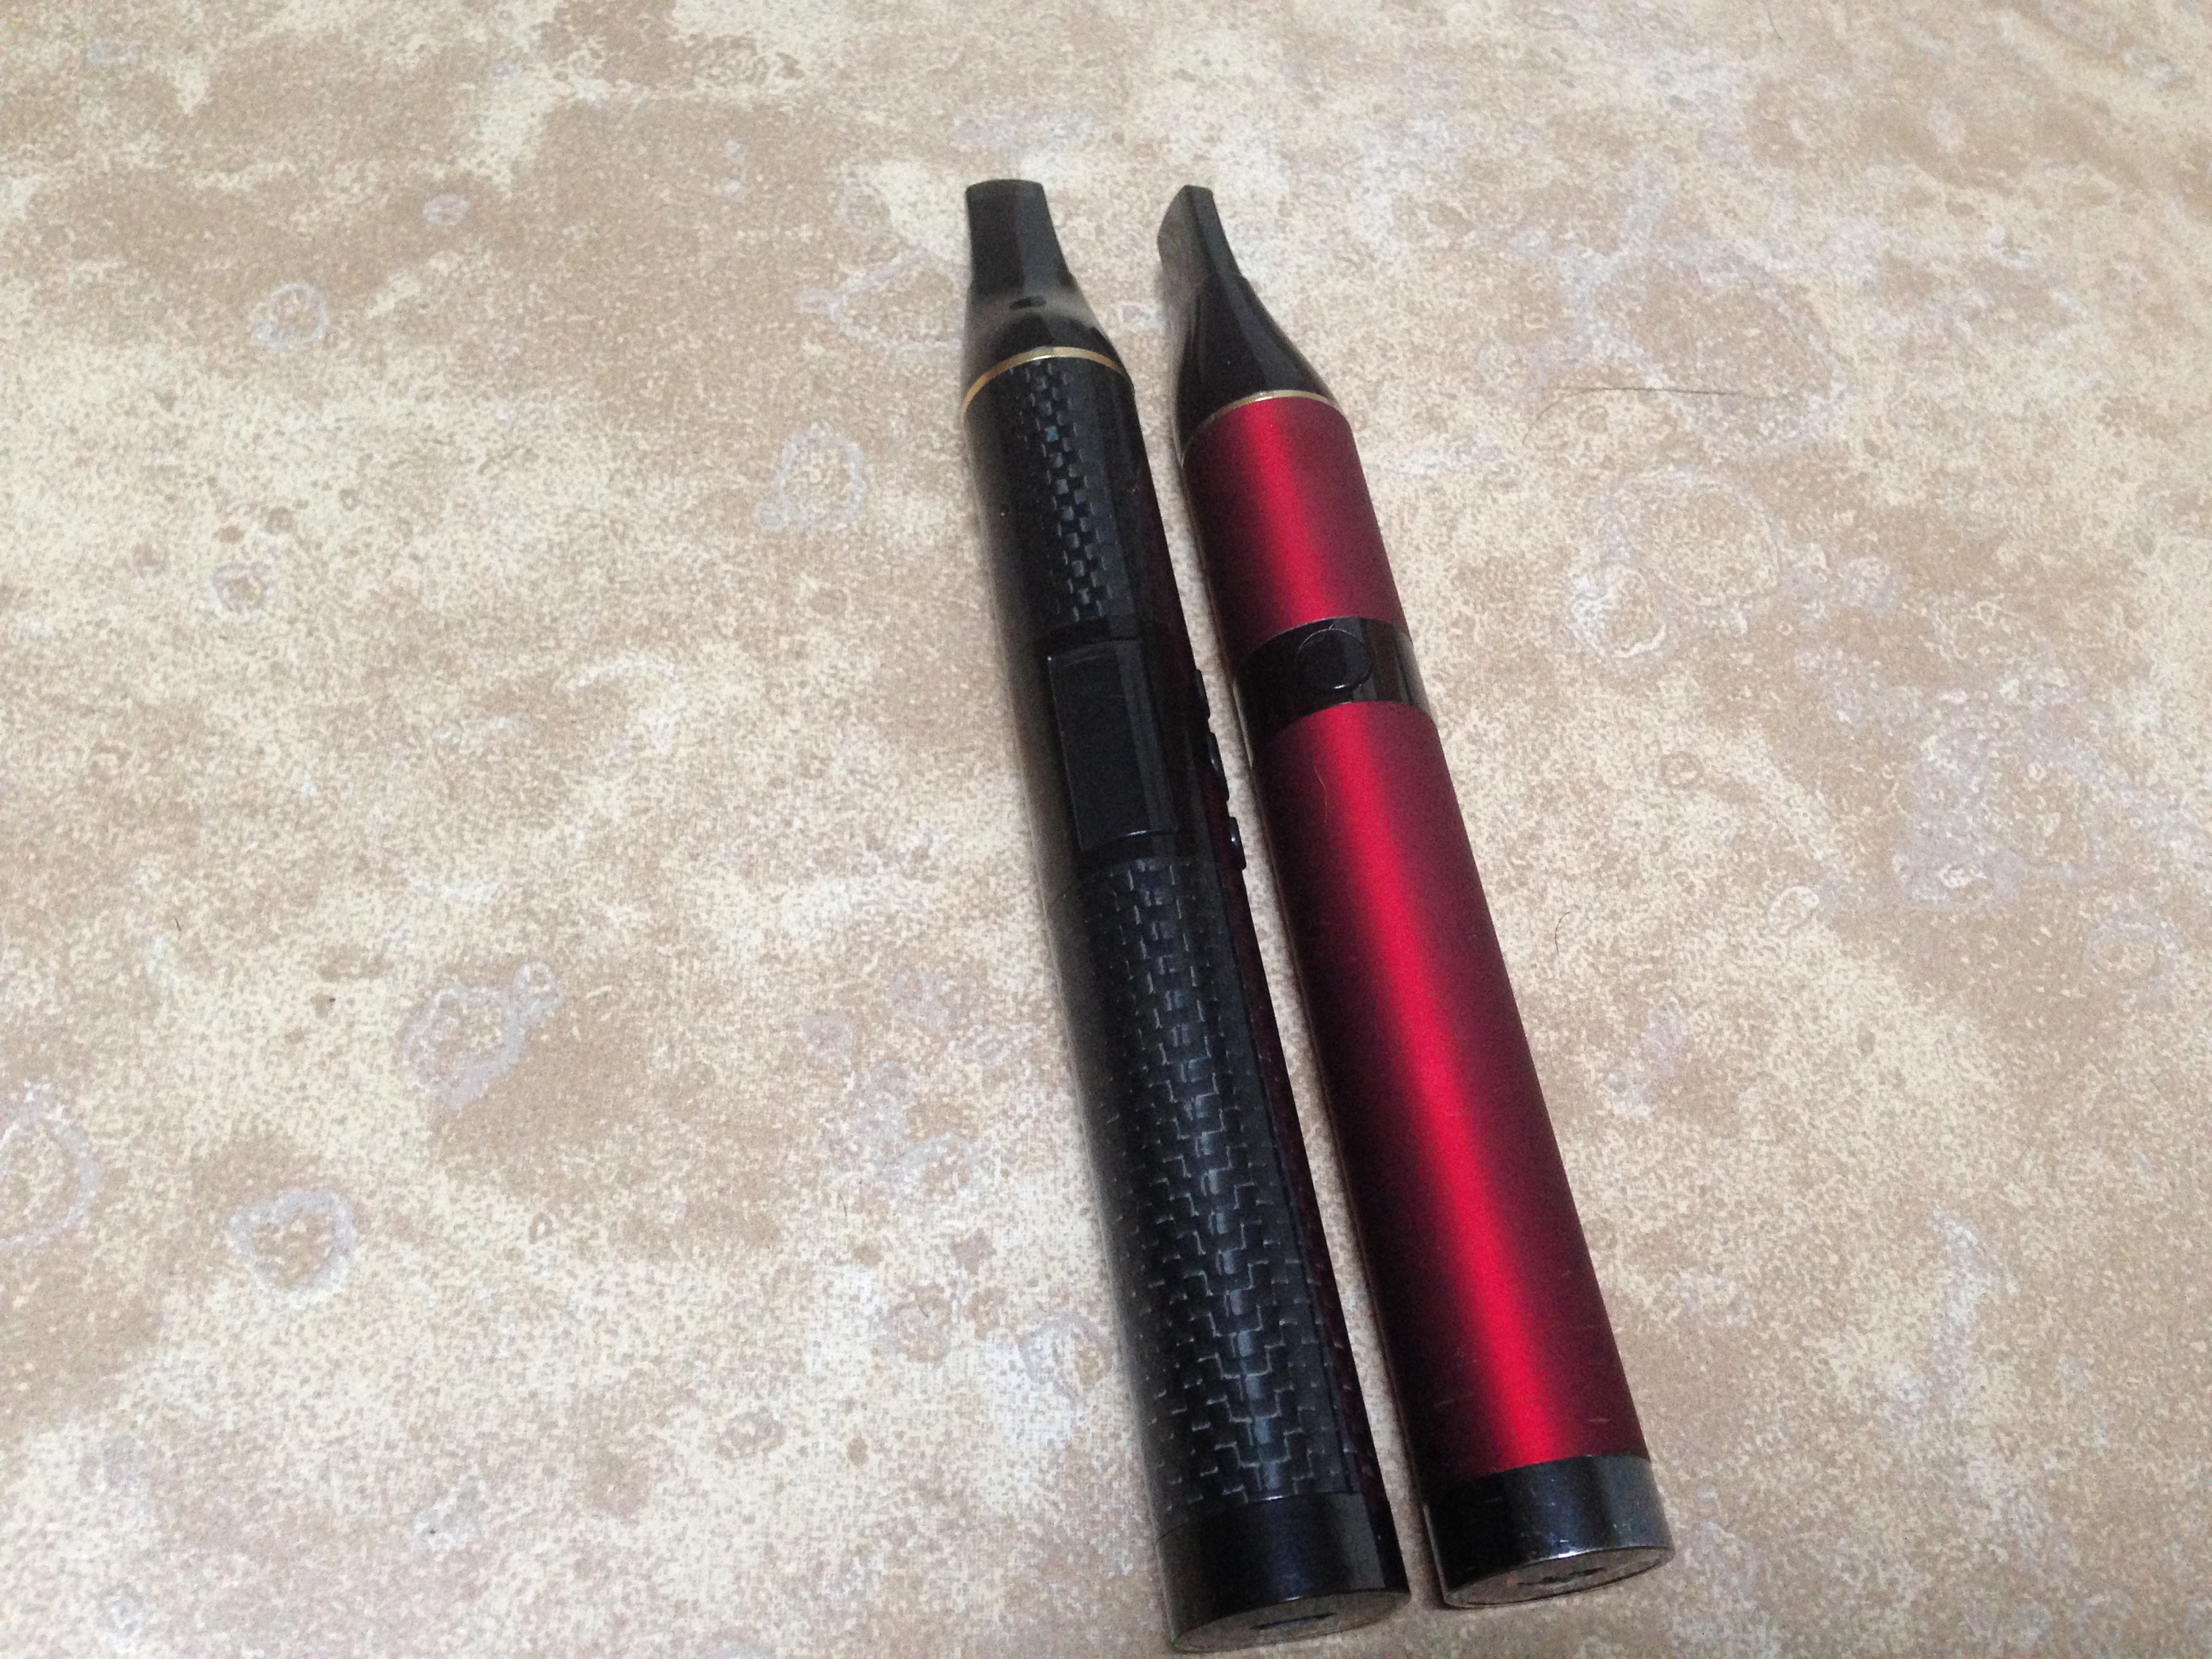
- The unit is about 2-3mm longer than the Imag+ and the same diameter.
- The unit is lighter than the Imag+.
- While charging, the bottom indicator still lights up and the LCD screen shows a charging indicator.
- You can set adjustable temperatures anywhere between 385F to 430F (185C-230C).
Images:
Box image
Comparing the Imag 3 (left) to the Imag+
Zoom in of buttons and display
Showing the iBullets and their carrying tube. Pro tip: Inset them with the head facing down so they don't get stuck inside.
Close up up the Imag3 with the iBullet halfway-in to show correct mounting procedure
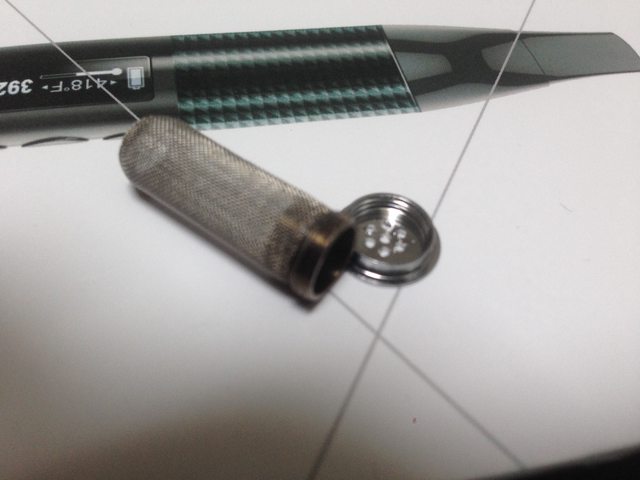
iBullet close-up with the top unscrewed
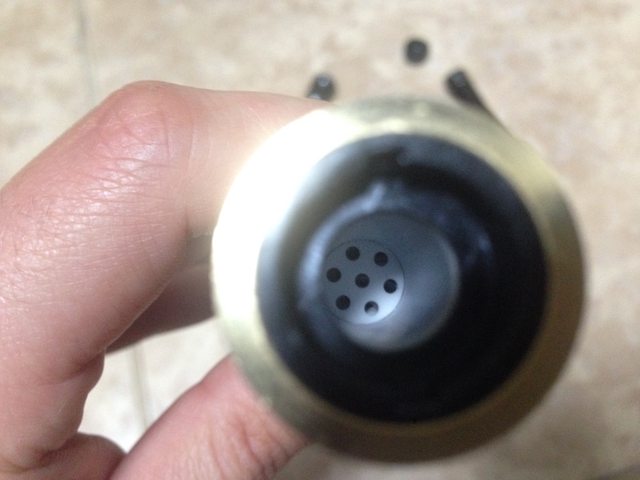
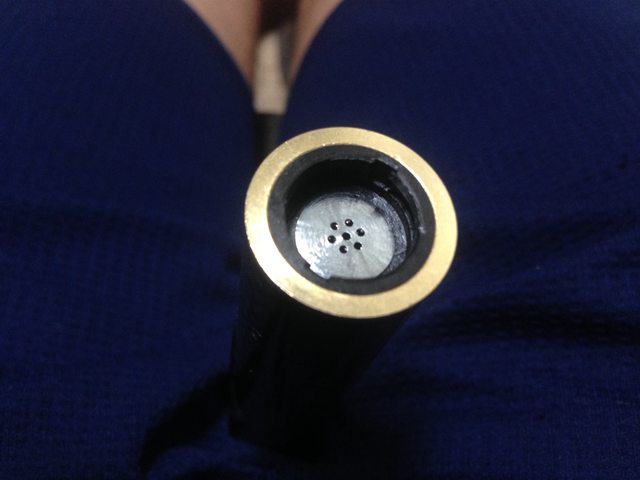
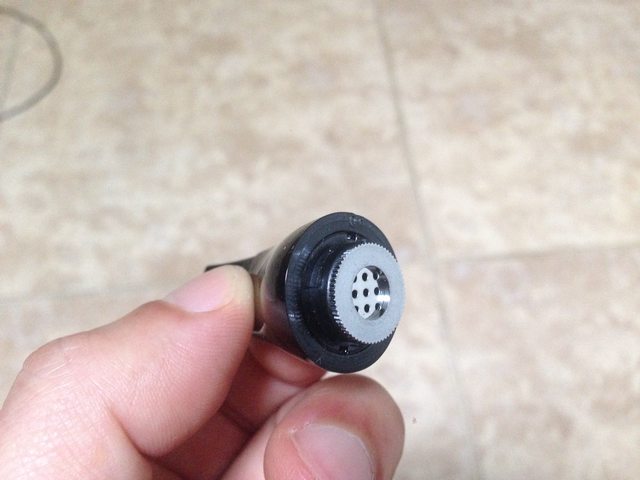
Inside of the heating chamber without an iBullet, comparably different than the Imag+ filter design
Imag3 with the iBullet inside the heating chamber.
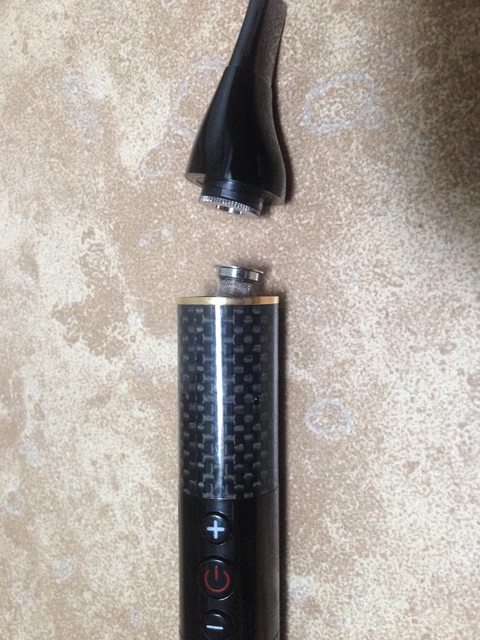
The mouthpiece on the Imag3 is the same as the Imag+
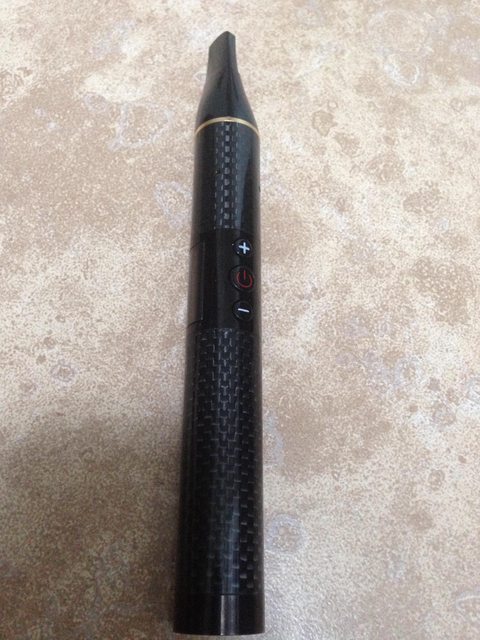
Beauty shot
That's all for now, i'll post pictures of the LCD later, and whatever else you guys request. As mentioned before, I won't be able to test the unit until the weekend. Season's greetings to you all.

 I have a lot going on with work and the holidays even got put outta mind
  once this job is done I'll have plenty of time to test it!
 )
)