herbgirl
cannabis aromatherapist
As promised here is my little lesson on baking brownies from scratch. i will try to make it as easy as possible. if you can follow directions, you will have no problem with this.
For starters, a few things you should know that will *instantly* make you a better baker-
-accuracy is crucial because baking is all about chemical reactions and science and shit so follow the recipe exactly unless you know what you are doing! and read the whole motherfucker first too so you know that you have all ingredients and supplies required.
-measure liquid ingredients properly by using a clear spouted measuring cup set on a counter. read the liquid level at eye level while the cup is still on the counter.
-measure dry ingredients properly using a nested set of measuring cups or measuring spoons. lightly spoon ingredient into measuring cup and then scrape level with a knife, spatula or other straight edge. with measuring spoons scoop into the container then scrape the top to level it. or forget all that shit and go get a baking scale.
-have all of your ingredients at room temperature - they blend better that way
-follow the mixing order of the ingredients carefully - it does make a difference - remember science and shit!
-use a light hand while mixing - over mixing drives air out of a mixture and will make things tough. has something to do with gluten strands - see! science shit again!
-don't forget to preheat the oven before you start! this one is kind of a given, but if you leave a mixed batter sitting while you wait for the oven to heat up, the air goes out of it and can leave a dense end product.
-prepare your pan properly by greasing thoroughly with shortening, butter or cooking spray then flouring it, tapping flour to cover all the corners and edges then tapping out the excess flour. or you could use baking spray. just make sure that it is covered well. finishing a baked good only to have it cling to the pan like glue is a motherfucker. then you have to dig it out with a fork - it ain't pretty, you know with the ensuing tears and all. dignity goes out the window on this one.
-cooling is part of the baking process... repeat after me... cooling is part of the baking process. the physical structure of the baked good sets and firms as it cools. cutting into a baked good before it is cool also allows moisture to escape so your shit goes stale faster and your brownies will get this weird crystallized texture. if you leave it in the pan to cool completely, it will get a soggy bottom and stuff will stick to the pan because the fat you greased it with hardens. after the pan is cool enough to handle, flip the item onto a cooling rack.
Now that i've shared some general baking wisdom, on to the recipe!
PRESENTING....
 ~HERBGIRL'S CHEWY BROWNIES~
Hardware
8x8, 9x9 or 12 cavity muffin pan or a 9x13 pan for a double recipe
stand mixer, hand mixer, or bitchin' biceps
wooden spoon
rubber spatula
fork
knife
whisk
large bowl
smaller bowls
1 cup pyrex measuring cup
measuring spoon set
measuring cup set
double boiler - mine is a stainless bowl on top of a saucepan -nothing fancy
cooling rack or toaster oven rack
cookie sheet
Software
8 T unsalted infused butter, melted (simmered with a sticky zephyr ion bag)
4 oz unsweetened chocolate
1 1/2 cups sugar
1/4 tsp salt
2 t vanilla extract
2 large eggs
1 c (4.5oz) all purpose flour minus the amount of ABV
2 T natural cocoa
finely ground ABV (15 g for this batch)
up to 1 c 'extras' such as reeces, m&ms, walnuts, mint chips, rocky road (chocolate chips, marshmallow and nuts) cream cheese, cherry preserves, you get the idea.
fat of choice for the pan
flour for the pan
before you start, make infused butter - cut zephyr bag into strips and place with butter in the double boiler on low, i let it warm for a few hours because that's just the way the day went, then i squeezed the butter out of the strips and kind of squeegeed them with my fingers. got about 2/3 rds of it back so i added in extra plain butter to make up the full amount. in retrospect, i lost a lot of butter to the strips so i would probably use some water in with it and let it solidify in the fridge so i didn't lose as much. oh well live and learn.
Measure out the ingredients you can into the bowls they will be used from thusly -
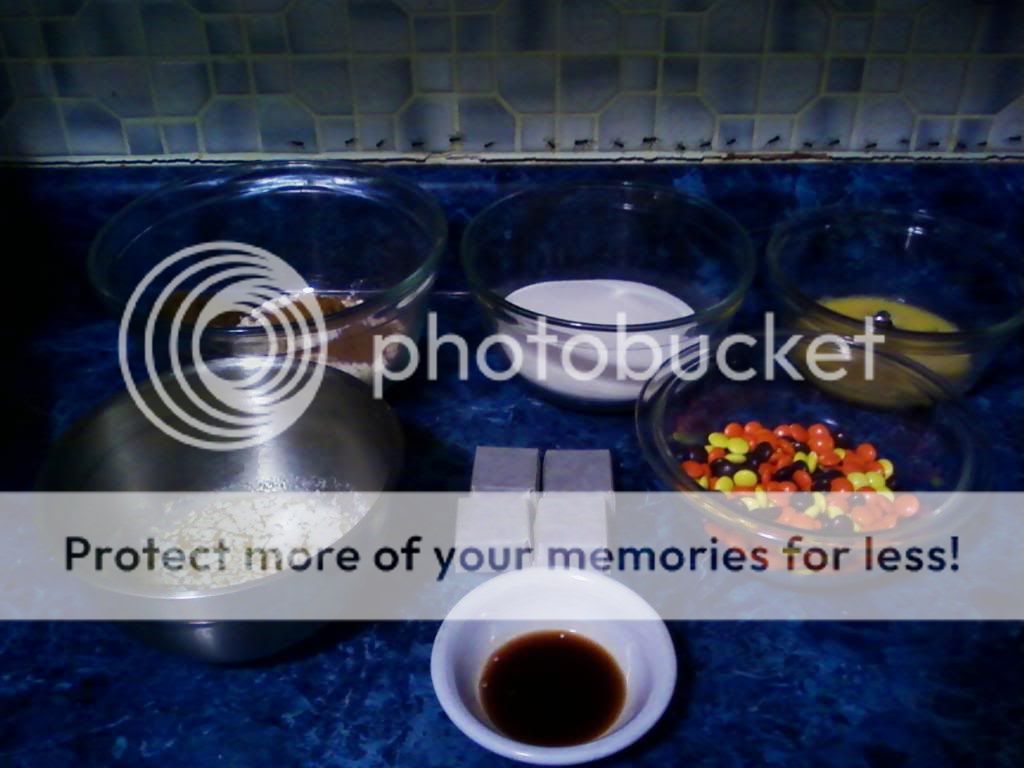
butter in the double boiler bowl, chocolate is those white squares.
sugar and salt in one bowl, vanilla added later
Flour, cocoa and ABV (later combined with the whisk) in another large bowl,
beat eggs together with a fork in another
'chunks' in yet another
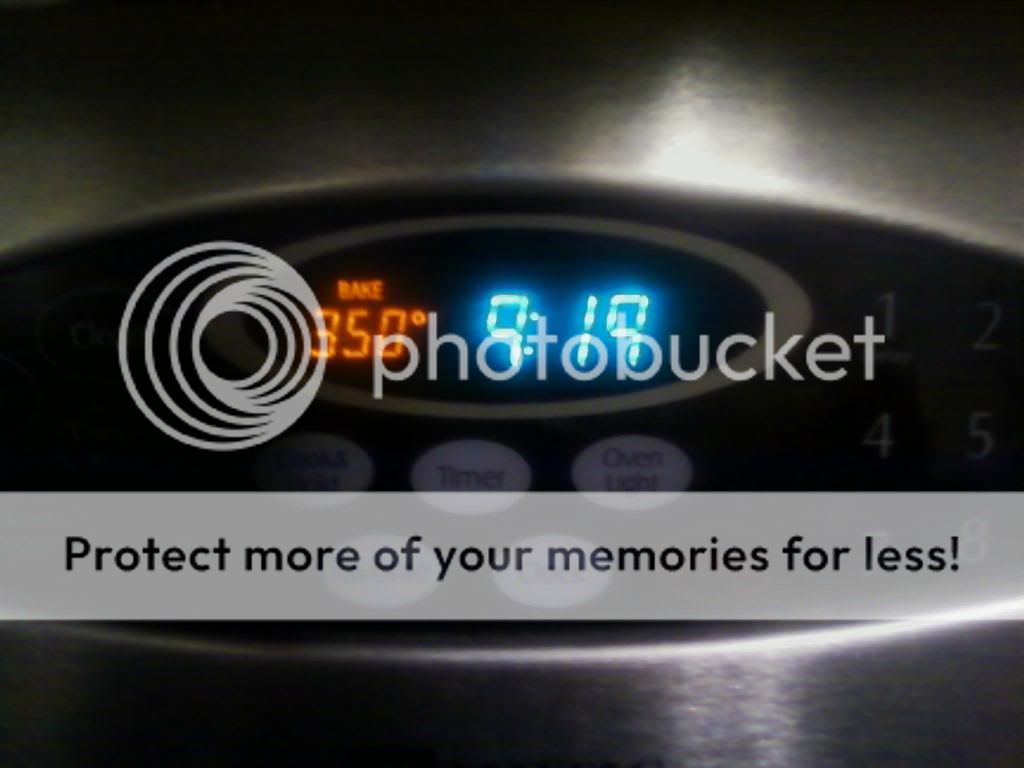
position an oven rack in the middle and preheat oven to 350 degrees
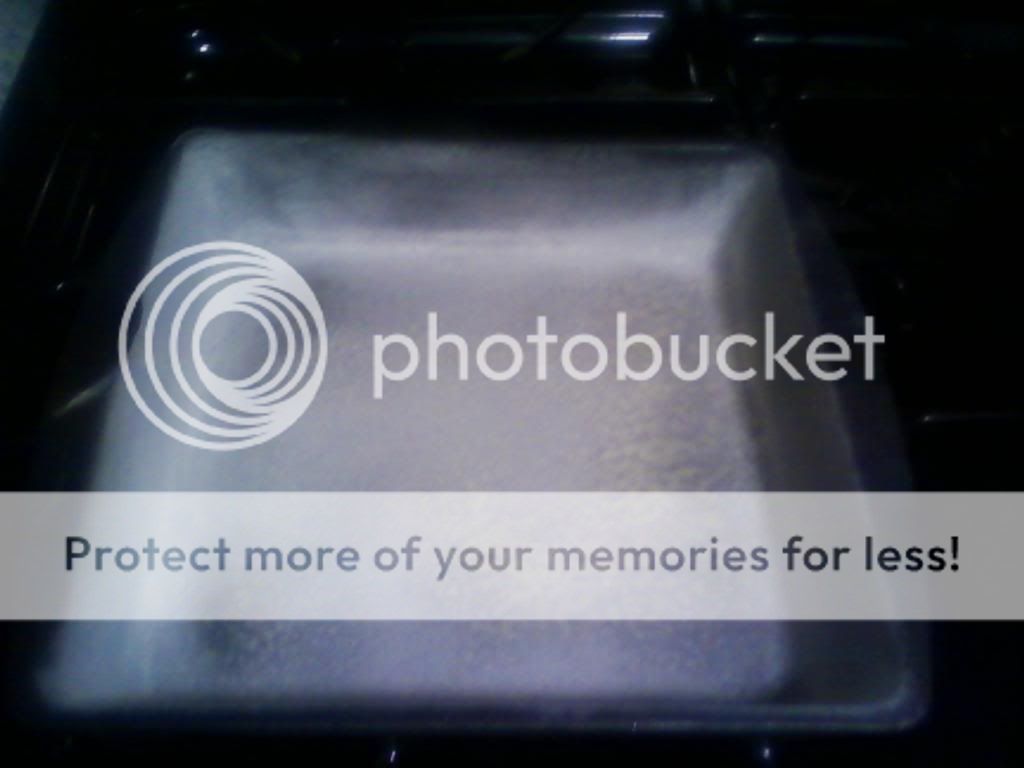
grease and flour the pan
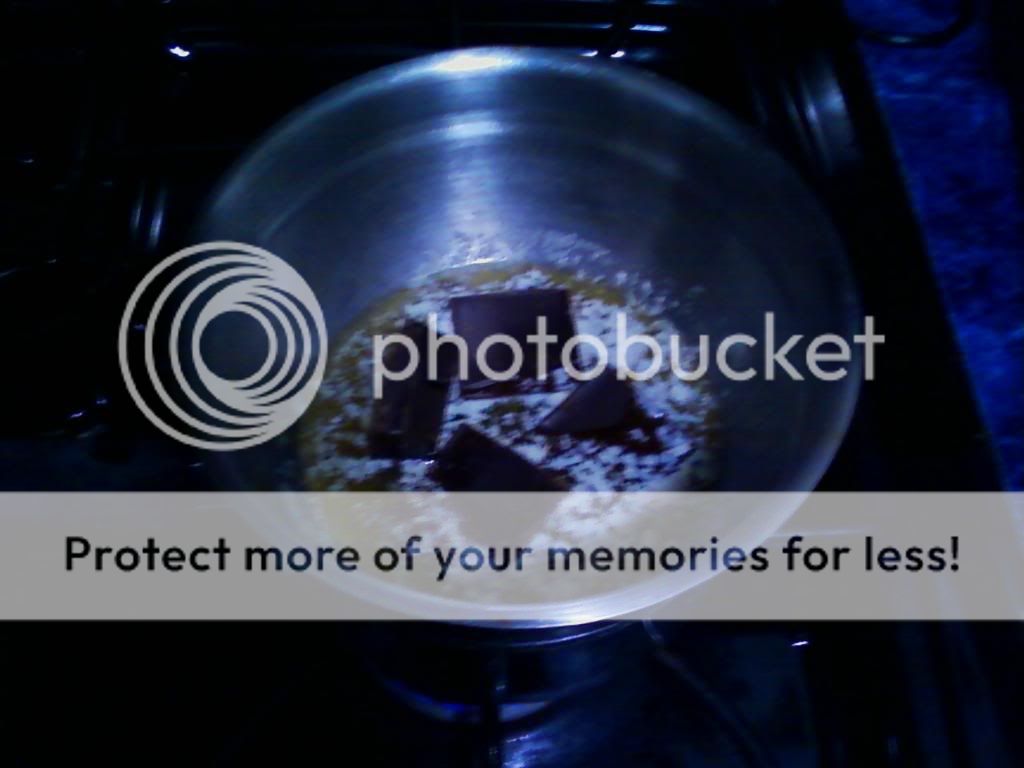
with melted butter in the double boiler, add the chocolate and melt over low heat, stirring frequently with the spatula. remove from heat and allow to cool slightly.
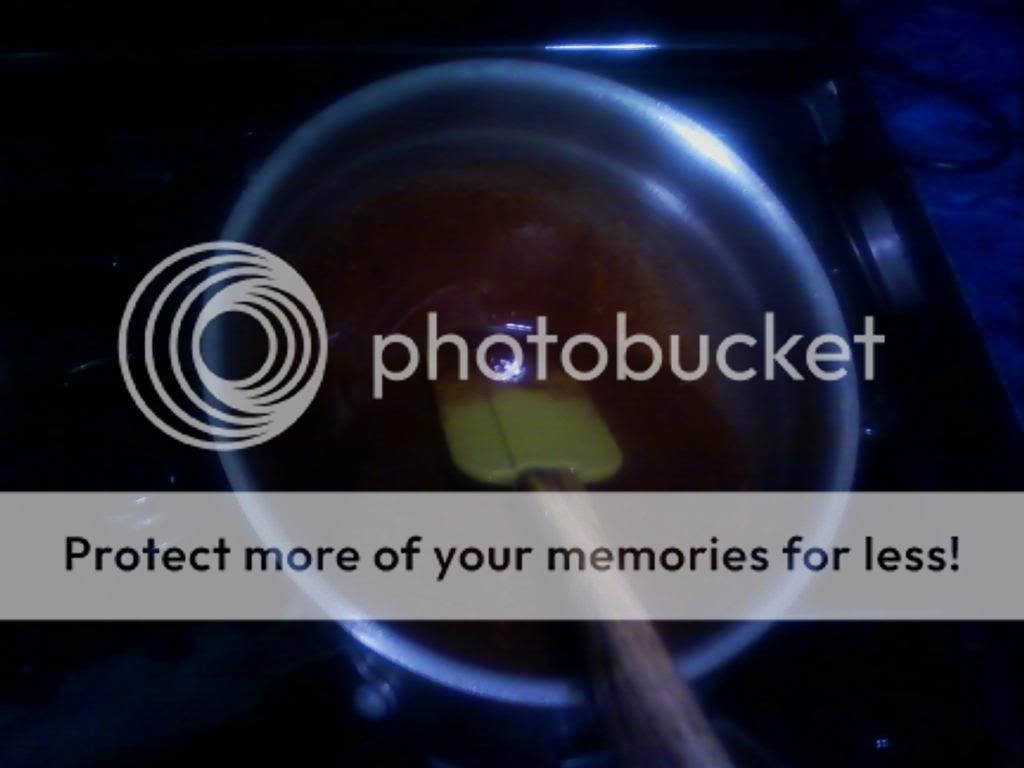
blend sugar, salt and vanilla in mixer bowl on low speed until mixed then turn off mixer

add butter and chocolate mixture to the mixer bowl and mix on low speed until thoroughly incorporated, stopping the mixer occasionally to scrape the sides
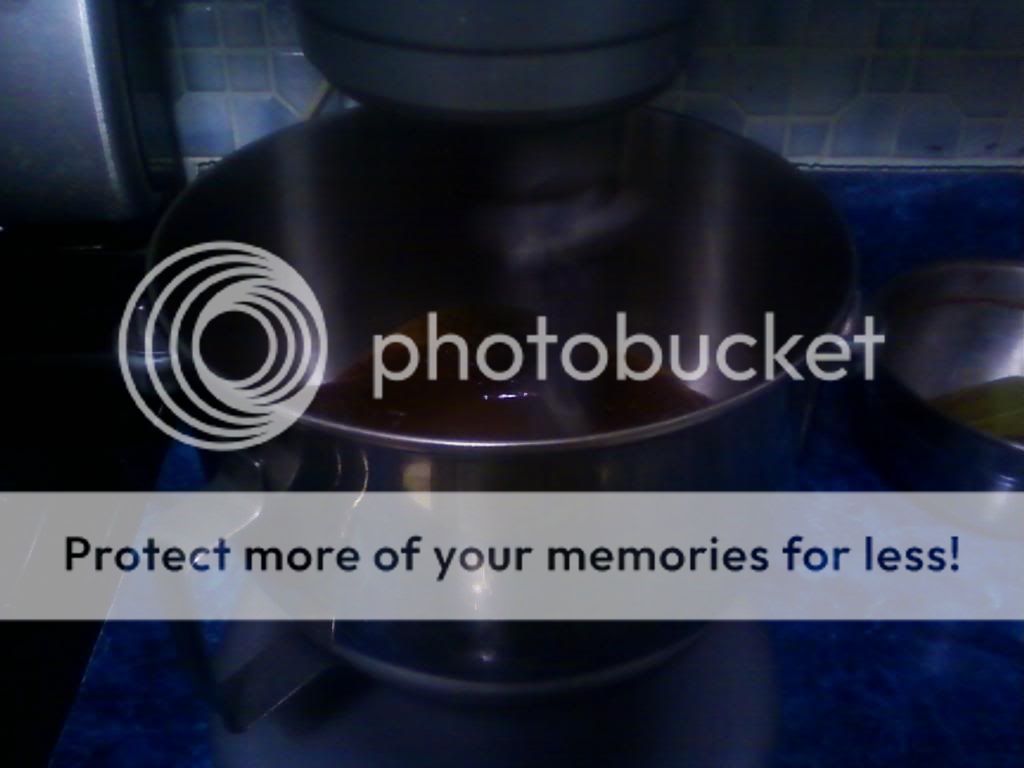
mix in eggs, one at a time (i beat these in a bowl beforehand and add half at a time) beating each on low or medium low until incorporated. this pic shows just before incorporation

meaning, you watch the batter carefully until you see no more streaks of egg then you add the next one. stop the mixer
now add the flour, cocoa, ABV mixture to the mixer bowl and mix on low for a minute or so, stop and scrape down the bowl, then mix for another minute or so until the batter is smooth. just enough so that there is no powder left to be seen in the bowl. it will be more like a dough than a batter at this point.
dump in chunks and mix gently and thoroughly with the wooden spoon, or in my case, the beater from the mixer, but not the mixer itself.
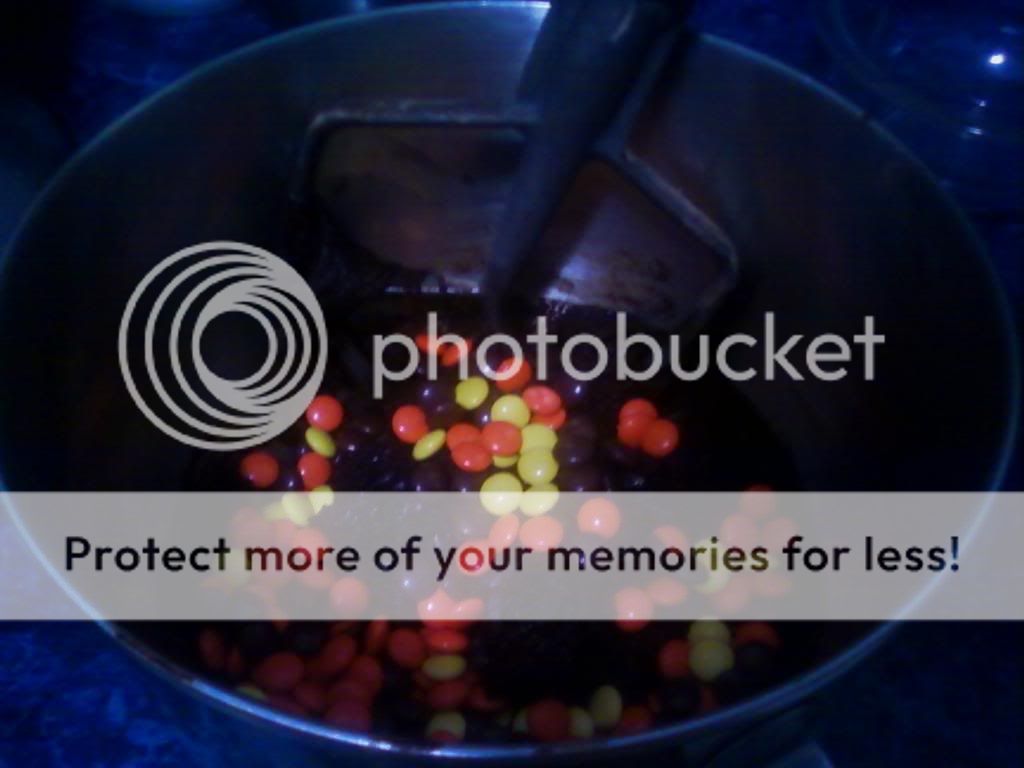
put mixture in prepared pan and spread as evenly as possible
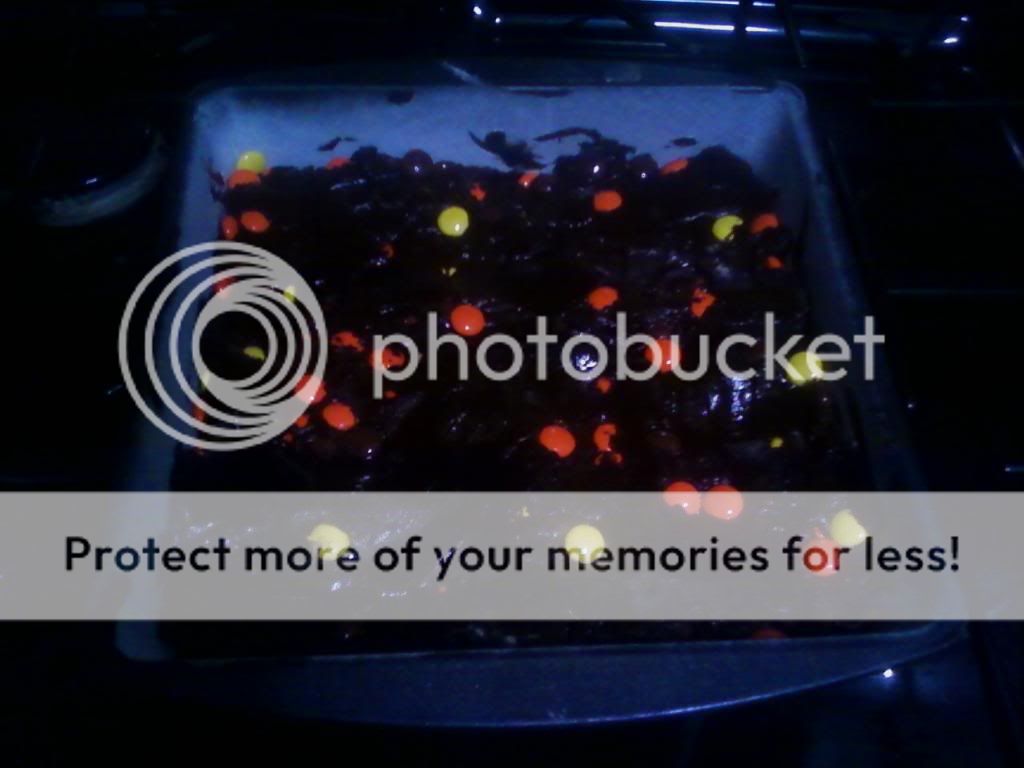
put in the oven on the middle of the center rack (the round thing on the bottom of the oven is my pizza stone, i leave it on the bottom of the oven at all times to act as a heat sink and even out oven temperature)
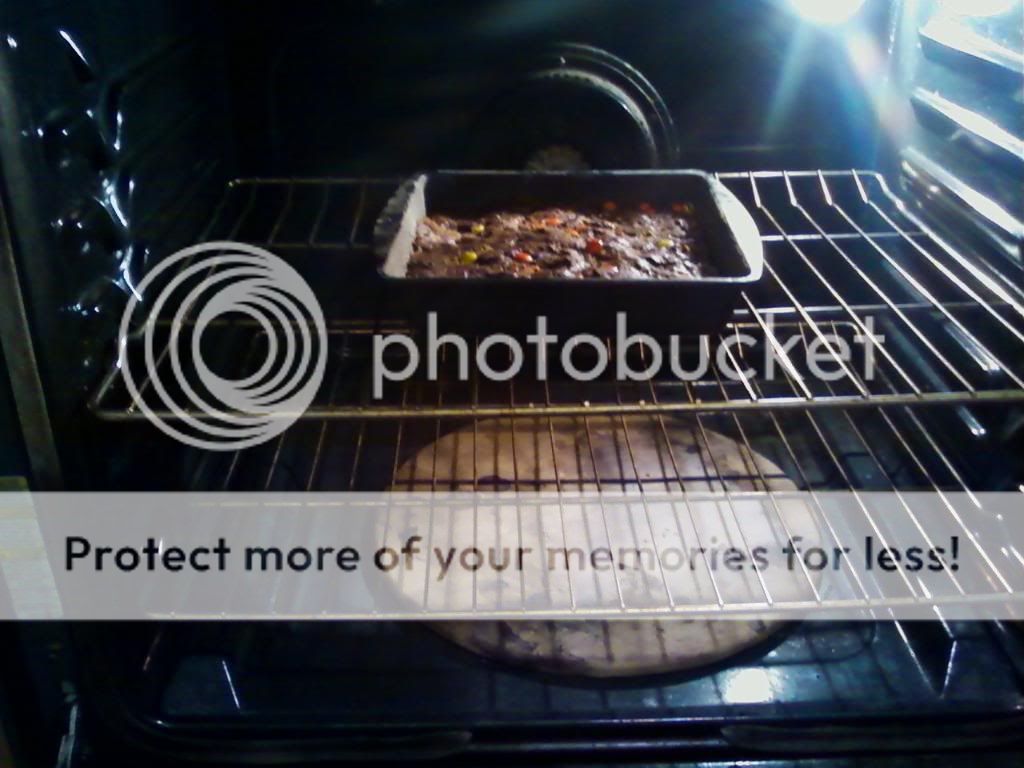
bake for 30-45 minutes depending upon pan size and color. thin dark 9x9 metal pans take less time than a thick glass 8x8
it is done when a toothpick or skewer inserted into the center comes out with a few moist crumbs clinging to it, the top will be uniformly colored with no indentations.
set the pan on a cooling rack until cool enough you can handle it, run a knife along the inside edge to loosen it up, then flip onto the back of a cookie sheet then back onto the cooling rack (makes sense right? so the top is facing up?) that's my awesome honey wheat bread in the background sharing cooling rack space
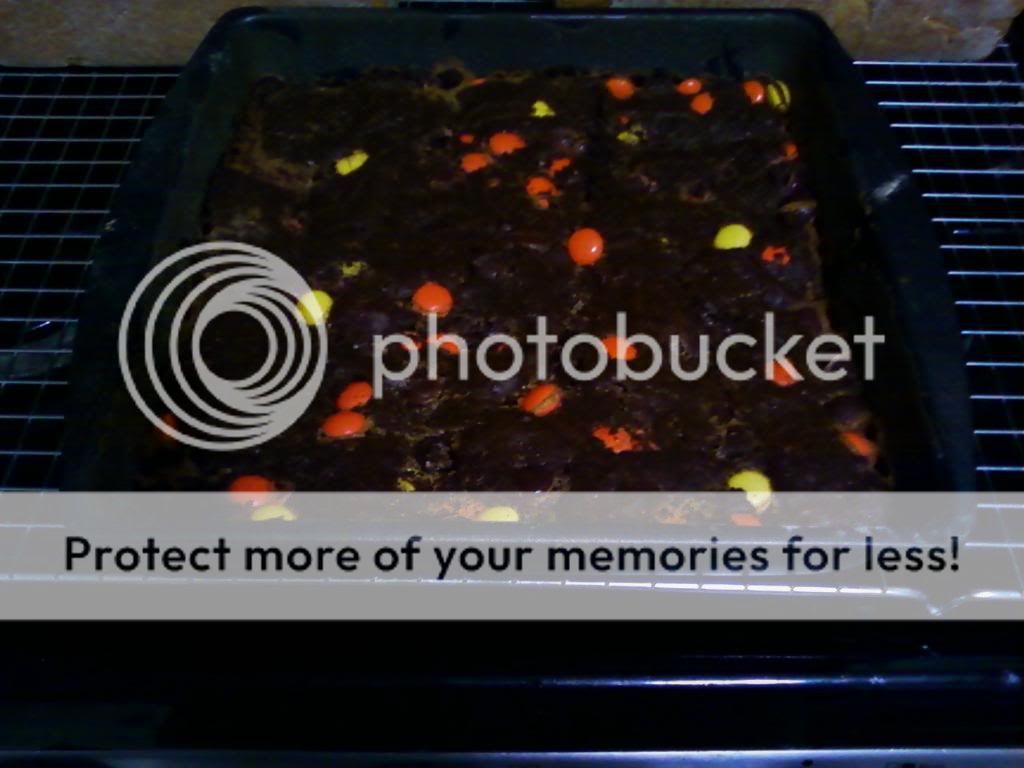
defend with your life until completely cooled, sneak some crumbs for yourself, then cut into 16 squares.
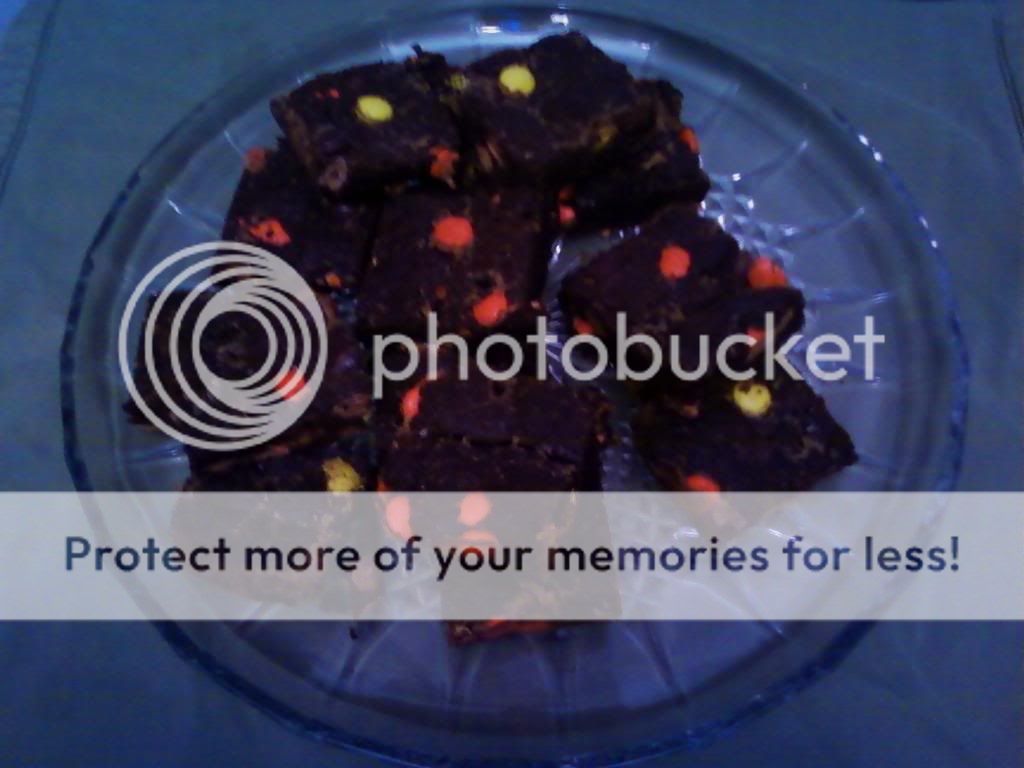
enjoy
Notes
1 Cup of reeces is borderline too much in this recipe. any more and they would have fallen apart , but they were delicious! :mmm:
in my 9x9 dark metal nonstick pan, 30 minutes was plenty - i left them in for 35 and they were crunchy on the edges but still very tasty, very little weedy flavor.
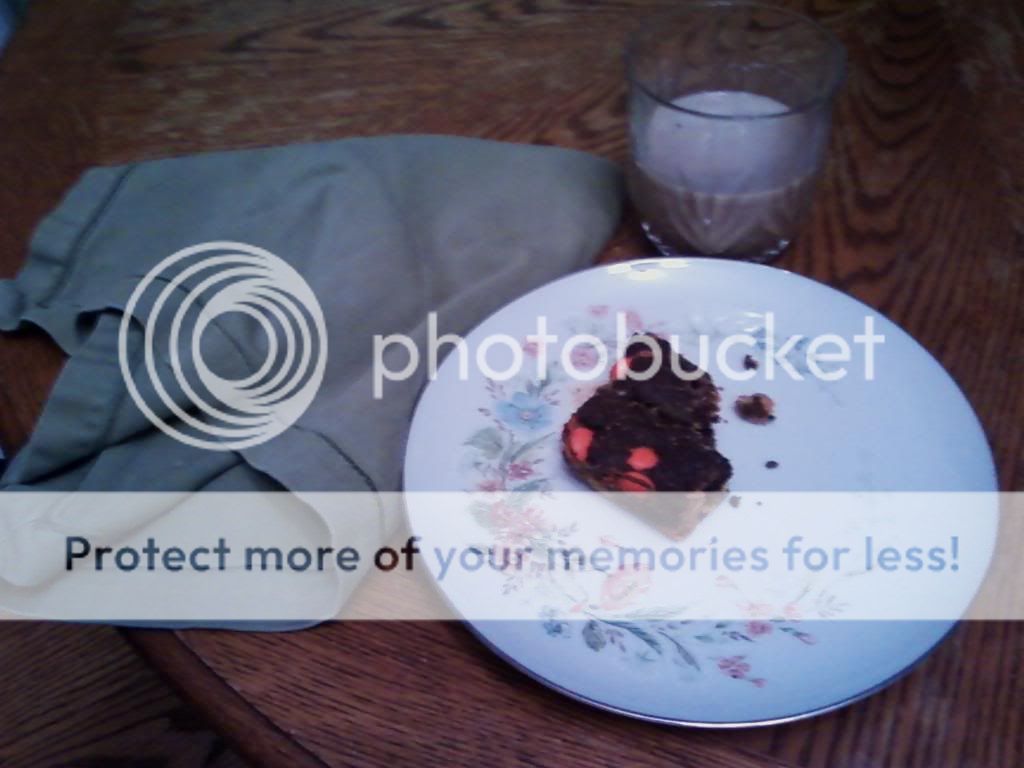
they are great with chocolate milk
last night, one and a vape had me ready to go to bed, but DH was up till 4 am brainstorming business stuff
  - he swears this is brownie related but i just think it is the excitement of starting a new business.
anyway, it was fun to put this lesson together, hope you enjoyed it. please try the recipe and ask for clarifications or whatever. I am happy to help!
For starters, a few things you should know that will *instantly* make you a better baker-

-accuracy is crucial because baking is all about chemical reactions and science and shit so follow the recipe exactly unless you know what you are doing!
 and read the whole motherfucker first too so you know that you have all ingredients and supplies required.
-measure liquid ingredients properly by using a clear spouted measuring cup set on a counter. read the liquid level at eye level while the cup is still on the counter.
-measure dry ingredients properly using a nested set of measuring cups or measuring spoons. lightly spoon ingredient into measuring cup and then scrape level with a knife, spatula or other straight edge. with measuring spoons scoop into the container then scrape the top to level it. or forget all that shit and go get a baking scale.
-have all of your ingredients at room temperature - they blend better that way
-follow the mixing order of the ingredients carefully - it does make a difference - remember science and shit!
-use a light hand while mixing - over mixing drives air out of a mixture and will make things tough. has something to do with gluten strands - see! science shit again!
-don't forget to preheat the oven before you start! this one is kind of a given, but if you leave a mixed batter sitting while you wait for the oven to heat up, the air goes out of it and can leave a dense end product.
-prepare your pan properly by greasing thoroughly with shortening, butter or cooking spray then flouring it, tapping flour to cover all the corners and edges then tapping out the excess flour. or you could use baking spray. just make sure that it is covered well. finishing a baked good only to have it cling to the pan like glue is a motherfucker. then you have to dig it out with a fork - it ain't pretty, you know with the ensuing tears and all. dignity goes out the window on this one.
-cooling is part of the baking process... repeat after me... cooling is part of the baking process. the physical structure of the baked good sets and firms as it cools. cutting into a baked good before it is cool also allows moisture to escape so your shit goes stale faster and your brownies will get this weird crystallized texture. if you leave it in the pan to cool completely, it will get a soggy bottom and stuff will stick to the pan because the fat you greased it with hardens. after the pan is cool enough to handle, flip the item onto a cooling rack.
Now that i've shared some general baking wisdom, on to the recipe!

PRESENTING....
 ~HERBGIRL'S CHEWY BROWNIES~
Hardware
8x8, 9x9 or 12 cavity muffin pan or a 9x13 pan for a double recipe
stand mixer, hand mixer, or bitchin' biceps
wooden spoon
rubber spatula
fork
knife
whisk
large bowl
smaller bowls
1 cup pyrex measuring cup
measuring spoon set
measuring cup set
double boiler - mine is a stainless bowl on top of a saucepan -nothing fancy
cooling rack or toaster oven rack
cookie sheet
Software
8 T unsalted infused butter, melted (simmered with a sticky zephyr ion bag)
4 oz unsweetened chocolate
1 1/2 cups sugar
1/4 tsp salt
2 t vanilla extract
2 large eggs
1 c (4.5oz) all purpose flour minus the amount of ABV
2 T natural cocoa
finely ground ABV (15 g for this batch)
up to 1 c 'extras' such as reeces, m&ms, walnuts, mint chips, rocky road (chocolate chips, marshmallow and nuts) cream cheese, cherry preserves, you get the idea.
fat of choice for the pan
flour for the pan
before you start, make infused butter - cut zephyr bag into strips and place with butter in the double boiler on low, i let it warm for a few hours because that's just the way the day went, then i squeezed the butter out of the strips and kind of squeegeed them with my fingers. got about 2/3 rds of it back so i added in extra plain butter to make up the full amount. in retrospect, i lost a lot of butter to the strips so i would probably use some water in with it and let it solidify in the fridge so i didn't lose as much. oh well live and learn.
Measure out the ingredients you can into the bowls they will be used from thusly -

butter in the double boiler bowl, chocolate is those white squares.
sugar and salt in one bowl, vanilla added later
Flour, cocoa and ABV (later combined with the whisk) in another large bowl,
beat eggs together with a fork in another
'chunks' in yet another
position an oven rack in the middle and preheat oven to 350 degrees

grease and flour the pan

with melted butter in the double boiler, add the chocolate and melt over low heat, stirring frequently with the spatula. remove from heat and allow to cool slightly.


blend sugar, salt and vanilla in mixer bowl on low speed until mixed then turn off mixer

add butter and chocolate mixture to the mixer bowl and mix on low speed until thoroughly incorporated, stopping the mixer occasionally to scrape the sides

mix in eggs, one at a time (i beat these in a bowl beforehand and add half at a time) beating each on low or medium low until incorporated. this pic shows just before incorporation

meaning, you watch the batter carefully until you see no more streaks of egg then you add the next one. stop the mixer
now add the flour, cocoa, ABV mixture to the mixer bowl and mix on low for a minute or so, stop and scrape down the bowl, then mix for another minute or so until the batter is smooth. just enough so that there is no powder left to be seen in the bowl. it will be more like a dough than a batter at this point.
dump in chunks and mix gently and thoroughly with the wooden spoon, or in my case, the beater from the mixer, but not the mixer itself.

put mixture in prepared pan and spread as evenly as possible

put in the oven on the middle of the center rack (the round thing on the bottom of the oven is my pizza stone, i leave it on the bottom of the oven at all times to act as a heat sink and even out oven temperature)

bake for 30-45 minutes depending upon pan size and color. thin dark 9x9 metal pans take less time than a thick glass 8x8
it is done when a toothpick or skewer inserted into the center comes out with a few moist crumbs clinging to it, the top will be uniformly colored with no indentations.
set the pan on a cooling rack until cool enough you can handle it, run a knife along the inside edge to loosen it up, then flip onto the back of a cookie sheet then back onto the cooling rack (makes sense right? so the top is facing up?) that's my awesome honey wheat bread in the background sharing cooling rack space


defend with your life until completely cooled, sneak some crumbs for yourself, then cut into 16 squares.

enjoy


Notes
1 Cup of reeces is borderline too much in this recipe. any more and they would have fallen apart
 , but they were delicious! :mmm:
in my 9x9 dark metal nonstick pan, 30 minutes was plenty - i left them in for 35 and they were crunchy on the edges but still very tasty, very little weedy flavor.
they are great with chocolate milk

last night, one and a vape had me ready to go to bed,
 but DH was up till 4 am brainstorming business stuff
  - he swears this is brownie related but i just think it is the excitement of starting a new business.
 anyway, it was fun to put this lesson together, hope you enjoyed it. please try the recipe and ask for clarifications or whatever. I am happy to help!


 , but i wouldn't recommend it, you really do need certain amounts of thinks to make the science work. but if you succeed (or fail), please share!!!
 Was awesome!


