Here is a cut and paste from this thread...
Hey guys! I'd like to make a thread where i could show you guys what i'm up to most days, like the breeding that i love to do most and the challenges I come upon doing it. Also Ill post up all my odds and ends like test grows, flower pics, tips and tricks i've learned along the way, cloning...
www.icmag.com
DIY THC and CBD testing at home.
DIY THC and CBD testing at home.
I don’t know if most of you guys know about these simple test kits you can make at home, but you can test for THC and CBD cannabinoids at home with some pretty simple lab supplies and chemicals that you can buy on eBay or Amazon for cheap.
These are great tool to have around if you are breeding for a curtain cannabinoids or want to test something you just bought.
These are color indicating tests. You will start out with a somewhat clear liquid and it will change to blue or purple depending on the test. I will talk about this later.
I first found out about these tests when I saw a guy on youtube selling color indicating cbd tests for the home breeder for around $50 for three tests, so I did some research and found out that this was a well known test that was developed decades ago. It’s called a ‘’beam test’’. I also found out there’s another test that’s called ‘’the Duquenois reagent test” and it was developed around 1930 or so. This test is for THC and the government used it for testing the presence of cannabis in general and not for isolating just one cannabinoid. For example: a drug test or cannabis residue, like in a pipe. They found out later that there were other none cannabis compounds that would react to this test and it was not used later. But these tests will be very accurate for us to test the levels of cannabinoids in the bud we are testing because there won’t be any other contaminates. Both of these test kits can be made for pennies each.
Before I get into how the tests are made I’d like to let you know that some of the chemicals used can be very dangerous if not handled properly, so proper safety precautions are needed so as to not get hurt.
Things you will need to protect yourself:
1# Chemical resistant gloves
2# safety glasses
3# have a place nearby to wash in case of a spill or if any chemicals get into eyes. Something as simple as a large bucket of water nearby you can flush eyes or skin off quickly before running to a sink.
4# all of the chemicals used in this experiment can be washed off or neutralized with water just in case you need to in a emergence.
5# do not use anything metal when performing this experiment! A violent reaction will happen!!! No metal tools or containers can be used, only plastic, glass, rubber can be used….
6# if you don’t really know what these chemicals are don’t try and mix any of them other than the ones I say. Lye is very alkaline and hydrochloric acid is very acidic, mixing them would not be good.
7# Use caution when storing these chemicals. Keep them away from people that don’t know how to use them, it goes without saying it, but I’ll say it anyway. Keep them away from children and pets!
8# do these experiments only in a well ventilated room.
Bottom line is, think first and don’t be stupid!
Ok now that that’s out of the way, on to the fun part! I’ll start off with how you make the extract out of the bud you will be testing.
Things you’ll need:
1# A scale. I think we all have one of these lying around. One that can weigh very small amounts like tenths of a gram or one hundredths of a gram.
2# small plastic or glass jars to mix in
3# 1 or 2ml dropper
4# 100% alcohol/ethanol or as close as you can get. 90% rubbing alcohol will not work it has to be higher than that. 95% or higher. You can buy denatured alcohol at the hardware store.
5# An oven. I like to use a cheap toaster oven so as to not make my kitchen oven smell like shit. But do what you want.
The first thing you’re going to do is take about 1 gram of dry bud to be tested and place it in a piece of aluminum foil and fold it over and then fold all the edges closed.
Place the bud and aluminum foil in the oven for 30 minutes on 220f/110c to decarboxylate the sample..... let cool....
(this is to convert THCA and CBDA into THC and CBD)
Take your crispy bud out of the oven and weigh out ½ gram or .5000 on the scale in a small jar or shot glass. Now get your dropper out and put 5 grams of alcohol in the glass with the bud and mix well. Let that sit for at least one half hour then suck the liquid out and put that in another jar or glass without getting any bud material in the glass. That is your extract you will be testing.
The first test will be the Duquenois reagent test. This is for testing THC.
There are many ways to perform this test; this is just my modified version of this test. The original test called for chloroform to be used to stabilize the mixture and separate the organic layer. But chloroform is some nasty shit. This is the stuff the Nazi’s used to kill countless people. It’s very gaseous and is a silent killer when working with it. I also don’t like buying it for obvious reasons. It can be made with bleach and acetone easily if you know what you’re doing.
Things you’ll need:
1# Glass test tubes or shot glass
2# a dropper
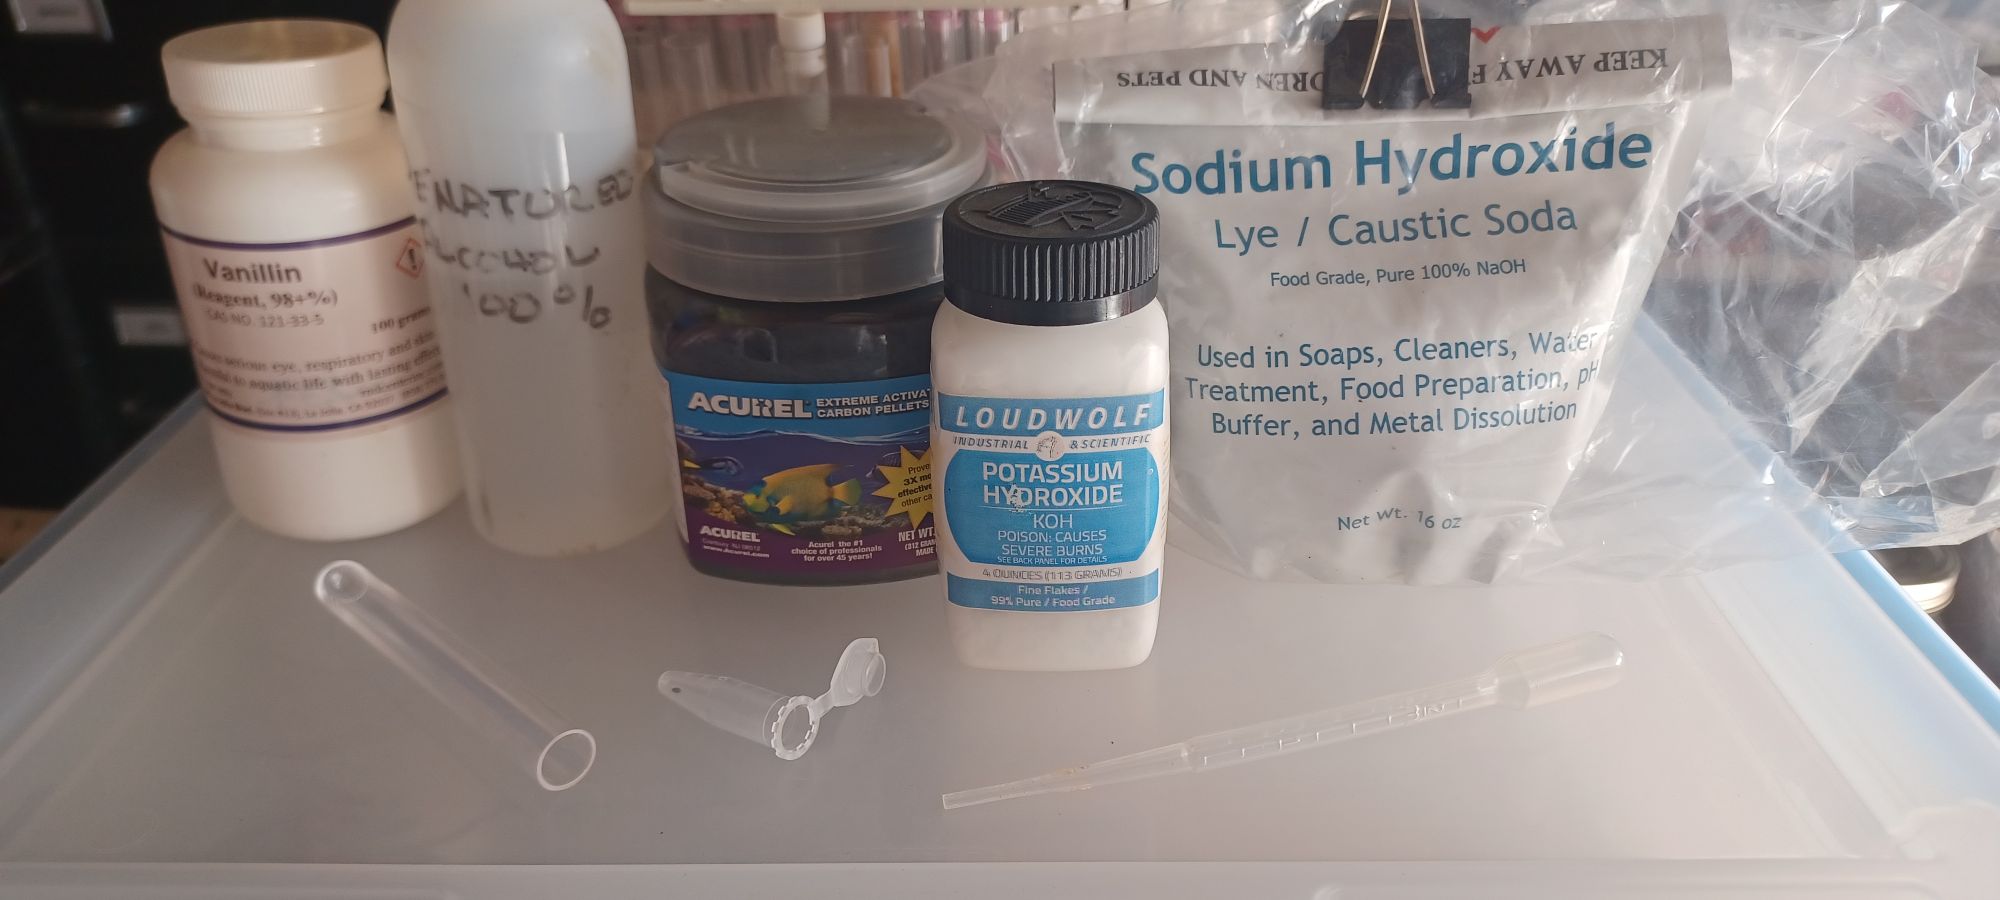
3# hydrochloric acid 37% or higher
4# vanillin which is a synthetic vanilla
5# 100% ethenol
6# amber glass bottles with dropper built in if you want to store the reagent for later use.
We will be making the reagent first.
Weigh out 5 grams of vanillin and dissolve that in 100ml of alcohol then put in amber bottle. That is your reagent.
Get a test tube and place three drops of your cannabis extract in the test tube followed by ten drops of reagent. Mix well. Now carefully put 10 drops of hydrochloric acid in the same test tube with your reagent and extract. Mix well and wait for color change. This may take up to thirty minutes to get to its full color.
You should see a deep blue or royal purple to black color for a high THC strain and light blue or purple for a low THC strain. Little to no color change or off color means very little to no THC.
This test is best used when comparing two strains side by side or two phenotypes of the same variety so you can see the difference in color to know which one has more THC. (darker=more THC), (lighter=less THC).
I have found that One turned purple and one turned blue which can make it difficult to compare them so I just looked at how dark the colors were. In cases like this it’s best to have a known variety that you can compare to, but most of time you will get purple as your main color.
The beam test: This test is for CBD.
Things you’ll need:
1# Glass test tubes
2# a dropper
3# 100% alcohol
4# potassium hydroxide (AKA) Lye
Dissolve 5% lye into ethanol which is five grams of lye to 100ml alcohol. Mix well.
Grab a clean test tube and put three drops of extract into the test tube followed by 10 drops your dissolved lye, mix well. You should see a pink to purple color in the presence of CBD. It may take up to thirty minutes to see any color change. Pink is low CBD and purple is higher CBD.
I don’t have any CBD samples at the moment to show you, but you will get the same purple color as the THC test.
You can also play with the concentrations of the mixture or concentrate the extract by striping the ethanol and make the test more sensitive for very low THC and CBD.
i just got done growing some Harlequin and they've been curing for the last few weeks and after smoking a few phenos i noticed it got me very high and i wasn't expecting it to. i thought i'd just get a light buzz and feel sleepy but that was not the case. with the few i smoked, i felt a very powerful high and it lasted a long time, more like a couch lock feeling.
so i thought this would be the perfect line to test. it was advertised as having a 1:1 ratio of up to 12% thc/cbd and if you cut them early you'd increase the CBD% which i did in hopes of getting some nice meds.
i had nine different harlequin plants and i threw in a Supercritical sample just for shits and giggles.
out of the ten total samples i found two that showed a purple color change.
looking at the picture from left to right is one through nine of the phenos of harlequin and the tenth one is super critical.
if you notice there is one more after that, that is a very small amount of 99% pure CBD isolate for a control to make sure the test is picking up on the CBD which that sample turned a dark royal purple. this is the darkest color change you'll see with the CBD test.
so the only ones to show a good amount of CBD were #5 and #8. the others just stayed the yellow-ish orange which is the color they all were before adding the reagent to the vial.
i also thought it would be a good idea to test all of them for THC and those are a little harder to read by looking at the picture and i had to put the flash on just so the different colors would show up because without it, they all look black.
the pic is in the same order as the cbd test from left to right one through nine are harlequin and the last one is supercritical.
i'll start off by saying that they all have a fair amount of THC but #2 and #8 look to have the lowest % of THC #1 and #4 look to have mid levels of THC and #3, #7 and #9 look to have the highest out of the harlequin but it looks like the Supercritcal at the end is going to take the prize for highest THC.
Note: that #5 and #6 turned a green color. i have never seen this before and i'll have to retest these two and see if i get a different result.


")