@vapmanjoe congrats on receiving the first one out in the wild! Awesome! Love your story of chasing down the postman to pay the customs duty.
I wonder how long it will take for mine to make it all the way across the pond and then across the continent to Western Washington? I'm not holding my breath until Monday a least. But a pleasant surprise tomorrow might be nice.
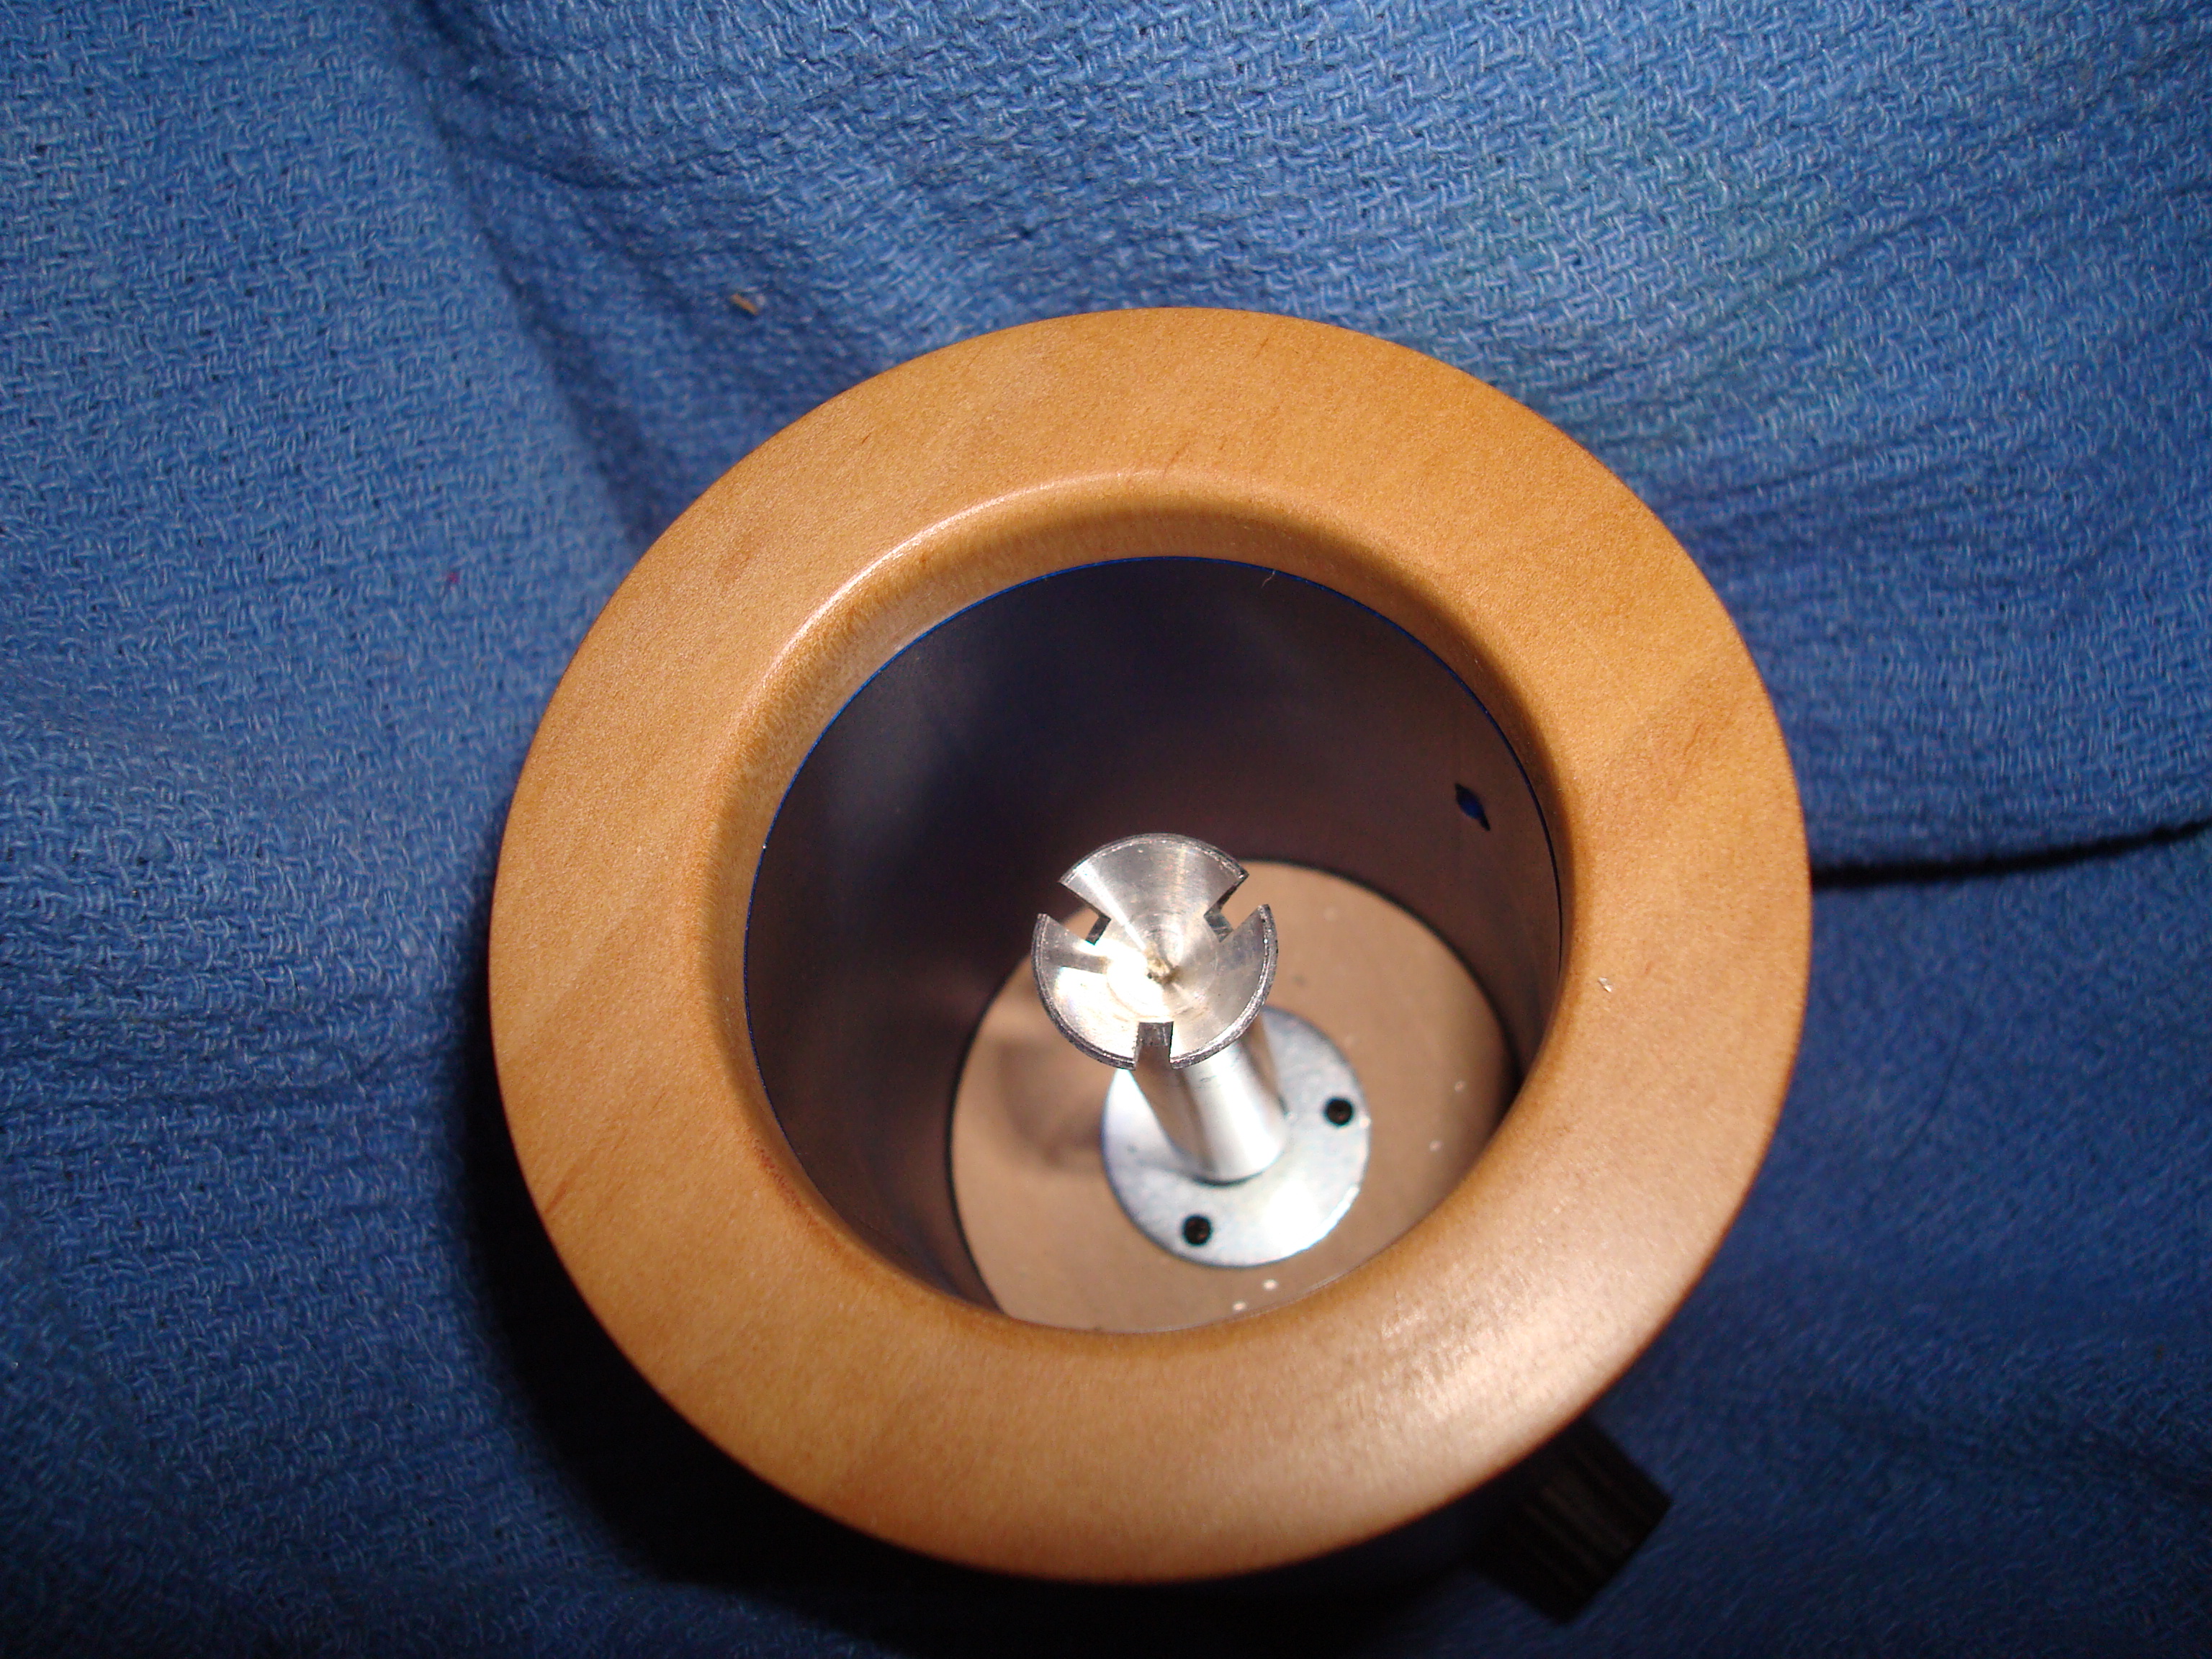
@natural farmer @terarc @M0J0 I straightened my springs the other day after a pocket mishap, but I noticed that my method might be a bit simpler than what I think has been described.
You only have to remove one screw per side, not both. You can then rotate the spring clip thingy outward, bend it to your satisfaction, and then rotate it back. Less stress on the wood that way by never unscrewing the outward screw. I didn't even have to loosen the outer screw to rotate it and gave it a slight tightening upon reassembly.
I wonder how long it will take for mine to make it all the way across the pond and then across the continent to Western Washington? I'm not holding my breath until Monday a least. But a pleasant surprise tomorrow might be nice.
@natural farmer @terarc @M0J0 I straightened my springs the other day after a pocket mishap, but I noticed that my method might be a bit simpler than what I think has been described.
You only have to remove one screw per side, not both. You can then rotate the spring clip thingy outward, bend it to your satisfaction, and then rotate it back. Less stress on the wood that way by never unscrewing the outward screw. I didn't even have to loosen the outer screw to rotate it and gave it a slight tightening upon reassembly.
 Thanks for your brain power!
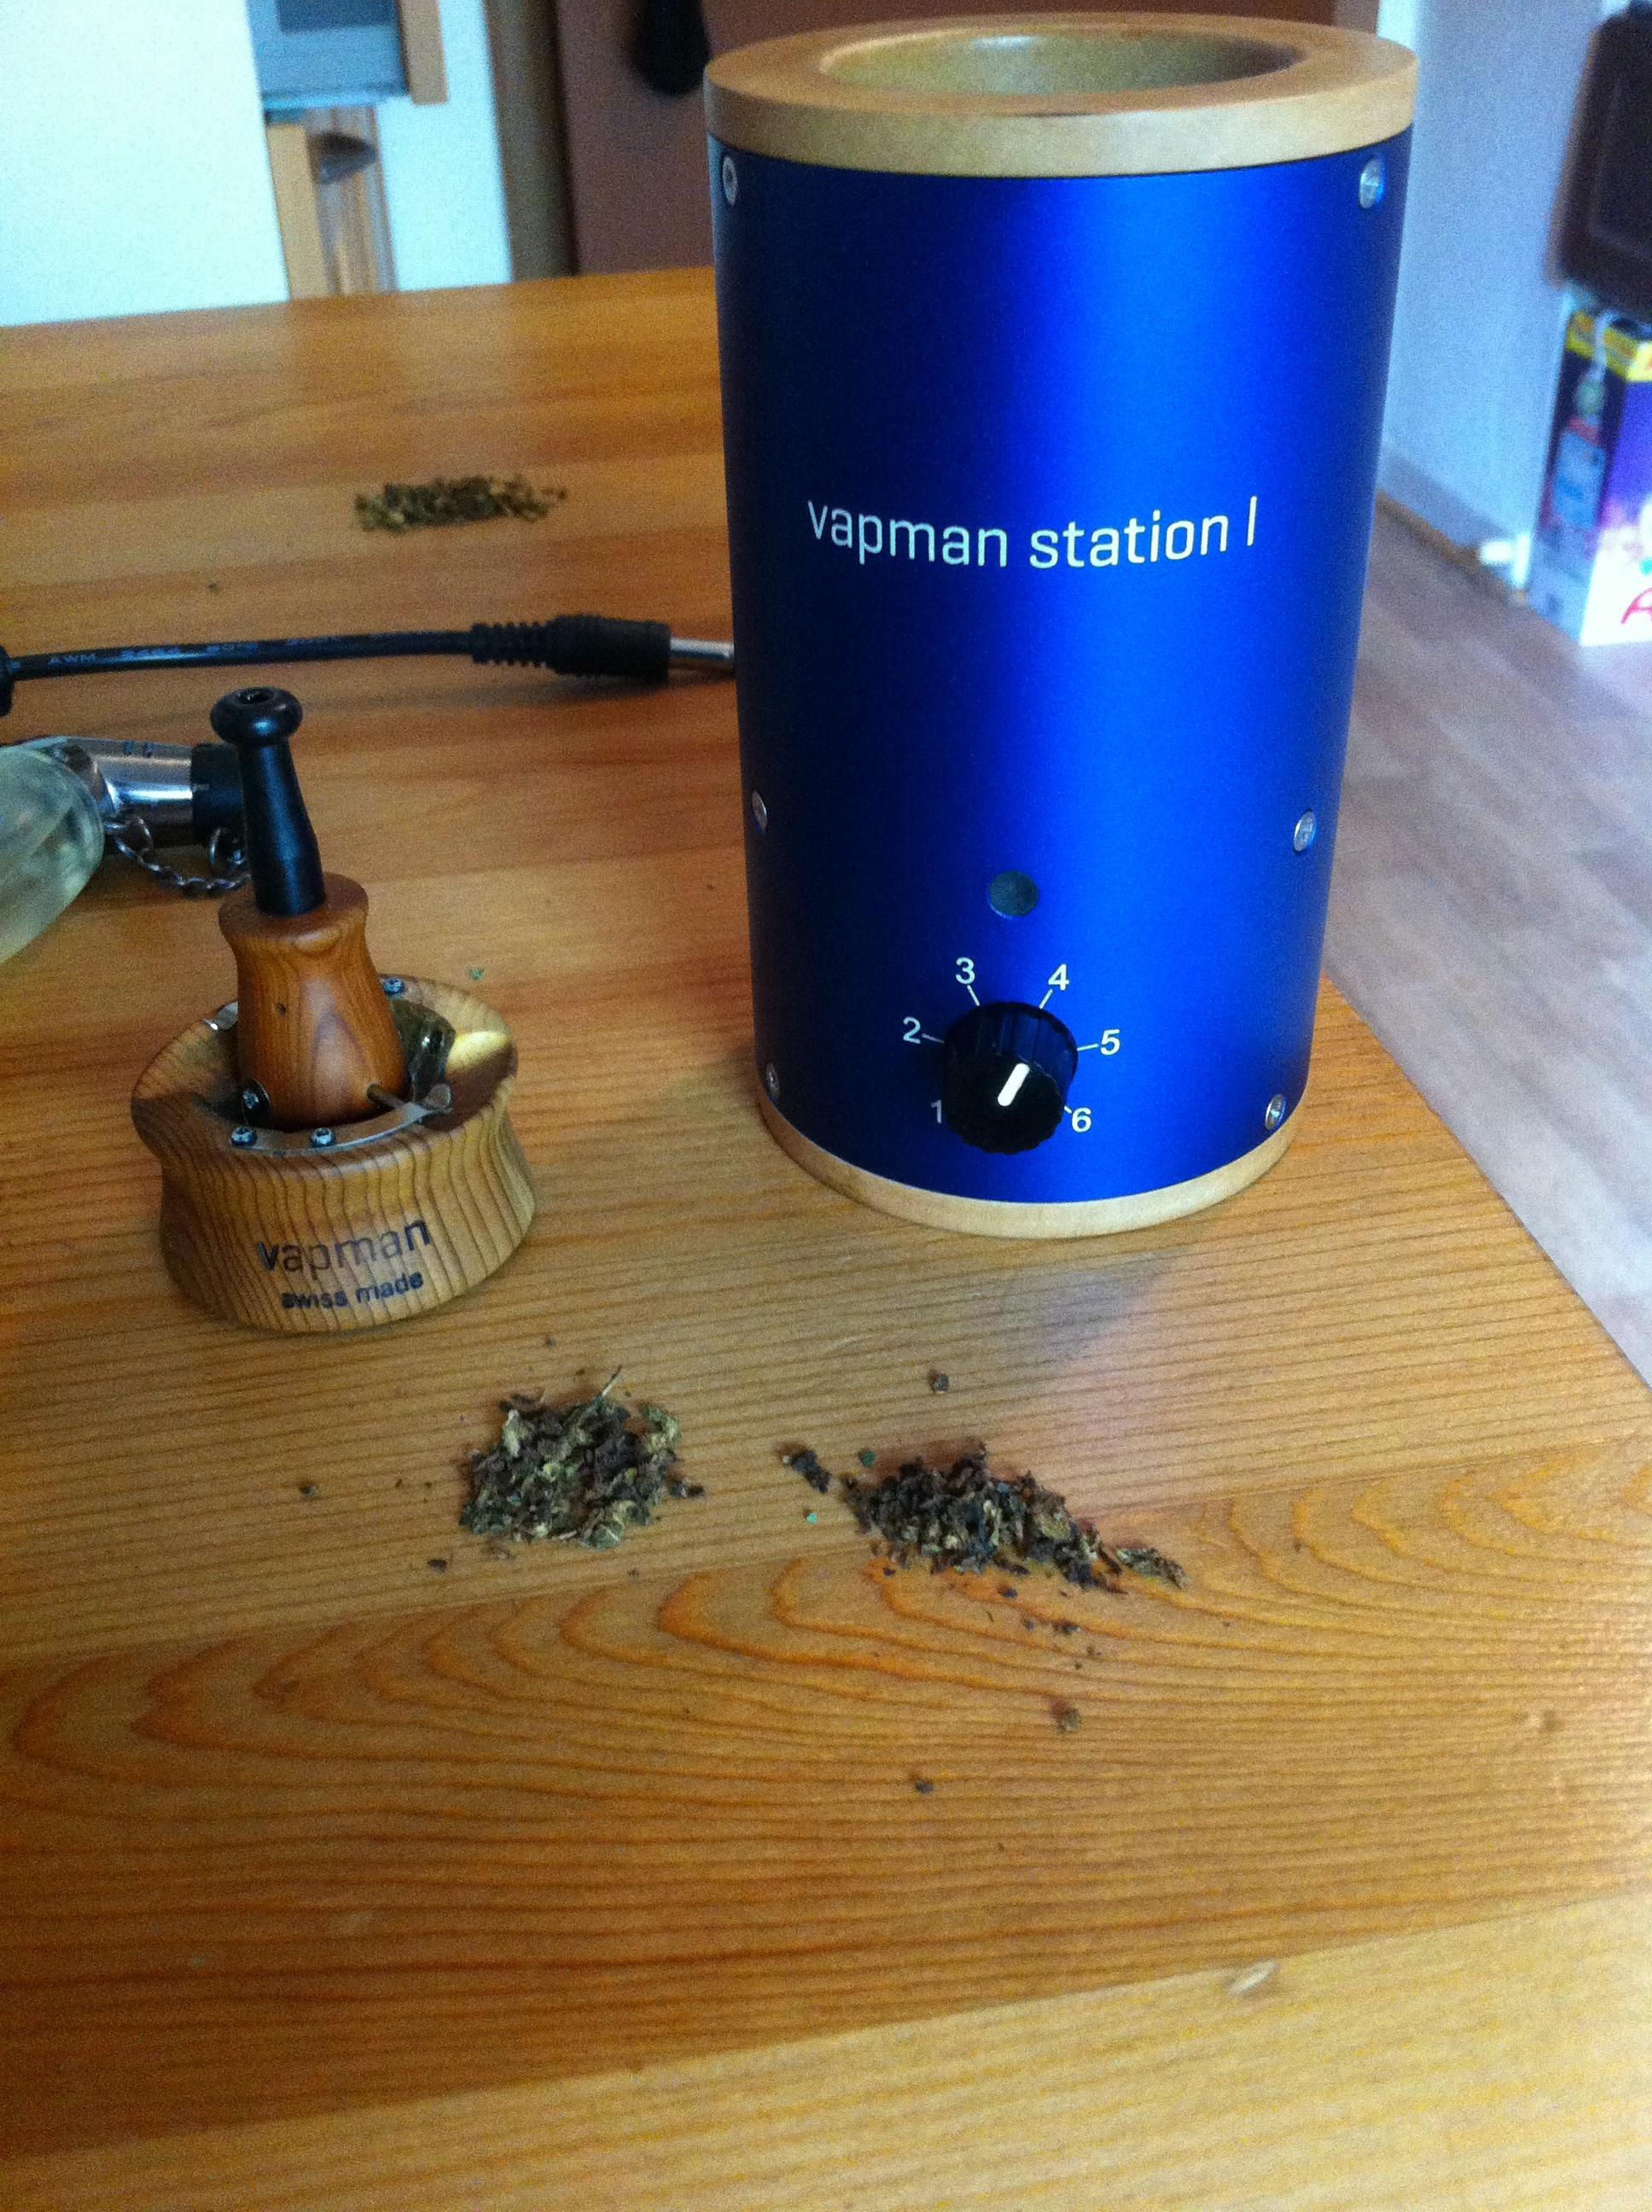
 and it's so tiny...welcome to the vapman family