
Hey Guys. This is for those who have wondered about the plausibility of using induction for their VapCap. The answer is, yes it works excellent. Surprised me as there seems to hardly have enough mass, but seems not an issue at all.
I used the cheapest induction heater I could find. Driving it with a power supply I have are left over from when I was making the Solo PA. Still have a dozen or so of these pups. Problem is he only sells in lots of 20. But I suspect this one will work just as well. Haven't visited in a while so might find better deals out there. A key point to watch for is what happens when the max current draw is met. The supply I'm using turns into a constant current supply when 5 amps is reached and starts to lower voltages to maintain 60 watts. This works out in our benefit in this application.
The adjustment for heat transfer is actually physically widening or narrowing the spaces in the driver coil.
If coil is pushed such that the winding is close together, the unit draws 6-7 amps when the VC is inserted and clicks in 2 seconds. I spaced out the coil such that it draws 5 amps and takes 5 seconds to set off the click in the VC.
Here is the "working concept" mock up:

From here is just a matter of a switch and cosmetics. I think a FET switch would be the best route. To trigger the switch a couple low power tensile switches in parallel. One accessible by external press and the other pressed with insertion of the VC. And with a circuit similar to the above link, an off time delay variable resistor could be installed for heat timing. Maybe set to turn off shortly after the click sounds..?
I envision this as a two piece device. Home power supply detachable and a standard car accessory plug to take its place. Could Velcro it to either the home supply or dashboard.
Enjoy!!!
&
Thoughts?

 www.pipesafterthoughts.com
Modnote: FAQ for Pipes' IH heaters can be found here: https://docs.google.com/document/d/1_202eBzWeF7rkTjqV5sWumPxtbSNtfjqOZEs1i9d16k/edit
I used the cheapest induction heater I could find. Driving it with a power supply I have are left over from when I was making the Solo PA. Still have a dozen or so of these pups. Problem is he only sells in lots of 20. But I suspect this one will work just as well. Haven't visited in a while so might find better deals out there. A key point to watch for is what happens when the max current draw is met. The supply I'm using turns into a constant current supply when 5 amps is reached and starts to lower voltages to maintain 60 watts. This works out in our benefit in this application.
The adjustment for heat transfer is actually physically widening or narrowing the spaces in the driver coil.
If coil is pushed such that the winding is close together, the unit draws 6-7 amps when the VC is inserted and clicks in 2 seconds. I spaced out the coil such that it draws 5 amps and takes 5 seconds to set off the click in the VC.
Here is the "working concept" mock up:
From here is just a matter of a switch and cosmetics. I think a FET switch would be the best route. To trigger the switch a couple low power tensile switches in parallel. One accessible by external press and the other pressed with insertion of the VC. And with a circuit similar to the above link, an off time delay variable resistor could be installed for heat timing. Maybe set to turn off shortly after the click sounds..?
I envision this as a two piece device. Home power supply detachable and a standard car accessory plug to take its place. Could Velcro it to either the home supply or dashboard.
Enjoy!!!
&
Thoughts?
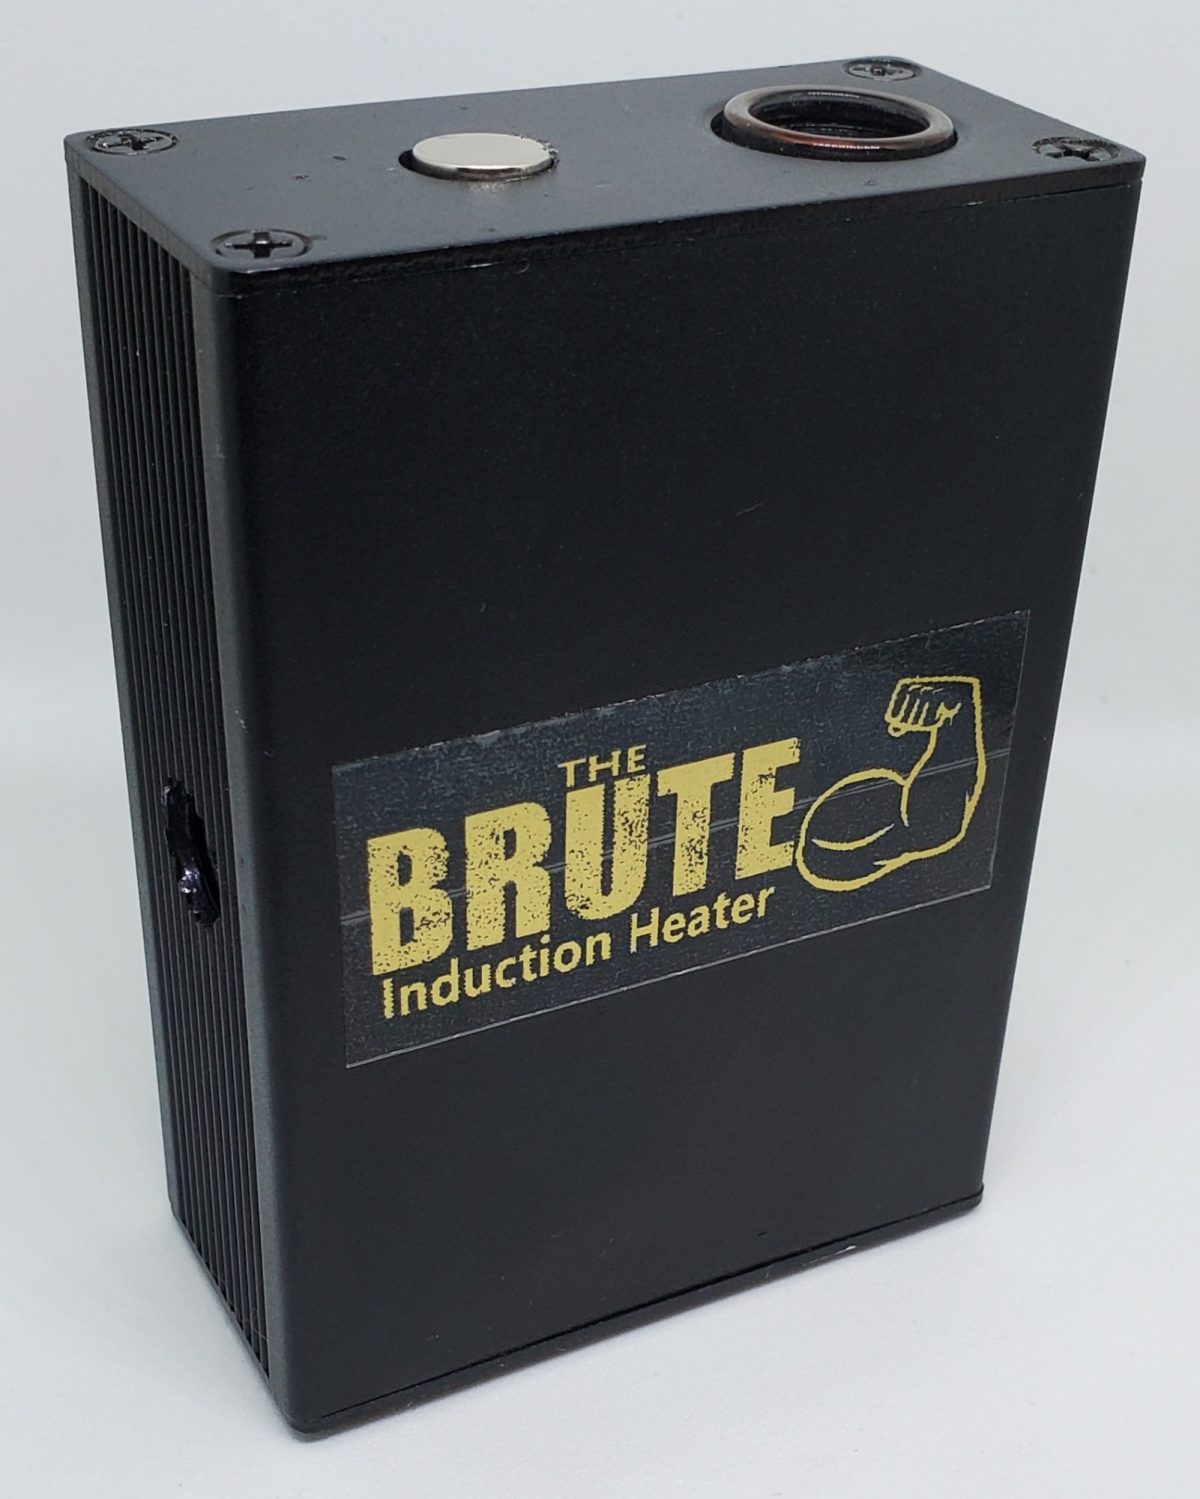
Pipes Induction Heater
Best Induction Heater designed for use with DynaCaps | Pipes Induction Heaters http://pipesafterthoughts.com This induction heater is a replacement for using a torch to heat the DynaCa
Modnote: FAQ for Pipes' IH heaters can be found here: https://docs.google.com/document/d/1_202eBzWeF7rkTjqV5sWumPxtbSNtfjqOZEs1i9d16k/edit
Last edited by a moderator:


")


 Will decide over the wait if needed.

