If anyone has ideas of what they want to see in future modules, I'm all ears!
Espresso dispenser.

If anyone has ideas of what they want to see in future modules, I'm all ears!
I have no problem working with you to create THE perfect bowl size/shape/material for you.

And mignt we choose our own coverings/sheaths?
An SS chamber will take longer to heat up, but so long as the walls are ~1mm or thicker, will retain enough heat to give you a small amount of conduction heating.
A wood chamber will augment taste, but give you better insulating properties compared to glass, which may slightly increase heat up times.
Awesome! I should have known you would have all the bases covered. I'm really enjoying following the process on this one as I did the Okin, and am excited for the product to be available.Stock stem size is 14mm Glass tube with 1.5mm thick walls.
This gives you an internal diameter of 11mm for the chamber. Depth of chamber is adjustable to whatever you like.
If this doesn't work for you, an alternative is a custom stem with 2.2mm thick walls. Giving you an internal diameter of 9.6mm. A 27% difference in surface area.
If this is still too large. I would recommend a custom chamber tip made from SS or hardwood. Cut to your exact dimensions. These stem tips will be inserted into the end of the stock glass mouthpiece, using an O-Ring connection, and will allow for both custom bowl sizes and different materials.
An SS chamber will take longer to heat up, but so long as the walls are ~1mm or thicker, will retain enough heat to give you a small amount of conduction heating.
A wood chamber will augment taste, but give you better insulating properties compared to glass, which may slightly increase heat up times.
Chamber tips can be pre-loaded and switched out on the go.
I have no problem working with you to create THE perfect bowl size/shape/material for you.
@sixstringsmash, I didn't think of using teflon, but I will definitely try it out! Seems to have low thermal conductivity, makes sense. It would make a great chamber lining material because it'll allow for a nice snug sliding fit with the ID of the glass. Great thinking!
@XiolaOne , Close.. maybe a month... maybe less... I have custom parts coming from all over U.S./Canada. Lots of outside-my-control time-frames.
I will most likely do an initial run of about 5 units.
If all goes well, hopefully those first 5 units will act as a sort of way for users to share their initial thoughts, and whether or not this vape is worth the buy.
I will most likely have to do a pre-order of about 20 units to cover the cost of running more parts in higher numbers. Cost of materials, CNC, gold plating, custom fabricating, etc.. will be substantial.. and I won't be able to front the cost.
These first 25 units will be sold at discounted cost as a reward for paying upfront. I hope to get those first 25 units out in about 2 months after order is taken.
I am getting a sense of the final price for this thing.. it will at least end up in the $300 range..

")
V ForMore solid planning Dan
Name-wise with all the modularity this main device will offer, I was thinking something that means vessel since that's all it is right? A vessel for whatever module you are using, truly just a vessel for whatever material you are using too

I'm in. PM sent!
This will be the third wood vaporizer I've ordered in 2 months. There's just something special about a device that has been made in small batches by a craftsman. I've only received one of the three, and I enjoy holding and looking at it almost as much as using it. But, as nice as it is, I think @Dan Morrison's will blow it away in the design department.
Yes, please!!!! I have no idea what any of these esoteric words mean but it all looks so incredible like watching the forging of a Ulfberht. Thanks for sharing all these beautiful shots of the processOkay!
After a whole bunch of rough prototype work.. I am starting the first production quality unit. So, naturally, I wanted to document the process for everyone here to see.
I am doing these parts on a manual machine for now, but I have made arrangements to have them precision CNC'd for the production batches. Quality will be the same, but production time will be much faster.
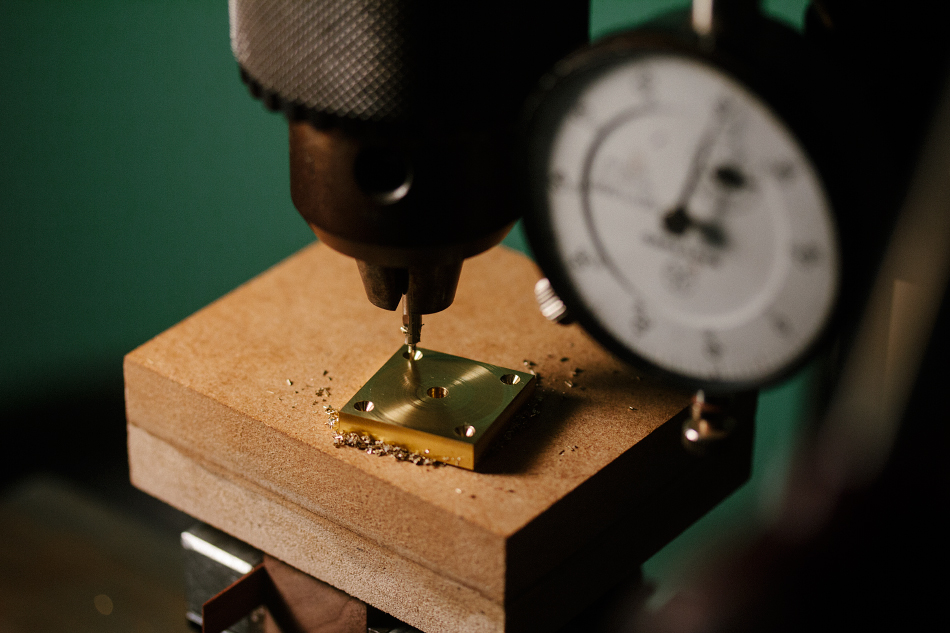
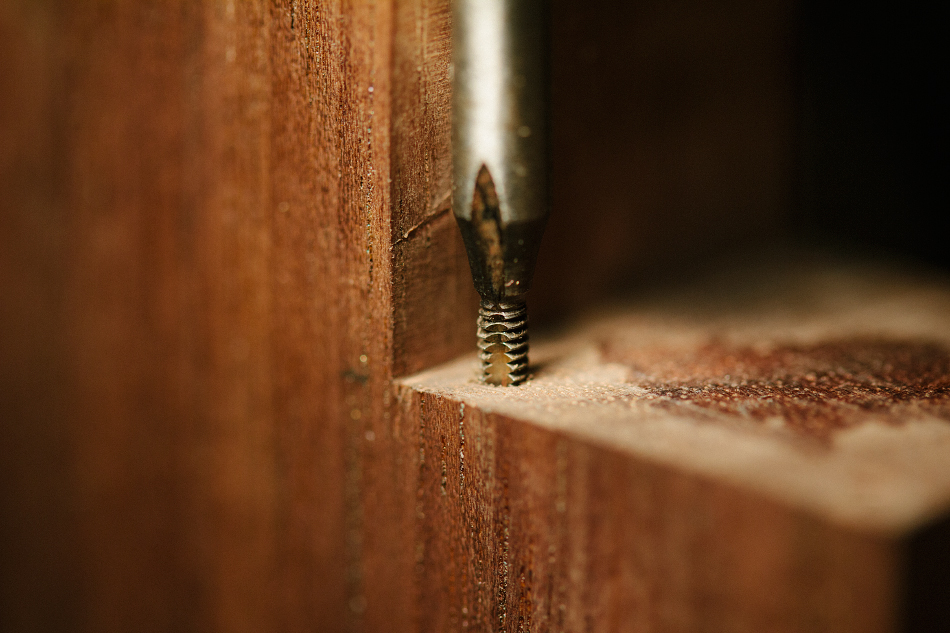
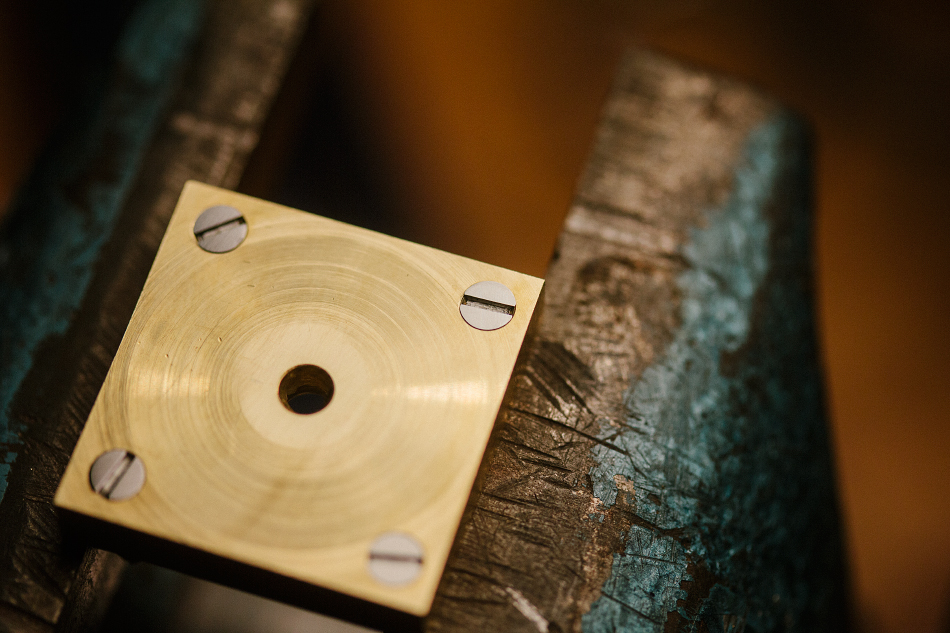
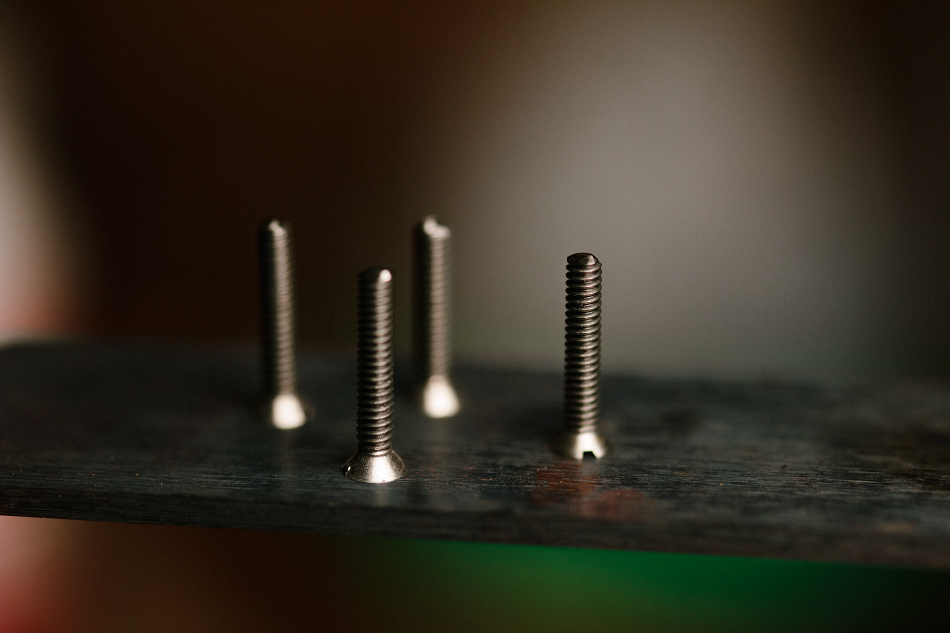
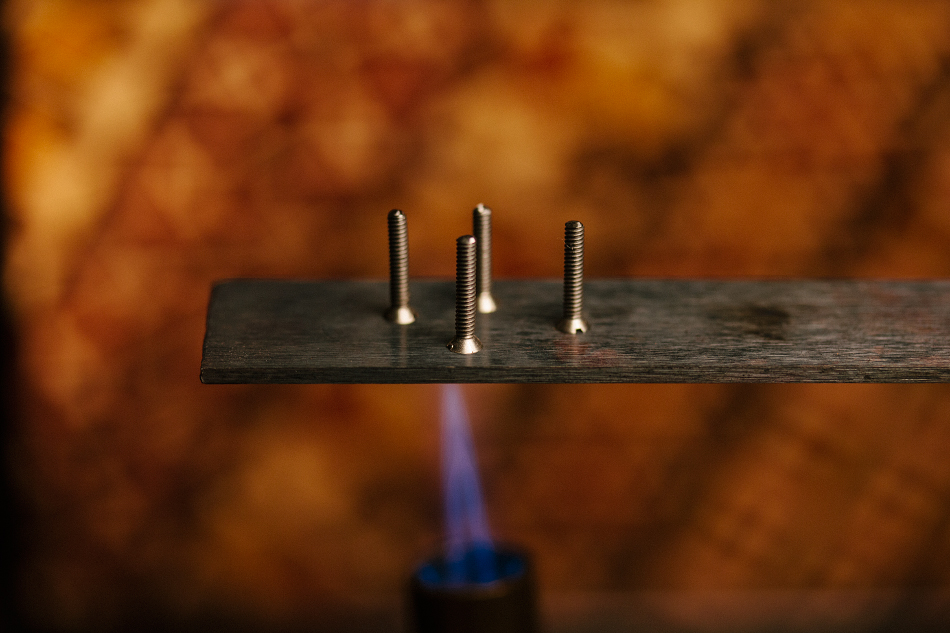
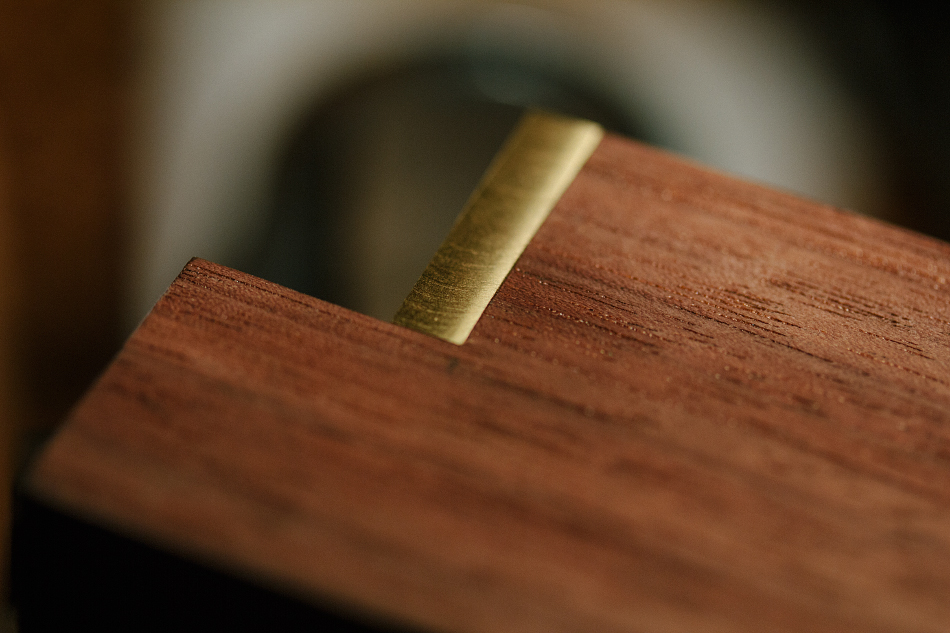
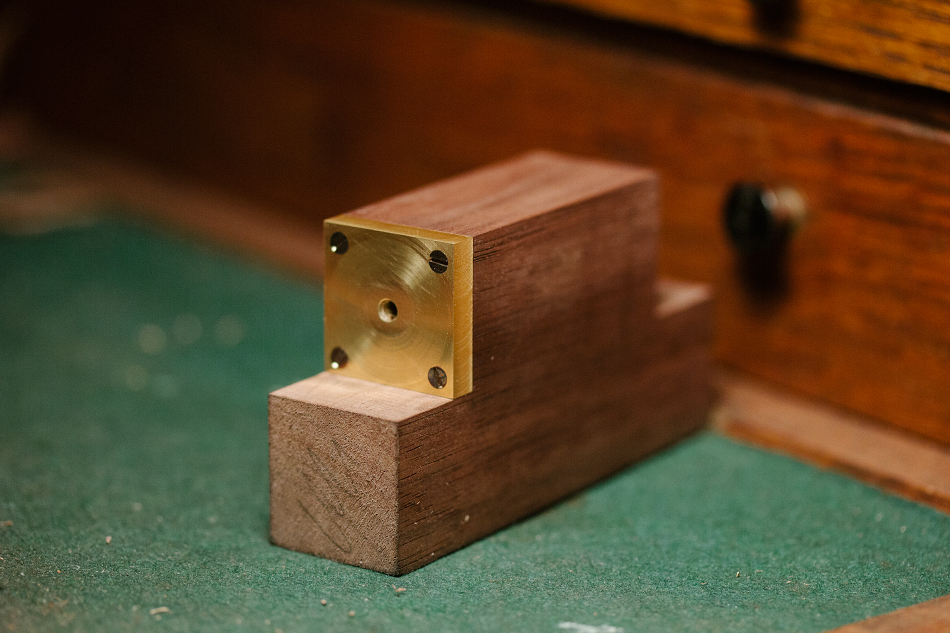
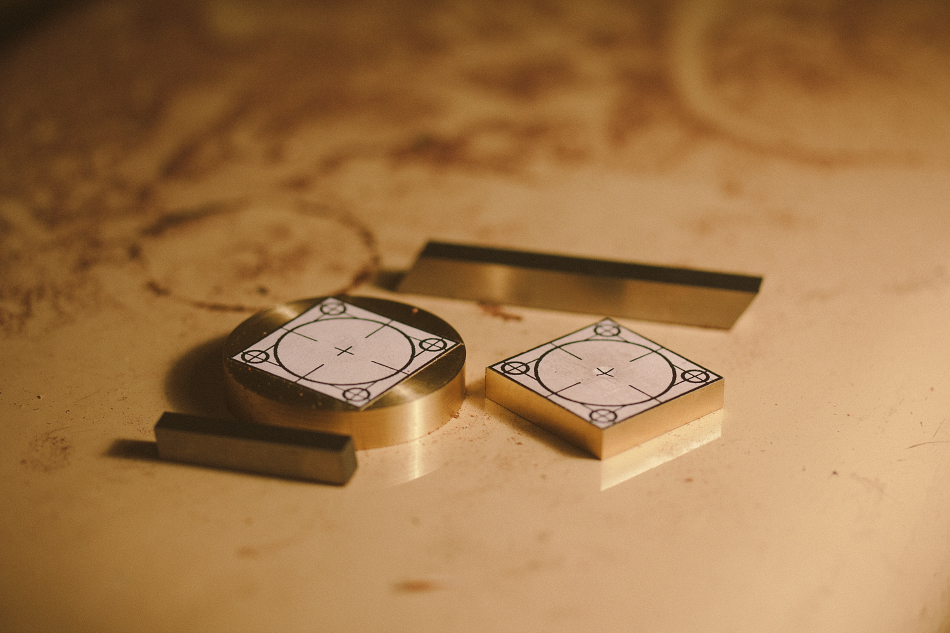
These are the brass "mounting" plates. One of them is part of the electrical track to the heater module. And the other will hold the battery door mechanism. These brass plates will get a dark patina (brown/black/orange/mustard are all possible) and will be mounted to the wooden body with polished and blue'd stainless steel machine screws. The wood body will receive stainless steel helicoil inserts that are designed to embed steel threads into soft materials, so if the user ever needs to remove the mounting plates for cleaning, the fine threads will never strip out.
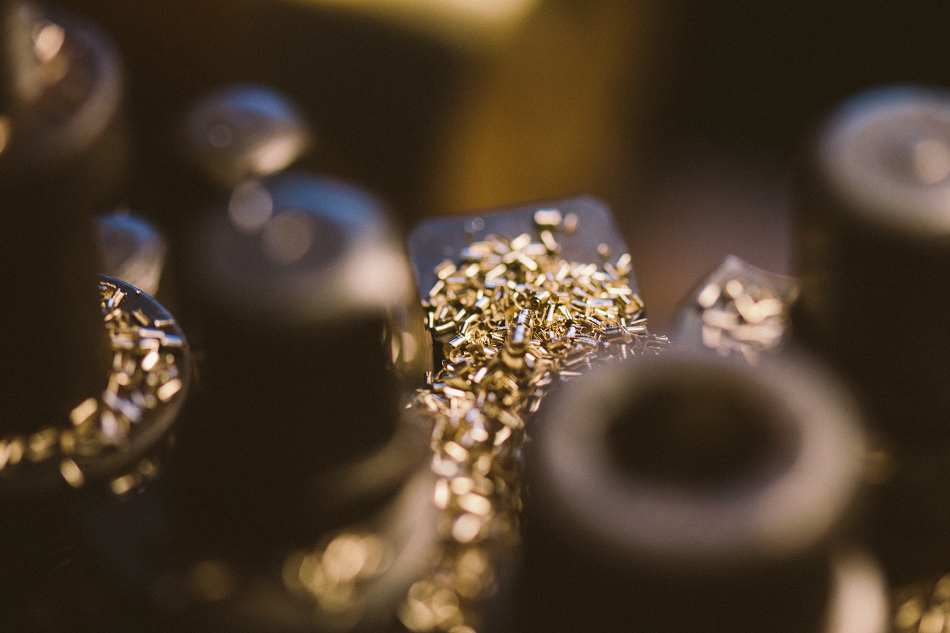
Golden curls!
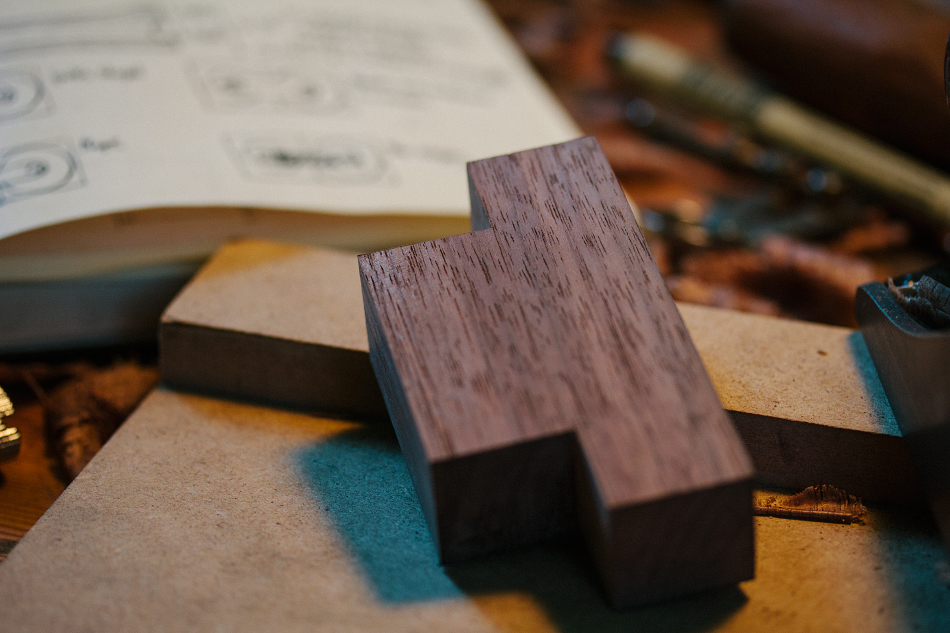
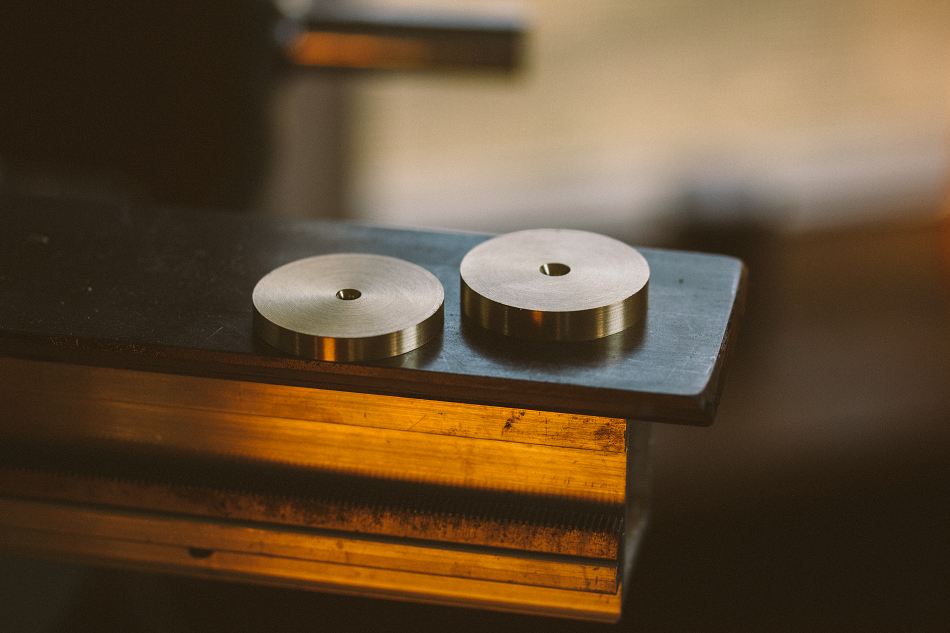
Some stock cut to thickness.
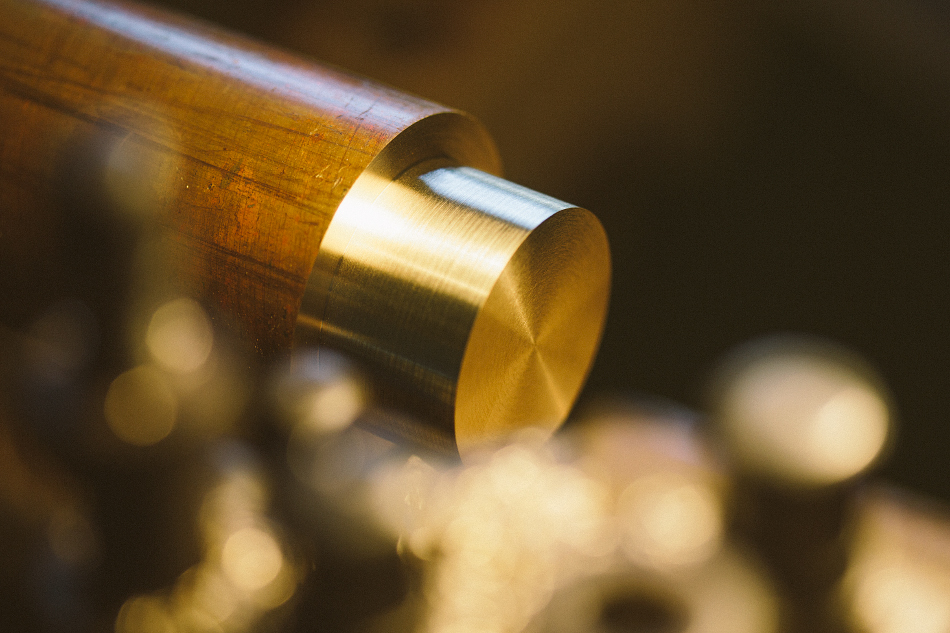
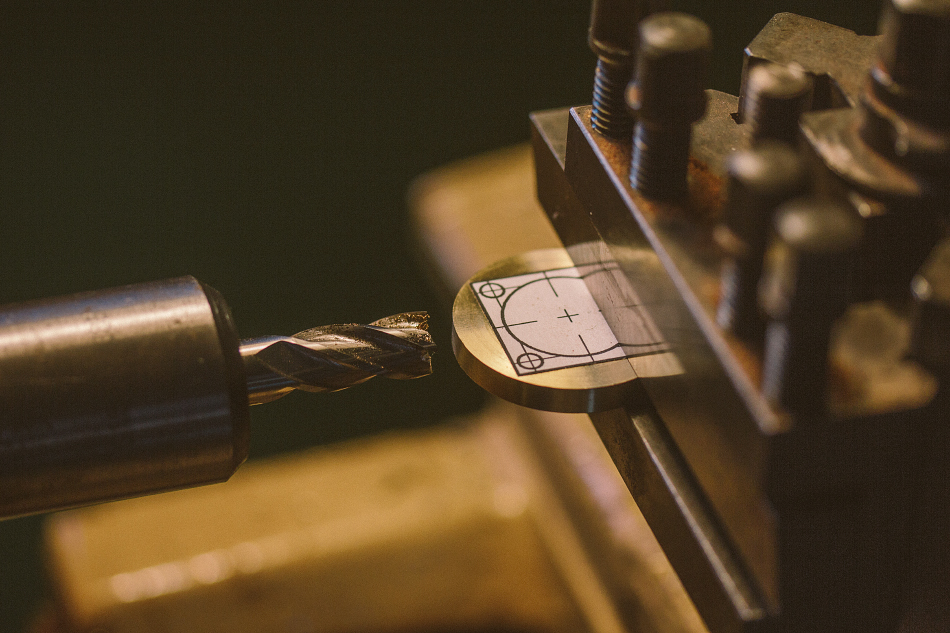
Milling on the lathe.
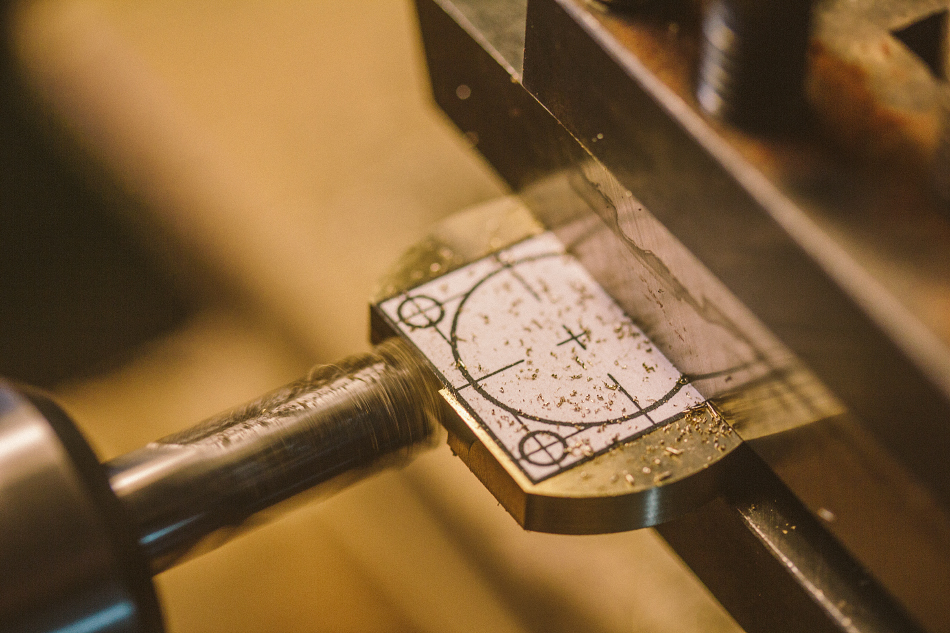
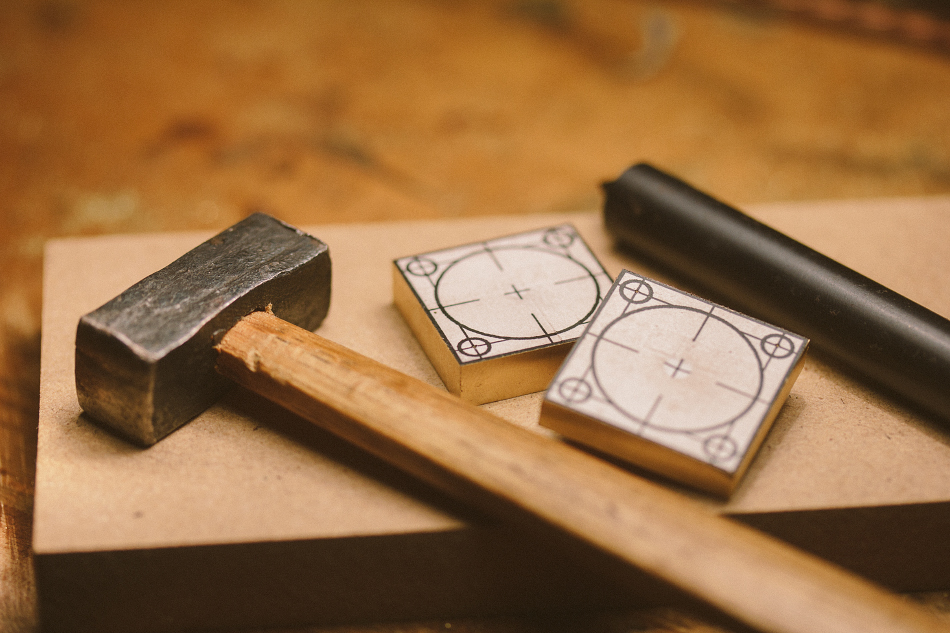
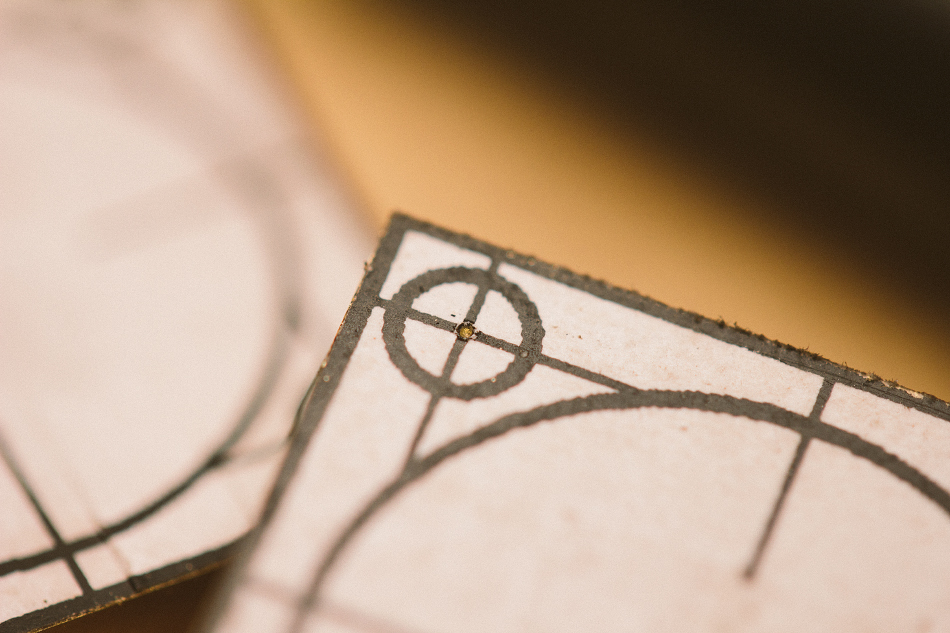
These paper guides are surprisingly accurate.
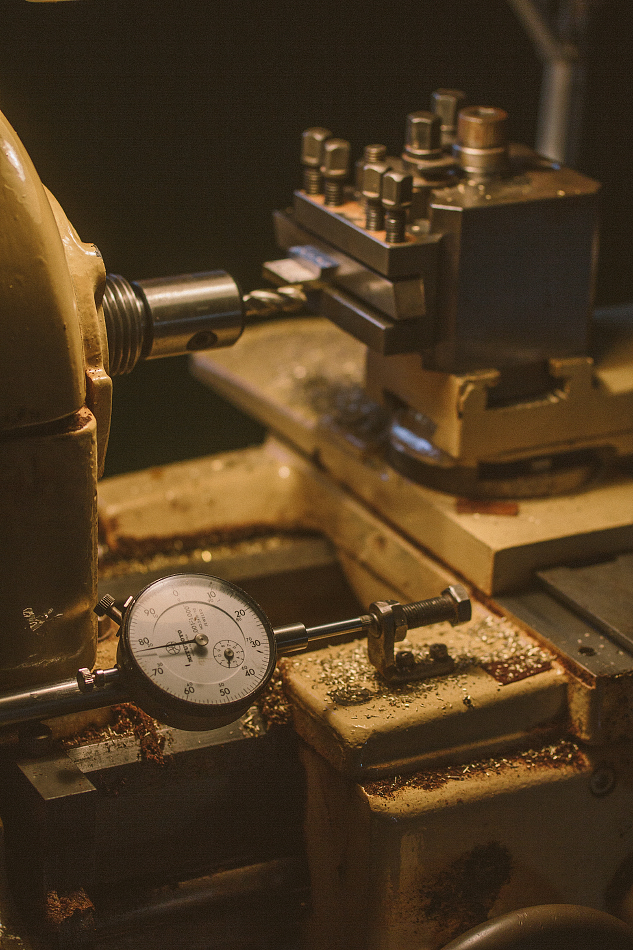
But of course it helps to have a dial indicator as well...
From round to square, it's taking shape!
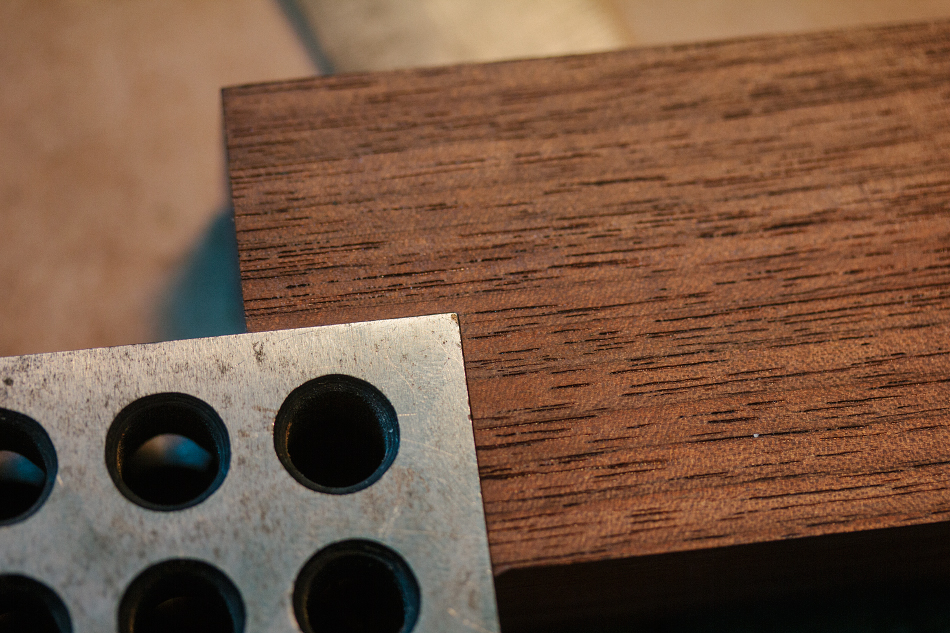
Center punching the mounting holes.
One mounting plate gets 0-80 machine screws, the other gets 1-64.
More to come tomorrow!
Okay!
After a whole bunch of rough prototype work.. I am starting the first production quality unit. So, naturally, I wanted to document the process for everyone here to see.
I am doing these parts on a manual machine for now, but I have made arrangements to have them precision CNC'd for the production batches. Quality will be the same, but production time will be much faster.
These are the brass "mounting" plates. One of them is part of the electrical track to the heater module. And the other will hold the battery door mechanism. These brass plates will get a dark patina (brown/black/orange/mustard are all possible) and will be mounted to the wooden body with polished and blue'd stainless steel machine screws. The wood body will receive stainless steel helicoil inserts that are designed to embed steel threads into soft materials, so if the user ever needs to remove the mounting plates for cleaning, the fine threads will never strip out.
Golden curls!
Some stock cut to thickness.
Milling on the lathe.
These paper guides are surprisingly accurate.
But of course it helps to have a dial indicator as well...
From round to square, it's taking shape!
Center punching the mounting holes.
One mounting plate gets 0-80 machine screws, the other gets 1-64.
More to come tomorrow!

")