The DIY Micro Power Handle

Discussion in 'DIY' started by Pipes, Aug 1, 2012.

  1. Pipes If I agree, does that make us both wrong?

    Message Count:
    773
    Location:
    Up there some where...
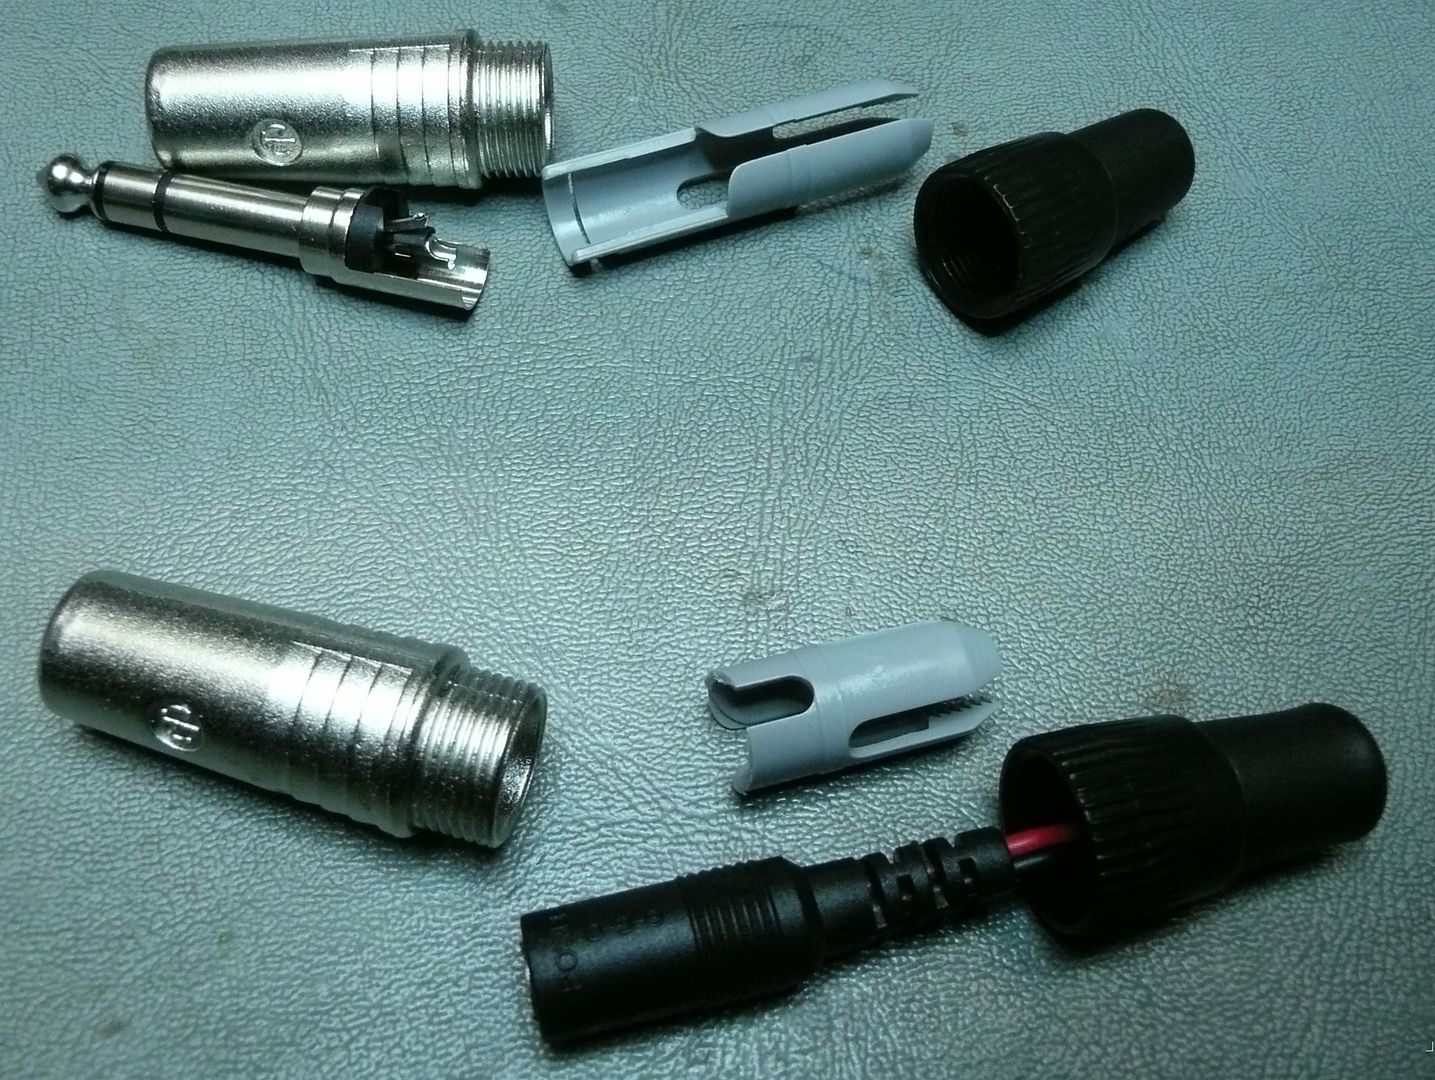
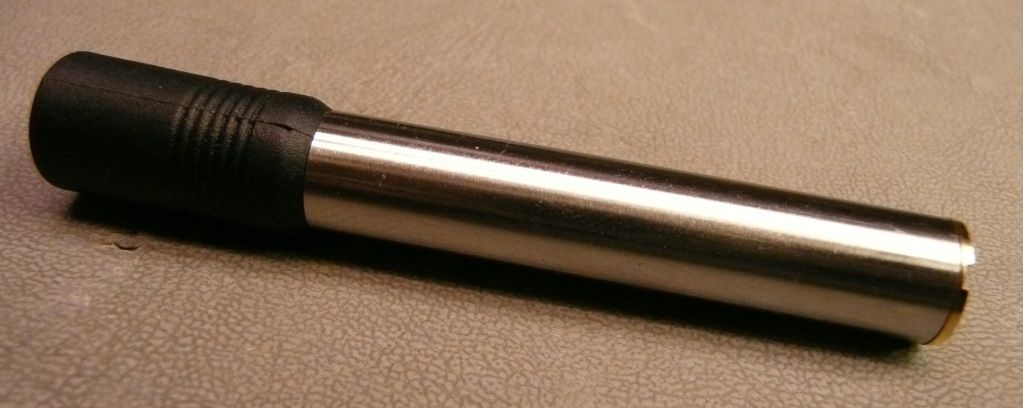
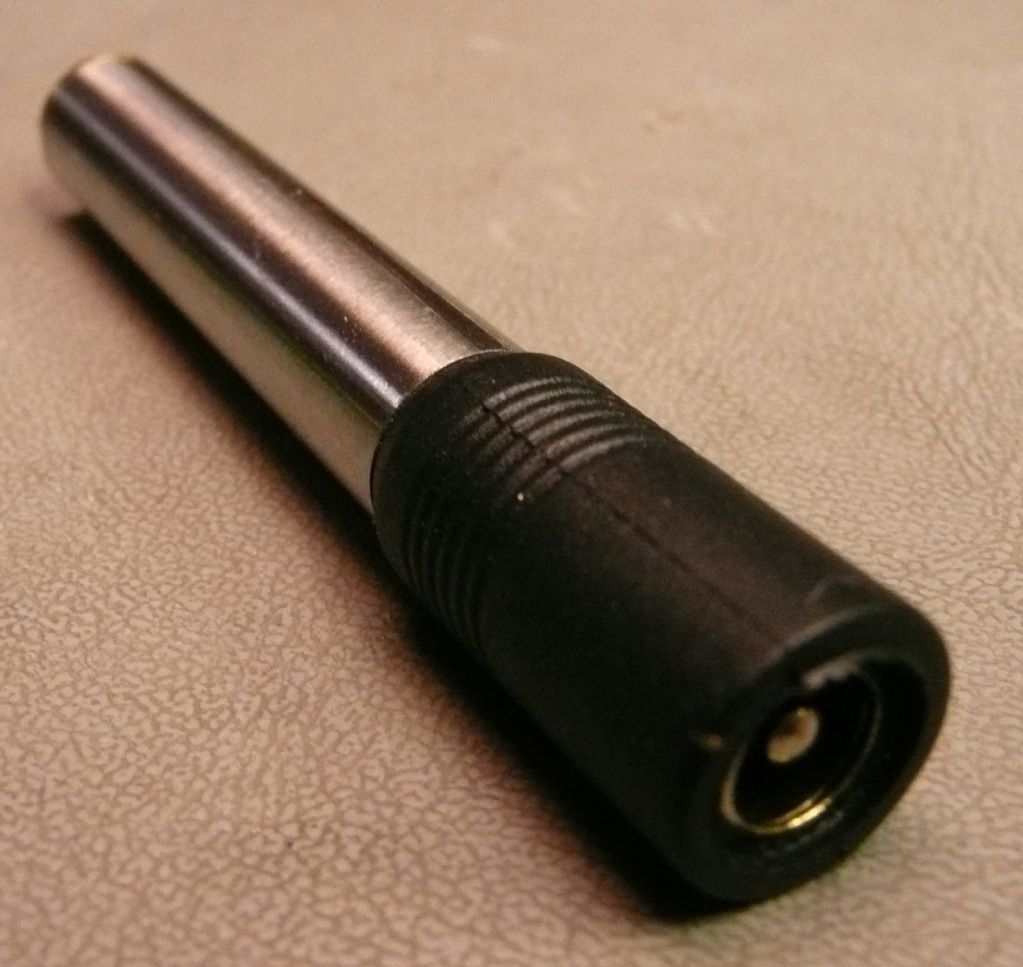
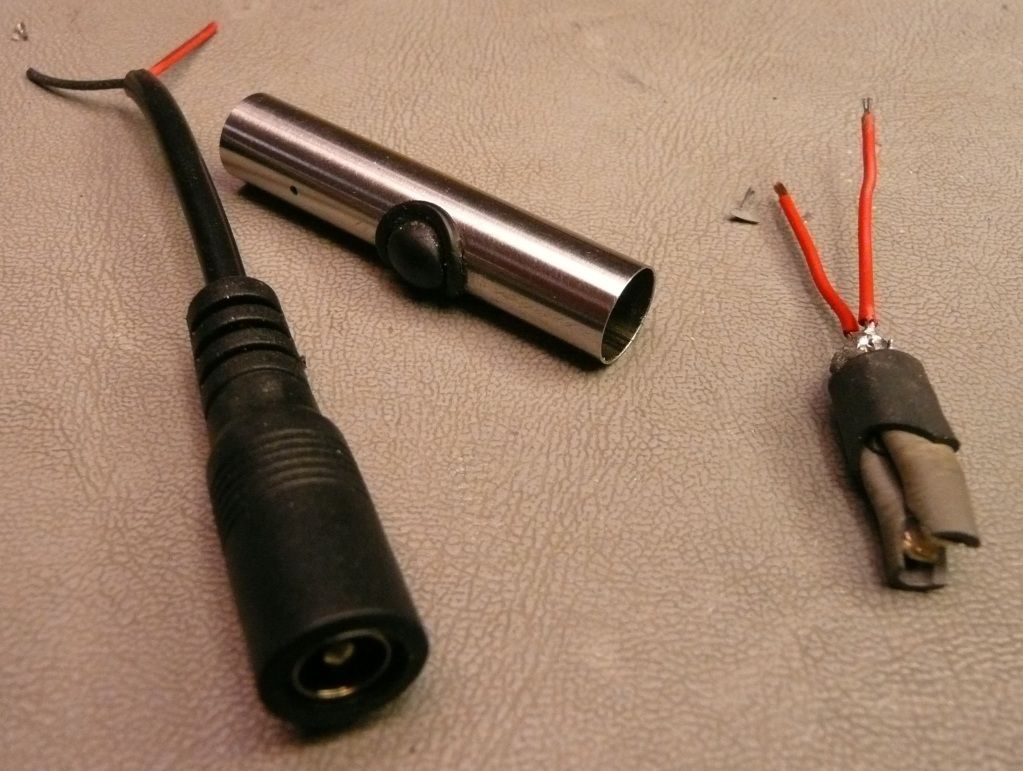
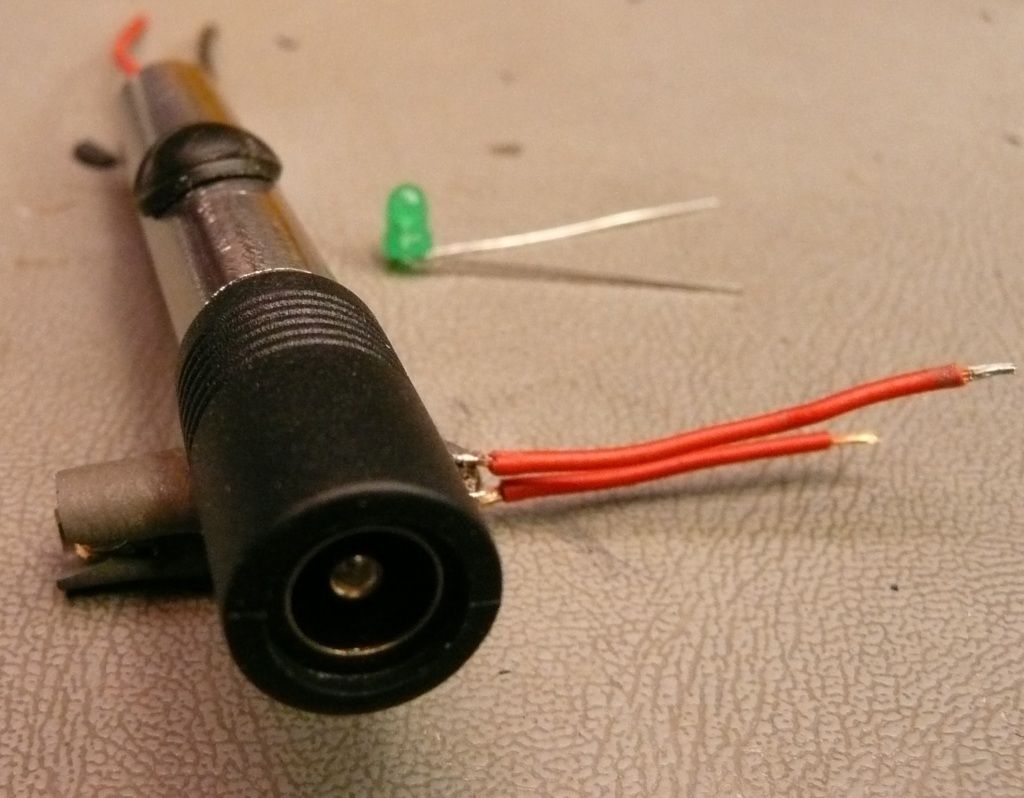
    I have been thinking about a spare power handle for my 510 devices. I currently have a TV and a KnightRider handles which the TV takes priority for various reasons. Since I use an external power supply as much as possible I thought this mod would do the job. And cheap, cheap, cheap. At first I just through together a unit with no switch but was a quick and dirty way to get power to the device. It is basically a long 510 extender peice with a DC plug mounted on one end.
    [IMG]
    [IMG]

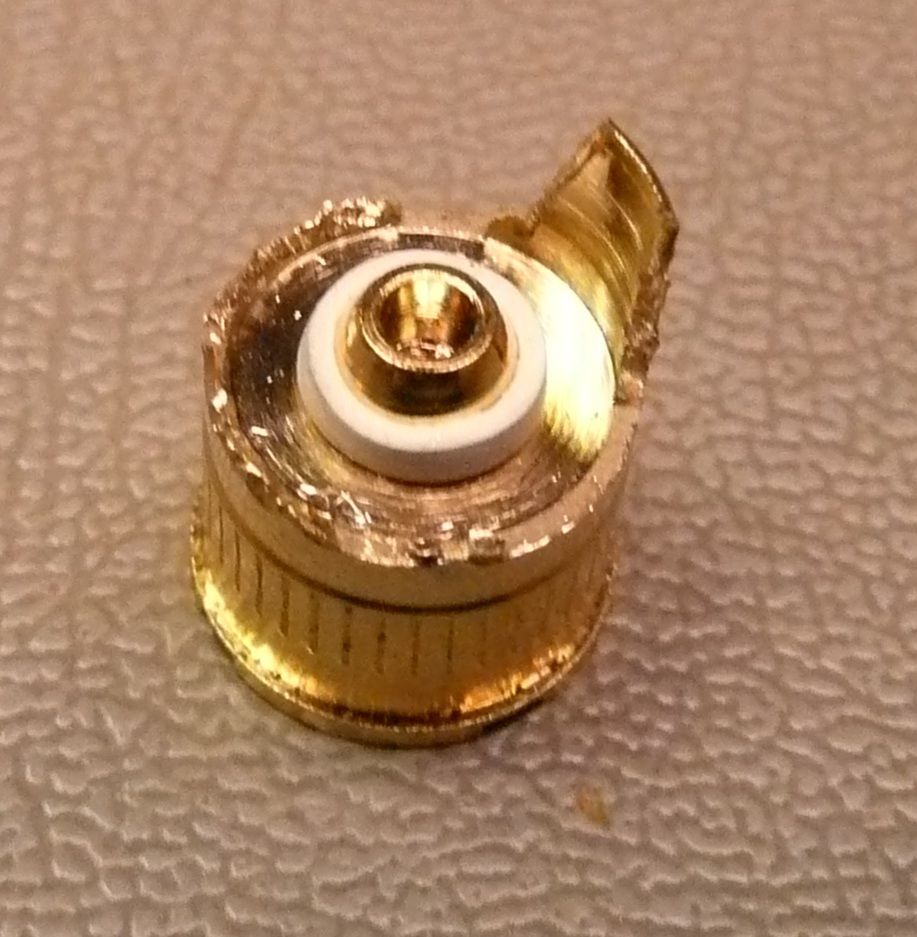
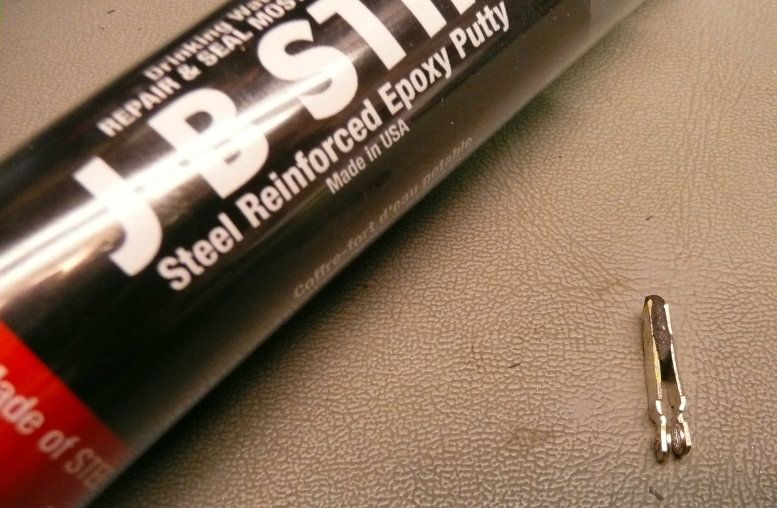
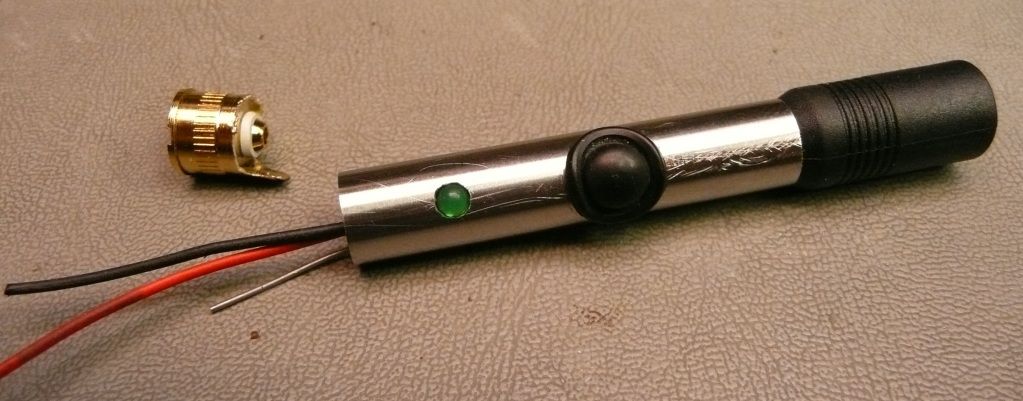
    Tried it and worked like a charm. Put some thought into it and started putting some parts together. Found a button plug from an old industrial camera lens (Canon). This would make for a cosmically good button.

    [IMG]
    [IMG]

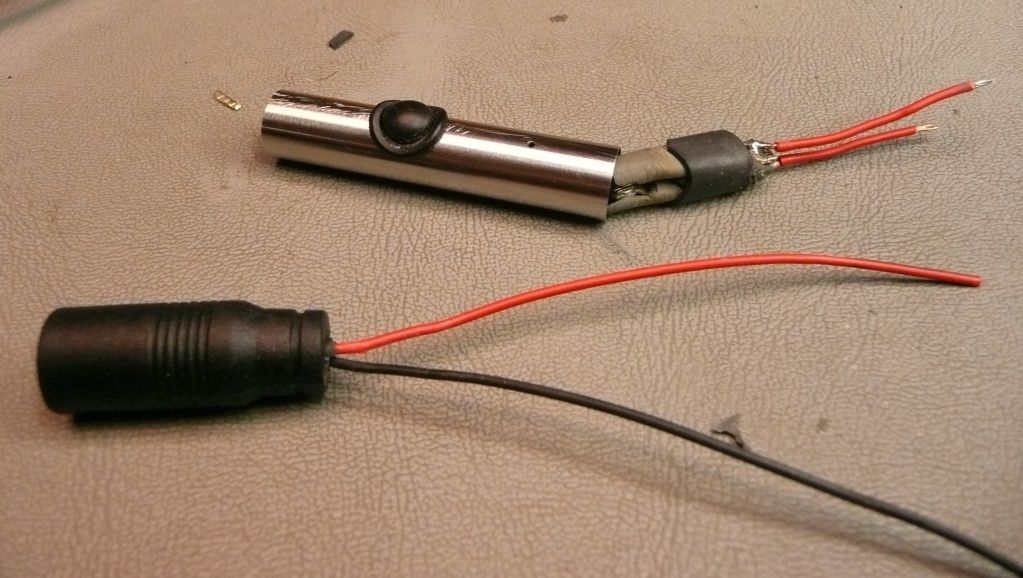
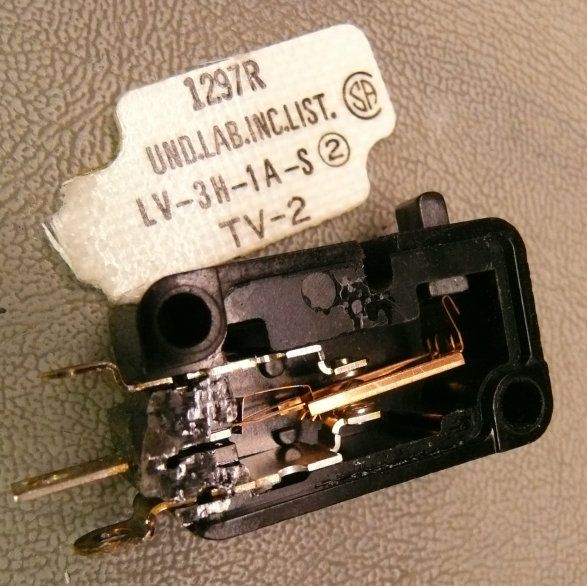
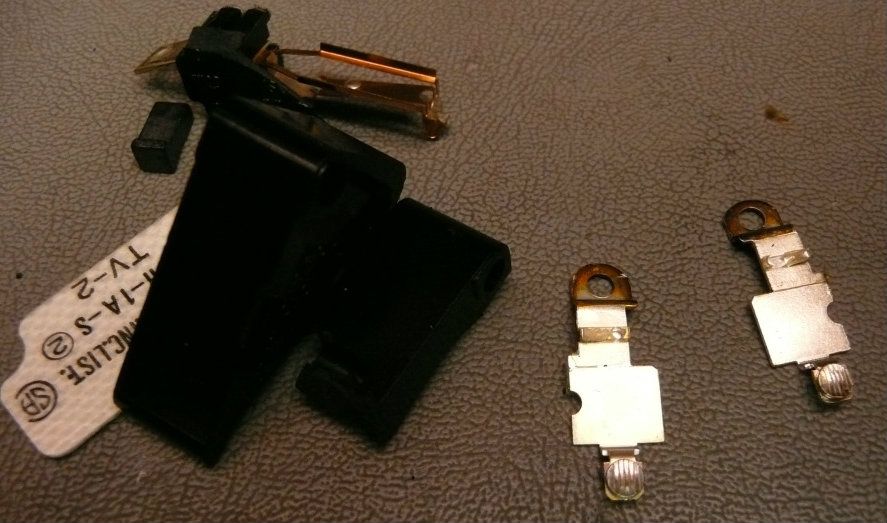
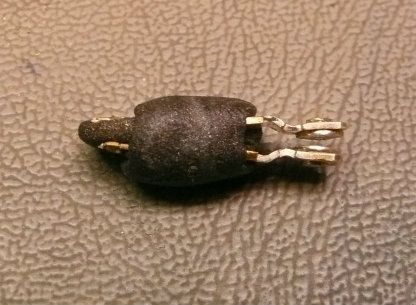
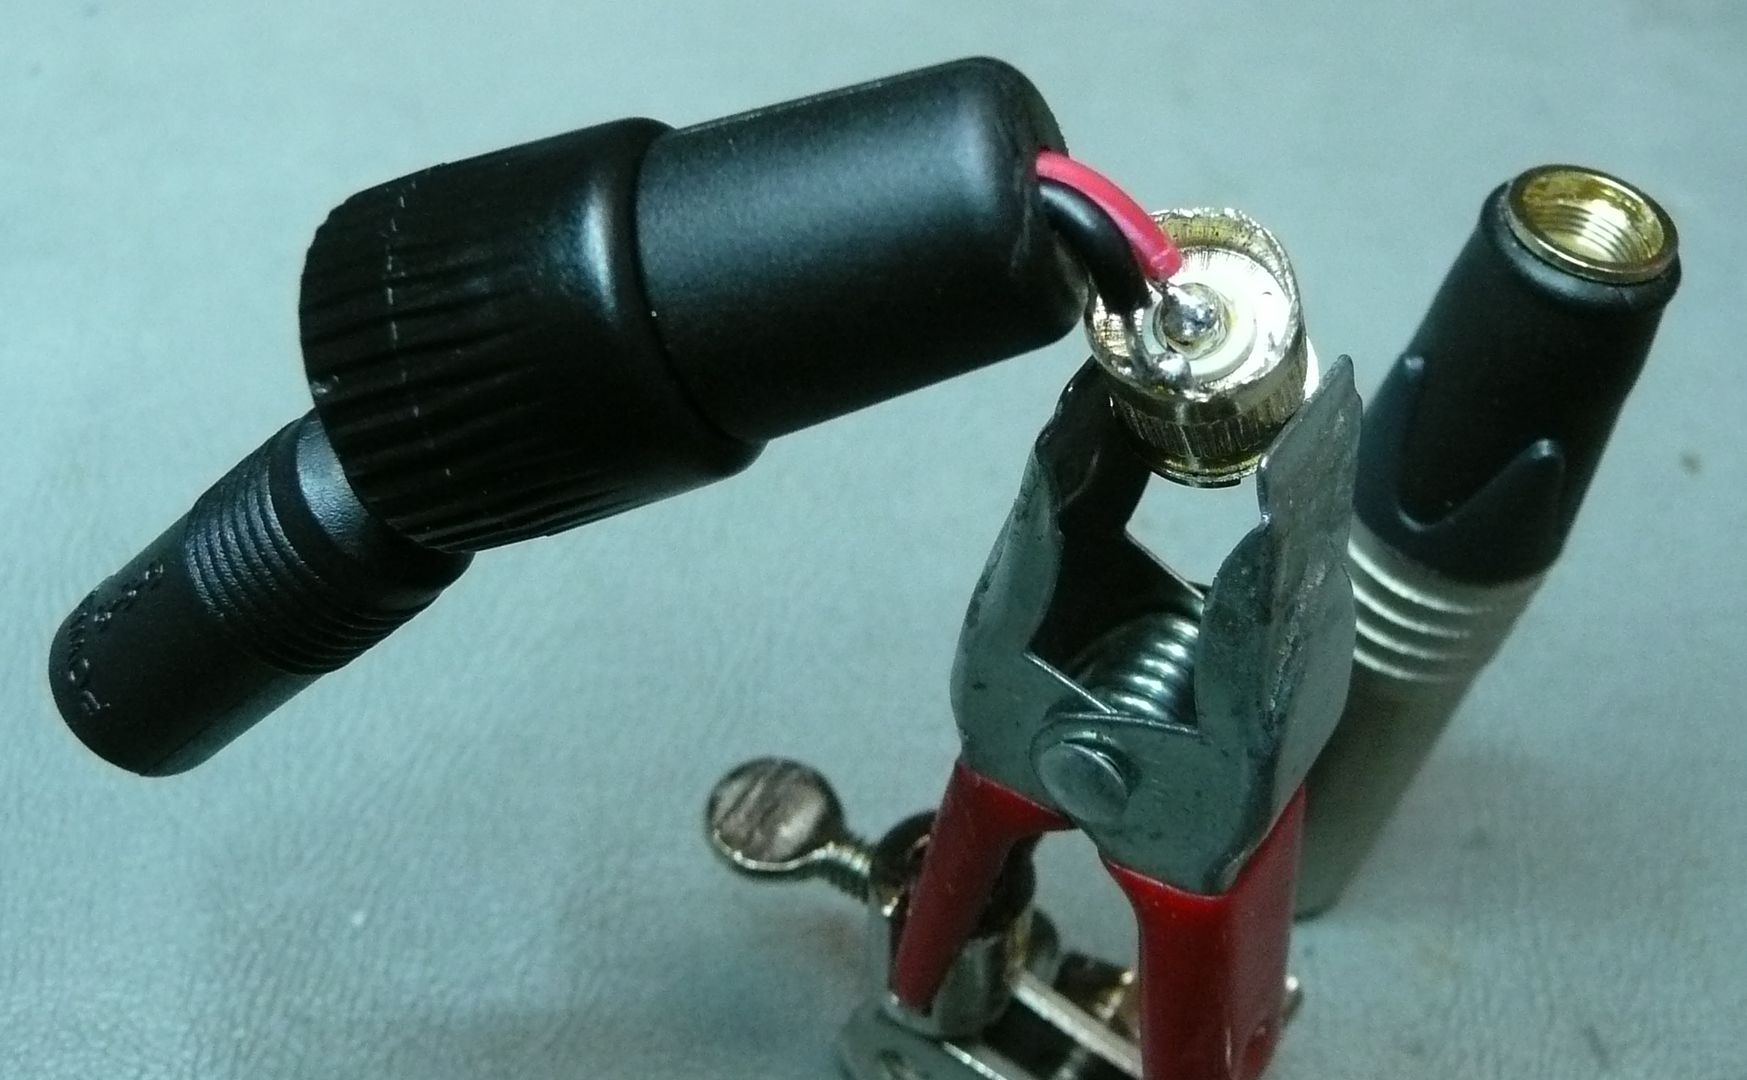
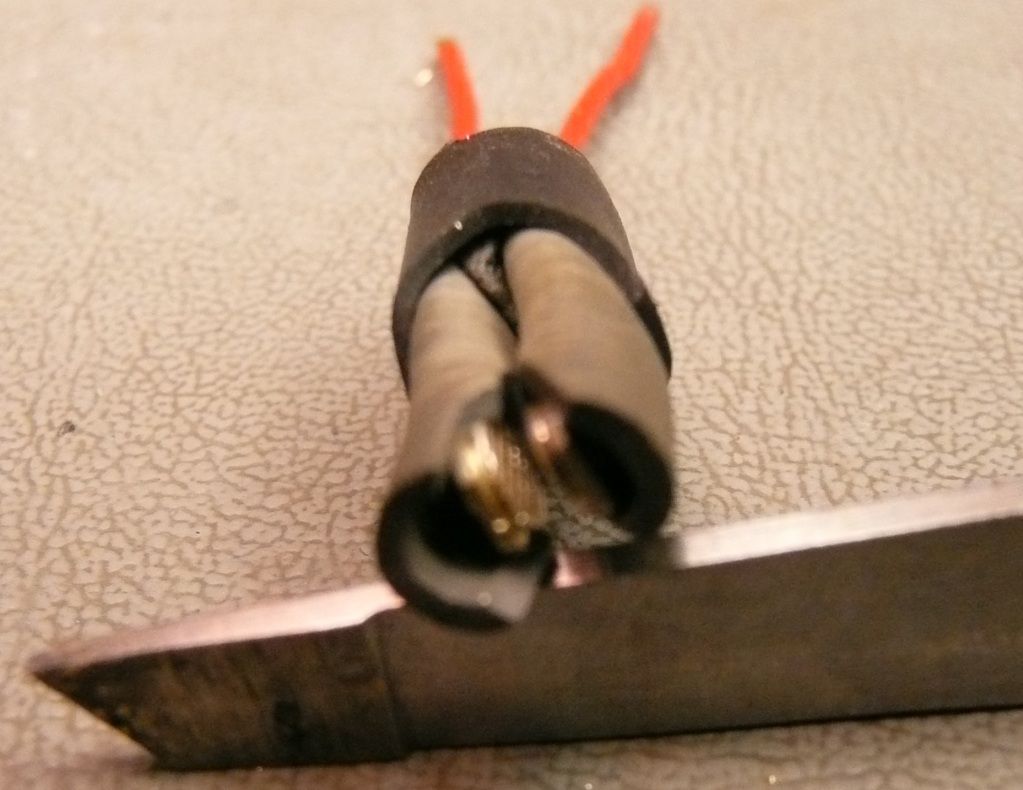
    Then I took apart an end sensor type switch. A relay would have worked as well. Removed the contacts and arranged in such a way that pushing down on it will make contact. I used JB weld and shrink wrap to have it stay in the configured position.

    [IMG]
    [IMG]

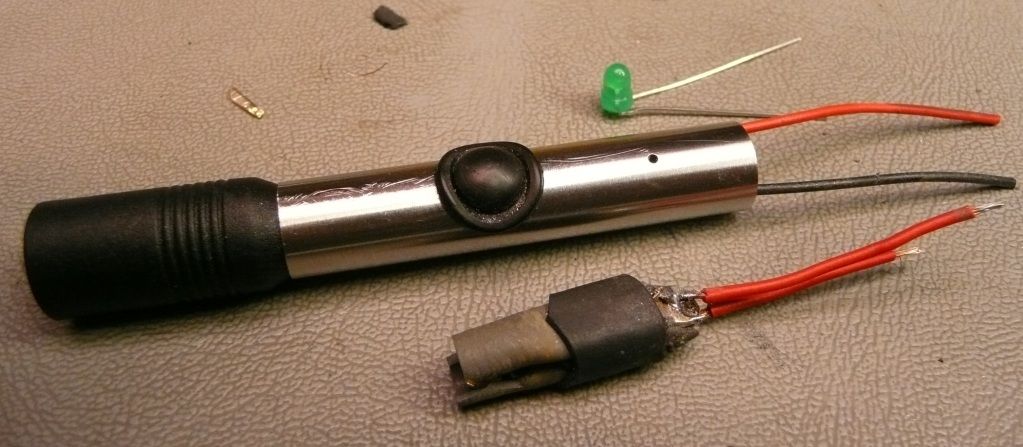
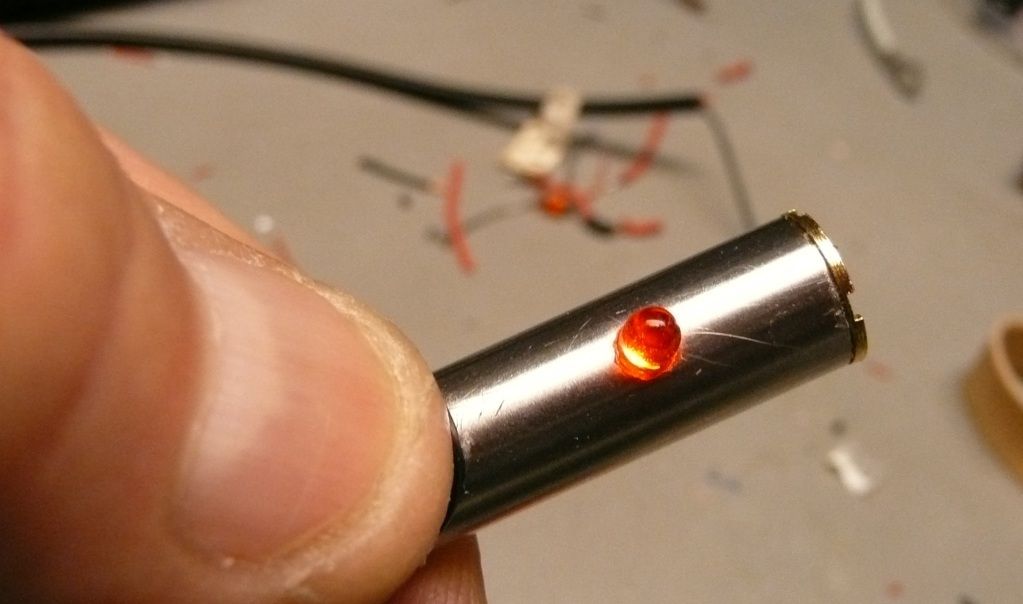
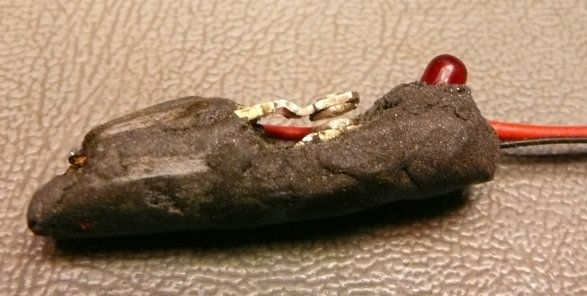
    I also thought I'd throw in an LED as well for an indicator.

    [IMG]

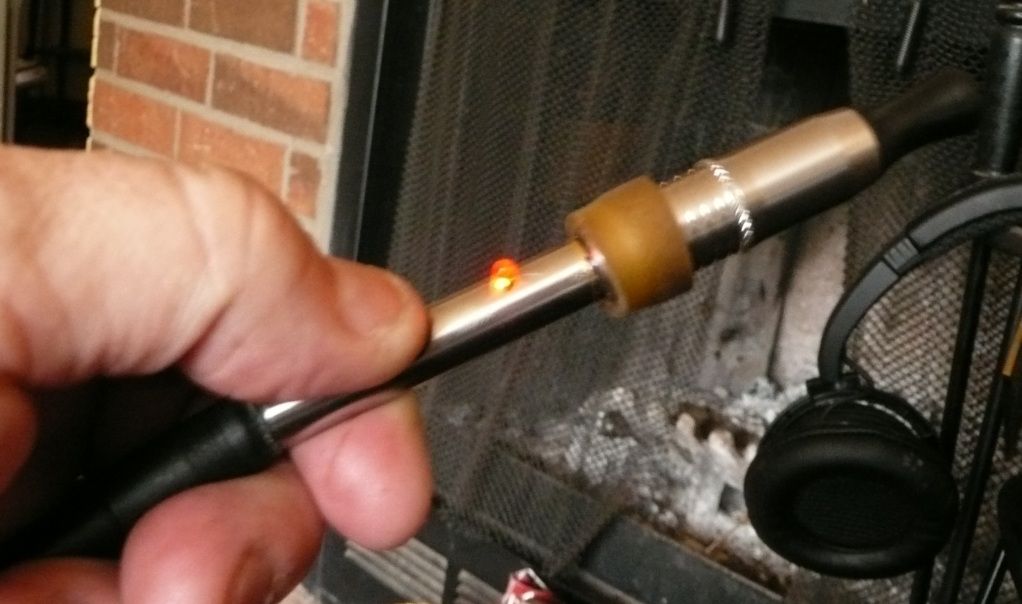
    I have not completed this mod yet but have no doubt it will work. This is where I have left it off and will continue tonight with it.

    [IMG]

    Seems like a cool back-up unit and very discreet. Extenders can be added if heat is a problem. Or just for the heck of it.
    I will follow up after complete.

    Cheers,
    Pipes
    Abysmal Vapor likes this.
  2. Pipes If I agree, does that make us both wrong?

    Message Count:
    773
    Location:
    Up there some where...
    Well I managed to get it up and running. From what I had hoped for an easy assembly, it was a real pain in the ass. I would not recommend trying it unless you very good with a soldering iron and steady hands. Not to mention better eyes then me would have definitely helped.
    For a semi handy people the straight through mod is very easy.

    OK, so I got the parts together as shown:

    [IMG]

    The switch is made from contacts from end sensor switch but can come from a descent relay as well.
    [IMG]

    I used some stretchy rubber insulator tubes. IIRC, they are generally used by wire men when soldering connectors. This is to ensure no contact with shell shorting the unit out. Lined them up and used JB putty type epoxy.

    [IMG]

    This epoxy has some really cool characteristics. It hardens like metal yet does not conduct electricity. What's really odd is that it does have magnetic properties. Makes for shaping and moulding a permanent fixture a breeze.

    [IMG]

    Now this is where things get a little tedious. It took me a couple attempts before I got it all to fit together and work. The hardest been soldering a chip resistor to the LED.

    [IMG]

    That took a few tries. I used a 220 ohm resistor. I also ended up shortening the switch contacts about 3 mm due to space restrictions. As well as had to remove the black shrink wrapping I had around it for the same reasons. I let the epoxy harden leaving under 1/2 mm gap between the contact points. This uses the rubber tubing act a a spring to keep the contacts apart.

    [IMG]

    Now the rubber button I used came from an old camera lens. Which just pops out with a pick of some kind. I'm sure this kind of button can be found elsewhere as well.

    [IMG]
    [IMG]
    [IMG]

    This rubber button is easily worked into place and looks cool as well. It has a centre protrusion which is what presses against the top of the contact fixture I made.

    The 510 female connector I also had to shorten a little leaving one piece to solder the ground. I got this originally from MadVapes. I had a couple extra from other projects.

    [IMG]

    So once I got it all together and tested, I dropped a couple drops of crazy glue down the tube and locked all the components in place with exception of 510 connector. Using crazy glue is a risky and can be messy. I started with ONE drop and let it flow towards the LED been careful not to have it expose itself on the outer side. Let it sit and did it again to make sure. Re-tested once again before putting the 510 in place as once it's in, it's hard to get back out. And success.

    [IMG]
    [IMG]

    Have used a couple times and seems to work fine. So it has found it's way to my power supply and can just reside on the end as a permanent fixture.

    So it's one small PA indeed.

    Happy Modding,
    Pipes
  3. Pipes If I agree, does that make us both wrong?

    Message Count:
    773
    Location:
    Up there some where...
    Thought I'd add a follow up on this mod. Now have 3 units, home, work and car. Rarely go with battery any more with exception of my ecig habit.
    Found a simplified method for making the switch/LED mechanism. One of the main parts needed are the contacts. I used from this micro switch. Cut and bent to do my bidding.

    [IMG]
    [IMG]

    The next is the JB Weld Putty. This stuff is amazing as stated earlier. Hardened in minutes and fully cures in only hours. Start with just the spacing of contacts which I straitened for this application.

    [IMG]

    Then I started to build and form in stages.

    [IMG]
    [IMG]

    The big difference which makes this whole thing easier is incorporating the LED into the same casting with the switch. Leaving one open terminal to solder the input voltage to and the switched output (red wire) and a thin black ground for the LED. I did away with the sleeving I used on the first one as not really needed. This whole peice can slip into the 510 tube very easily at this point.

    [IMG]
    [IMG]

    So now I did not enlarge the hole for the LED as much and it actually sits flush on the under side of the tube. Little more stealthy. Also, you can make the holes to match the switch/LED instead of the other way around. Once all in in place and lined up a drop of crazy glue locks it in place fine.

    Some might wonder if excessive heat is an issue. I found it can handle a session without any problem and stays touchable but gets quite warm at the connector. Have never attempted multiple sessions but suspect a few minute cool down might be needed.

    Happy Modding,
    Pipes
  4. SoccerGuy420 New Member

    Message Count:
    8
    This is an awesome mod, is this for e-liquid or hash oil (PG/VG extraction I'd imagine)
  5. Pipes If I agree, does that make us both wrong?

    Message Count:
    773
    Location:
    Up there some where...
    I have been using the handles I made now for a couple months and enjoy the convenience of always having a power source at my side. Be at work, driving or home.
    The only thing is keeping the continuous pressure on the button. Sometimes goes off without noticing and have to re-heat. And now I find these:
    [IMG]

    And for $8.95 here I think I'll put a 5.5 mm connector in place of the USB and go from there. The unknown being the button's characteristics.
    Still searching if it can be found cheaper but IMO under $10 is not too bad. Hopefully shipping isn't a show stopper.

    Pipes
    farscaper likes this.
  6. Pipes If I agree, does that make us both wrong?

    Message Count:
    773
    Location:
    Up there some where...
    Well, it's not over till the fat lady sings.
    Glad I never got around to ordering one of those units above. I have found keeping the buttons pushed a PITA for our needs here. I had mentioned in a different thread that I have started using a switchless power handle. Well thought this thread would be a good spot to put it.
    [IMG]
    [IMG]

    Left to right. My original handle. A second unit I found around the shop (slightly thicker, same manufacturer). A new untouched unit.

    Below. DC molded connector and wire soldered to 510 female connector. This is the only solder connection.
    [IMG]

    Now the 510 connector has been pushed into the rubber strain relief of the audio connector. No need to cut any of the rubber as it will stretch. The strain relief plastic clip has been cut back so it holds the DC plug at the end of audio connector.

    [IMG]

    Just screw it together and you have one solid straight through power handle.

    I found I like the first more narrow version as the rubber holds a bit better. I found sometimes you need to hold the 510 connector while unscrewing while hot. No need once cooled slightly.
    The main reason I pursued a mod like this was because of the cheap bulli clone I was testing. It would make the original 510 tube mod with switch get too hot to handle. I can use them with this puppy.
    You can get the audio connector here.

    Great for units which can be left on for longer then a few seconds at a time. I just pull the DC plug in-between consecutive hits. IE. take 2-3 hits consecutively, unplug till ready for a couple more. The handle stays cool the whole time.

    Happy modding,
    Pipes

Support FC, visit our trusted friends and sponsors