Okay so stage 2 went well until i applied the power...
Actually that went really well for the first 10 minutes until it turned into a mini oven!!!

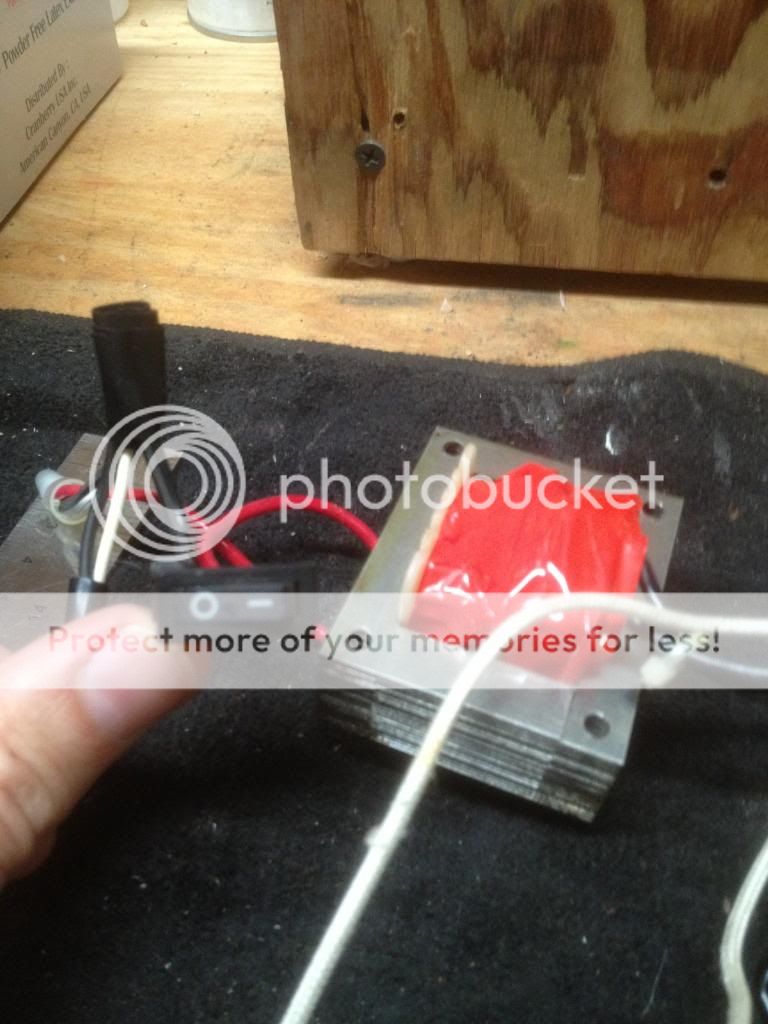
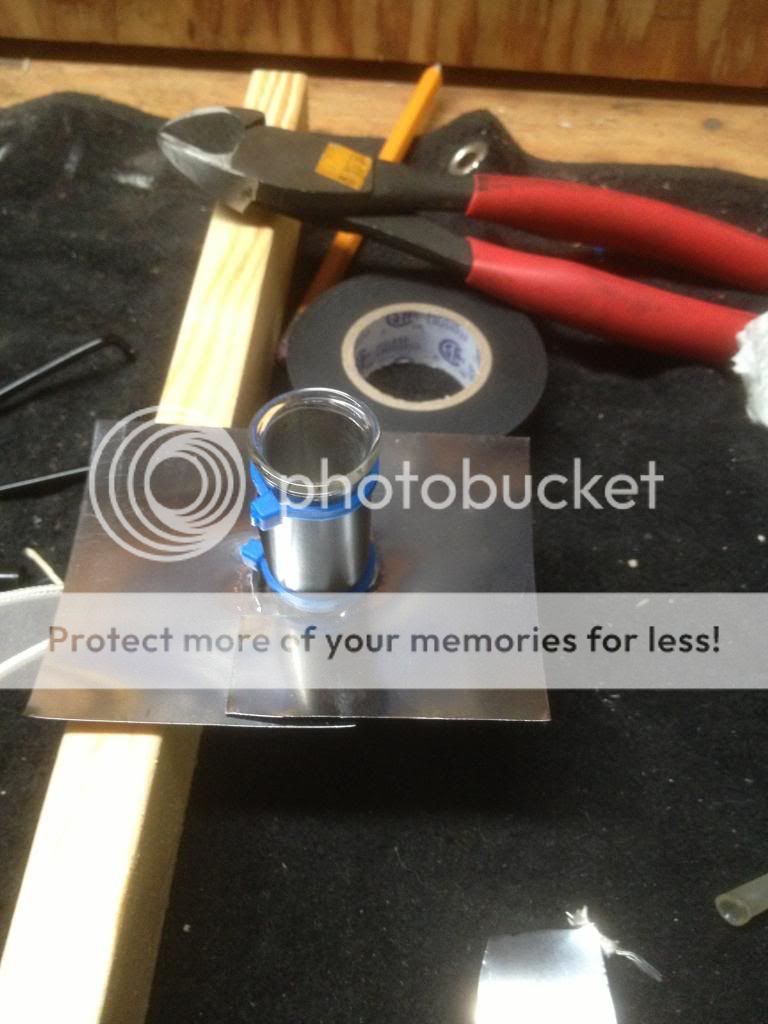
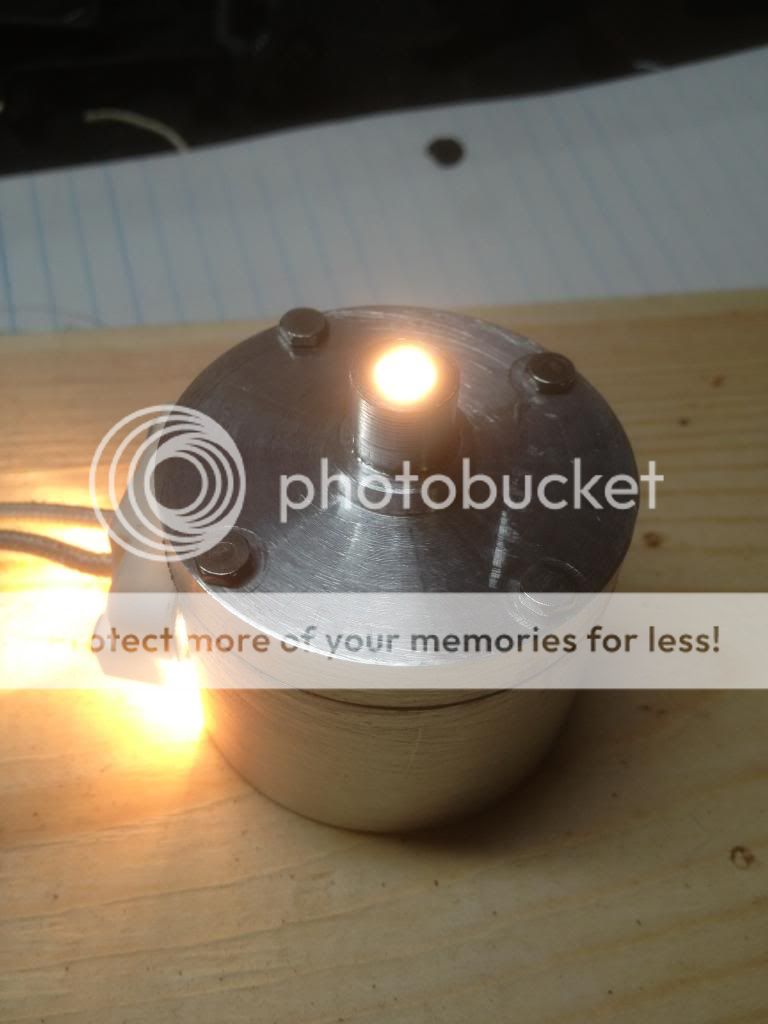
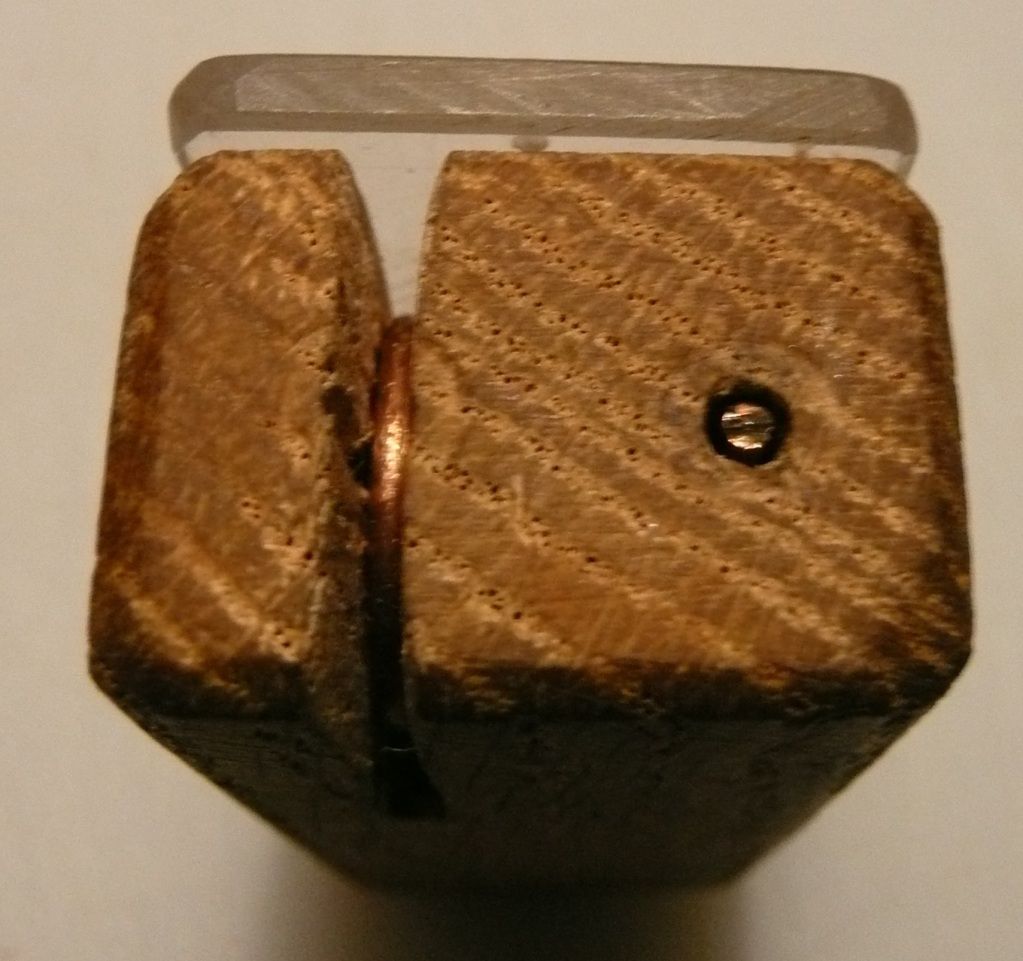
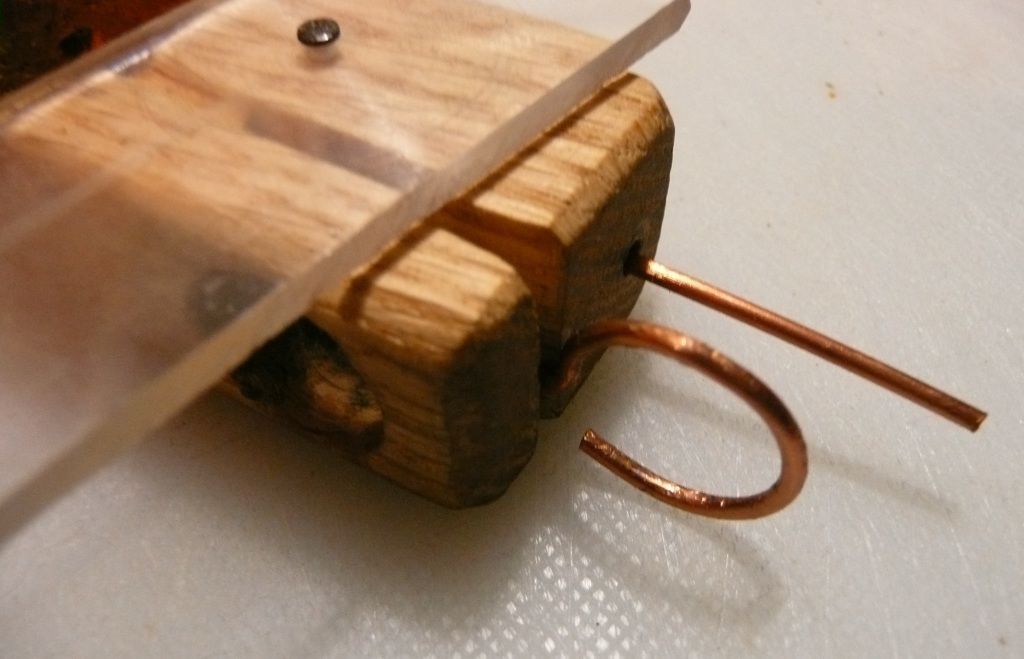
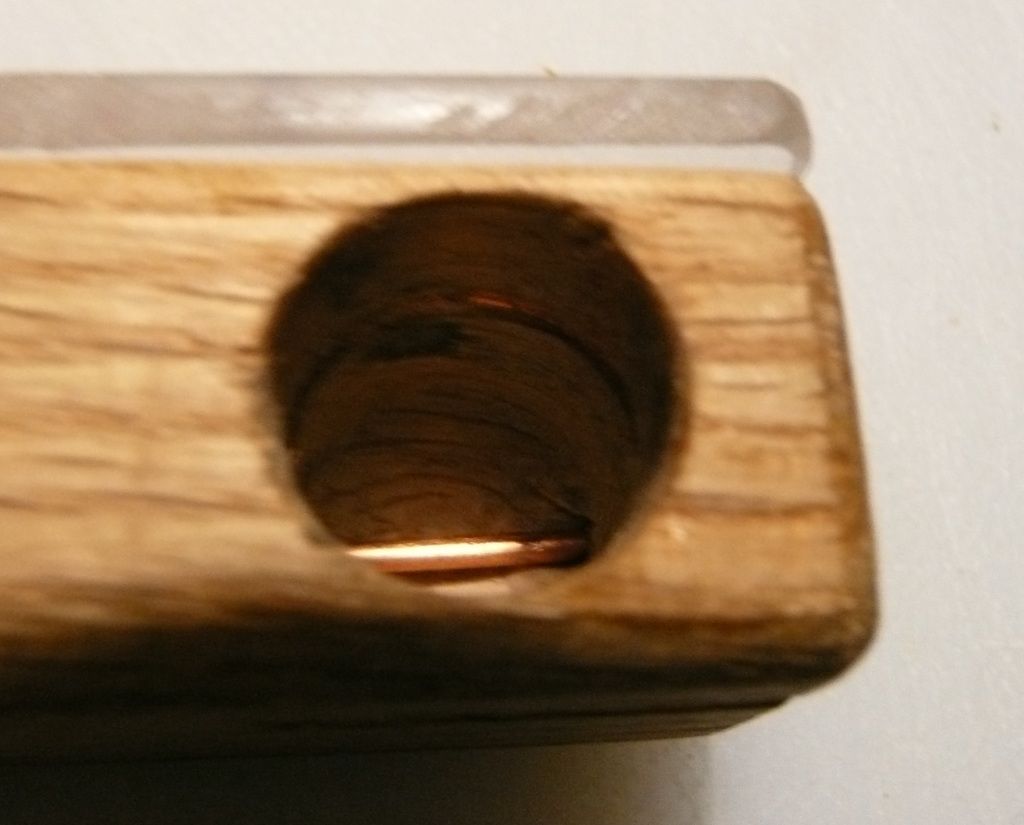
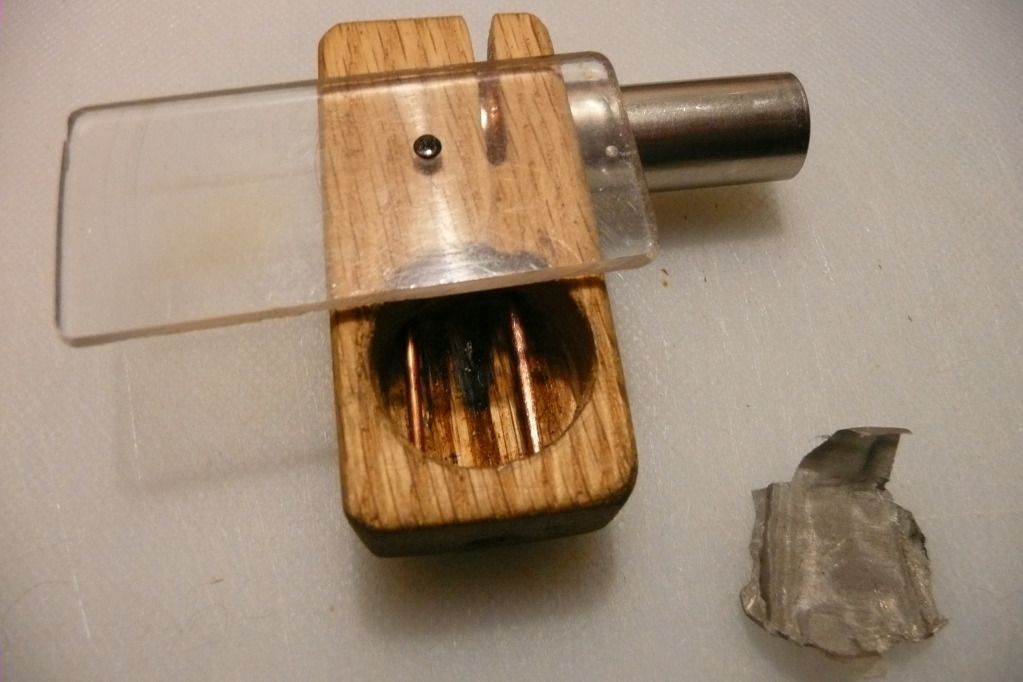
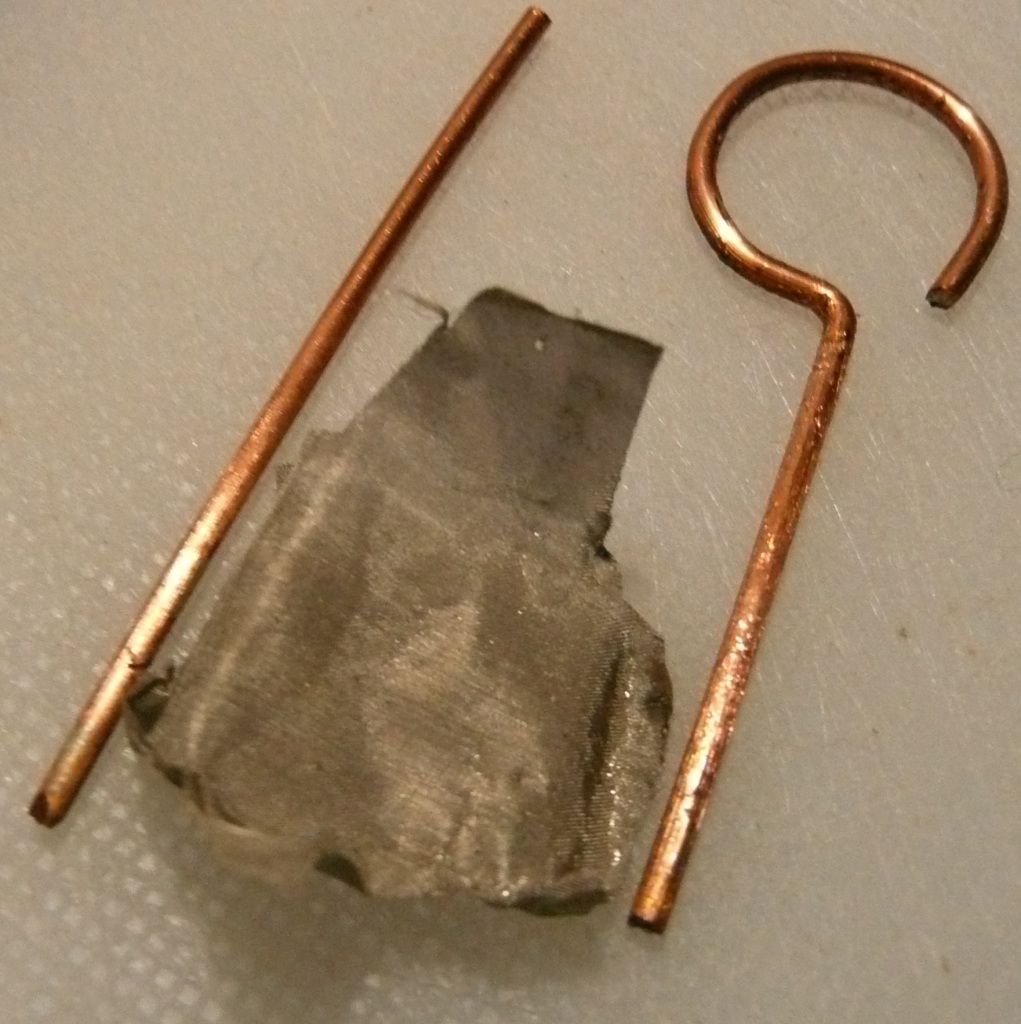
So here are some pictures of the first version
Turned an aluminum housing for the bulb
And a top with a spout for a stem
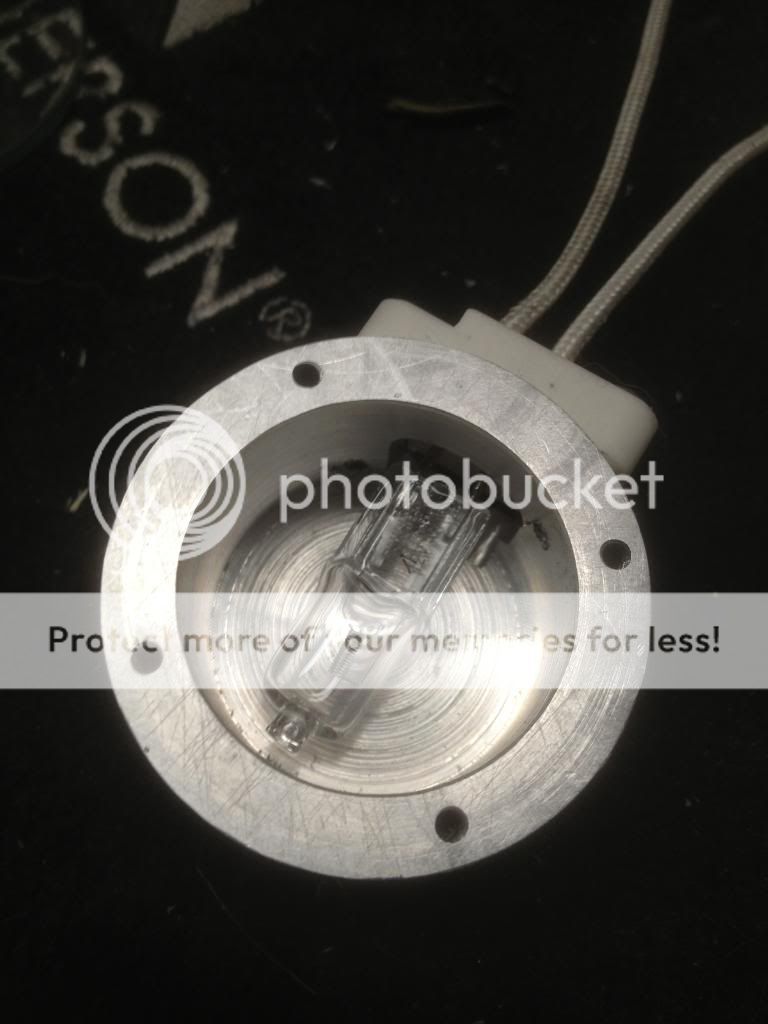
Took about a minute to heat up and produce vapor.
Then it just kept on getting hotter and hotter!
Note to self: These vapes are not meant to be left on for extended periods of time!
Turn on, load, wait and then vape and turn off again.
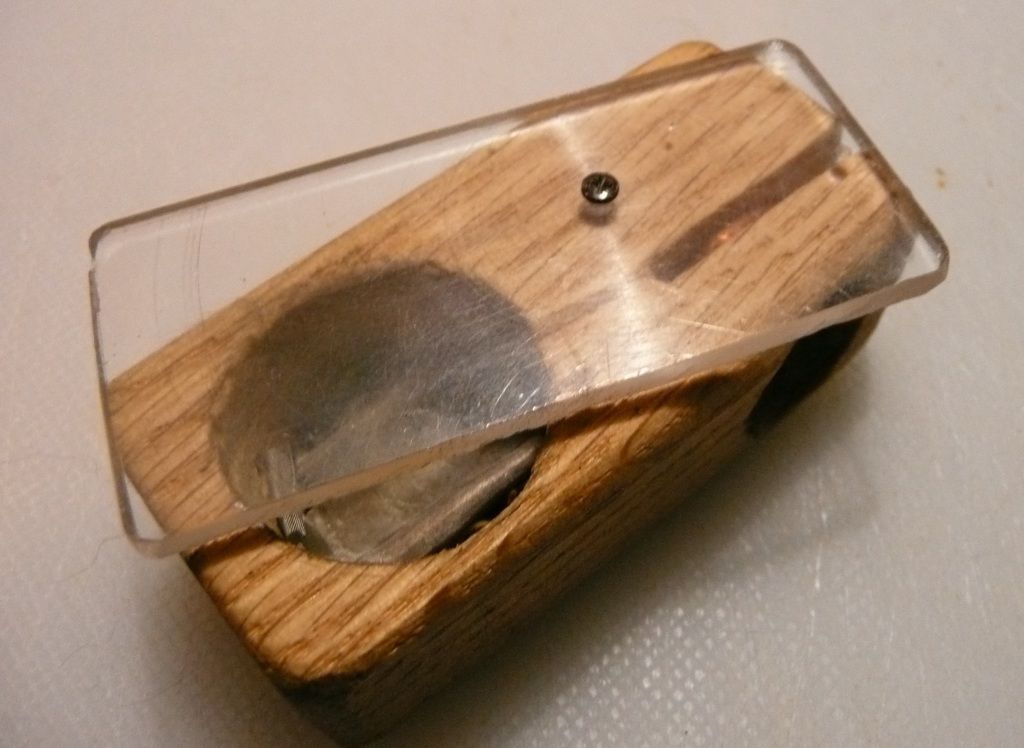
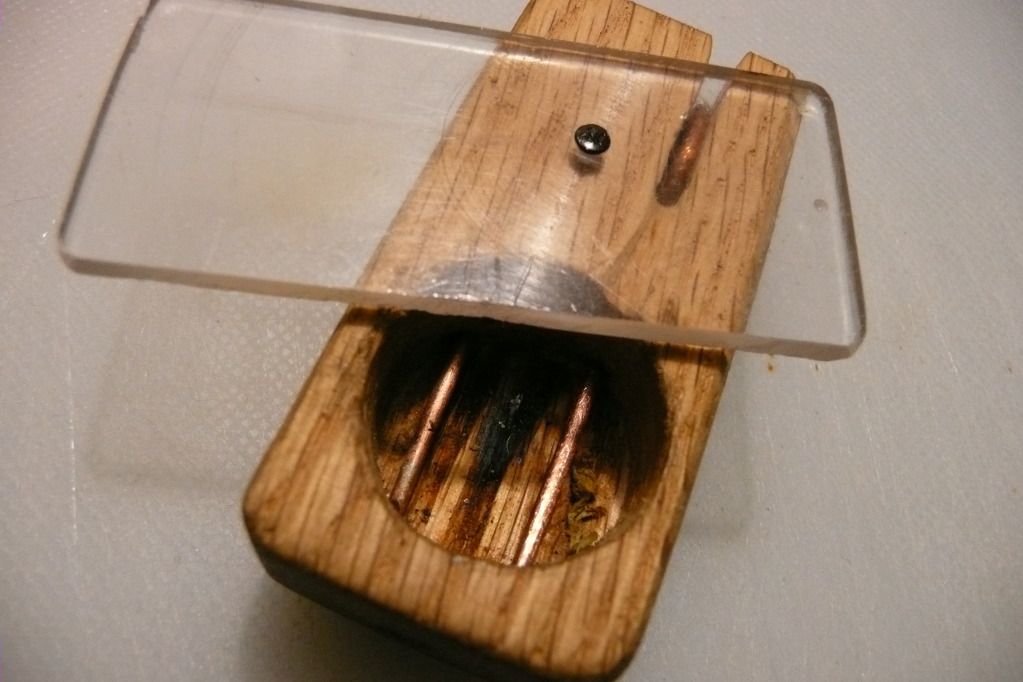
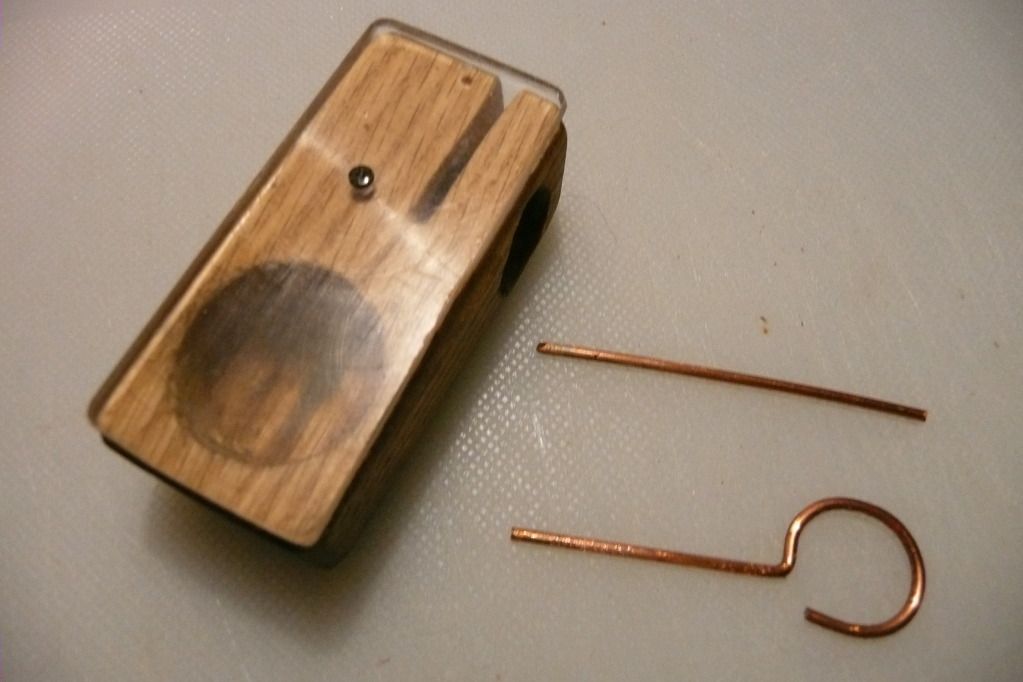
Busy working on the next prototype!
This one has brass parts enclosed in a ceramic light fixture and all the spaces were filled in with fireplace mortar, good to 2000 degrees F!
It has been curing all night and should be ready for a test drive tonight!
Also looking into housing the bulb in a ceramic crucible, similar to the Herbalizer design.
Think this one is going to be a work in progress for quite some time!


")


 (spot welder? hehe)