
herbgirl
cannabis aromatherapist
It was about time for another ABV edible and Mr. Herbgirl requested butter cookies.  A discussion ensued as to what constitutes a butter cookie. When I think butter cookie, i think of these tiny little shortbread-like cookies that my Grammy would make. Hubby just said, no, not shortbread like a little crumbly, but, butter cookies. I don't have any butter cookie recipes in my arsenal so I went a-huntin'. Allrecipes to the rescue! I smell lesson 2!
But first we must prepare!
A few more tips to *instantly* make you a better baker
-If you haven't already, go read baking with herbgirl - brownie edition.
http://fuckcombustion.com/viewtopic.php?id=4823
absorb. repeat.
-Accept the fact that all ovens are dirty lying bastards. It's in their nature with all that expansion and contraction, they can't help it. Get on your hands and knees and scrub out all that crusty carbonated schmutz that is contributing to uneven heating. A dirty oven does not bake well. Then, go get an oven thermometer, put it in, and marvel at how it is fifty degrees hotter than the oven display shows in one spot and 25 degrees hotter in another. if it's a digital display, often it can be adjusted, dials, you just have to compensate for the difference manually. i.e. get to know your oven, they are all different. Work around the inevitable hot/cool spots and use them to your advantage. Or maybe do what I (OK, Alton Brown too) do and leave a pizza stone on the bottom of the oven all the time (not an electric oven and don't cover any of the holes even the tiniest bit) to even out temperature swings.
-Don't stand there with the oven door open. Take your baked good out or test quickly. Opening the door lets out heat and may add to baking time. It can also stop and start the leaving process resulting in unevenly textured baked goods.
-Quality control is important. if you really care about the final product quality, put in good ingredients. that Harshey's cocoa from the dollar store may be cheap and it may work, but chances are the results will be less than spectacular due to fillers or just low quality stuff to start with. Same goes for kitchen equipment, you get what you pay for. I've scrimped and saved what little money I have to get a KitchenAid mixer, Weber grill and Excalibur dehydrator and they were all worth every single penny- expensive and not disposable. I will have them for YEARS and when they break, i will get parts and fix them myself.
-Use the correct, fresh ingredients. Don't use Jumbo eggs if the recipe calls for large eggs. If the recipe says All Purpose Flour, don't use bread flour, cake flour, self rising flour, whole wheat flour or biscuit flour and expect the same result. Same goes for butter. Rarely is there a baking recipe that calls for salted butter, assume that any butter in a baking recipe is unsalted. If you only have salted butter, you can use it if you reduce the salt in the recipe. Problem is that salt levels vary so you are guessing just how much to knock it back. Unsalted butter is usually fresher too as there is no salt to preserve it and keep it on the shelf for ages. Baking powder looses it's leavening abilities in about a year and old eggs do not whip as well. The list goes on and on.
-Use the correct pan or cookie sheet. Quick bread loaf pans are different than sandwich loaf pans which are different than meatloaf loaf pans. Cookie sheets without a rim will brown cookies better than a cookie sheet with a rim (which is technically a jelly roll pan anyway). Too small and the stuff won't fit or have space to rise, too big and you may over bake because things spread out. Different materials affect bake times differently. Dark pans usually bake quicker than light colored ones. Get to know your pans.
-Use the lowest powered device needed to get the job done. Rarely do I take my mixer to 'eleven' except for things like whipping cream or egg whites. 75% of my mixing is done with the lowest three speeds on my mixer. Cookies and other stiffer doughs never go above medium. Muffins, pancakes and other quick bread type things are done by hand. Over aggressive mixing leads to tough dry baked goods.
And now for the recipe...
FC'rs have been requesting a high butter small batch cookie so this is what I came up with based on the Allrecipes Butter Cookies II recipe. This is a pretty versatile recipe, it can be a spritz (cookie press thingie) a drop cookie or a sliced one, also known as an icebox cookie. This recipe uses a mixing method known as the creaming method, a specific sequence to create a fine grained end product.
 <<<HERBGIRL'S SMALL BATCH BUTTER COOKIES>>>
Yield 16 cookies
Hardware
2 cookie sheets rimmed or not
stand mixer or hand mixer
stout wooden spoon, mine is bamboo
rubber spatula (from spatula city")
turner (i call this a spatula too, ya know like for pancakes and cookies)
fork
large bowl
small bowl
tiny bowl
measuring spoon set
measuring cup set
wax paper, parchment or plastic wrap
cooling rack
Software
1/2 cup of butter (FOR THE LOVE OF PETE, NOT MARGARINE) enhanced any way you choose. I evaporated tincture made from PGA & 22 grams of hastily water cured (1 quart of tap water, two runs and about three minutes total) ABV to a goo and mixed it into the butter.
1/2 cup of sugar
1/2 large egg (yeah this is weird, but i was going for small batch - just eyeball it, like two tablespoons)
1 1/3 cups All Purpose flour
1/8 t iodized table salt
1 t vanilla extract (don't you dare use imitation-blech)
green food color paste (fake as all get out but pretty - not required)
3T green sanding sugar for rolling the dough log in. optional but also pretty. you could use sprinkles, coconut, nuts, whatever, but they will all bake up slightly differently
non stick cooking spray
Gather Hardware and Software
Allow butter to sit at room temperature until it's soft and malleable, but not so much that you could put your finger right through it. The sharp corners of the sugar cut tiny holes in the butter that trap air and make for leavening and this cannot happen if it's not in the right temperature range. This makes for a fine, close grain.
Get your mis en place on
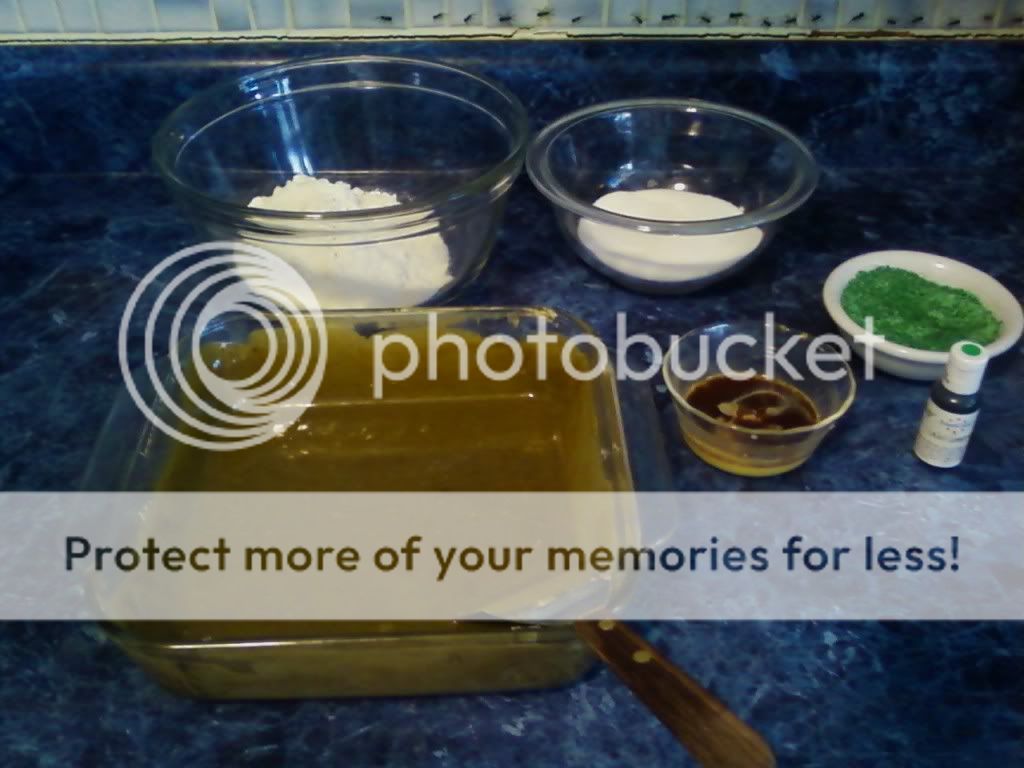
Flour and salt in the big bowl, sugar in the medium one egg and vanilla in the tiny one and the 'goobutter'(TM) in the square glass
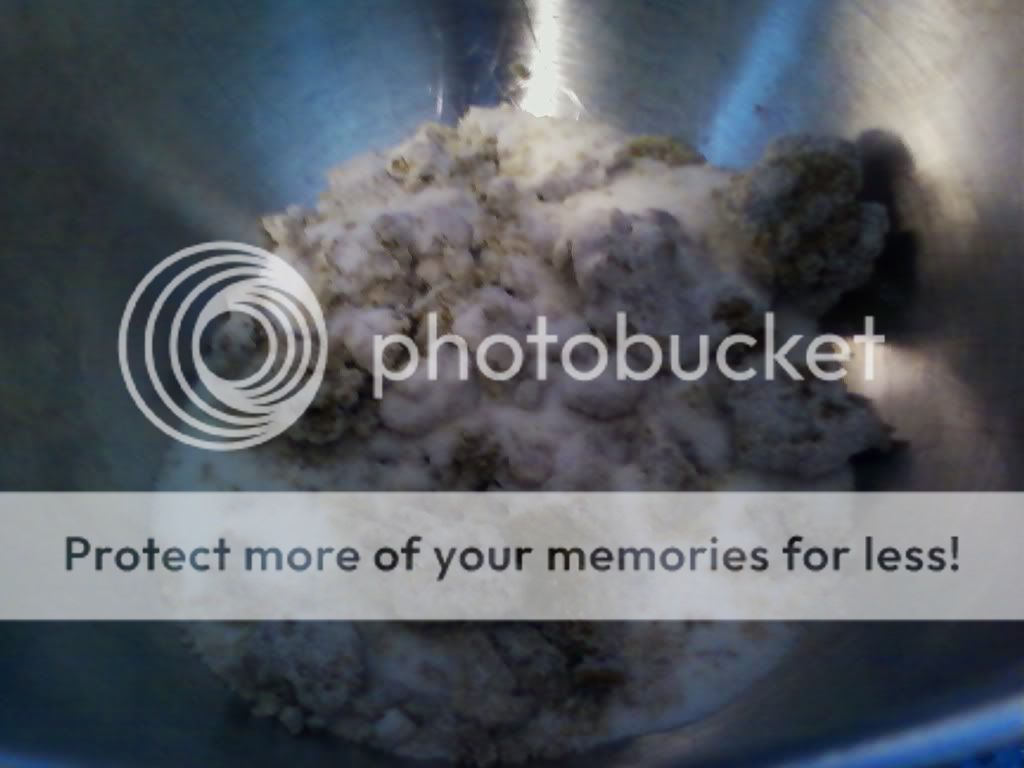
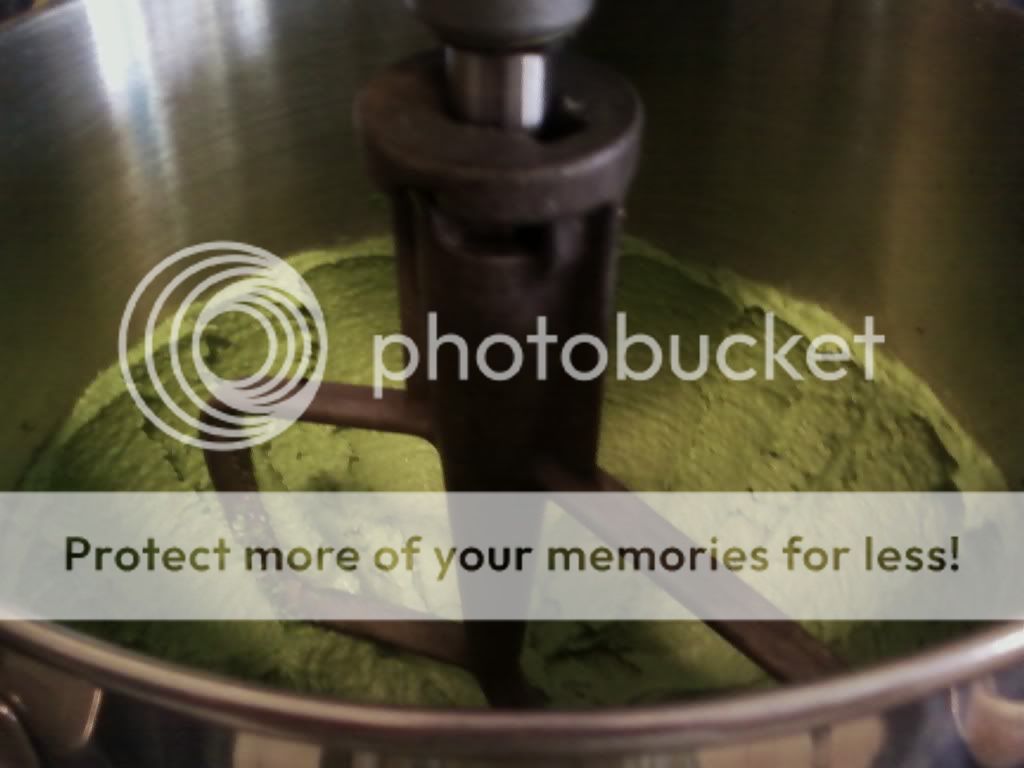
Put butter and sugar into mixer bowl and start to mix on low speed, preferably with a paddle attachment versus a whisk type. Drop in several drops of paste food coloring if desired.
Gradually increase the speed to no higher than medium and beat until the mixture is lighter in color and somewhat fluffy, about 2 minutes. Do not over beat, your cookies will spread and flatten if you do.
Add 1/2 egg and vanilla extract and mix on low. Stop mixer and scrape down the bowl. Beat on medium for 30 seconds or so, until thoroughly combined. Did I say not to over beat?
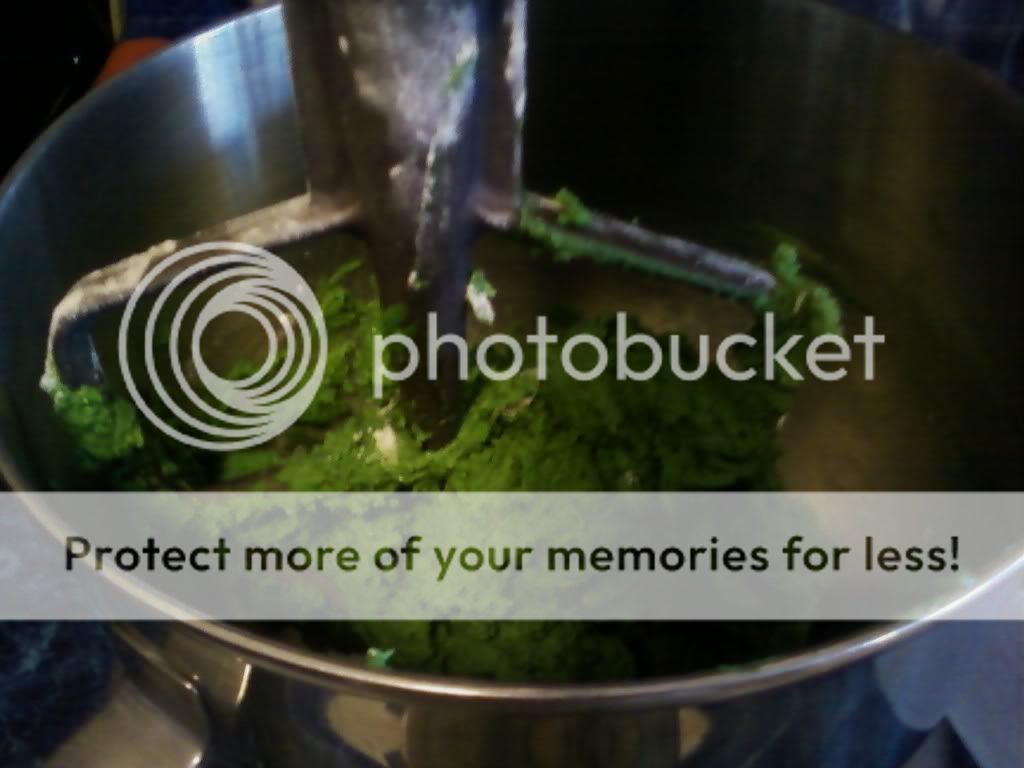
Put in flour and salt and mix on low, stop and scrape the bowl with a rubber spatula and mix until a dough forms and there are no streaks of flour remaining, use that stout wooden spoon to get the last bits. Oh yeah, Don't over mix!
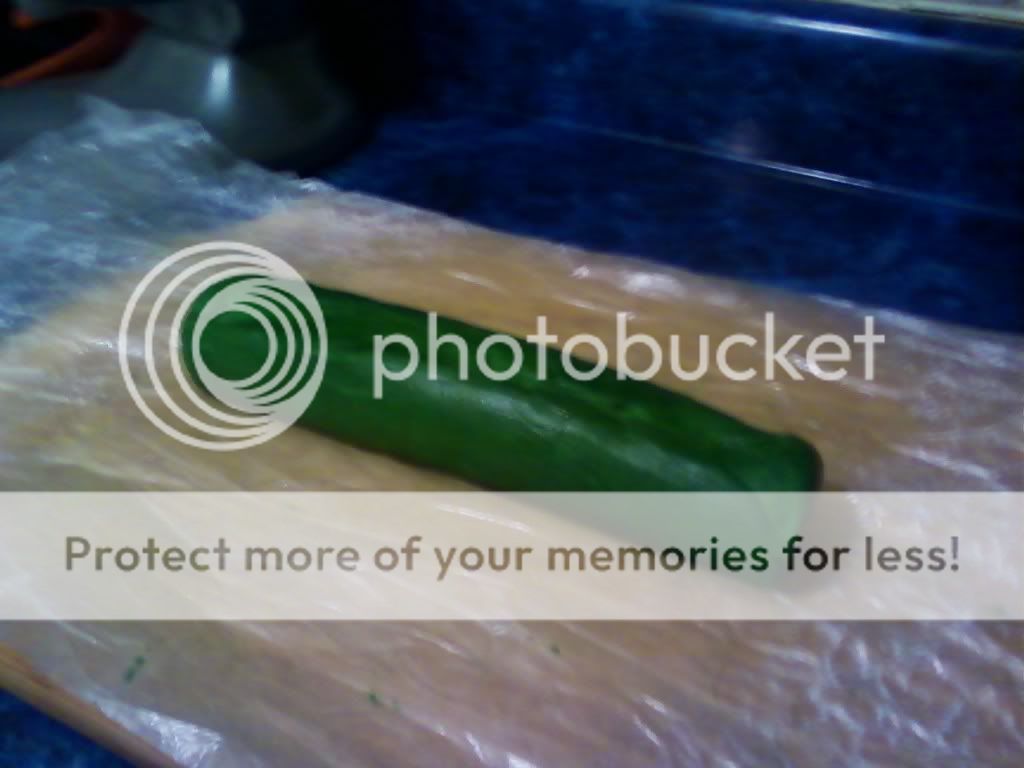
Dump dough out onto wax paper and form into a rough log, rolling the wax paper around it to refine the log shape.

Refrigerate for at least one hour.
Preheat oven to 400 and place a rack on in the center position or 2 racks evenly spaced, or two racks close like I did.
Prepare cookie sheets with non stick cooking spray.
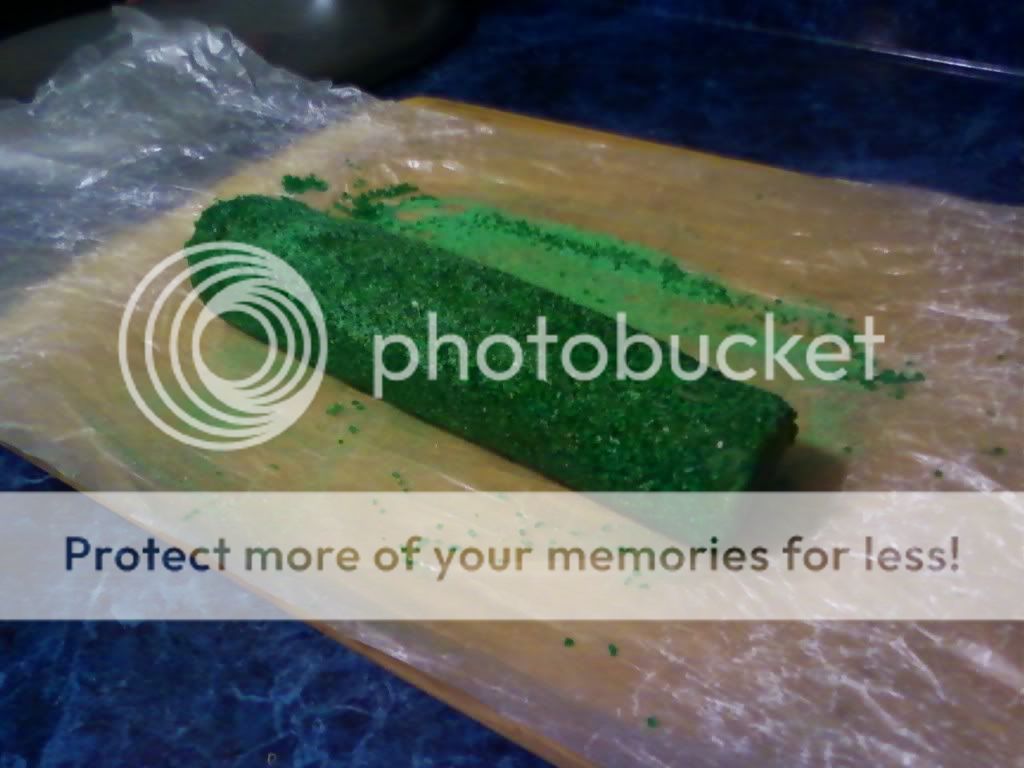
Unroll log and put sanding sugar on wax paper. roll log evenly in sugar.
Slice into 16 even slices and place them, evenly spaced, on a prepared cookie sheet.

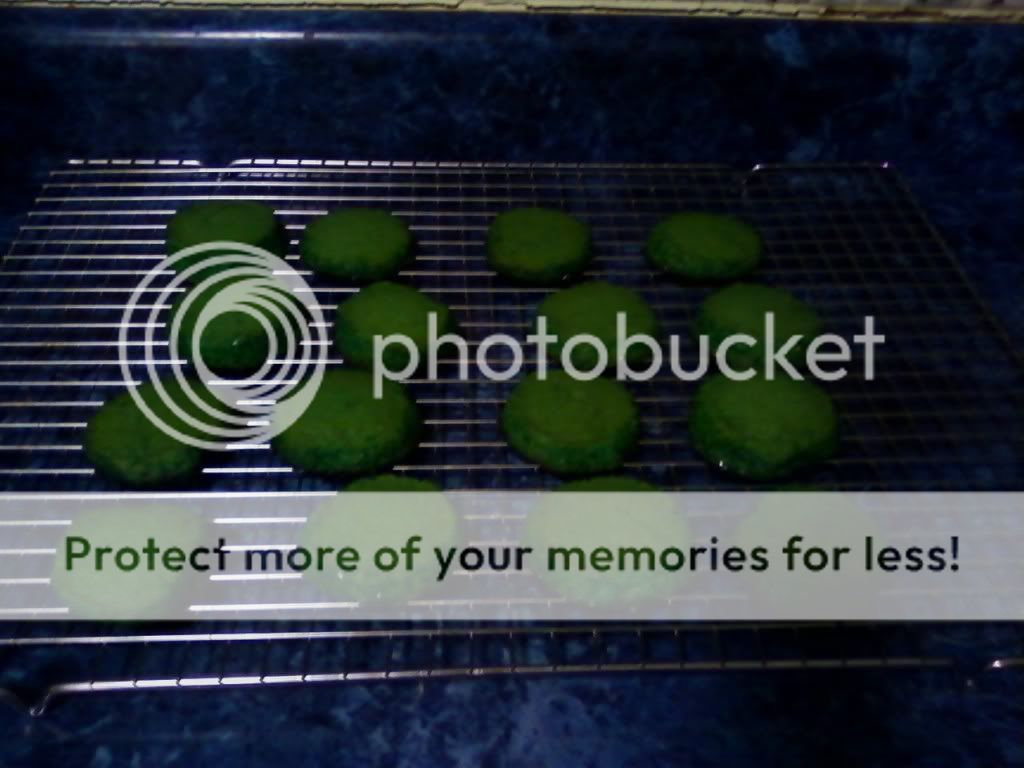
Bake for 8-10 minutes or until lightly brown around the edges, switching cookie sheet positions halfway through baking time. If you use the sanding sugar, keep a careful eye on those edges, the sugar burns very quickly and the ones closest to my oven wall got a little burned on the bottom.
When lightly browned, remove cookie sheets from the oven and allow cookies to remain on the sheet for a minute or so to set up.
Use the turner to transfer cookies to cooling rack for a few minutes.
This is one baked good that you can enjoy warm from the oven, no need to fend anybody off, just don't burn yourself.
After cooled store in airtight storage or freeze.
Not really what i was thinking of as a butter cookie, but very nice. Could be a good base for many flavors if you switch up the extract.
The butter flavor was not as strong as i expected it would be but what really blew me away was the light pleasant canna flavor that shined through. I usually do not like that flavor and the ABV is especially nasty. The very rudimentary water cure seemed to be enough to remove the horrid burny flavor and leave the pleasant aspects of it behind. At just over a gram per cookie, the two we ate last night weren't very strong, but they were mighty tasty.
A discussion ensued as to what constitutes a butter cookie. When I think butter cookie, i think of these tiny little shortbread-like cookies that my Grammy would make. Hubby just said, no, not shortbread like a little crumbly, but, butter cookies. I don't have any butter cookie recipes in my arsenal so I went a-huntin'. Allrecipes to the rescue! I smell lesson 2!But first we must prepare!
A few more tips to *instantly* make you a better baker
-If you haven't already, go read baking with herbgirl - brownie edition.
http://fuckcombustion.com/viewtopic.php?id=4823
absorb. repeat.
-Accept the fact that all ovens are dirty lying bastards. It's in their nature with all that expansion and contraction, they can't help it. Get on your hands and knees and scrub out all that crusty carbonated schmutz that is contributing to uneven heating. A dirty oven does not bake well. Then, go get an oven thermometer, put it in, and marvel at how it is fifty degrees hotter than the oven display shows in one spot and 25 degrees hotter in another. if it's a digital display, often it can be adjusted, dials, you just have to compensate for the difference manually. i.e. get to know your oven, they are all different. Work around the inevitable hot/cool spots and use them to your advantage. Or maybe do what I (OK, Alton Brown too) do and leave a pizza stone on the bottom of the oven all the time (not an electric oven and don't cover any of the holes even the tiniest bit) to even out temperature swings.
-Don't stand there with the oven door open. Take your baked good out or test quickly. Opening the door lets out heat and may add to baking time. It can also stop and start the leaving process resulting in unevenly textured baked goods.
-Quality control is important. if you really care about the final product quality, put in good ingredients. that Harshey's cocoa from the dollar store may be cheap and it may work, but chances are the results will be less than spectacular due to fillers or just low quality stuff to start with. Same goes for kitchen equipment, you get what you pay for. I've scrimped and saved what little money I have to get a KitchenAid mixer, Weber grill and Excalibur dehydrator and they were all worth every single penny- expensive and not disposable. I will have them for YEARS and when they break, i will get parts and fix them myself.
-Use the correct, fresh ingredients. Don't use Jumbo eggs if the recipe calls for large eggs. If the recipe says All Purpose Flour, don't use bread flour, cake flour, self rising flour, whole wheat flour or biscuit flour and expect the same result. Same goes for butter. Rarely is there a baking recipe that calls for salted butter, assume that any butter in a baking recipe is unsalted. If you only have salted butter, you can use it if you reduce the salt in the recipe. Problem is that salt levels vary so you are guessing just how much to knock it back. Unsalted butter is usually fresher too as there is no salt to preserve it and keep it on the shelf for ages. Baking powder looses it's leavening abilities in about a year and old eggs do not whip as well. The list goes on and on.
-Use the correct pan or cookie sheet. Quick bread loaf pans are different than sandwich loaf pans which are different than meatloaf loaf pans. Cookie sheets without a rim will brown cookies better than a cookie sheet with a rim (which is technically a jelly roll pan anyway). Too small and the stuff won't fit or have space to rise, too big and you may over bake because things spread out. Different materials affect bake times differently. Dark pans usually bake quicker than light colored ones. Get to know your pans.
-Use the lowest powered device needed to get the job done. Rarely do I take my mixer to 'eleven' except for things like whipping cream or egg whites. 75% of my mixing is done with the lowest three speeds on my mixer. Cookies and other stiffer doughs never go above medium. Muffins, pancakes and other quick bread type things are done by hand. Over aggressive mixing leads to tough dry baked goods.
And now for the recipe...
FC'rs have been requesting a high butter small batch cookie so this is what I came up with based on the Allrecipes Butter Cookies II recipe. This is a pretty versatile recipe, it can be a spritz (cookie press thingie) a drop cookie or a sliced one, also known as an icebox cookie. This recipe uses a mixing method known as the creaming method, a specific sequence to create a fine grained end product.
<<<HERBGIRL'S SMALL BATCH BUTTER COOKIES>>> Yield 16 cookies
Hardware
2 cookie sheets rimmed or not
stand mixer or hand mixer
stout wooden spoon, mine is bamboo
rubber spatula (from spatula city
turner (i call this a spatula too, ya know like for pancakes and cookies)
fork
large bowl
small bowl
tiny bowl
measuring spoon set
measuring cup set
wax paper, parchment or plastic wrap
cooling rack
Software
1/2 cup of butter (FOR THE LOVE OF PETE, NOT MARGARINE) enhanced any way you choose. I evaporated tincture made from PGA & 22 grams of hastily water cured (1 quart of tap water, two runs and about three minutes total) ABV to a goo and mixed it into the butter.
1/2 cup of sugar
1/2 large egg (yeah this is weird, but i was going for small batch - just eyeball it, like two tablespoons)
1 1/3 cups All Purpose flour
1/8 t iodized table salt
1 t vanilla extract (don't you dare use imitation-blech)
green food color paste (fake as all get out but pretty - not required)
3T green sanding sugar for rolling the dough log in. optional but also pretty. you could use sprinkles, coconut, nuts, whatever, but they will all bake up slightly differently
non stick cooking spray
Gather Hardware and Software
Allow butter to sit at room temperature until it's soft and malleable, but not so much that you could put your finger right through it. The sharp corners of the sugar cut tiny holes in the butter that trap air and make for leavening and this cannot happen if it's not in the right temperature range. This makes for a fine, close grain.
Get your mis en place on
Flour and salt in the big bowl, sugar in the medium one egg and vanilla in the tiny one and the 'goobutter'(TM)
in the square glassPut butter and sugar into mixer bowl and start to mix on low speed, preferably with a paddle attachment versus a whisk type. Drop in several drops of paste food coloring if desired.
Gradually increase the speed to no higher than medium and beat until the mixture is lighter in color and somewhat fluffy, about 2 minutes. Do not over beat, your cookies will spread and flatten if you do.
Add 1/2 egg and vanilla extract and mix on low. Stop mixer and scrape down the bowl. Beat on medium for 30 seconds or so, until thoroughly combined. Did I say not to over beat?
Put in flour and salt and mix on low, stop and scrape the bowl with a rubber spatula and mix until a dough forms and there are no streaks of flour remaining, use that stout wooden spoon to get the last bits. Oh yeah, Don't over mix!
Dump dough out onto wax paper and form into a rough log, rolling the wax paper around it to refine the log shape.
Refrigerate for at least one hour.
Preheat oven to 400 and place a rack on in the center position or 2 racks evenly spaced, or two racks close like I did.
Prepare cookie sheets with non stick cooking spray.
Unroll log and put sanding sugar on wax paper. roll log evenly in sugar.
Slice into 16 even slices and place them, evenly spaced, on a prepared cookie sheet.
Bake for 8-10 minutes or until lightly brown around the edges, switching cookie sheet positions halfway through baking time. If you use the sanding sugar, keep a careful eye on those edges, the sugar burns very quickly and the ones closest to my oven wall got a little burned on the bottom.
When lightly browned, remove cookie sheets from the oven and allow cookies to remain on the sheet for a minute or so to set up.
Use the turner to transfer cookies to cooling rack for a few minutes.
This is one baked good that you can enjoy warm from the oven, no need to fend anybody off, just don't burn yourself.
After cooled store in airtight storage or freeze.
Not really what i was thinking of as a butter cookie, but very nice. Could be a good base for many flavors if you switch up the extract.
The butter flavor was not as strong as i expected it would be but what really blew me away was the light pleasant canna flavor that shined through. I usually do not like that flavor and the ABV is especially nasty. The very rudimentary water cure seemed to be enough to remove the horrid burny flavor and leave the pleasant aspects of it behind. At just over a gram per cookie, the two we ate last night weren't very strong, but they were mighty tasty.
