Finally have a couple feet of tubing and have got everything in place for another 9 units to be made up. I'm off for a couple week and will commit to completing these units. I do have another 8 feet on the way and may be able to do more then 9 if I get in time. Really streamlining my technique as I go and finding ways to improve the process.
Here is a list of the lucky adopters:
@radiant34
@Renthispace
@nosmoking
@pavolo.i
@Hdodd
@Zangano Cruel
@shadowrazor
@bloom
@grumpy
I will be in touch in a week or so.
The rest of you on my list will be in the next batch which all parts are at least on the way.
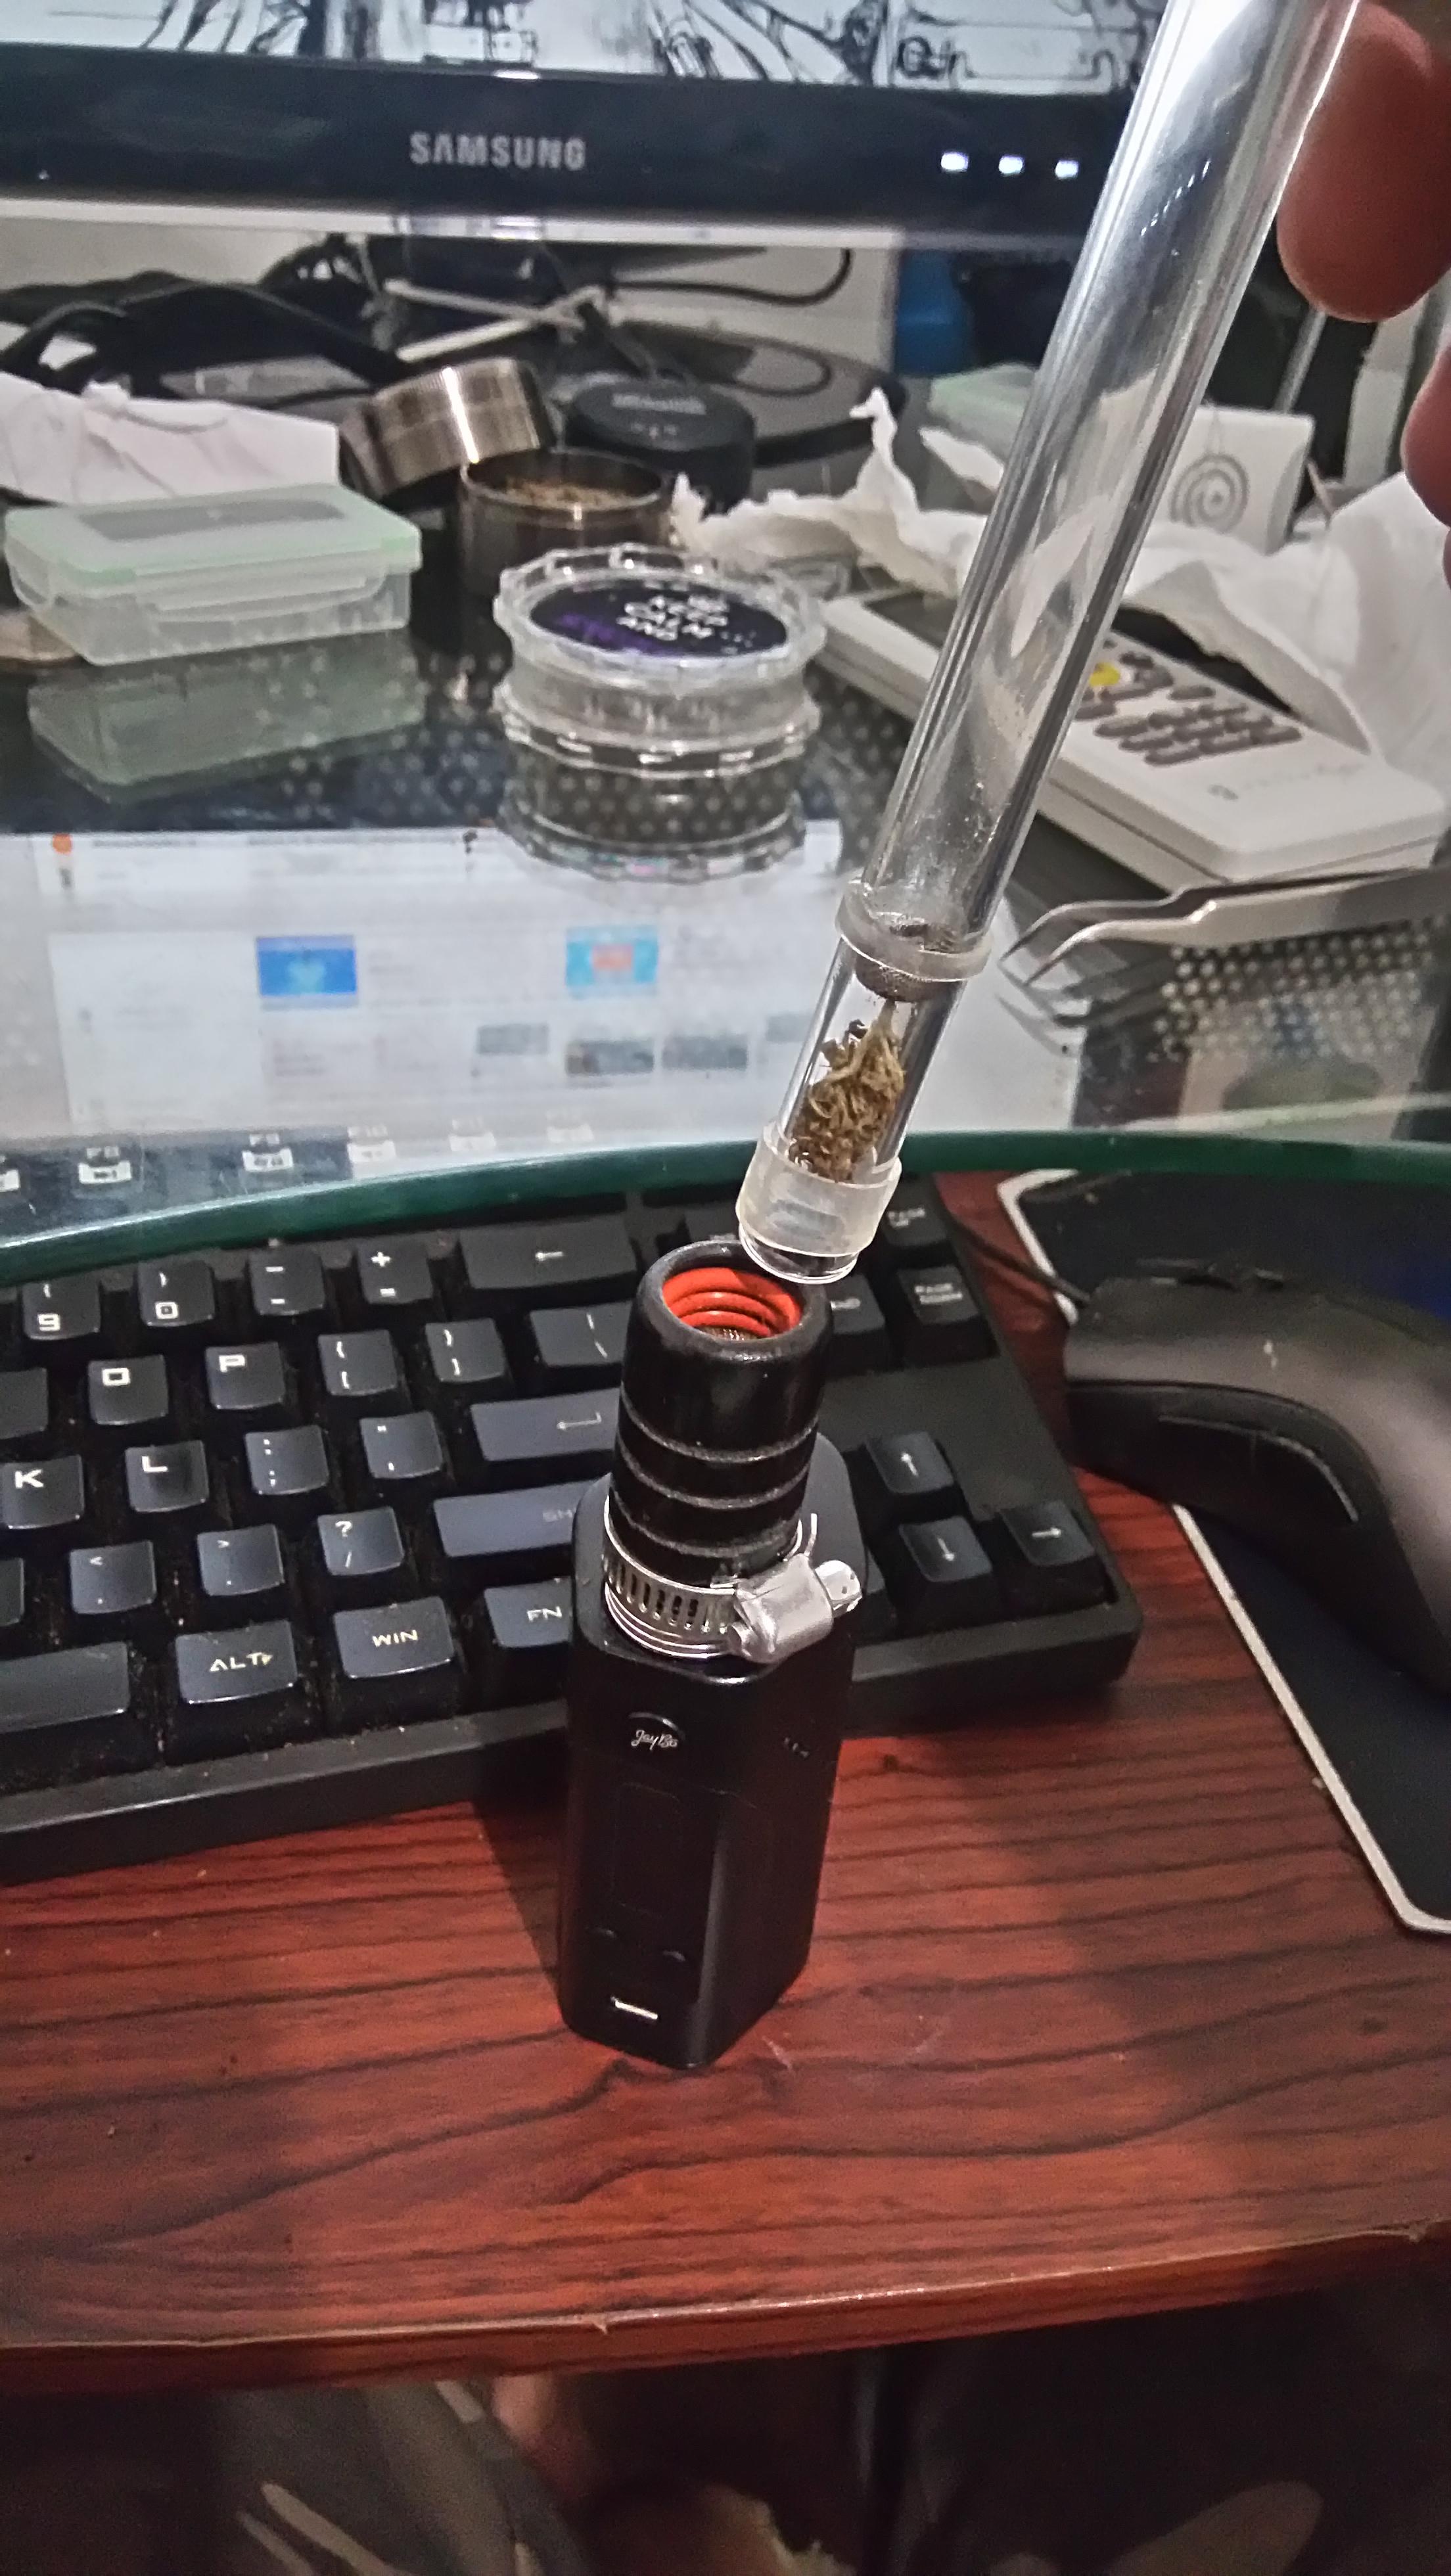
So I now have a Cuboid and love it! Yes, it's bigger, which is the reason I hesitated so long. But, with dual batteries, running at 100 watts I can run the batteries right down to near zero with no drop in batteries keeping up. Not to mention the extended life between changing batteries. I'm sold on it.
I'm also working on the new outer enclosure design which will make the enclosure all one piece without the need for O rings. Currently working on a master mold to be able to make the enclosure from
this high heat silicon (Mold Max 60). This stuff is good up to 560 F. The ring seals will be part of the piece. Yes, it will be compatible with current units. Hopefully I can make this work as will further simplify the manufacturing process. Will post the techniques later....once I know. lol
Any thoughts about this material affecting air-path? I'm hoping for minimal to zero impact as is upstream on the cold side of things...?


")


