
thank a lot ,Hey a little knowledge for everyone, AWG means American wire gauge. They lower the number the thicker the wire is IE. 20awg is thicker then 22awg. Now this is relevant to these builds becuase the higher the gauge the more resistance IE. 22awg has more resistance then 20 awg. The lower the number means more surface area for heat transfer.
Hope that helps
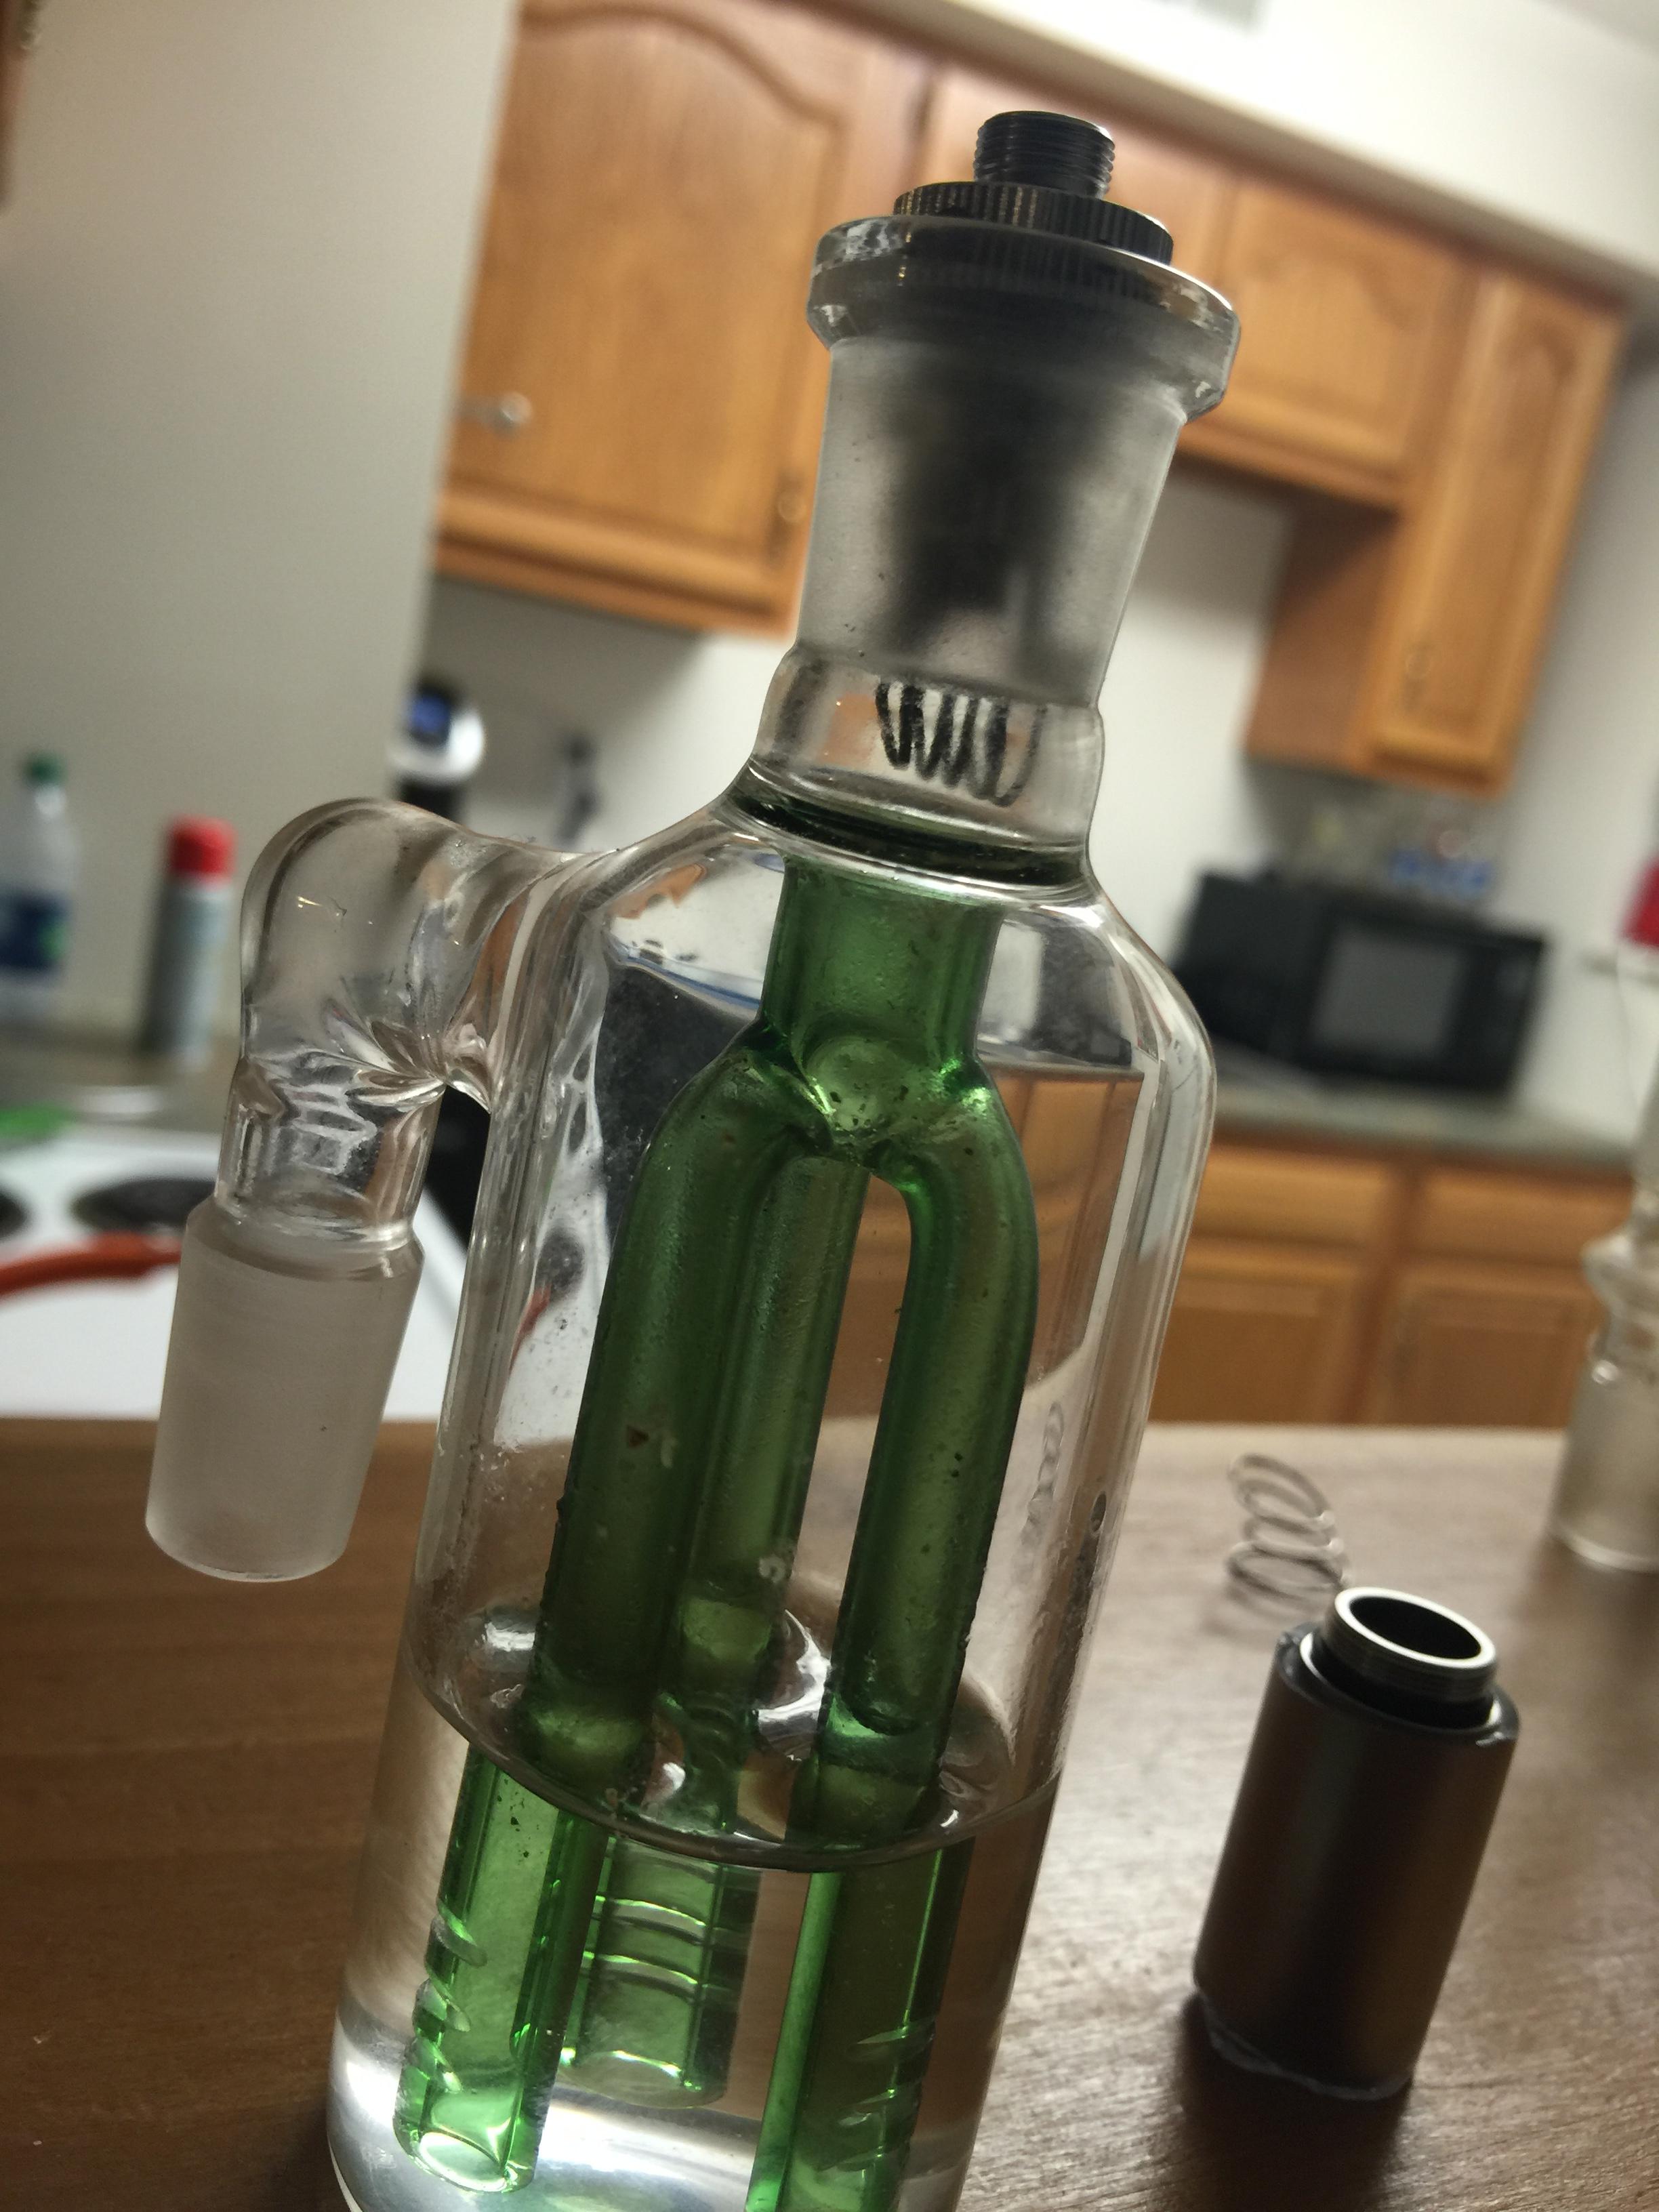
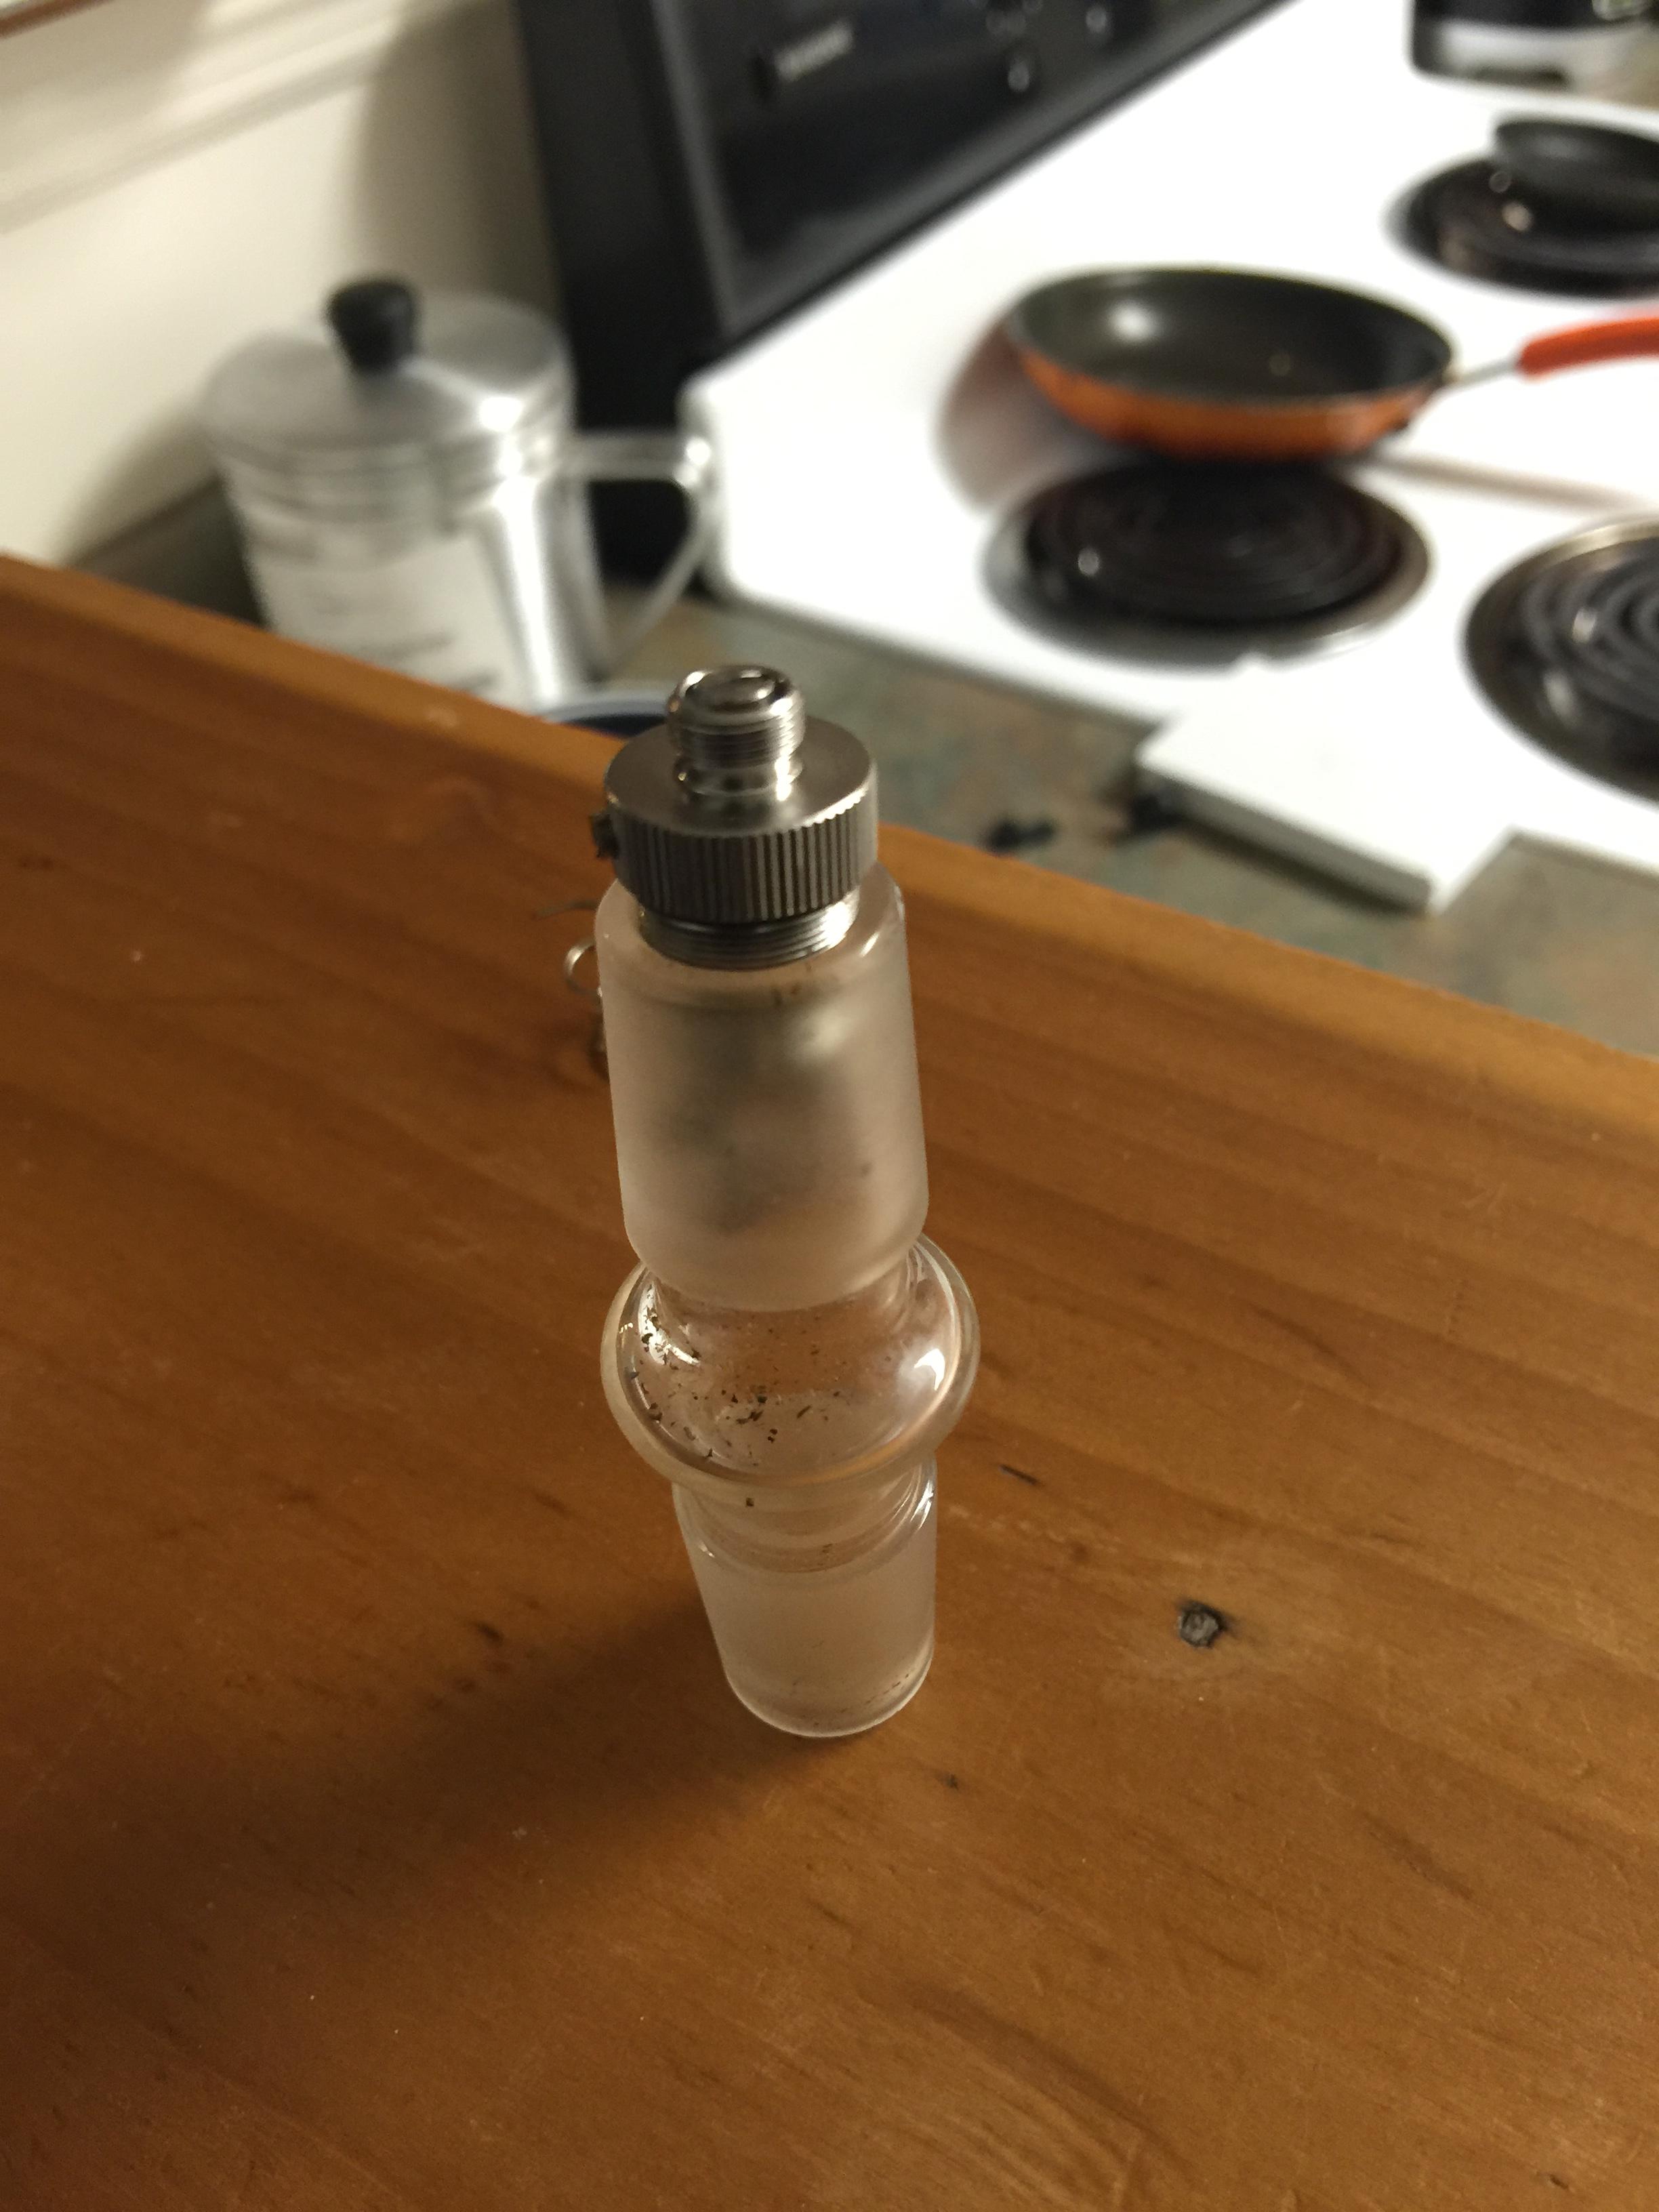
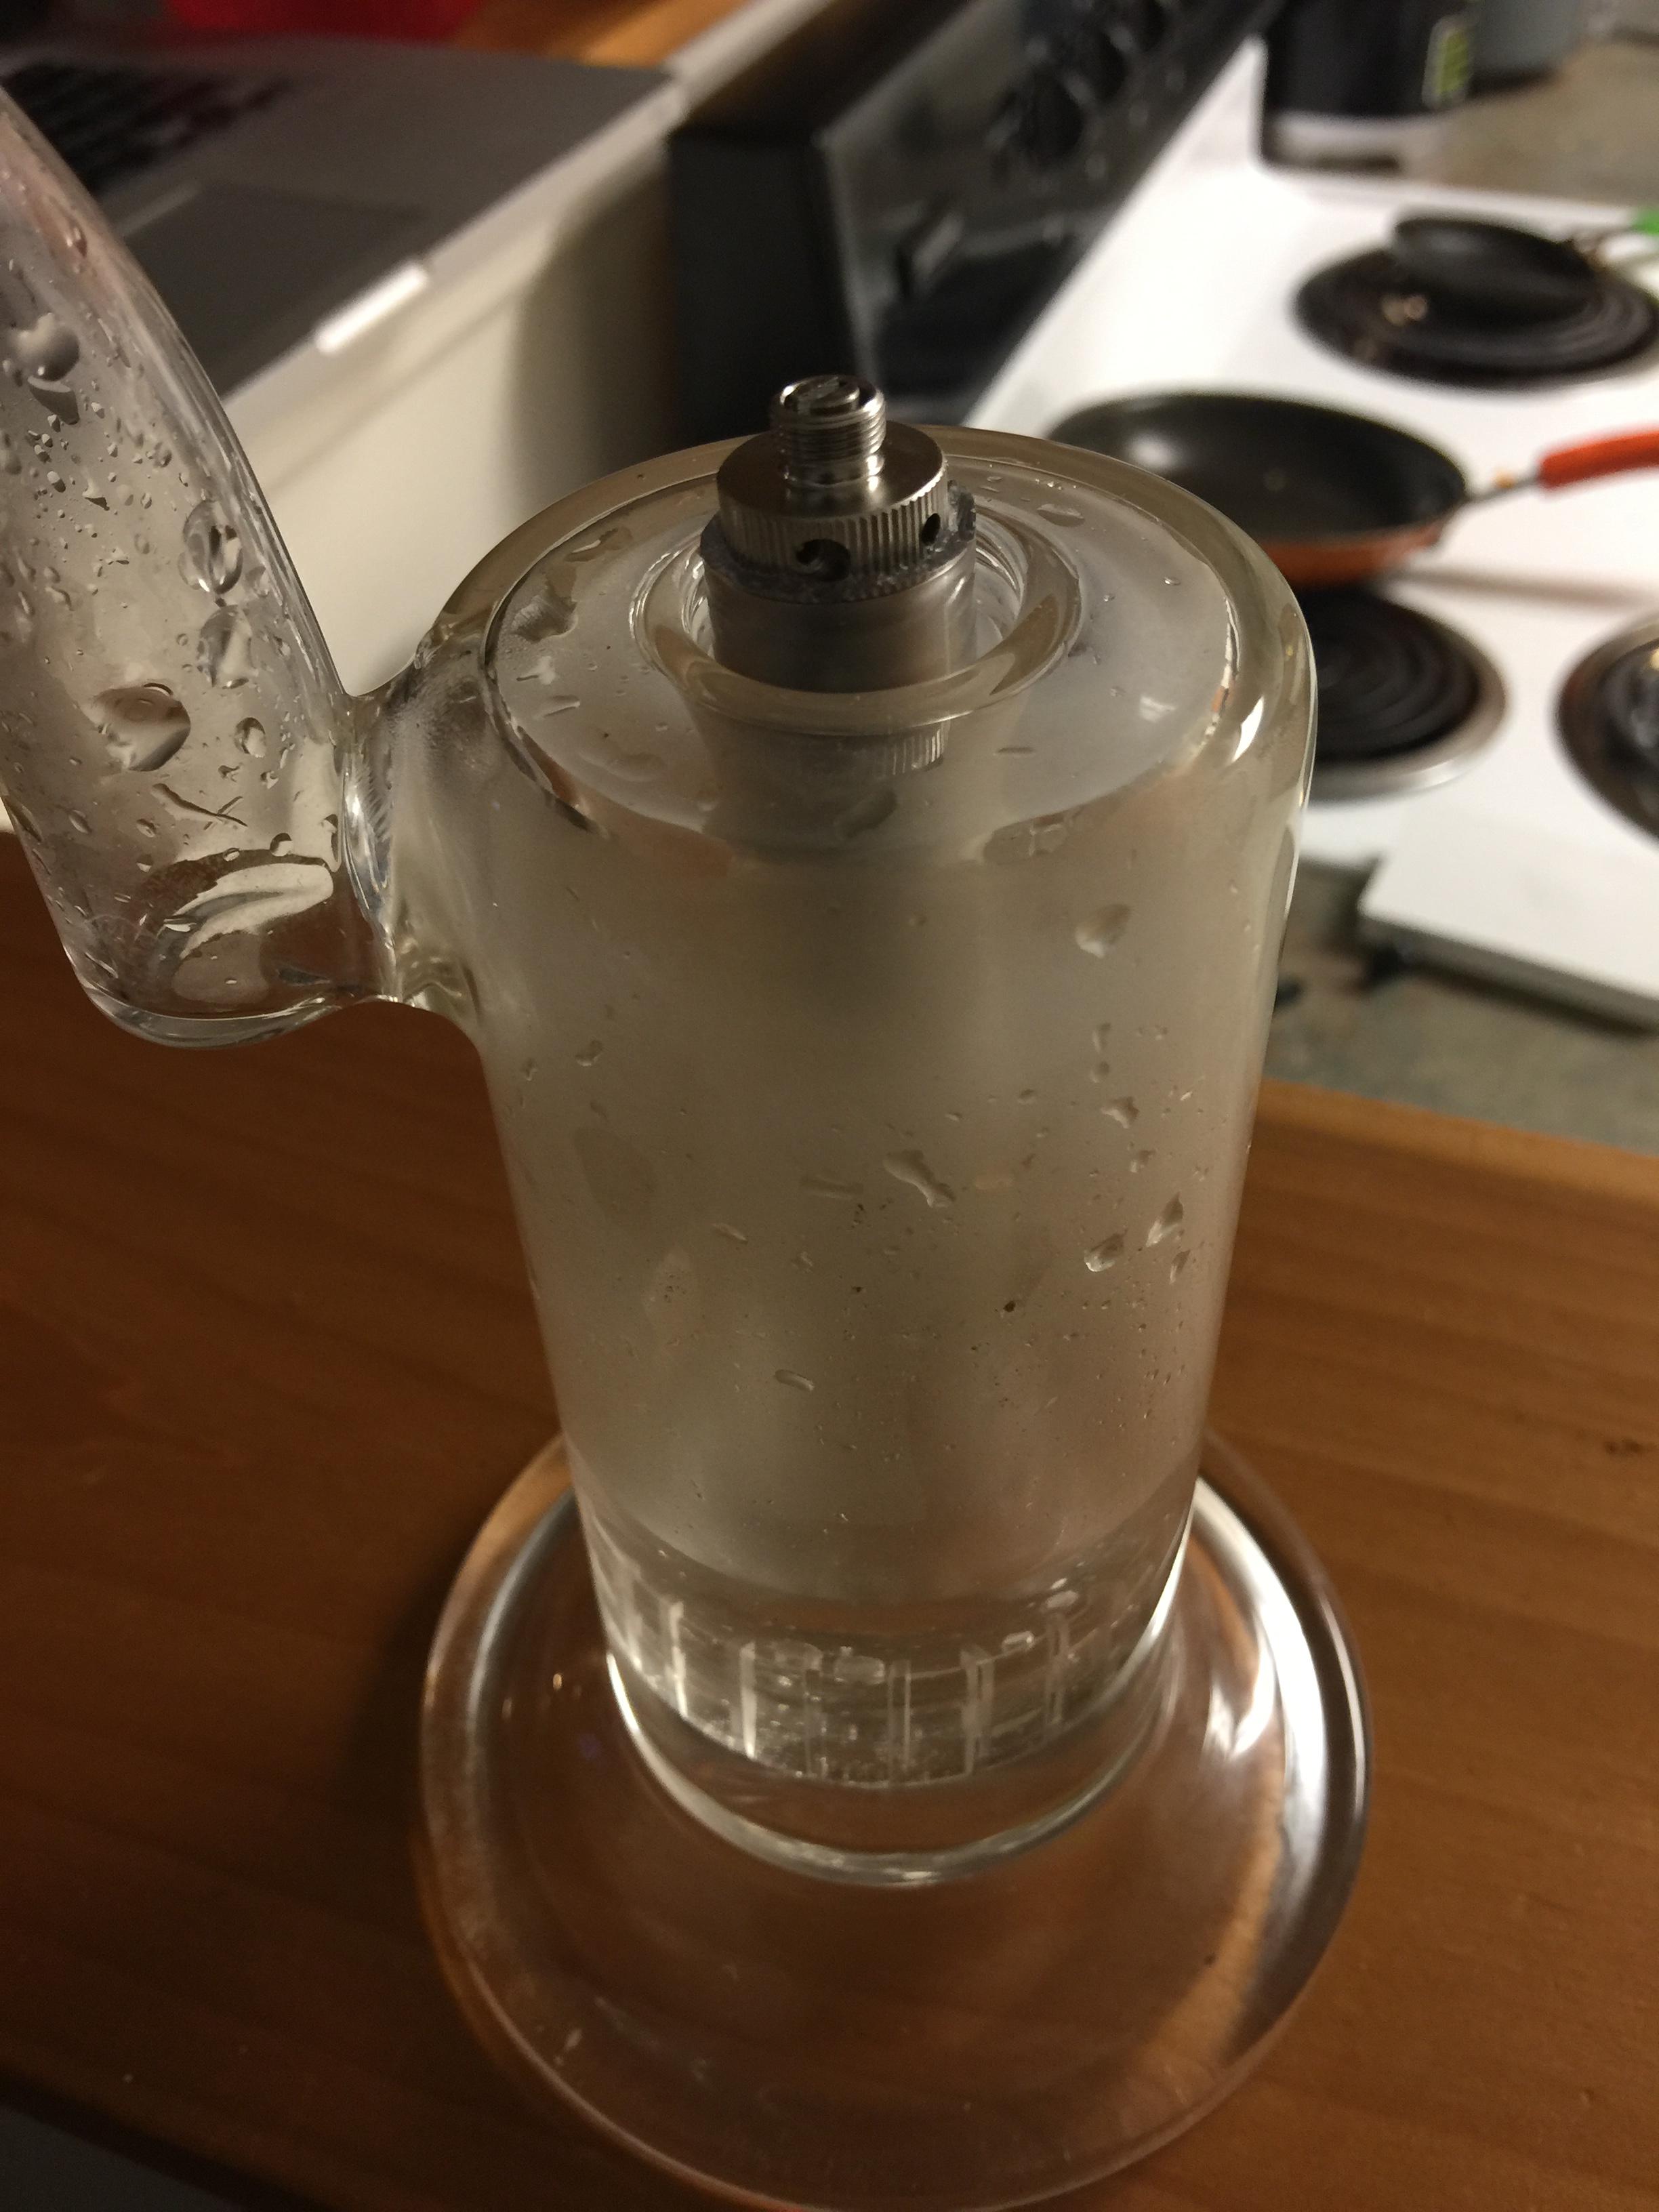
I am still working on my rda build, just bought a cuboid for this reason. I am building a wood piece to hold all my glass together, I will post some pictures soon. I am having a hard time finding any wire at 22awg I can only find 24awg. I'm in Canada so amazon.CA doesn't have a quarter of the inventory .com does.
")
i feel you about the amazon thing .

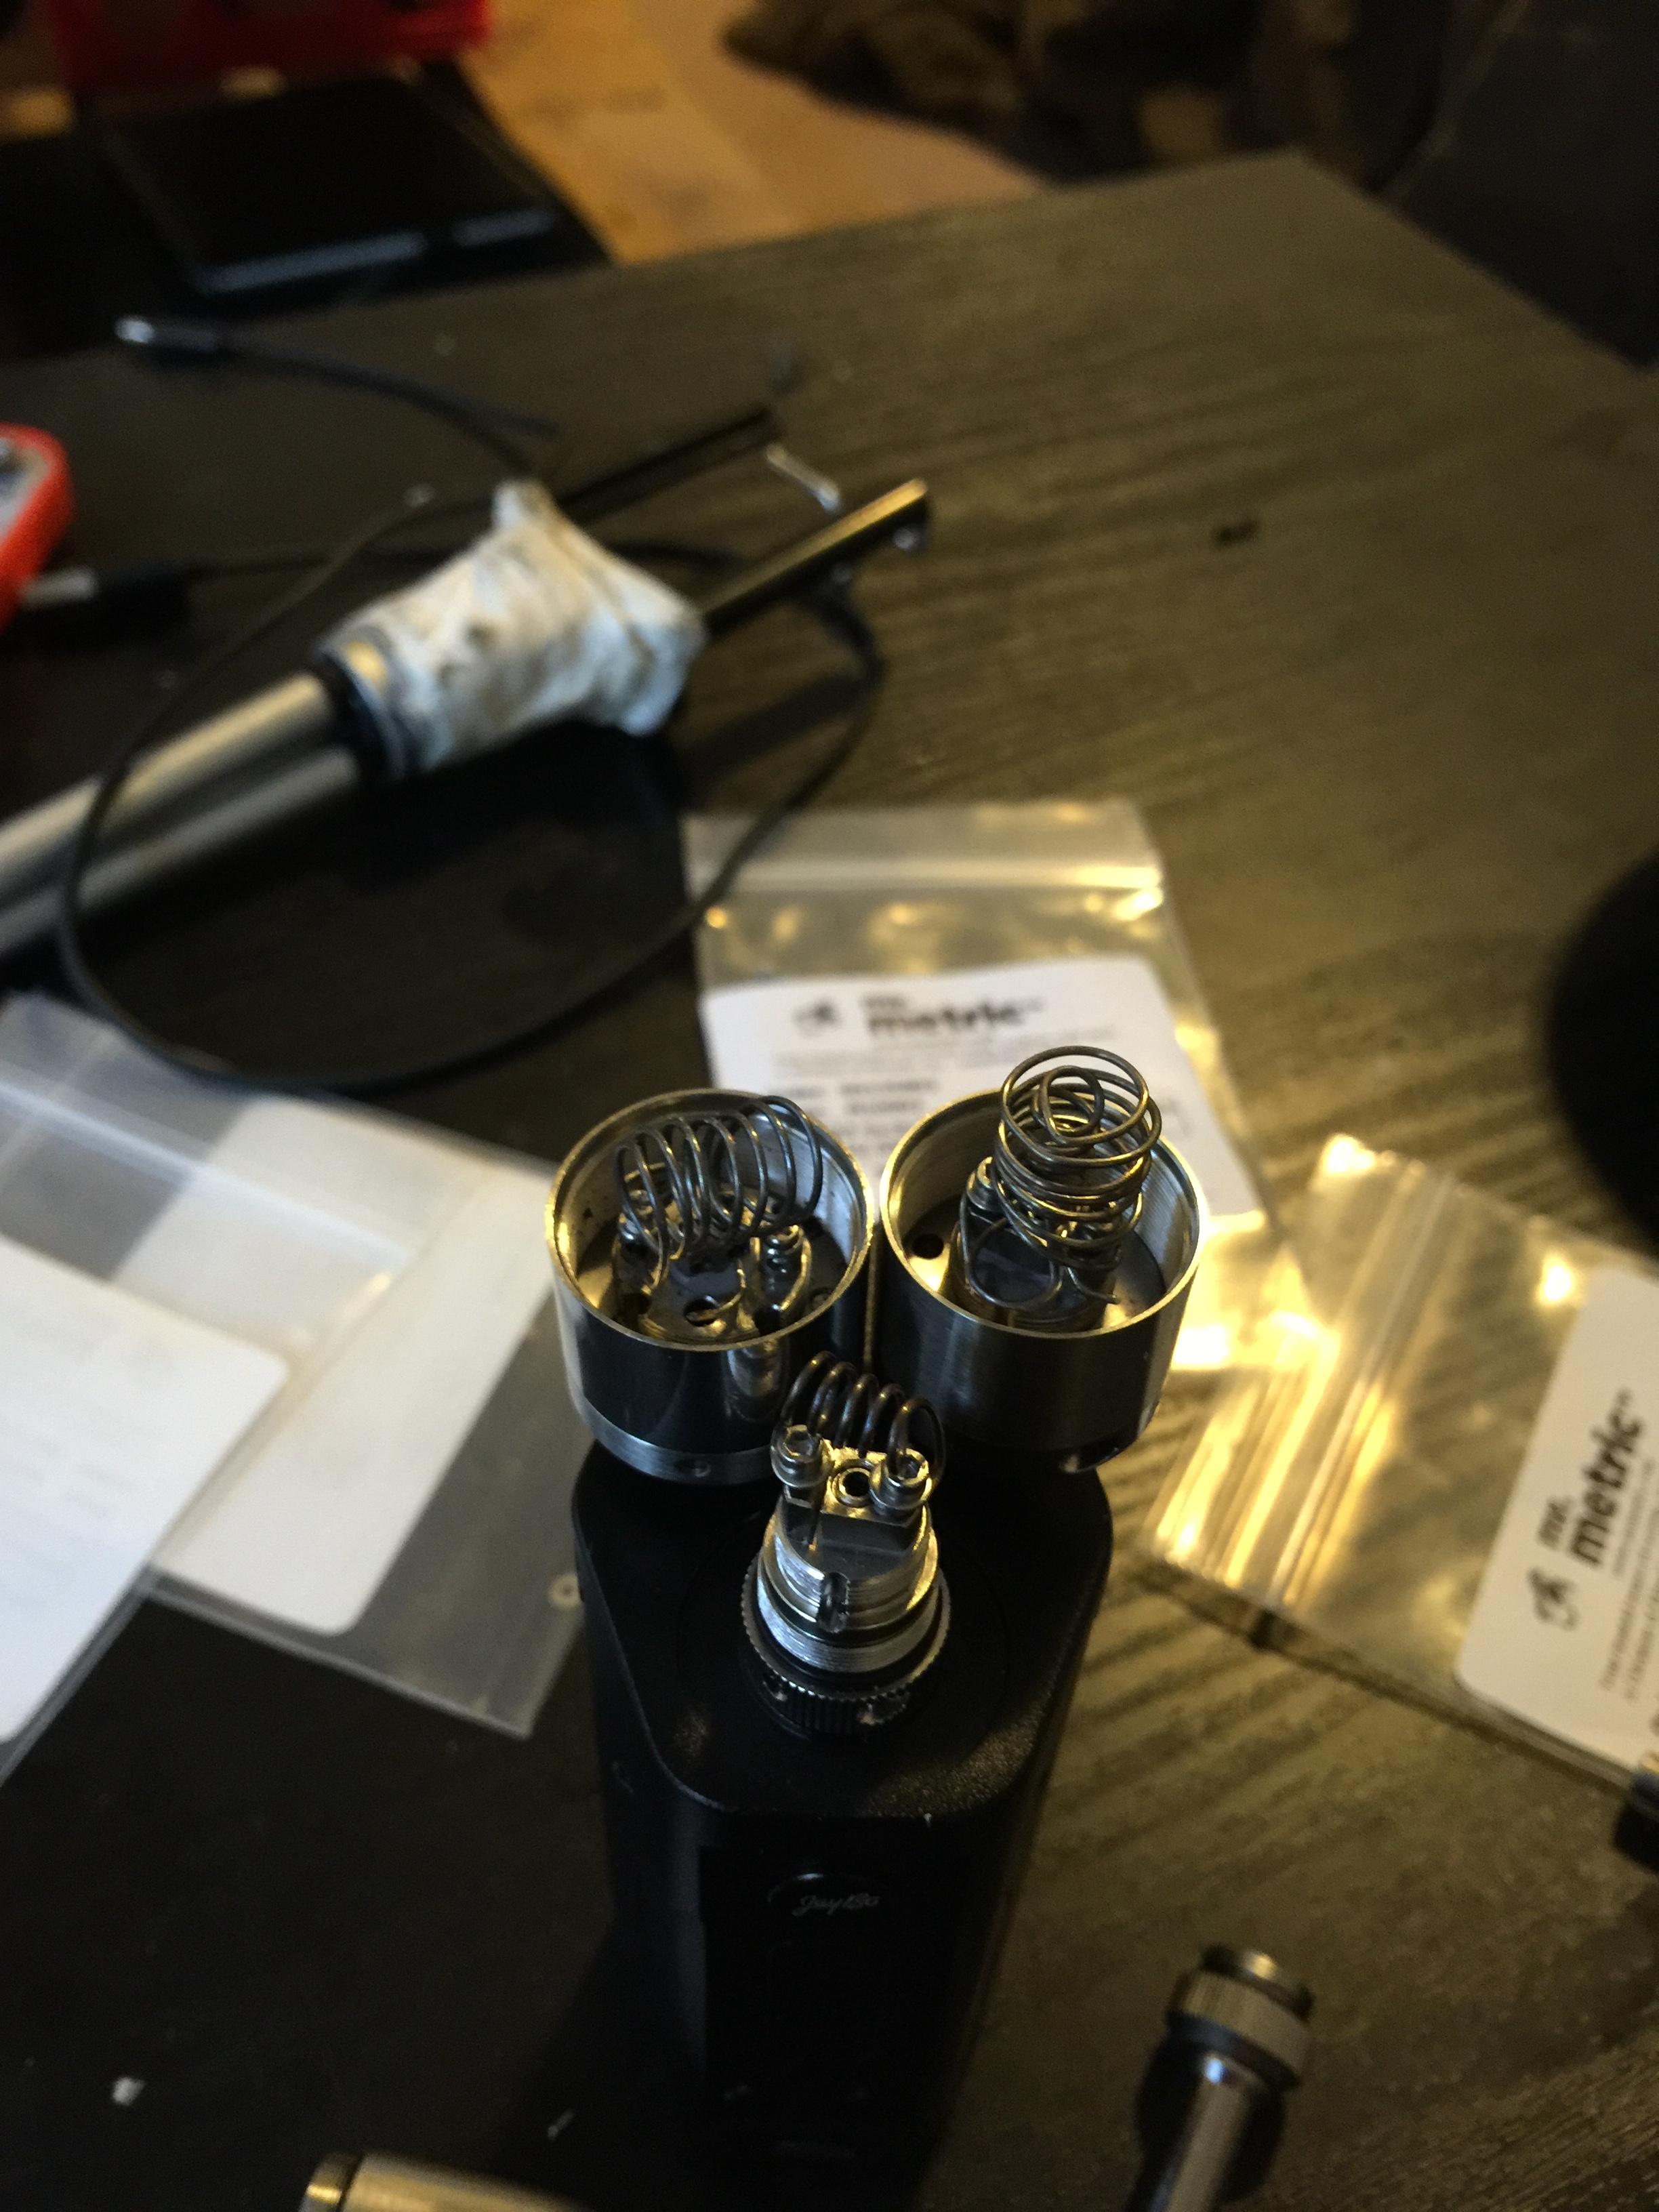

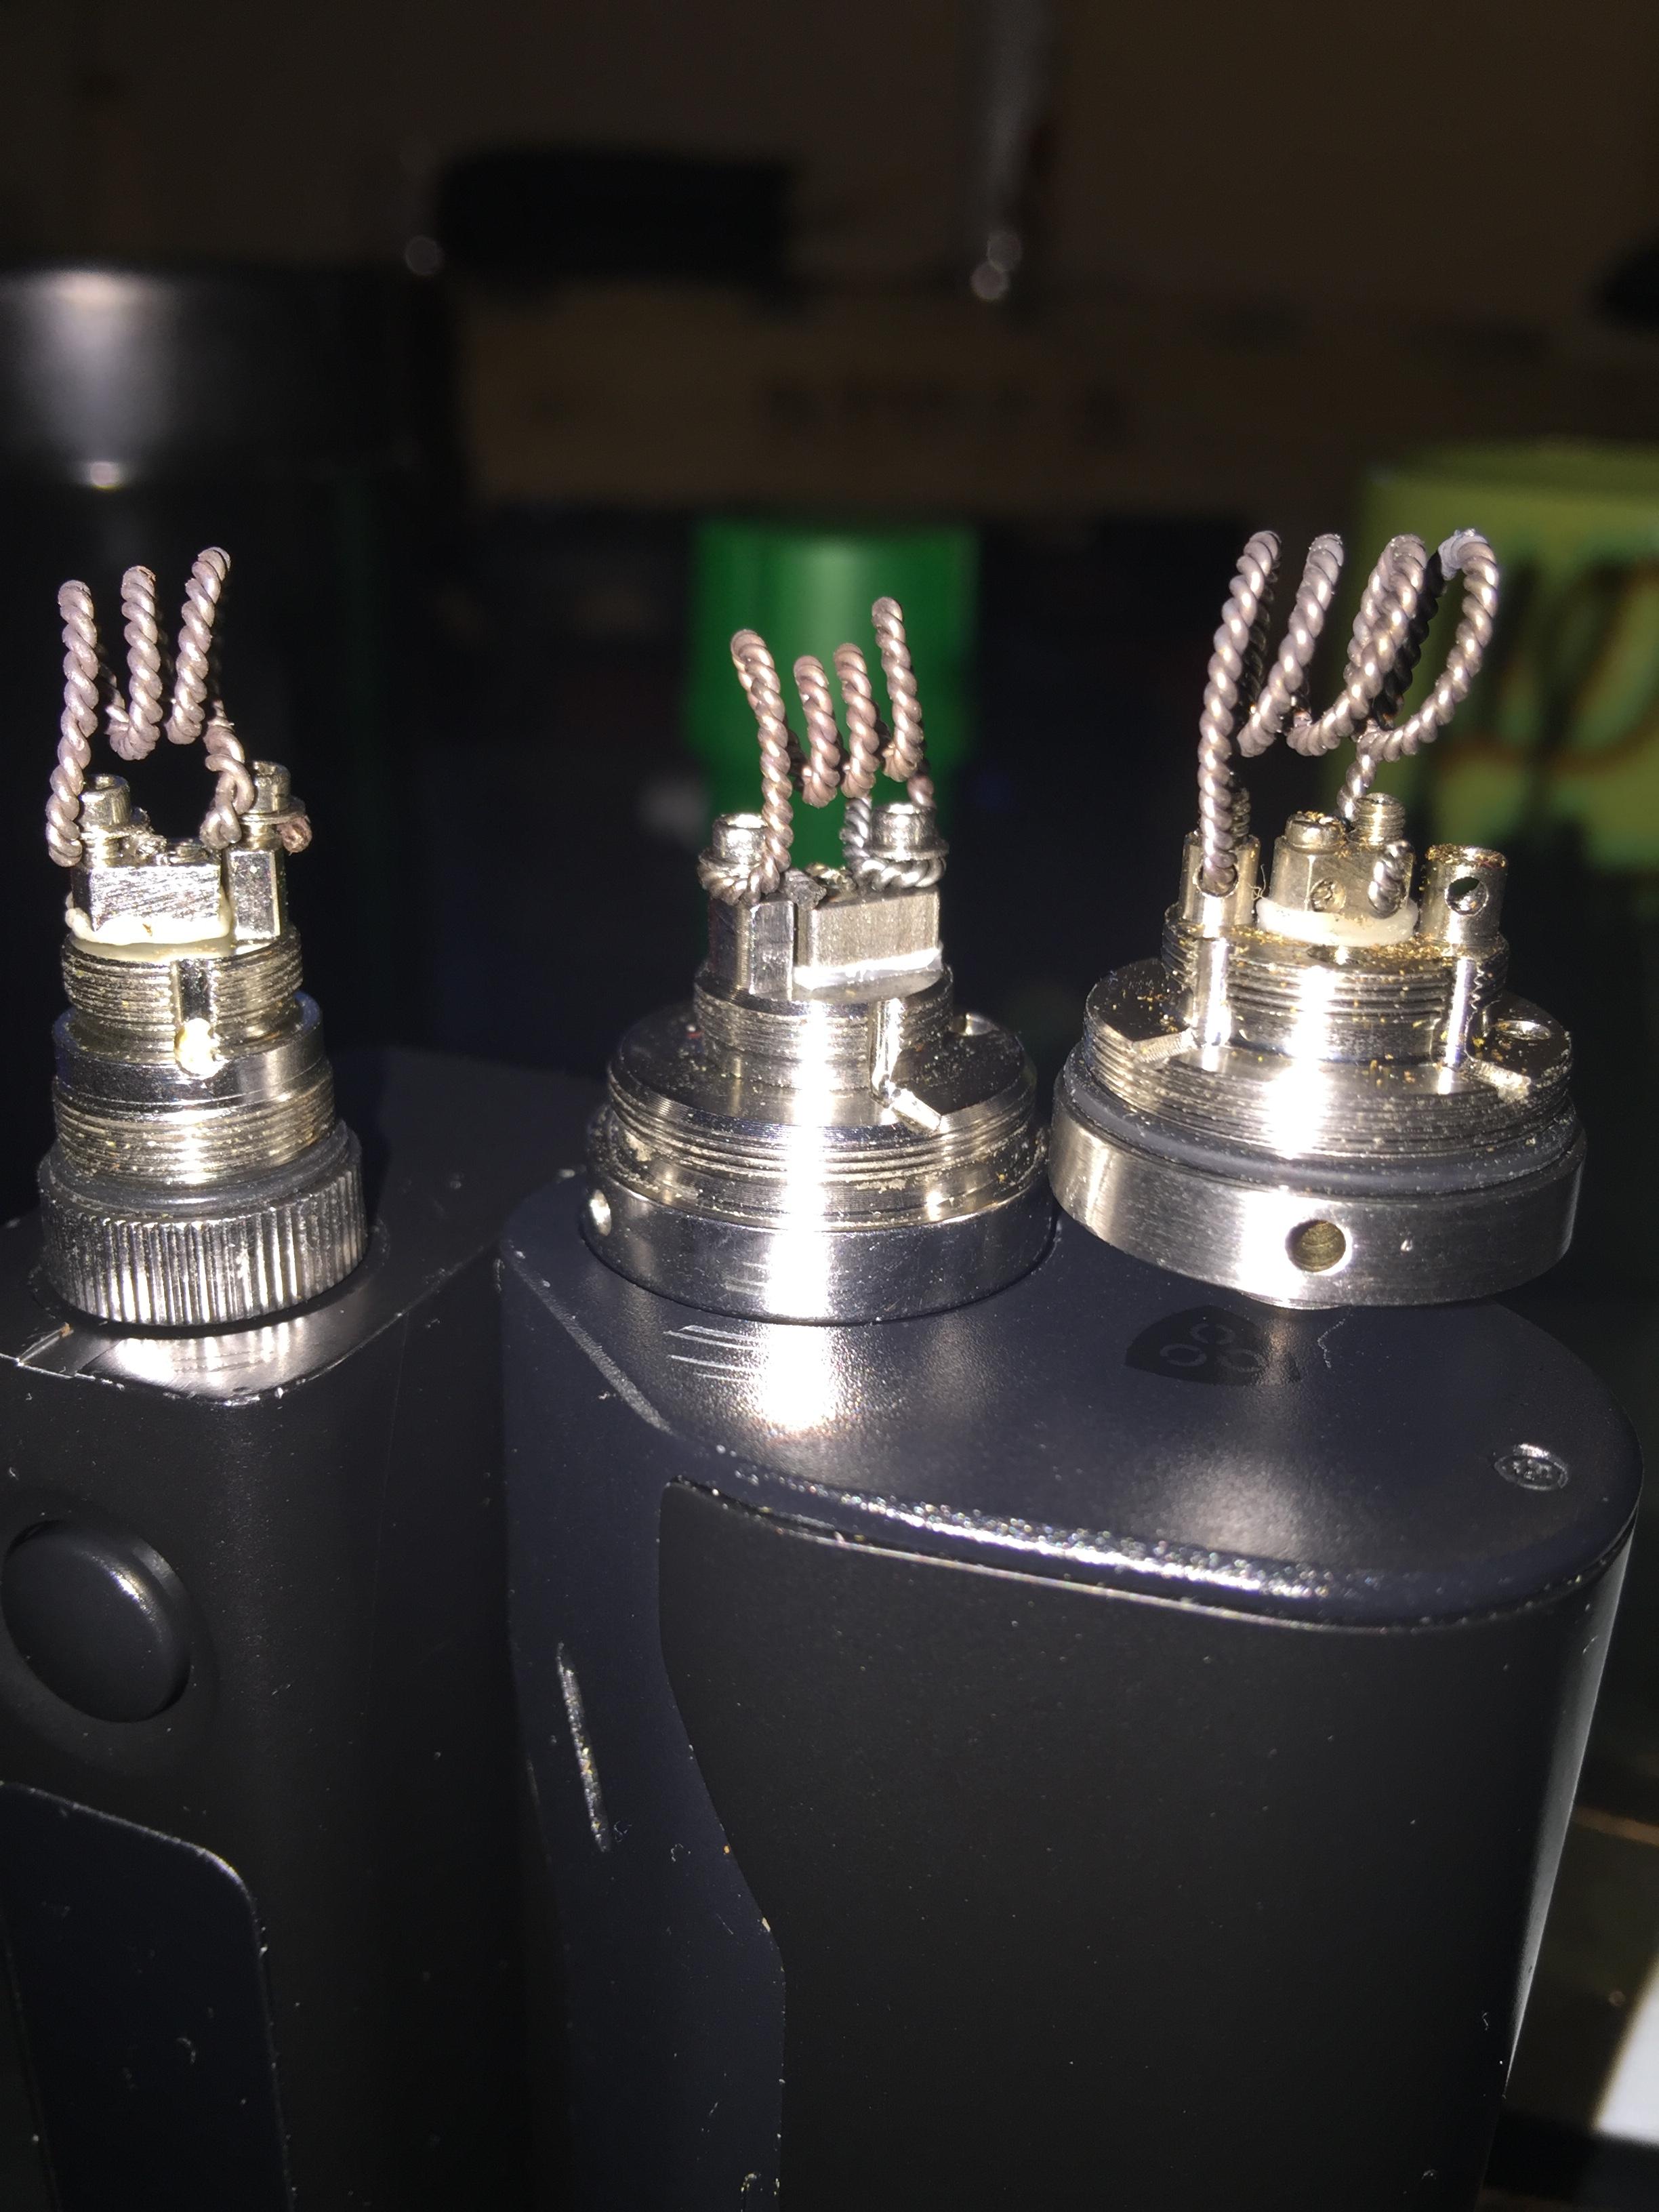
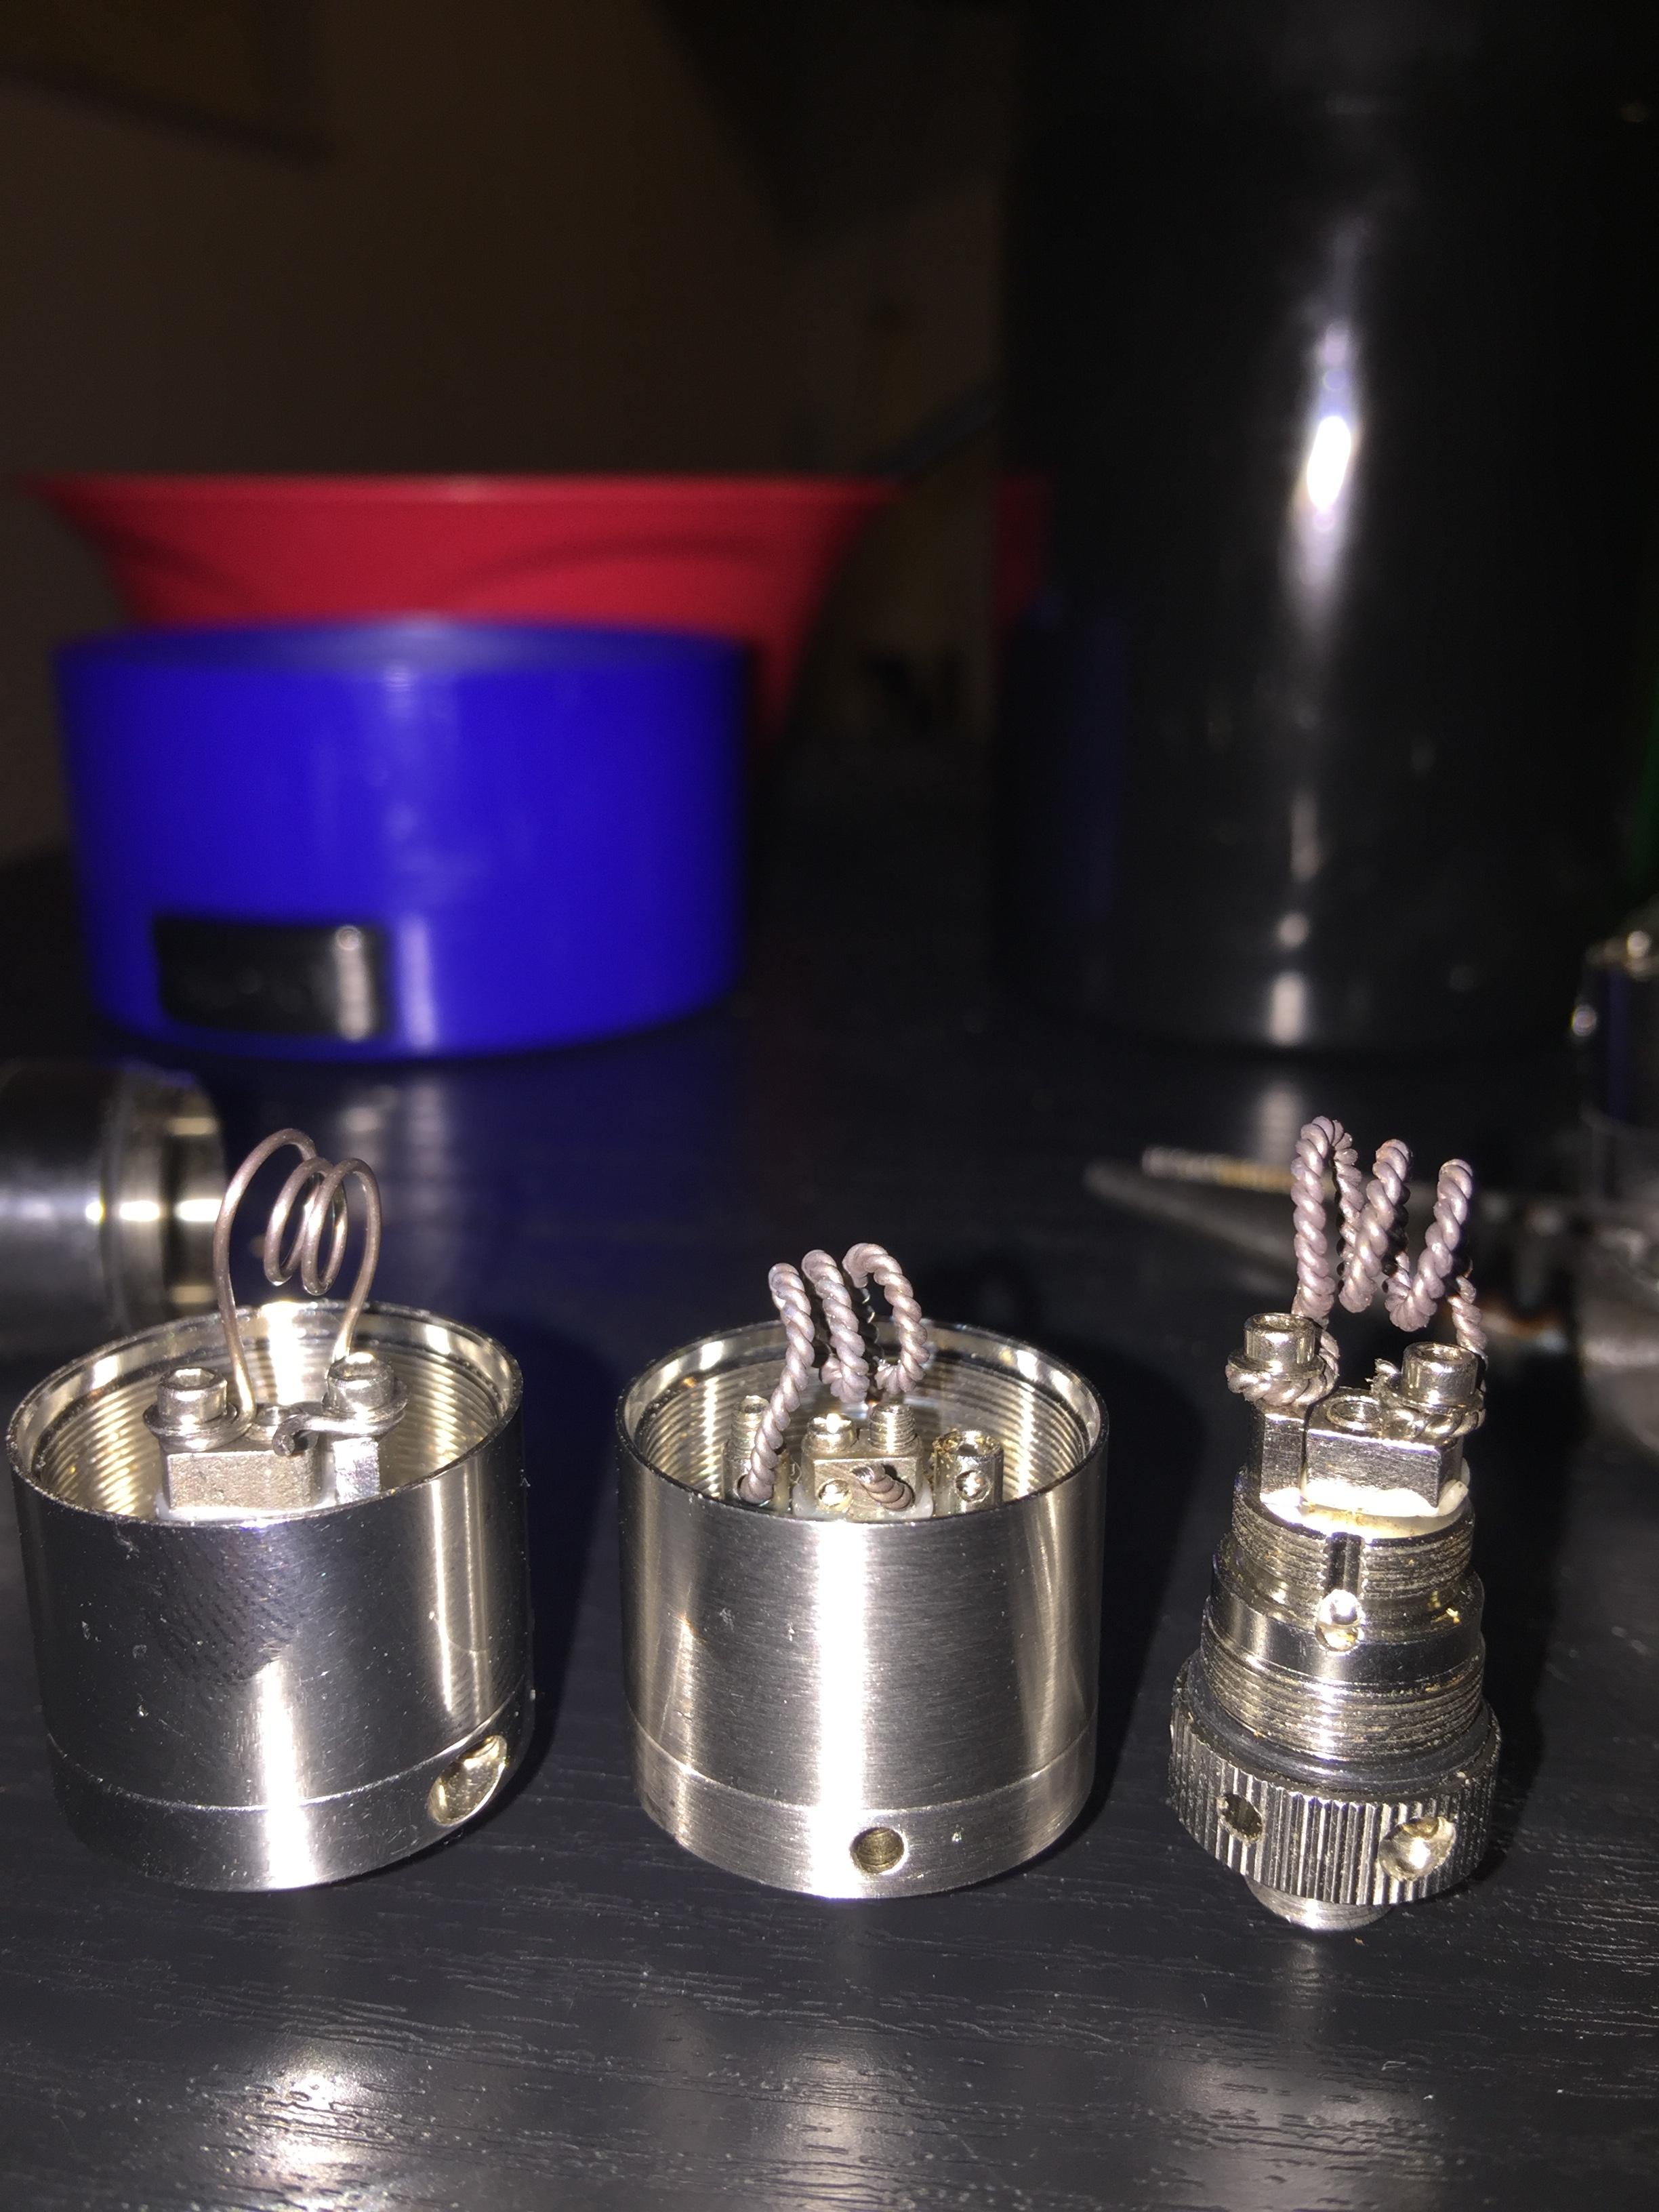


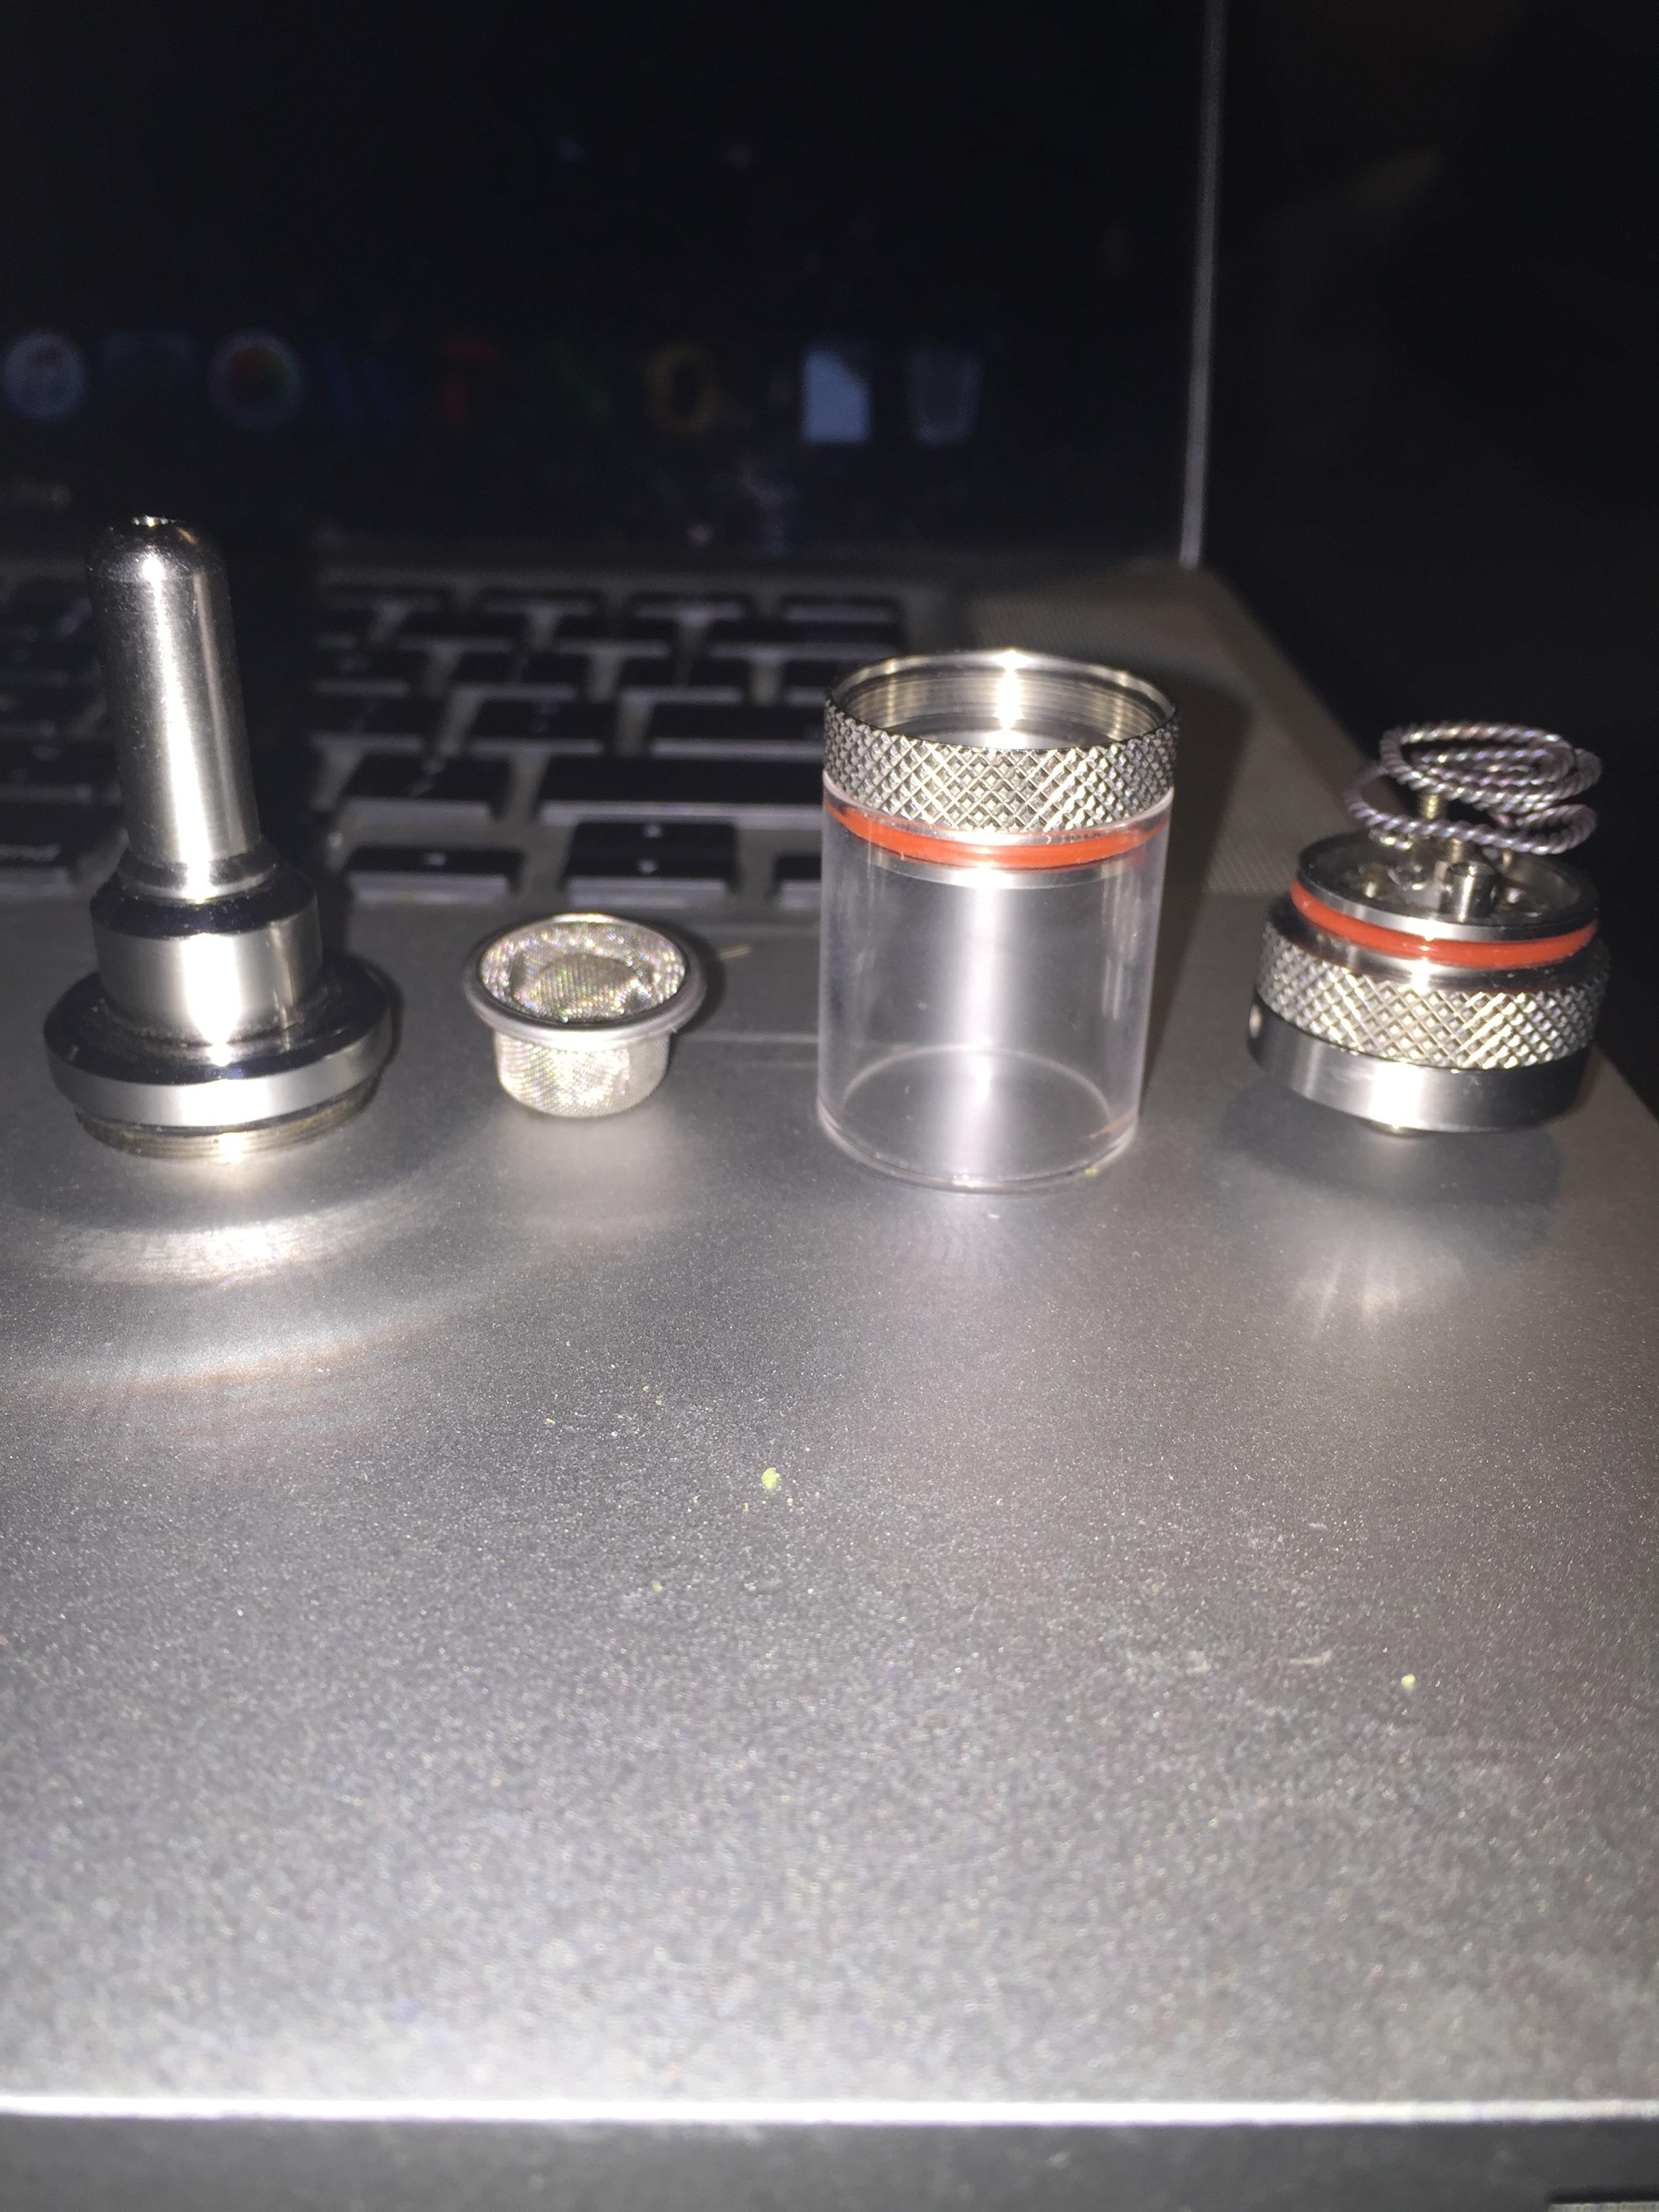
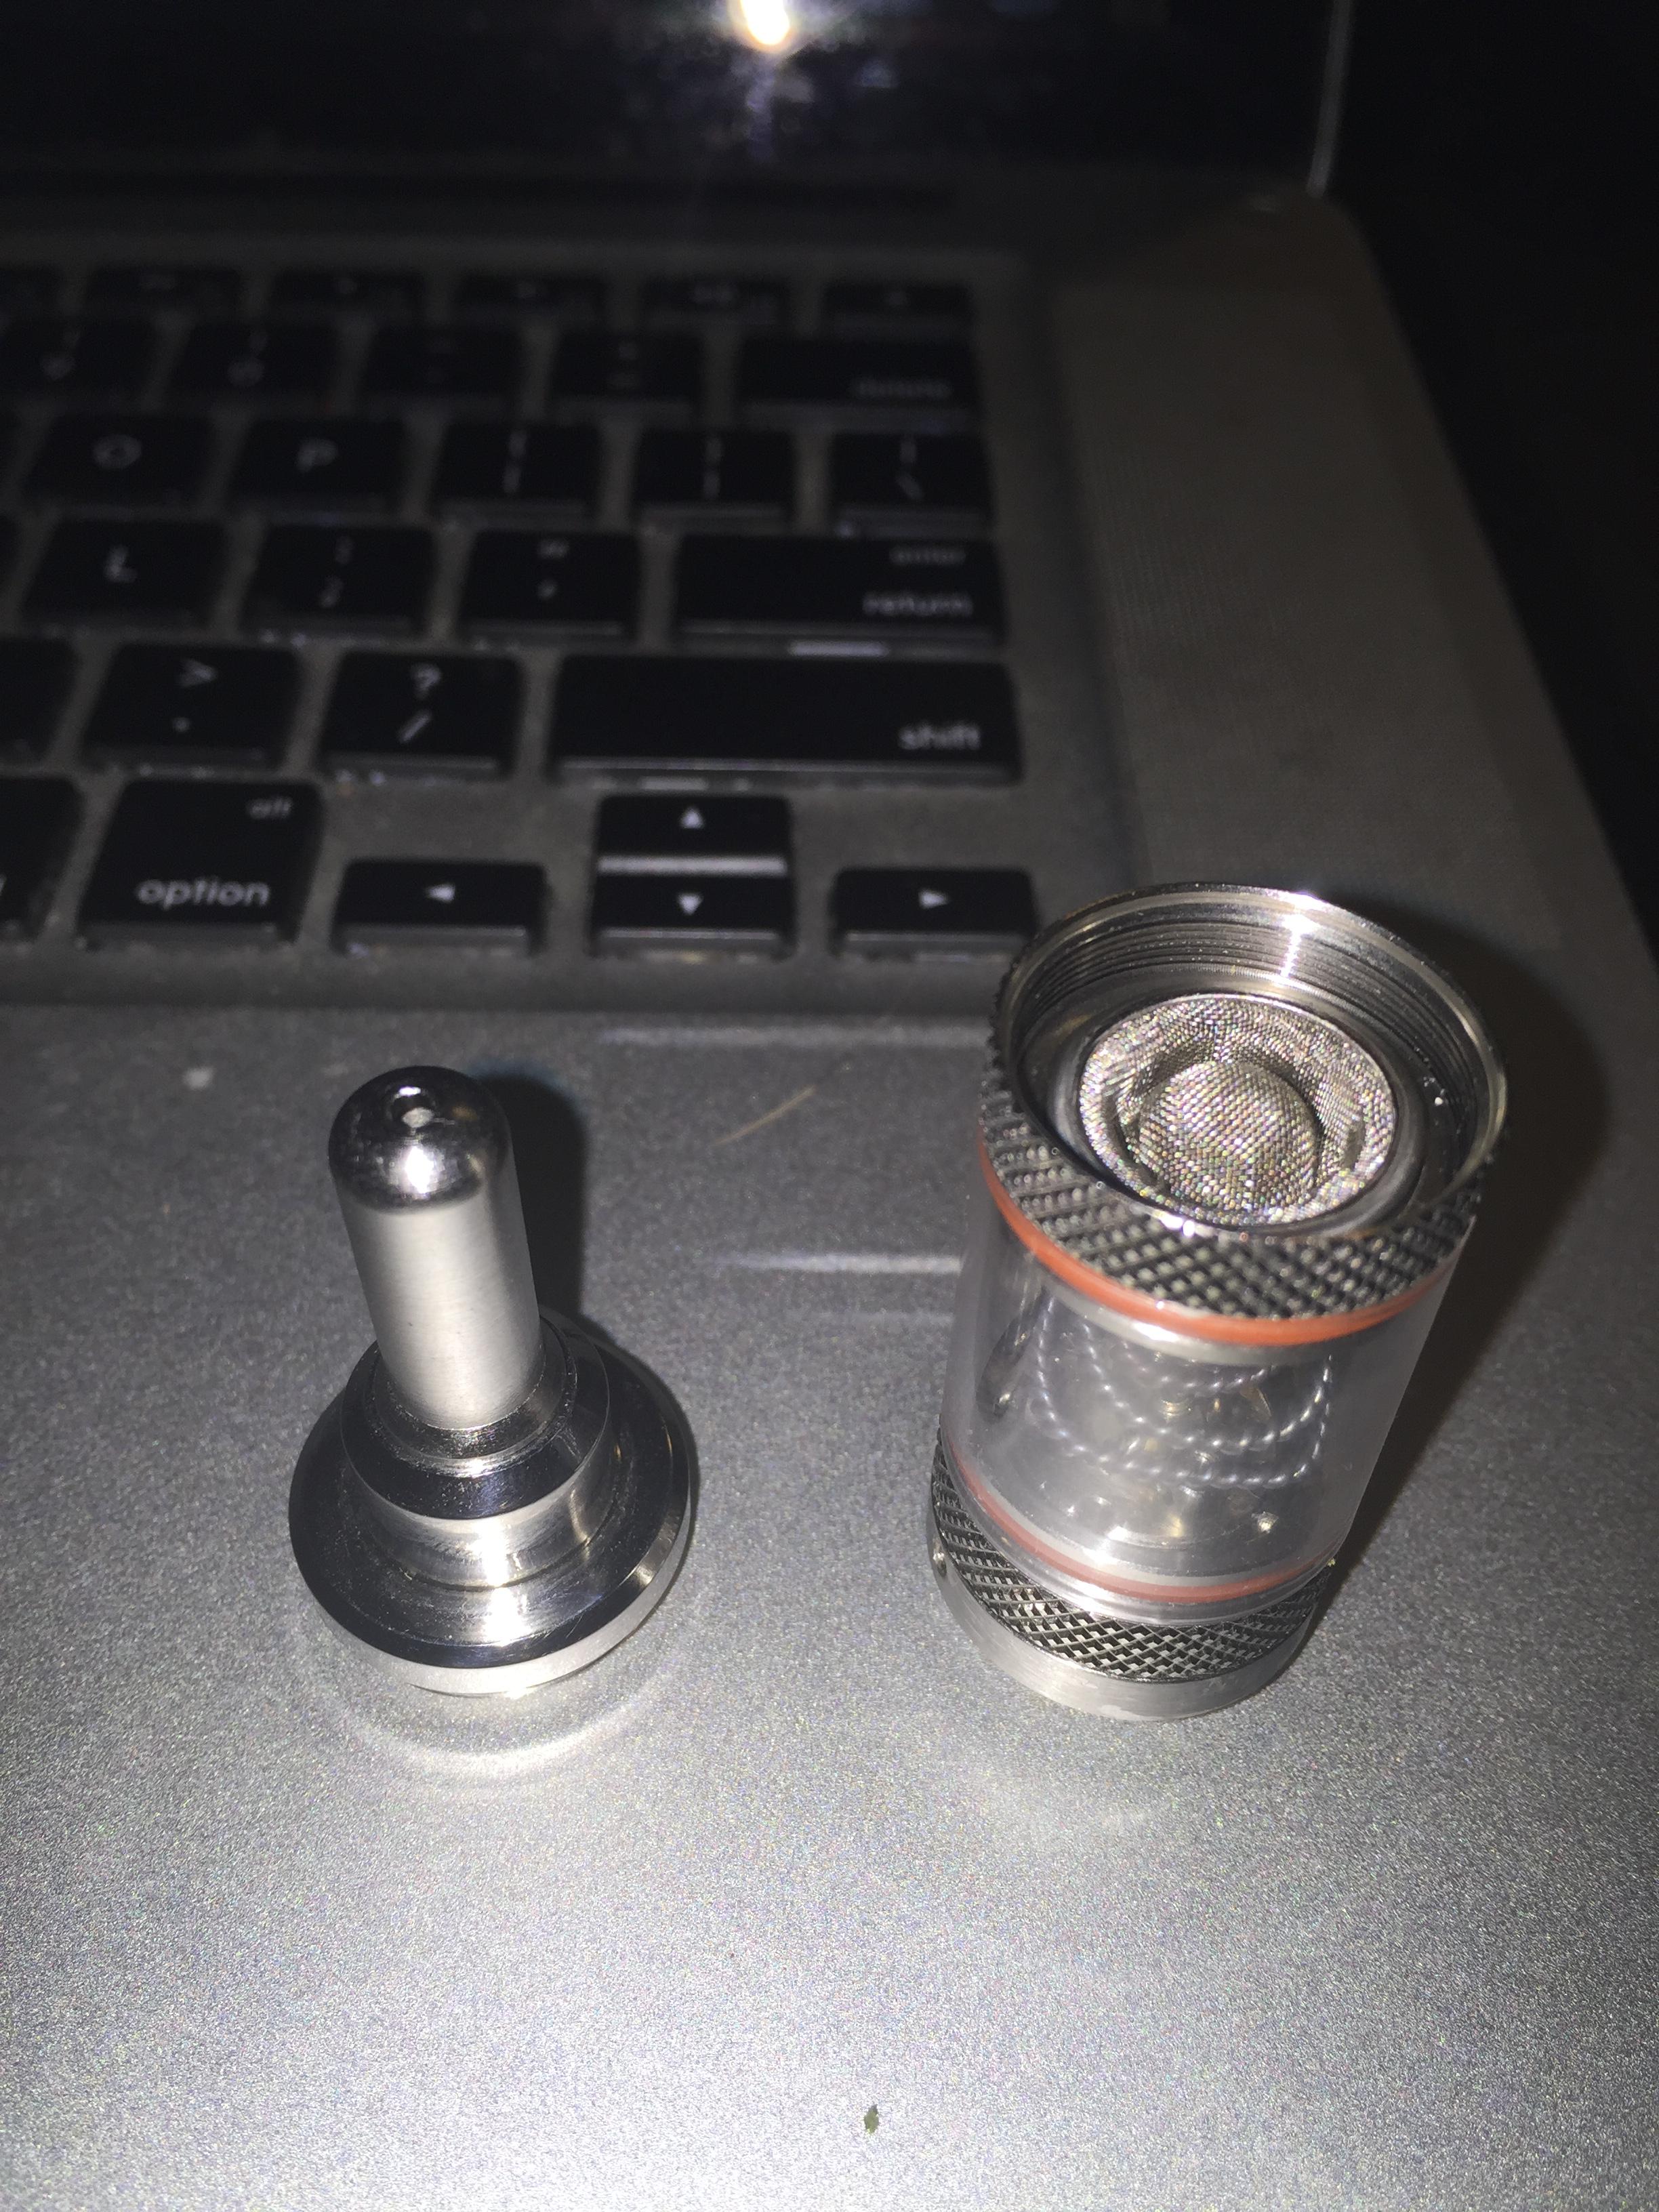
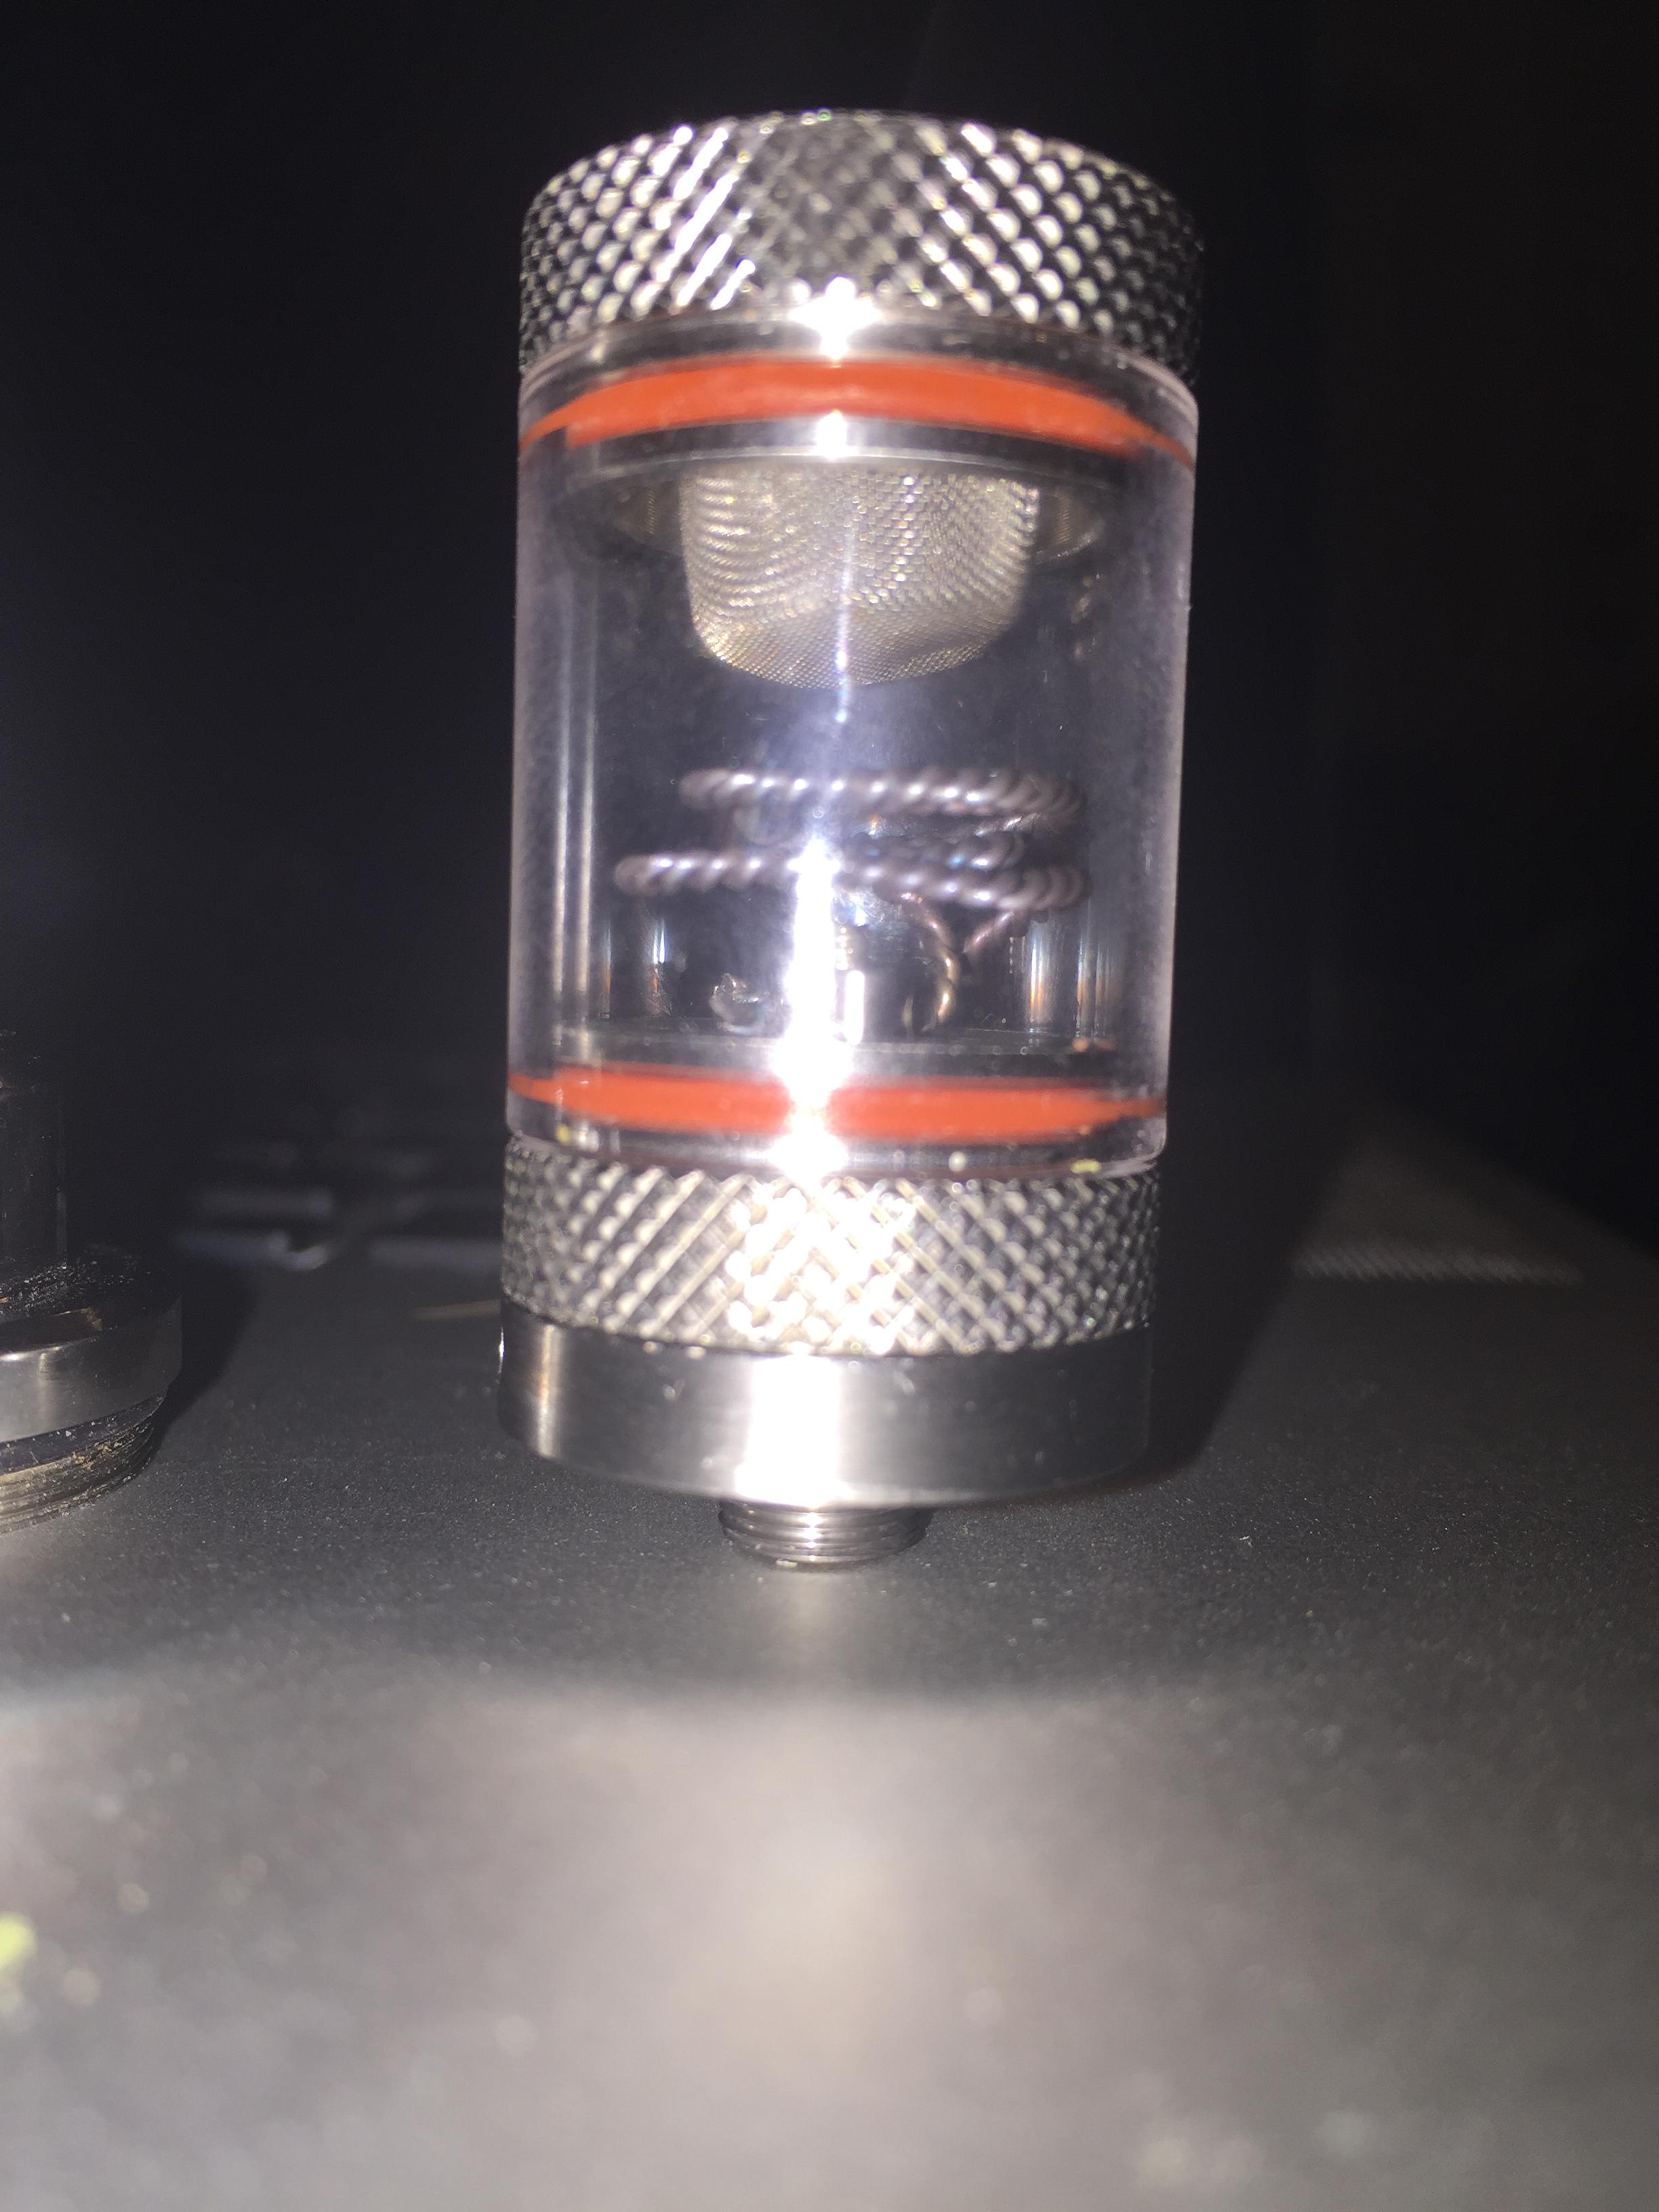

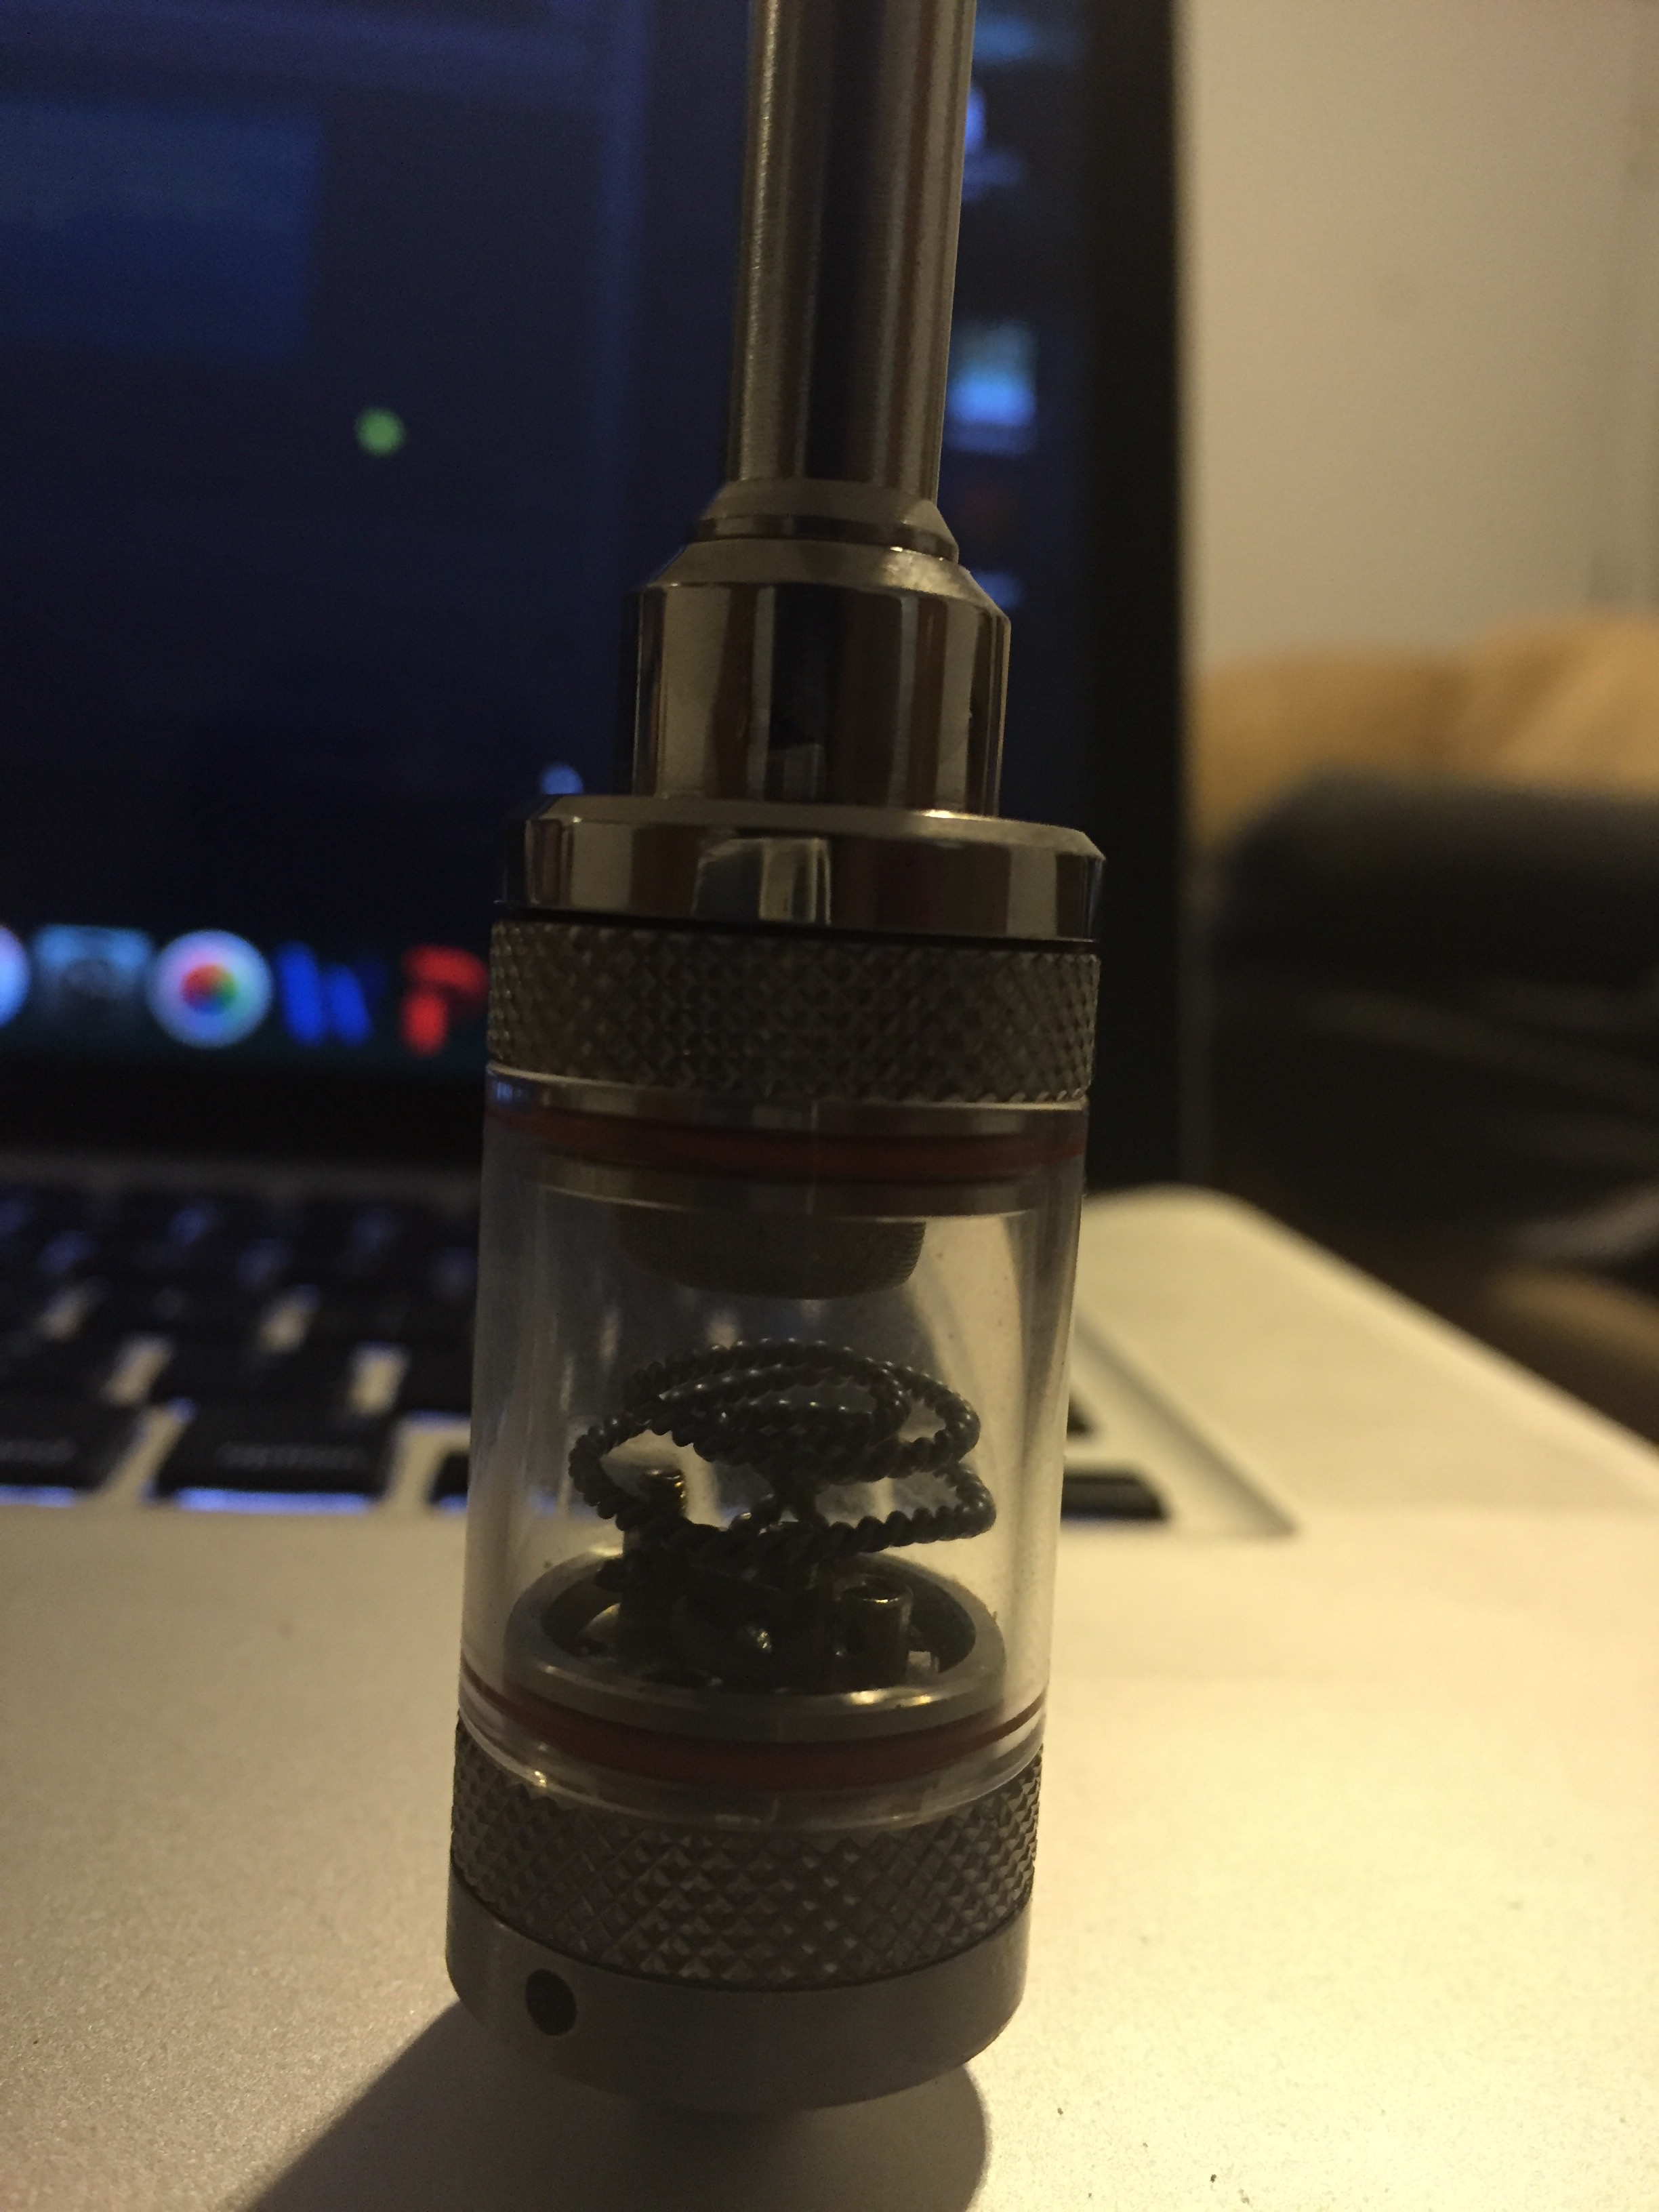
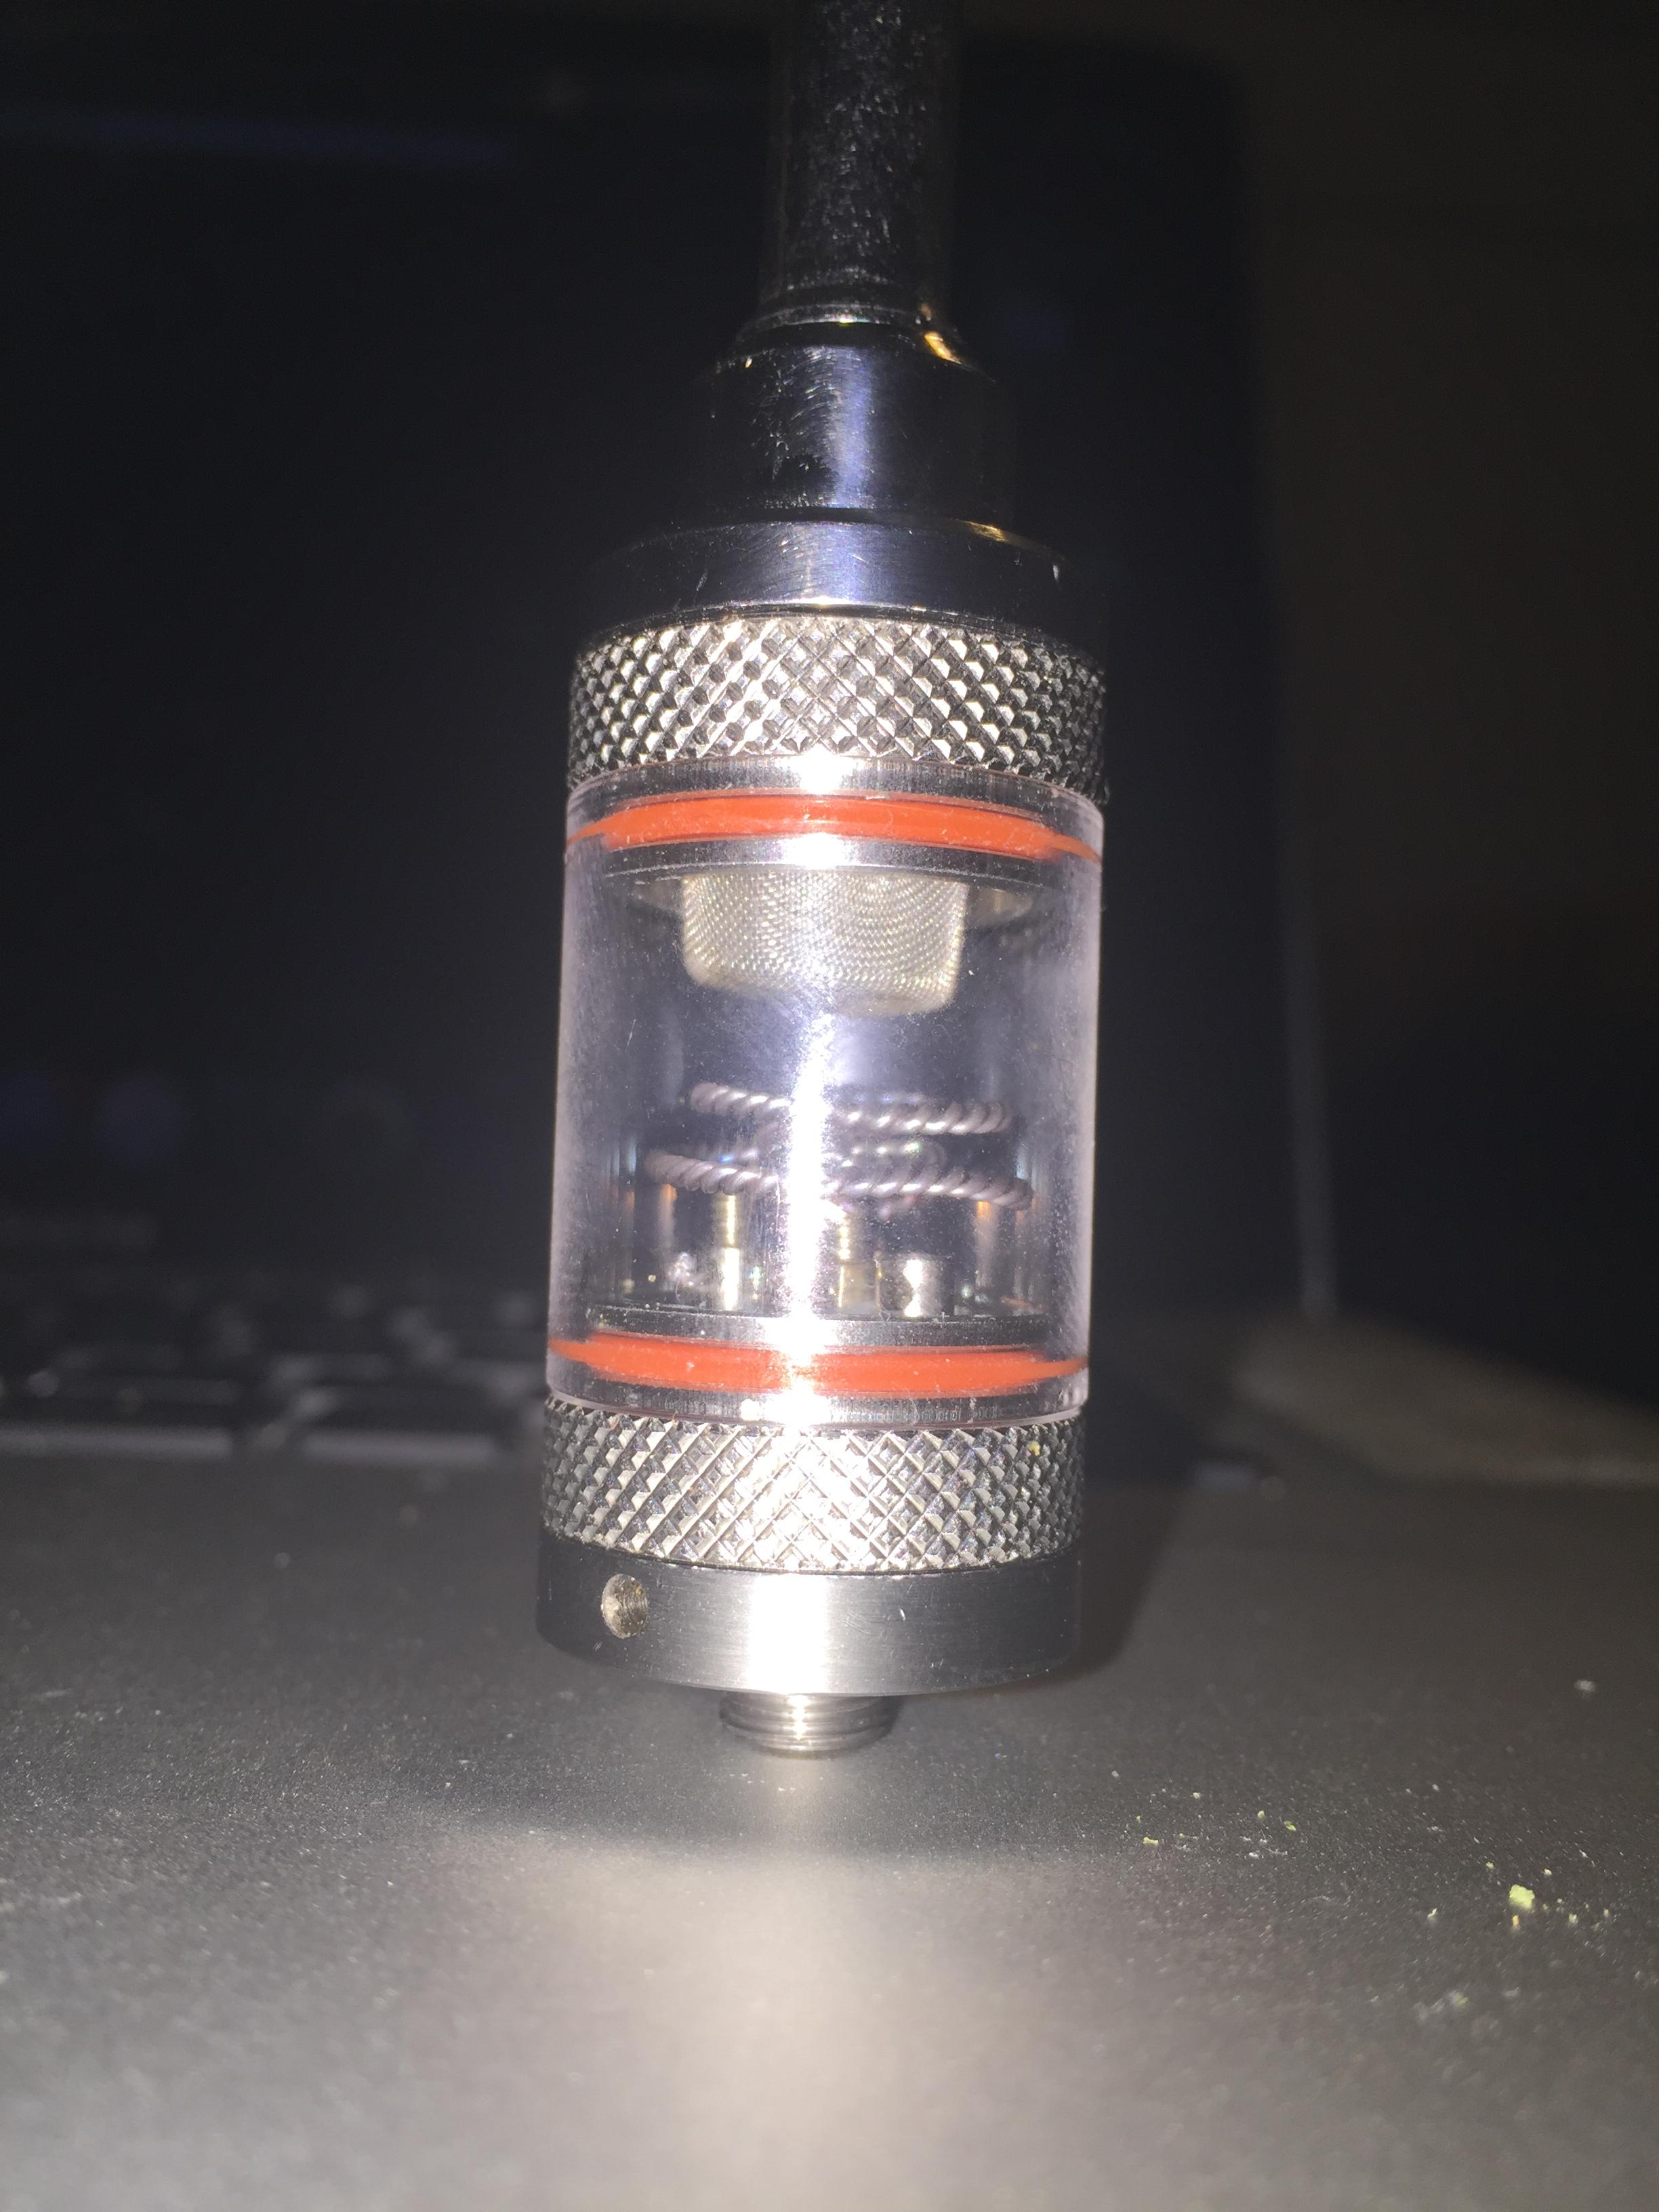


 Odd, I think, my settings didn't change. So I clean it out and build a new coil and start over. Only to find out that the deck would not recognize the new coil! I figured out why!
 ->
->


