Hey guys, I had been looking for a power handle which can be left in the "on" position to use with my Bulli vaporiser. I could not find anything out there except for a couple ideas in the DIY format. I found an attempt at this mod in another forum but did not seem to be designed to cope with the high temperatures which is needed for our application. This is a modified version which should better suit our demands.
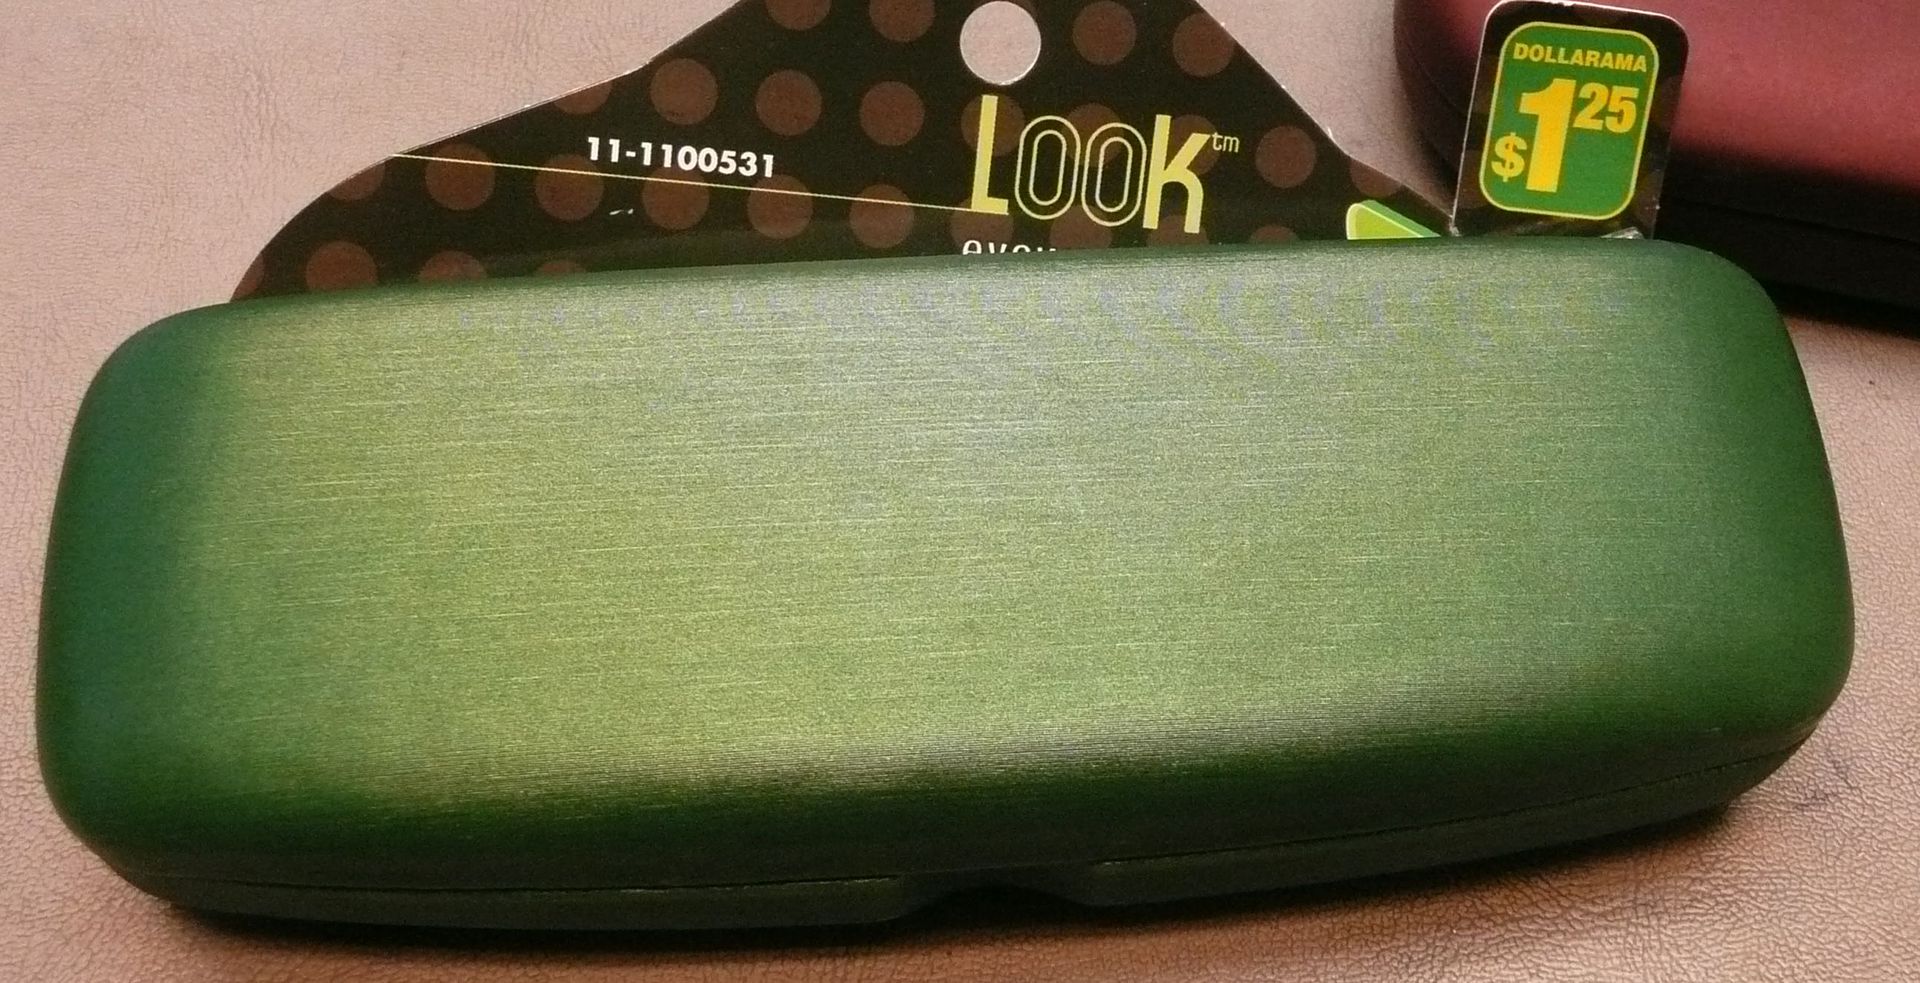
The great part of this mod is that the only part which would need to be ordered on line is the 510 connector. The flashlights can be had at most dollar stores. You need two of these.
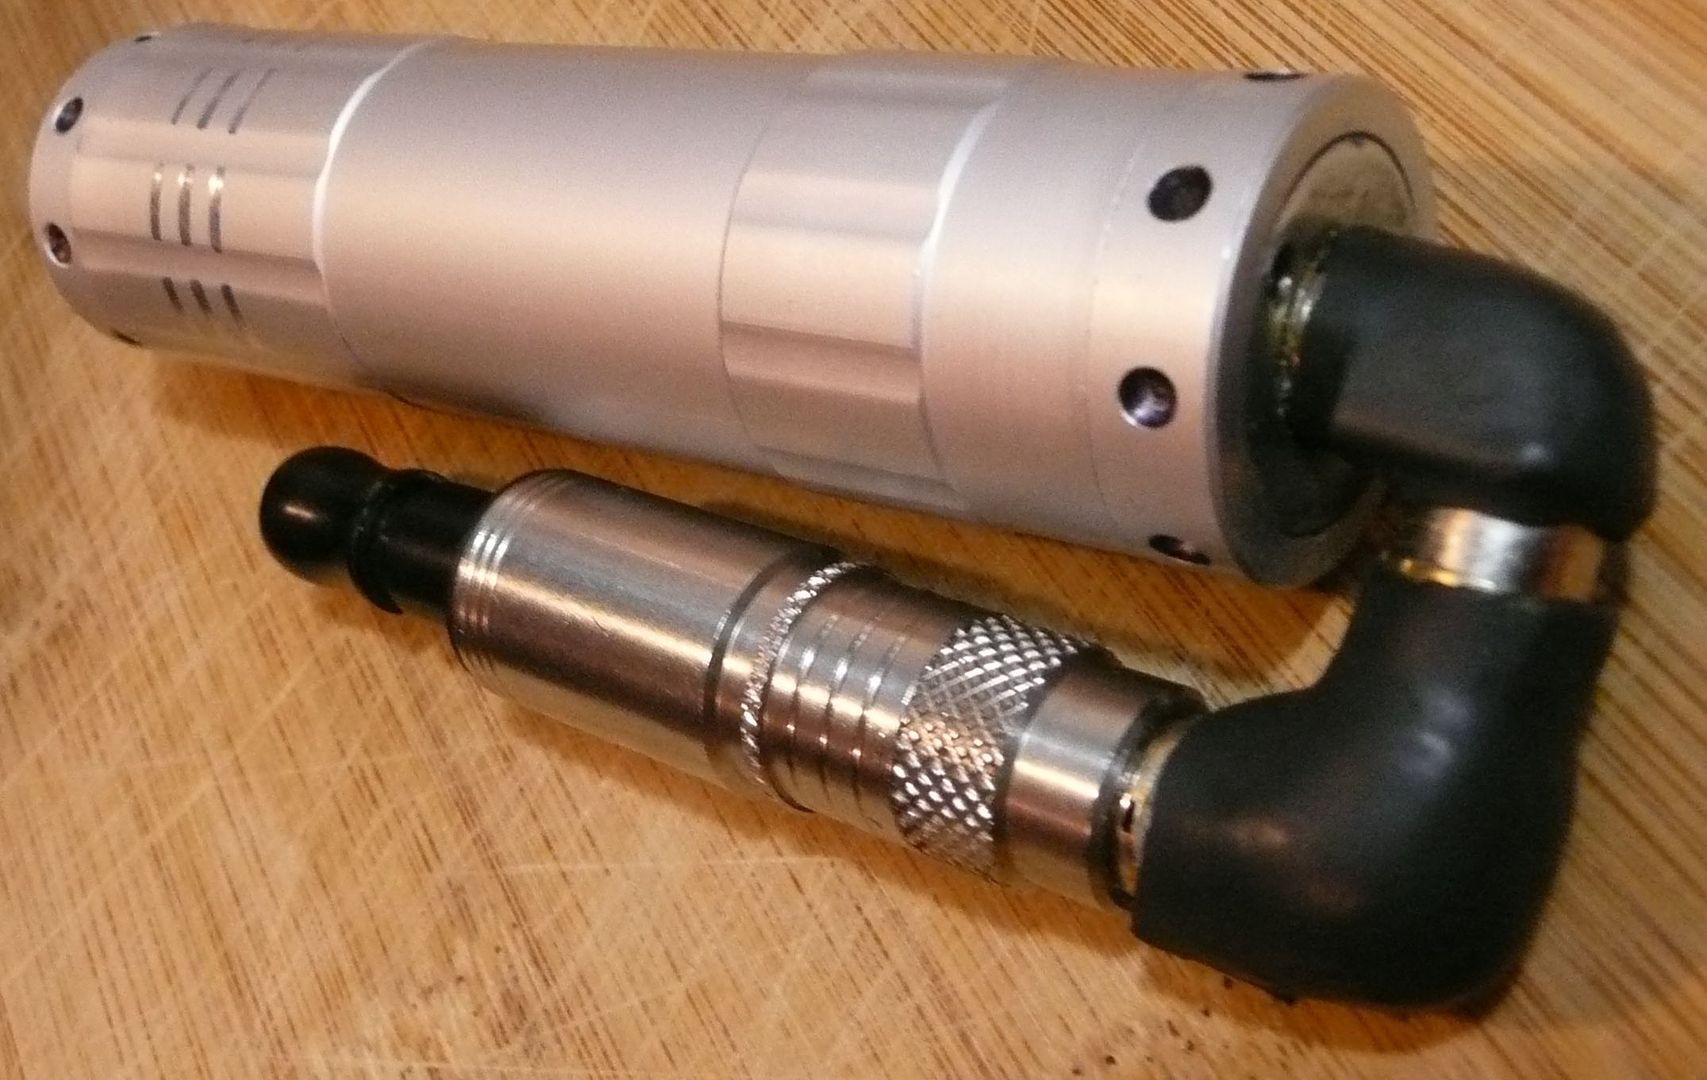
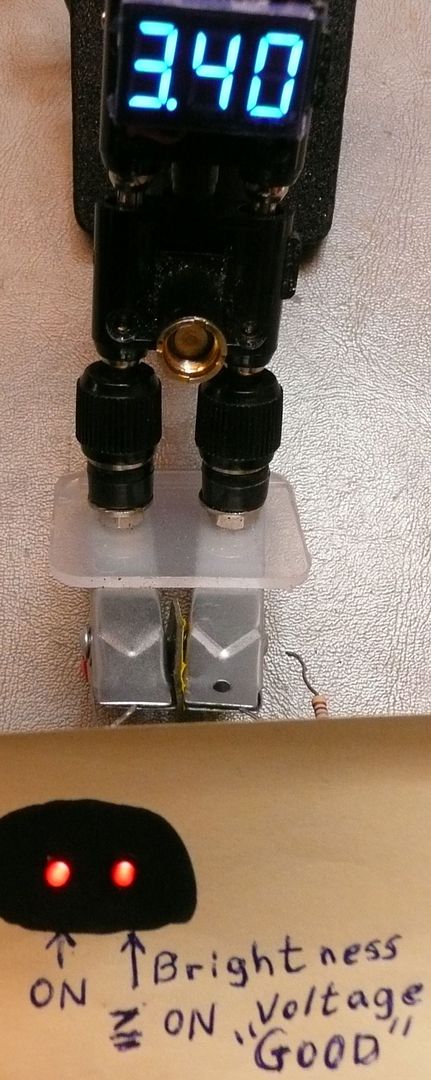
Before:

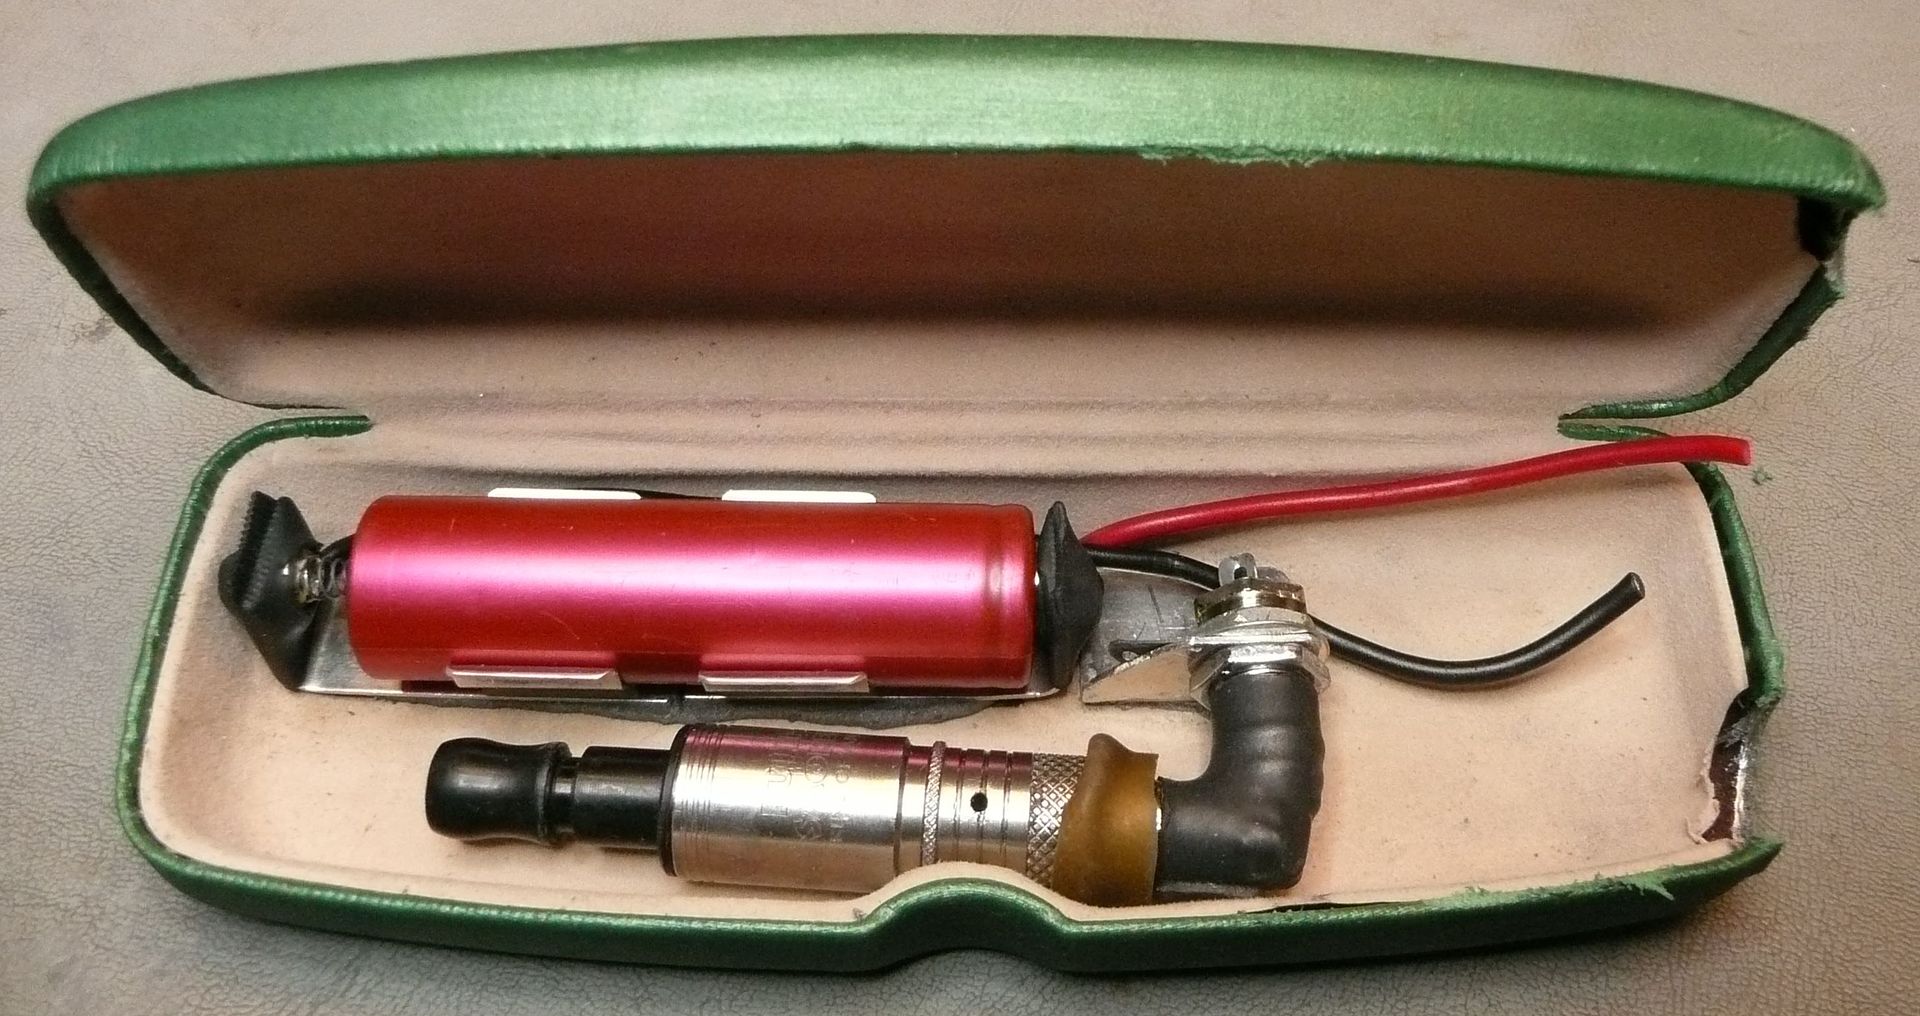
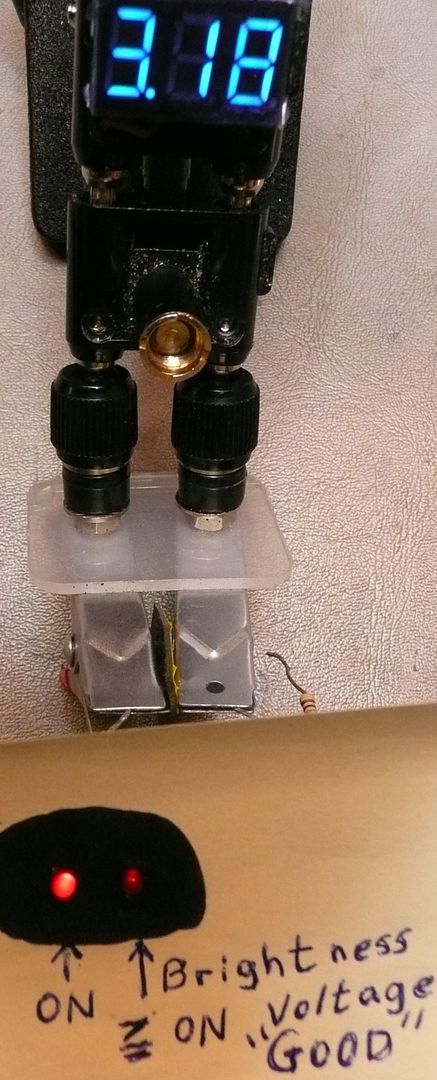
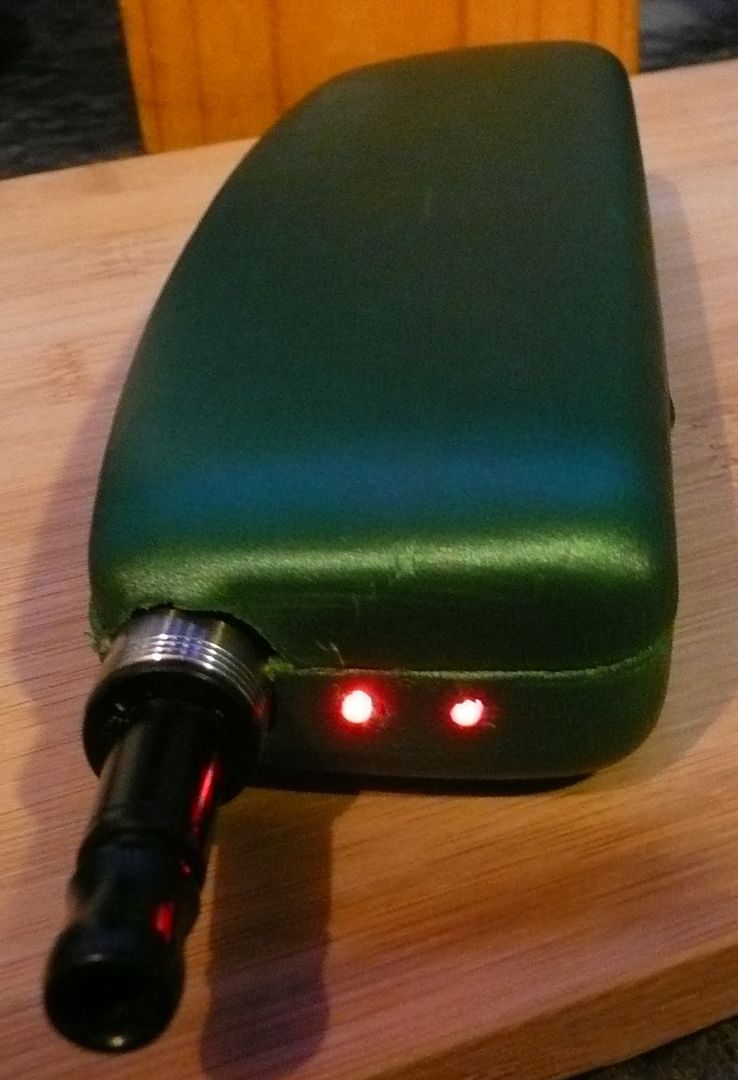
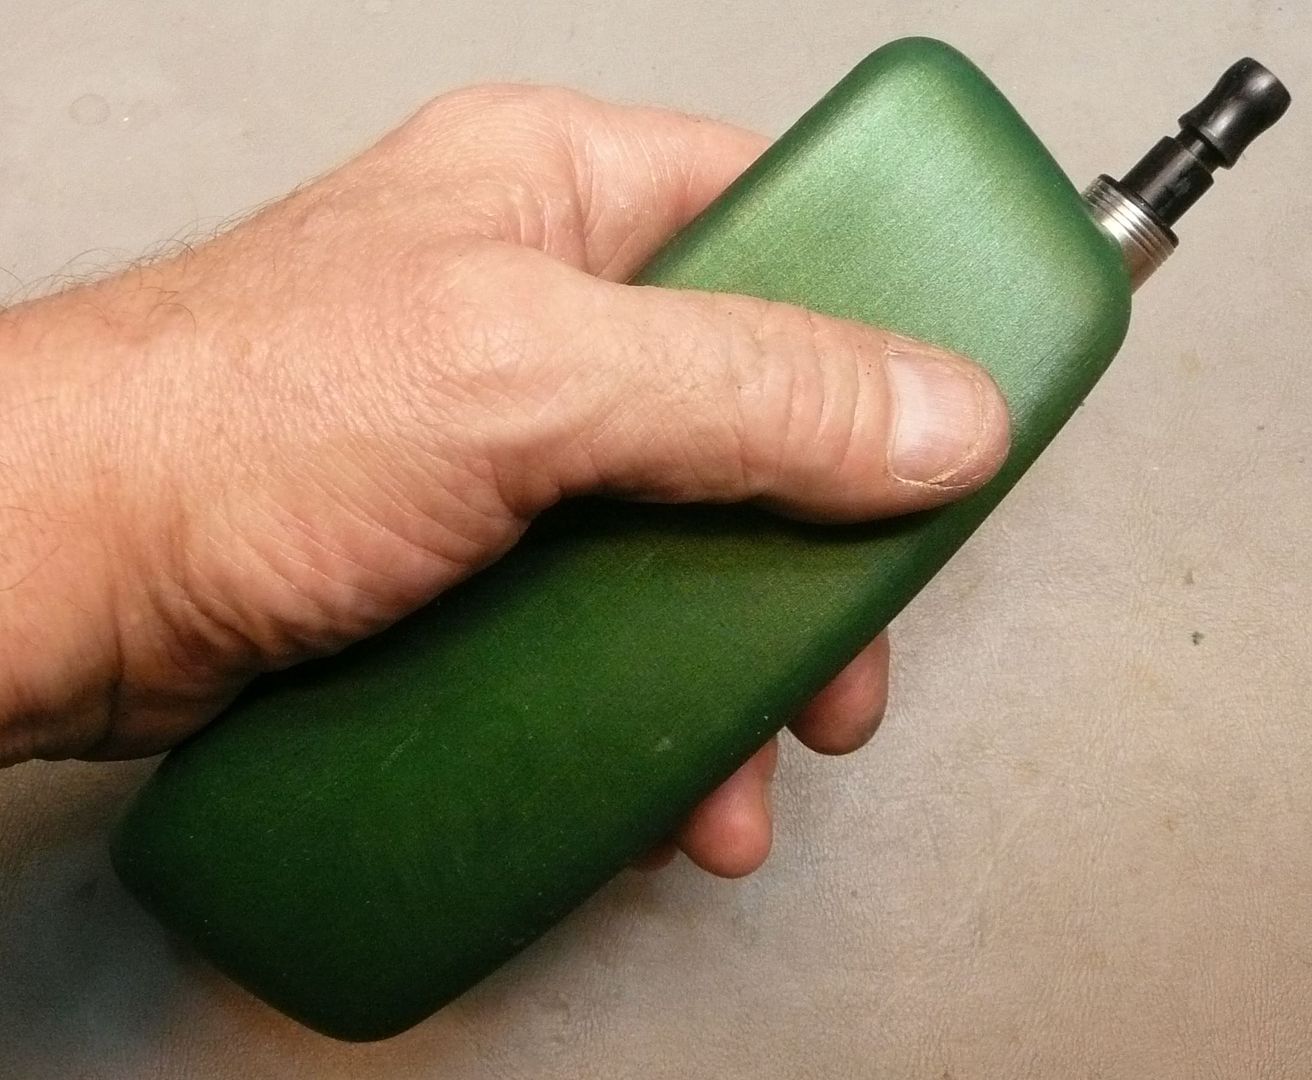
After:
So far-
The pros: Works, cheap, handles heat well, small and light.
The cons: Actual switch is cheap and longevity is likely not good, no safety features.
How To:
First off the idea here is to have both ends thread-able such that the switch can screw in either end. The way it comes is one end is already threaded and the other end contains the LED holder which is just held in place by the clear window.
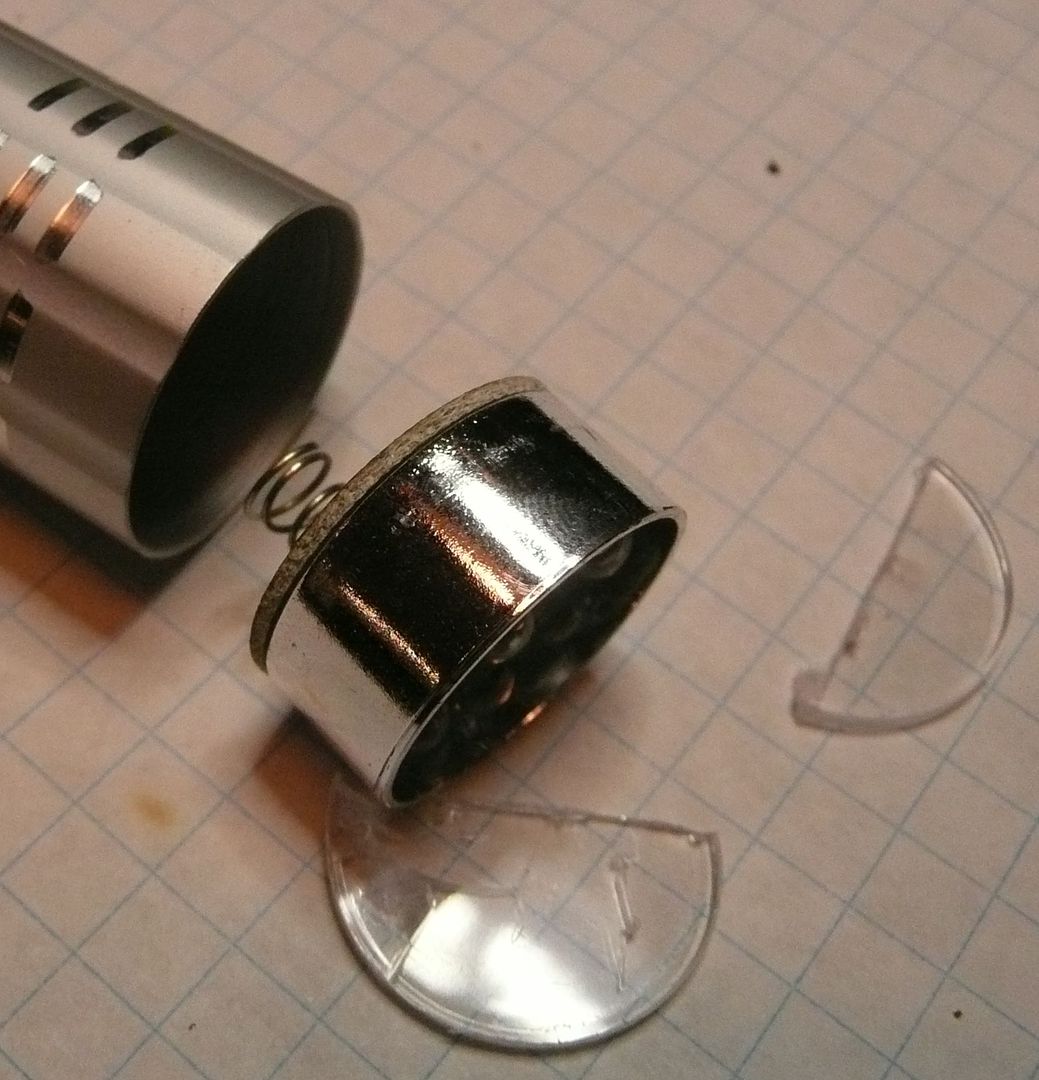
Once the window is taken out the LED holder just pulls straight out.
This leaves an open non-threaded end of the tube. Now take the other flashlight tube and you will find the threaded end too large to readily slide into the non-threaded end which the LED holder was just removed. This is the hardest part and time consuming the way I did it. I used a file and slowly took the other tube diameter down as well as the inside wall of the non-threaded opening. Also used sand paper to even out as much as possible. There are likely many ways to thin these parts down but I just used what I had readily available.
Take it down till the sleeve can be pressure fit into each other.
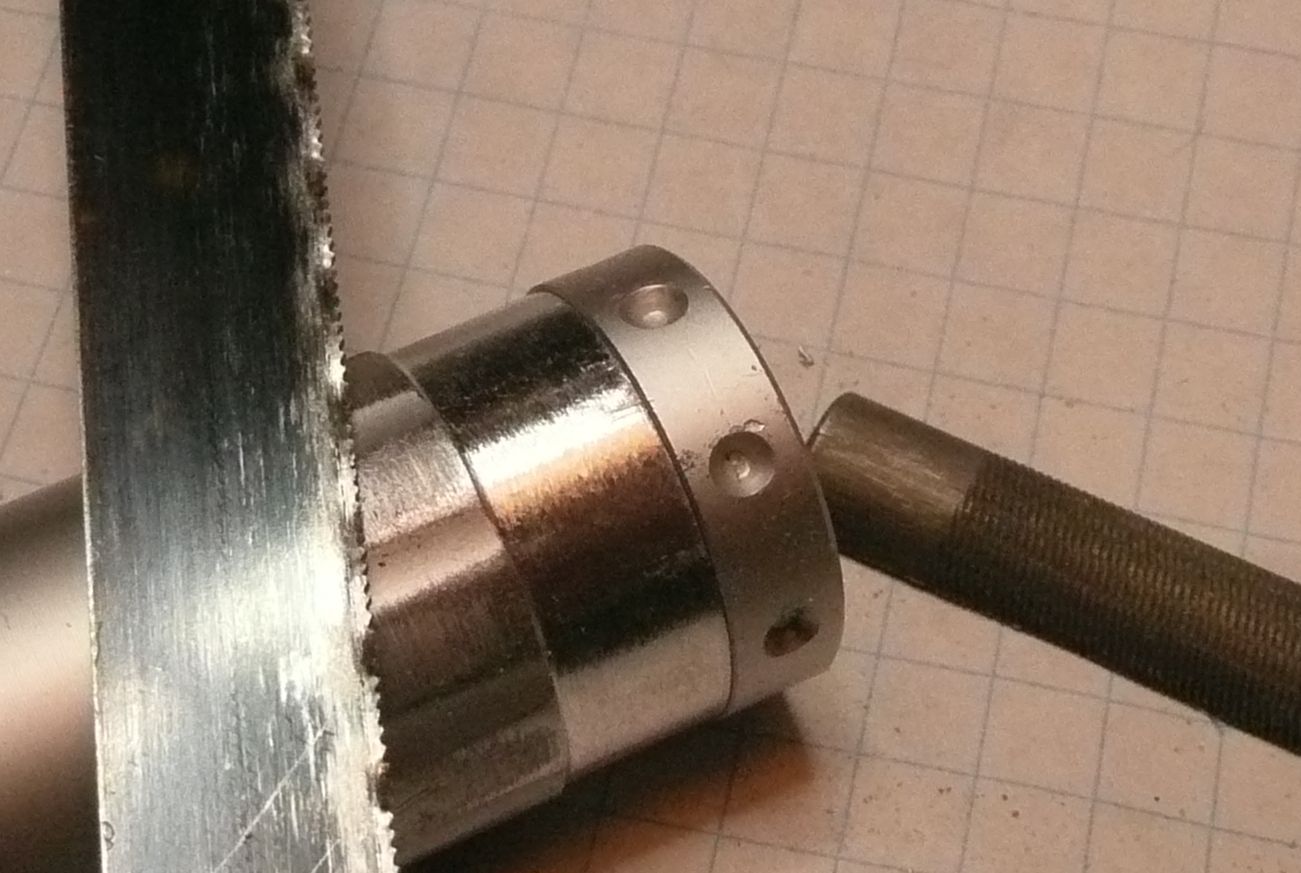
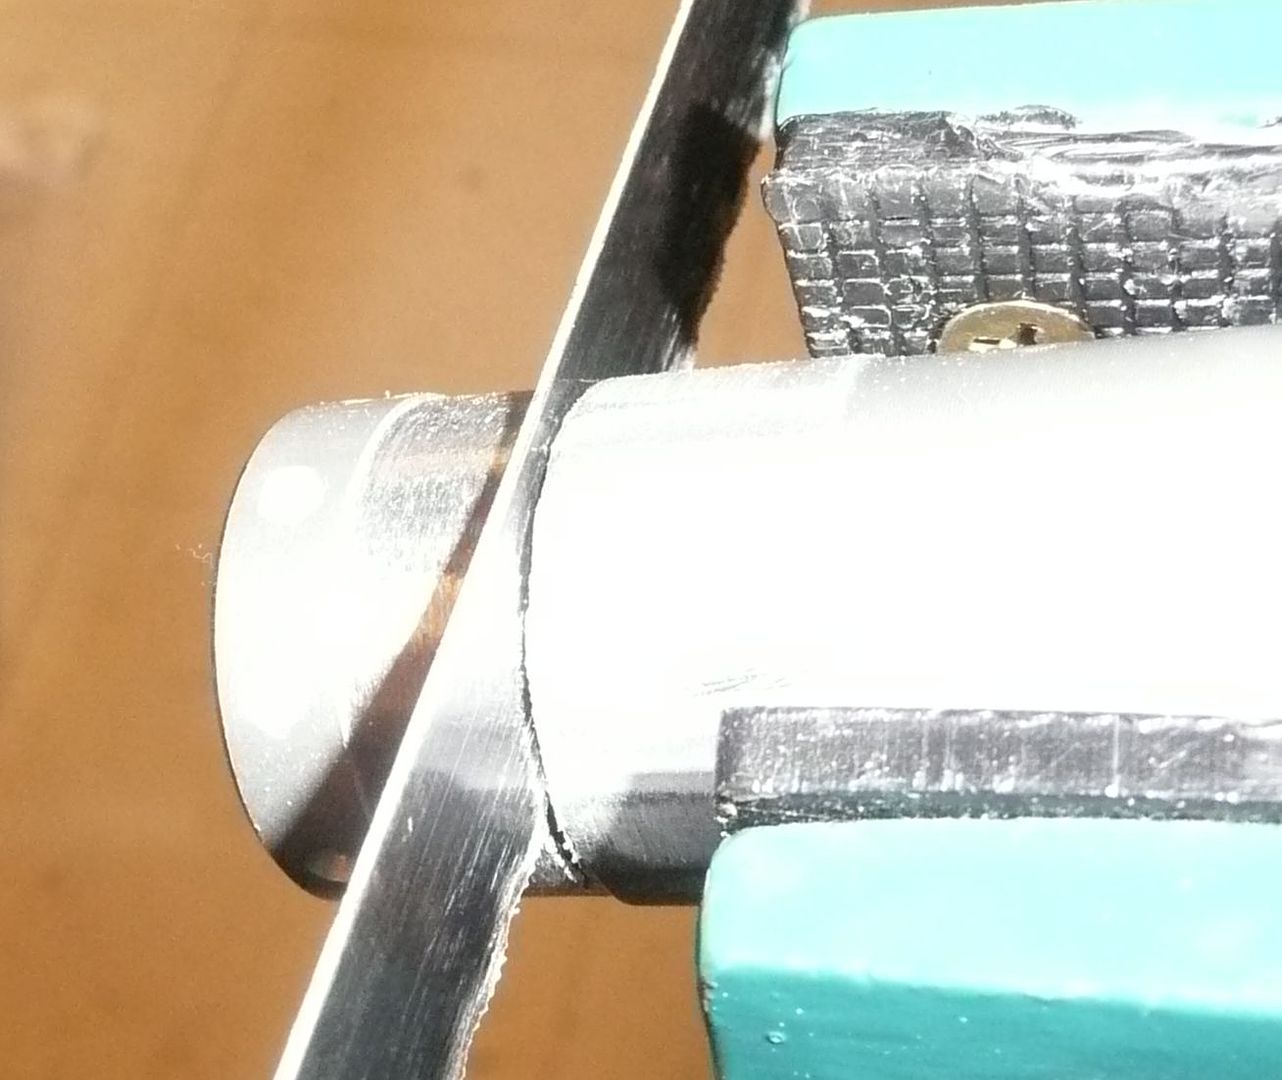
I used a hack saw to cut it. I first screwed in one of the switches to ensure no crimping.

Disassemble one of the push switches which will be used for the connector end. Then screw the cut piece back into the switch. I used a block of wood and a small hammer to tap the tubes together.

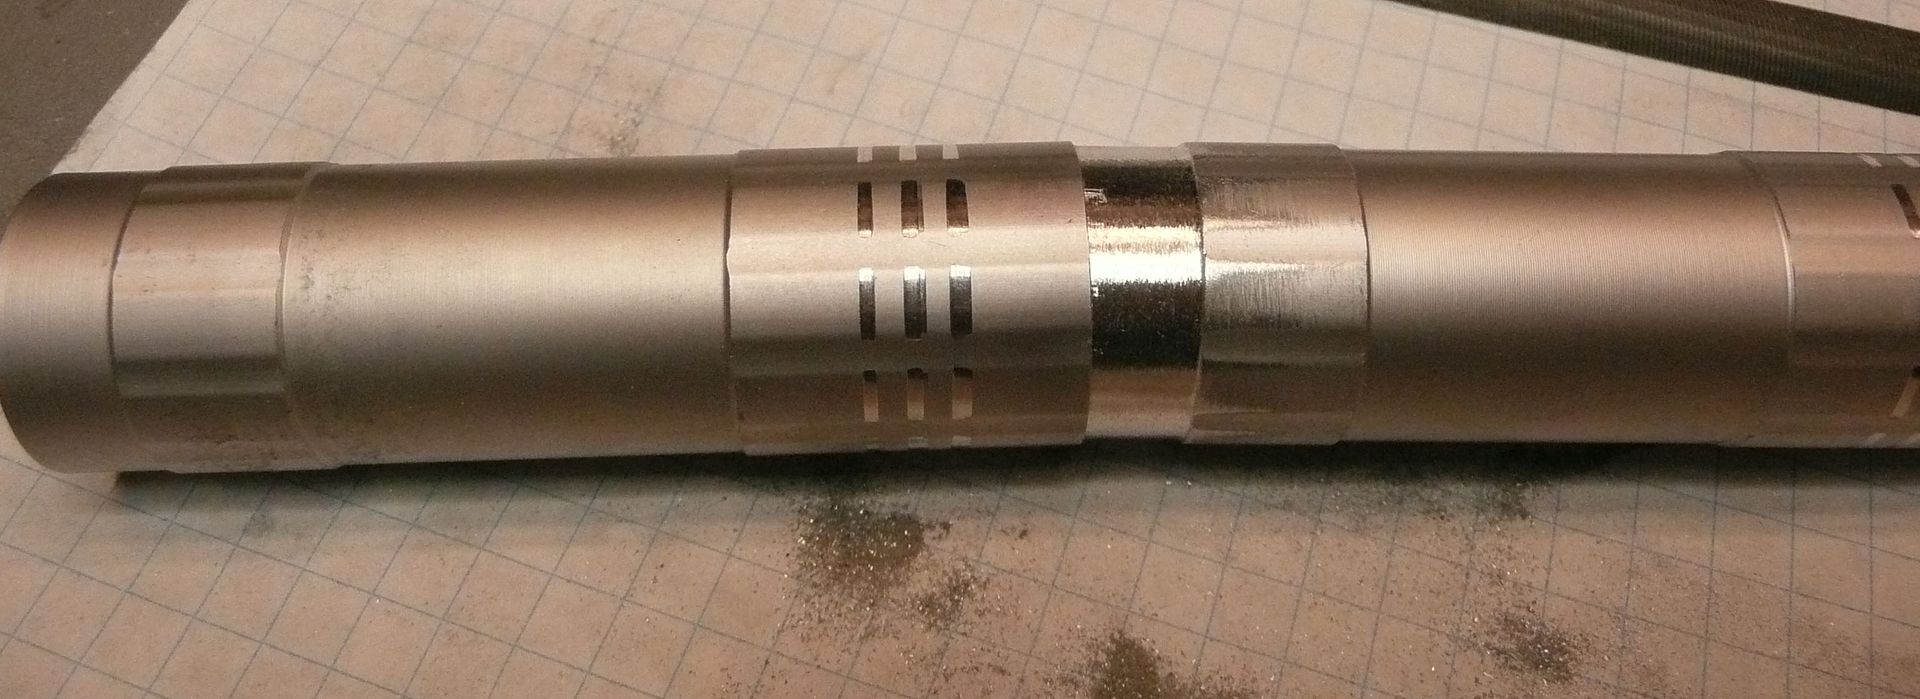
Now you should have a tube which can be used either way around.
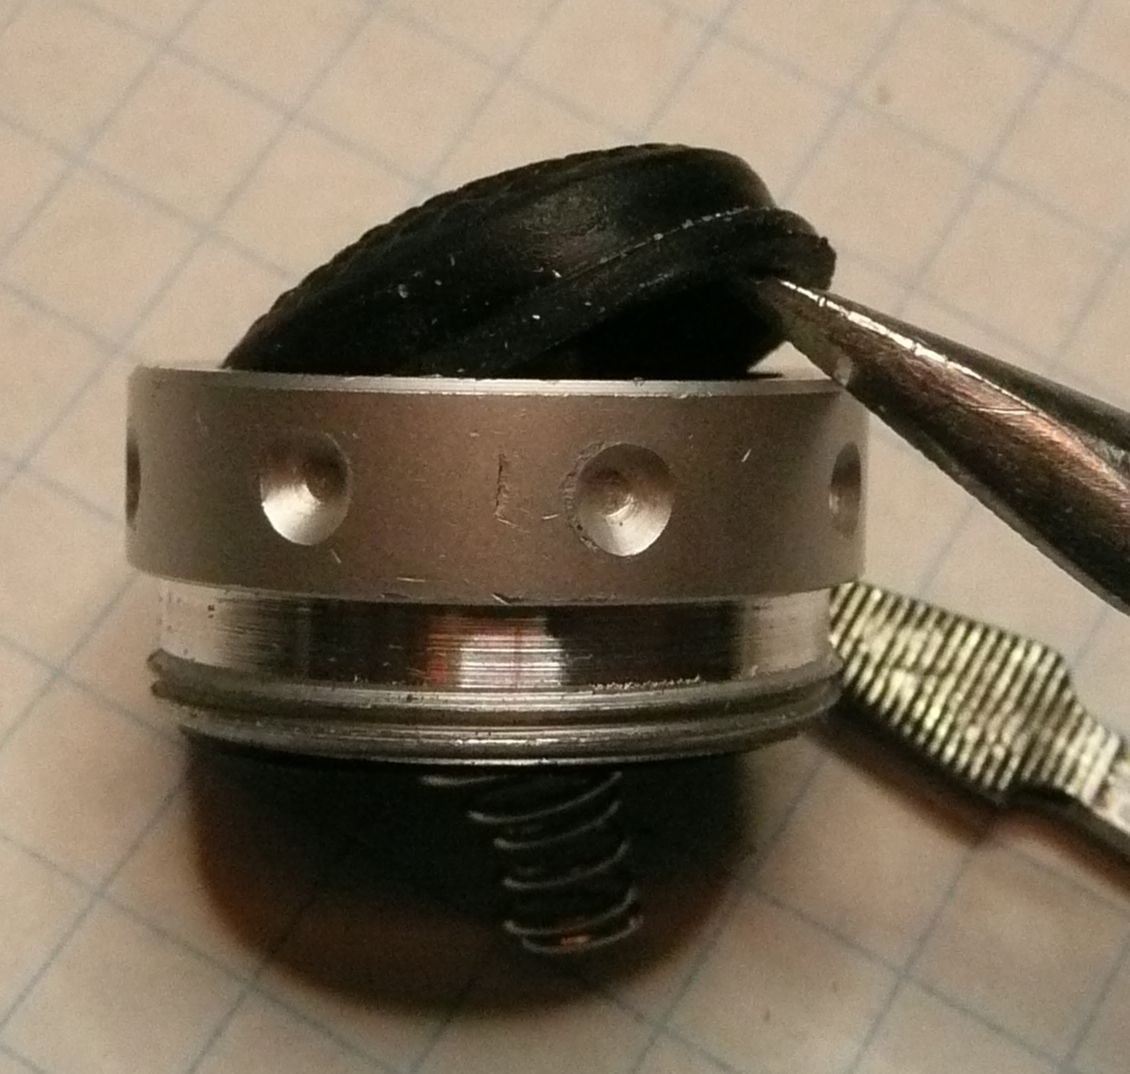
Next is to use the disassembled switch. I just used brute force being careful not to scratch the casing.

Here are the needed parts for this next part. A nice thick metal washer drilled for the 510 connector and a hole for the LED.

The opening had to be filed the same as the tube mod to get a snug pressure fit of the washer into the opening of the dis-assembled switch. Again, I used a piece of wood and hammer to push in the washer.

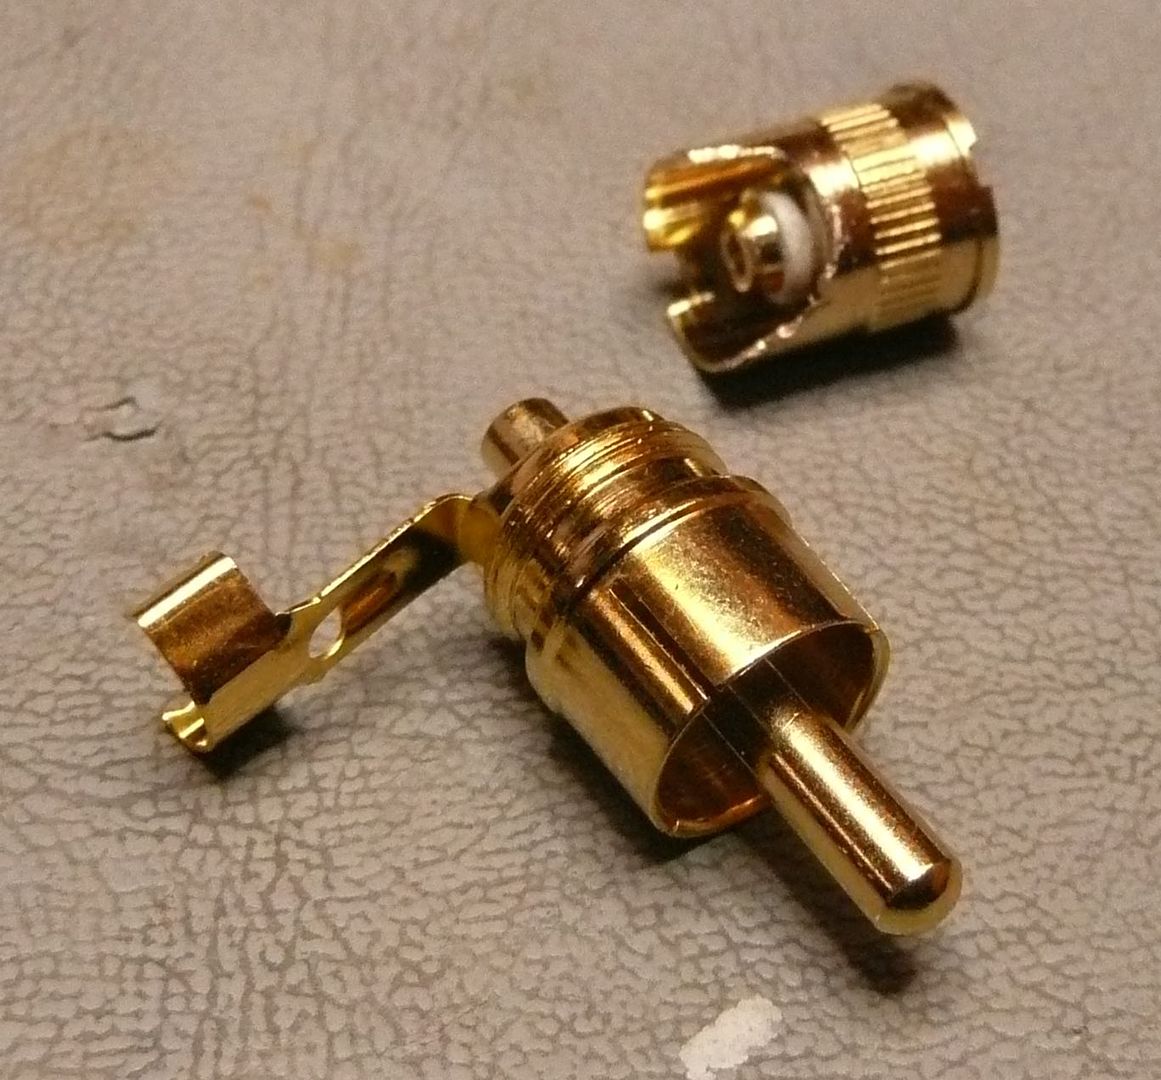
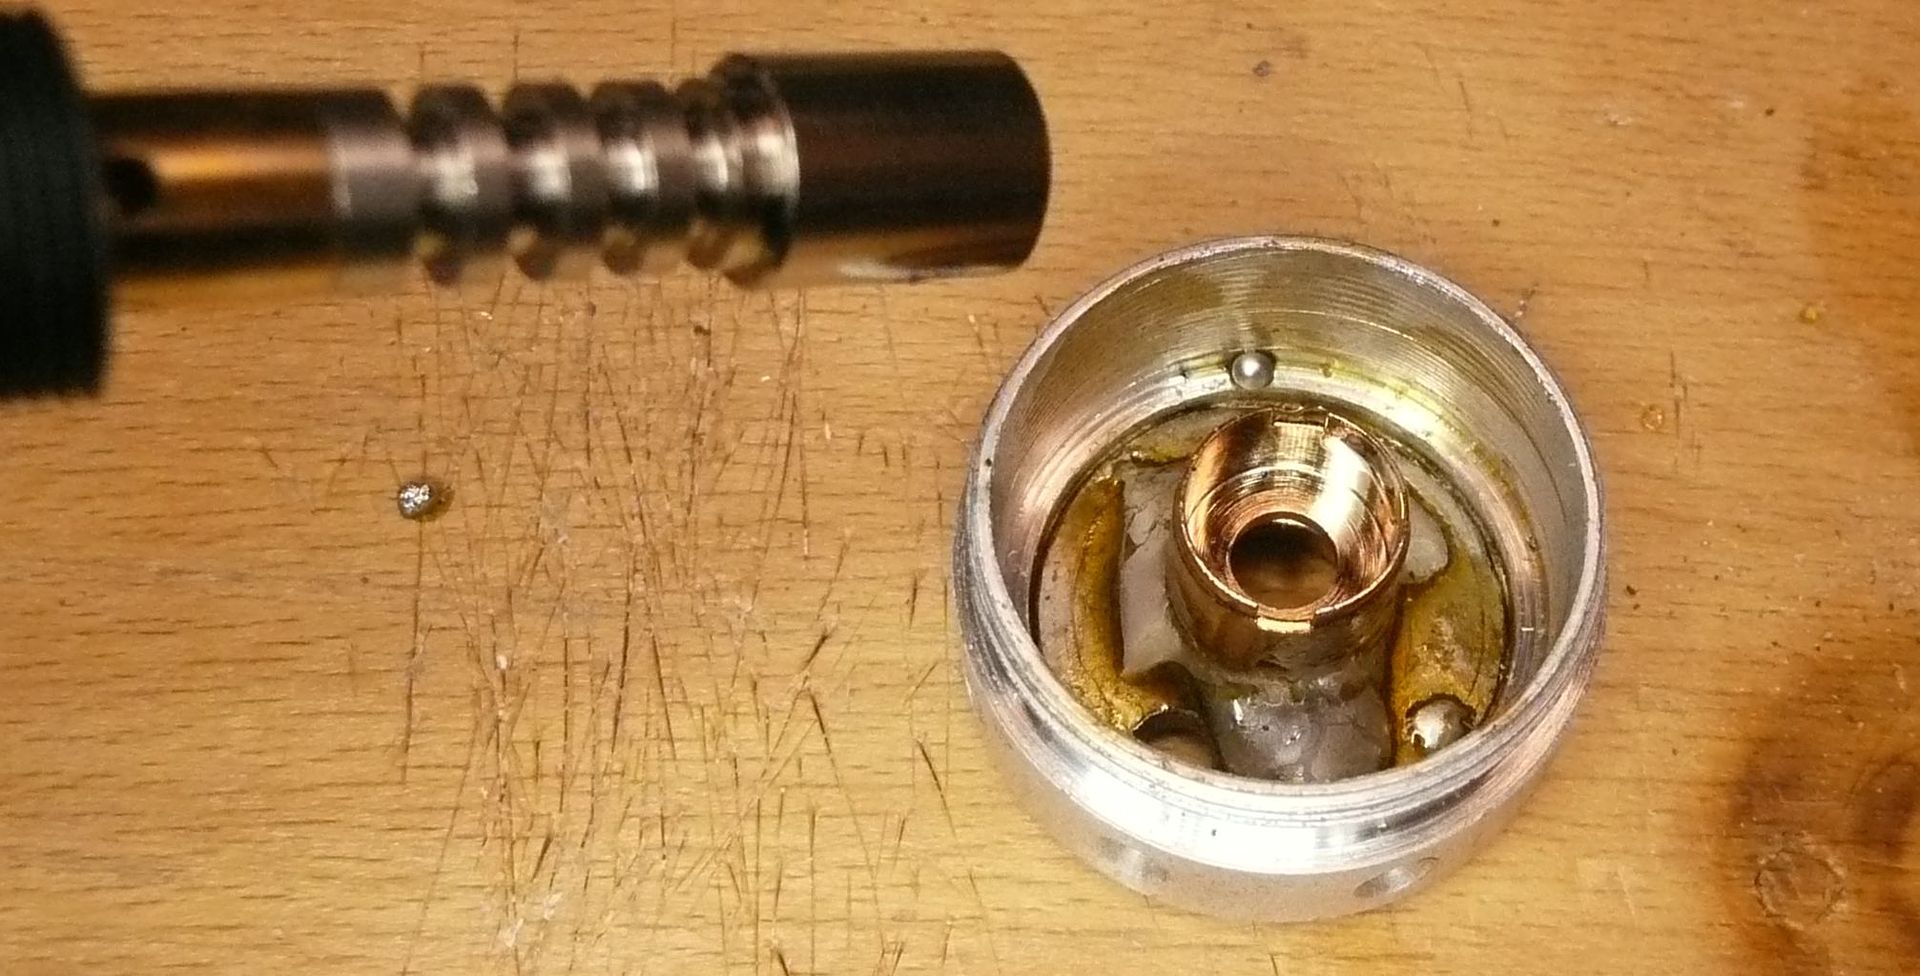
I used a small torch to re-enforce the 510 connector by soldering it to the washer. Used a second inside part of a connector and soldered it upside down on top of the center post which extended it for battery contact. Also soldered a leg of a 150 ohm resister to the post at this time.
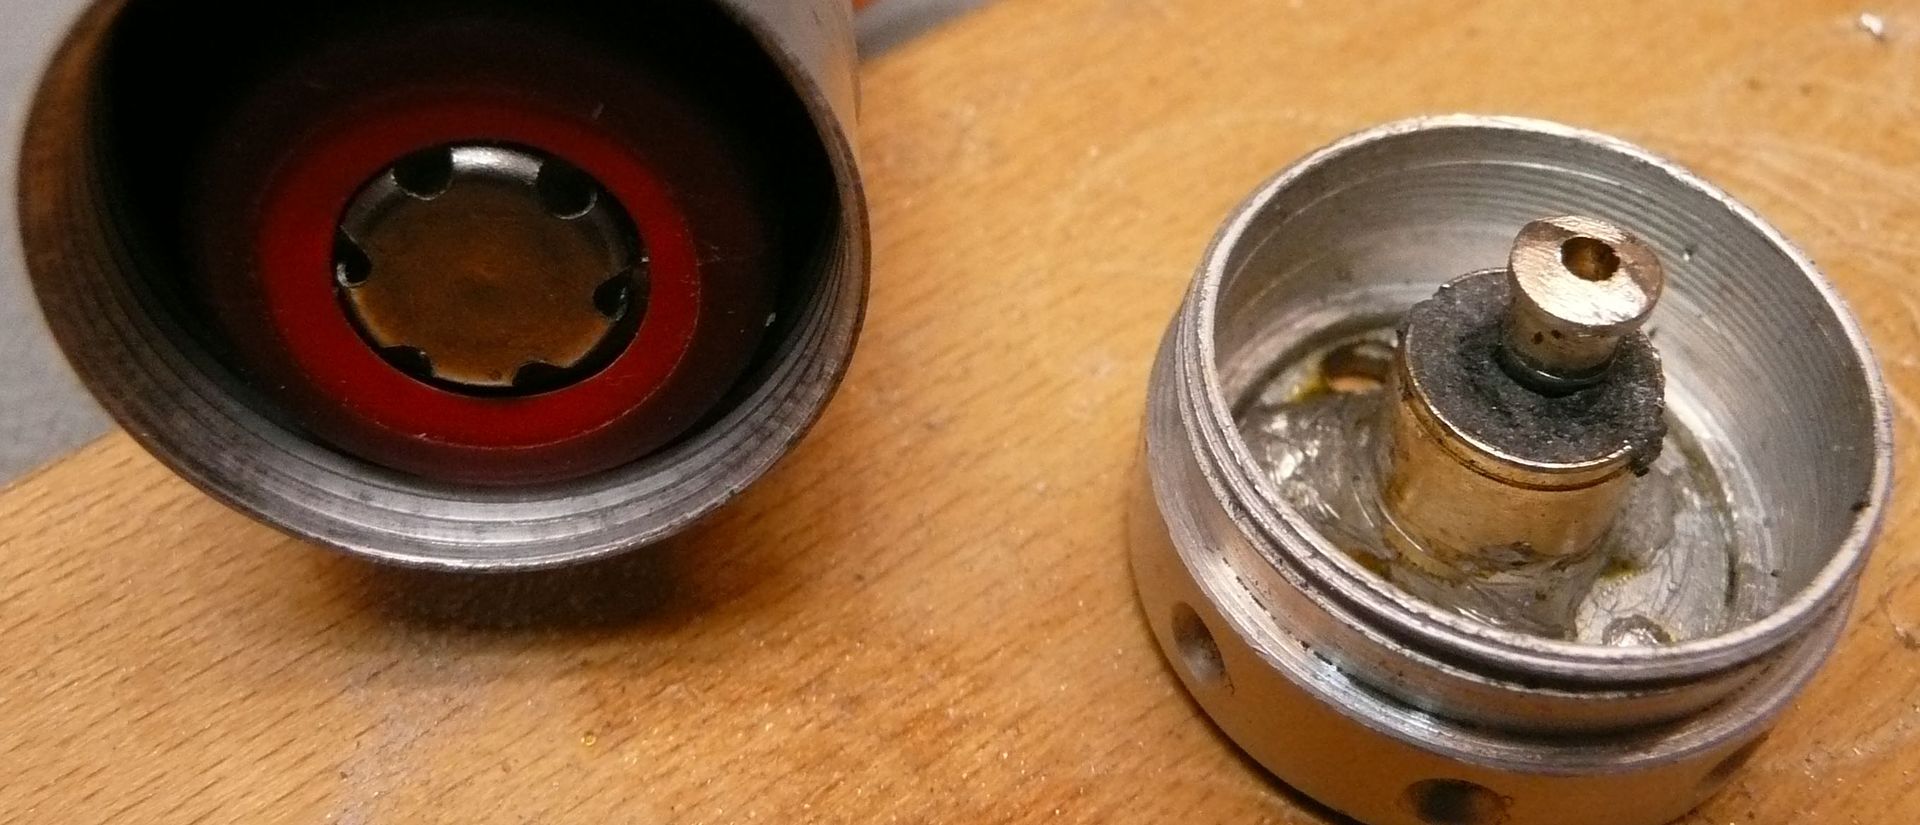

Mounted the LED using that great JB putty weld. Once all tested I filled in the remaining space with the JB weld as well to help with heat dissipation.
The battery fits a little loose so I found a piece a tubing to help keep from rattling.

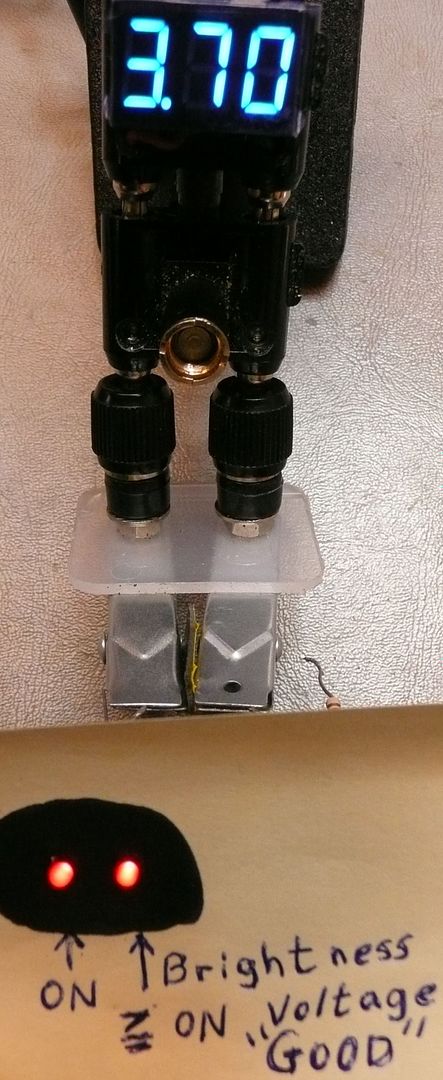
And that's it. Have used only a dozen times or so but seems to work OK. At least the only really bad part is the switch which can be replaces for a couple bucks.


Happy modding,
Pipes
The great part of this mod is that the only part which would need to be ordered on line is the 510 connector. The flashlights can be had at most dollar stores. You need two of these.
Before:
After:
So far-
The pros: Works, cheap, handles heat well, small and light.
The cons: Actual switch is cheap and longevity is likely not good, no safety features.
How To:
First off the idea here is to have both ends thread-able such that the switch can screw in either end. The way it comes is one end is already threaded and the other end contains the LED holder which is just held in place by the clear window.
Once the window is taken out the LED holder just pulls straight out.
This leaves an open non-threaded end of the tube. Now take the other flashlight tube and you will find the threaded end too large to readily slide into the non-threaded end which the LED holder was just removed. This is the hardest part and time consuming the way I did it. I used a file and slowly took the other tube diameter down as well as the inside wall of the non-threaded opening. Also used sand paper to even out as much as possible. There are likely many ways to thin these parts down but I just used what I had readily available.
Take it down till the sleeve can be pressure fit into each other.
I used a hack saw to cut it. I first screwed in one of the switches to ensure no crimping.
Disassemble one of the push switches which will be used for the connector end. Then screw the cut piece back into the switch. I used a block of wood and a small hammer to tap the tubes together.
Now you should have a tube which can be used either way around.
Next is to use the disassembled switch. I just used brute force being careful not to scratch the casing.
Here are the needed parts for this next part. A nice thick metal washer drilled for the 510 connector and a hole for the LED.
The opening had to be filed the same as the tube mod to get a snug pressure fit of the washer into the opening of the dis-assembled switch. Again, I used a piece of wood and hammer to push in the washer.
I used a small torch to re-enforce the 510 connector by soldering it to the washer. Used a second inside part of a connector and soldered it upside down on top of the center post which extended it for battery contact. Also soldered a leg of a 150 ohm resister to the post at this time.
Mounted the LED using that great JB putty weld. Once all tested I filled in the remaining space with the JB weld as well to help with heat dissipation.
The battery fits a little loose so I found a piece a tubing to help keep from rattling.
And that's it. Have used only a dozen times or so but seems to work OK. At least the only really bad part is the switch which can be replaces for a couple bucks.
Happy modding,
Pipes