Bouldorado
Well-Known Member
I bought this whip vape a while ago:
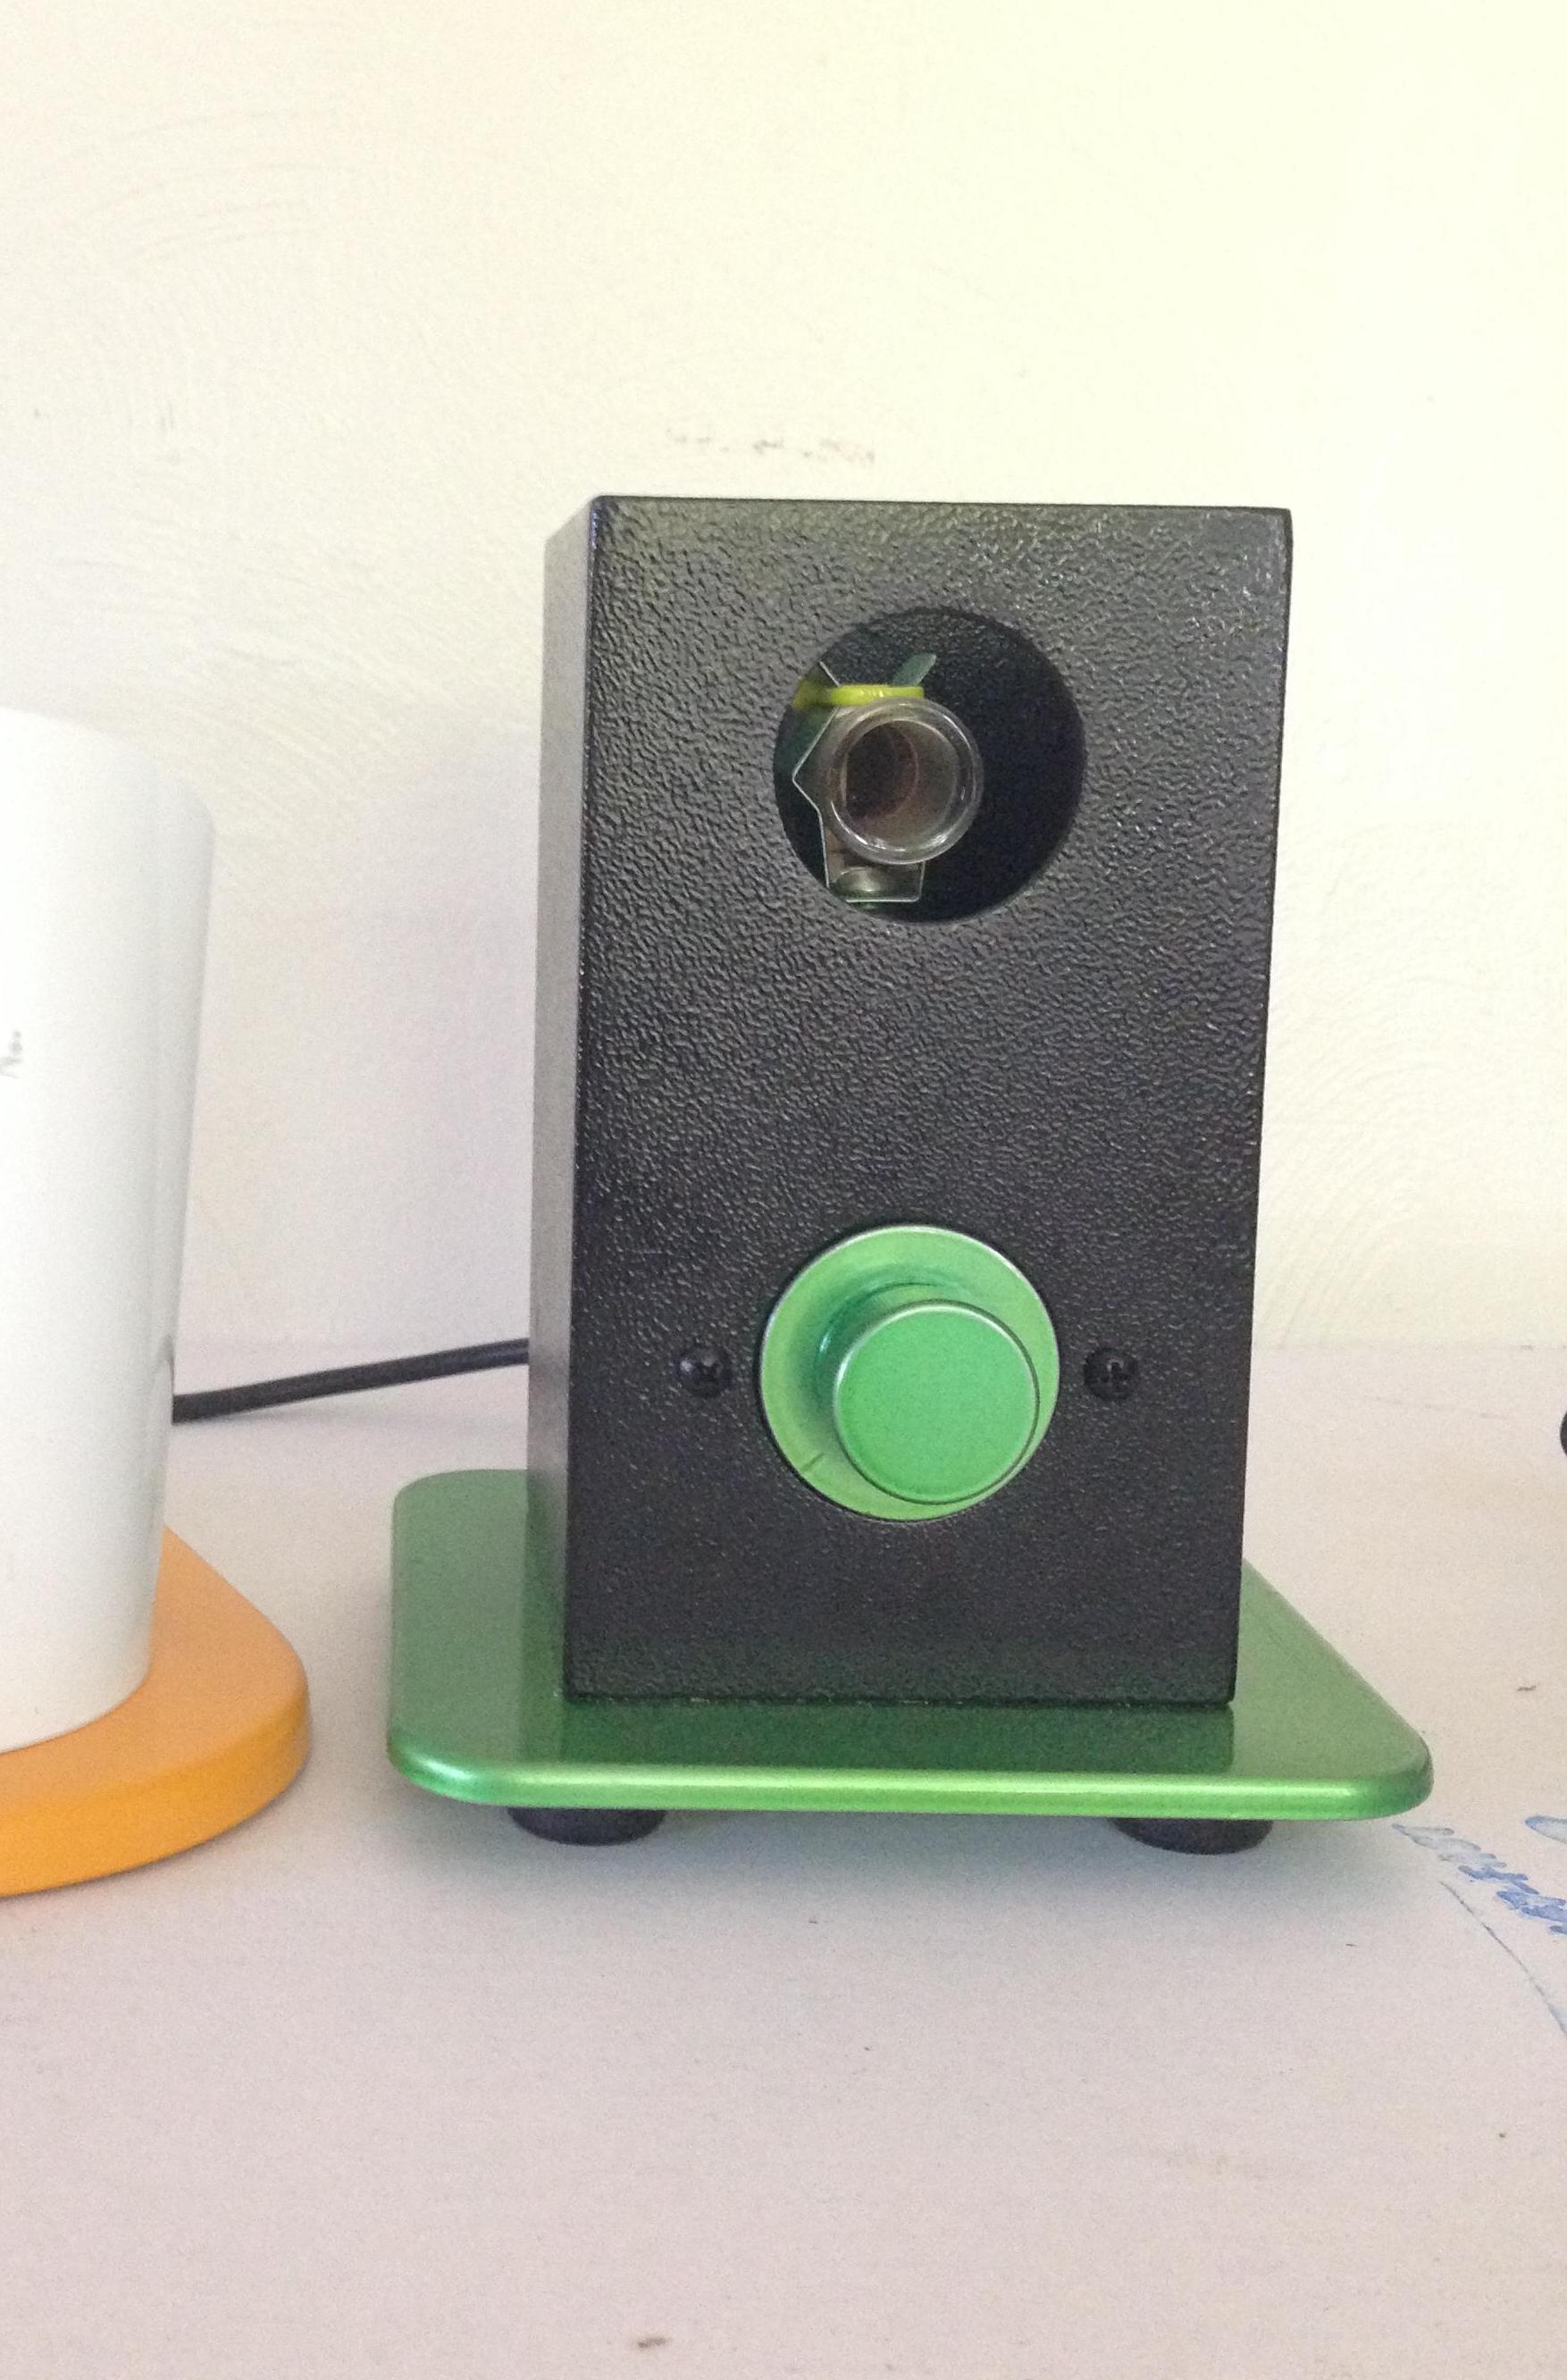
It's called TheCan and is basically a square Da buddha. It worked well, but I vastly prefer vapes that attach directly to a bong. So began the conversion process.
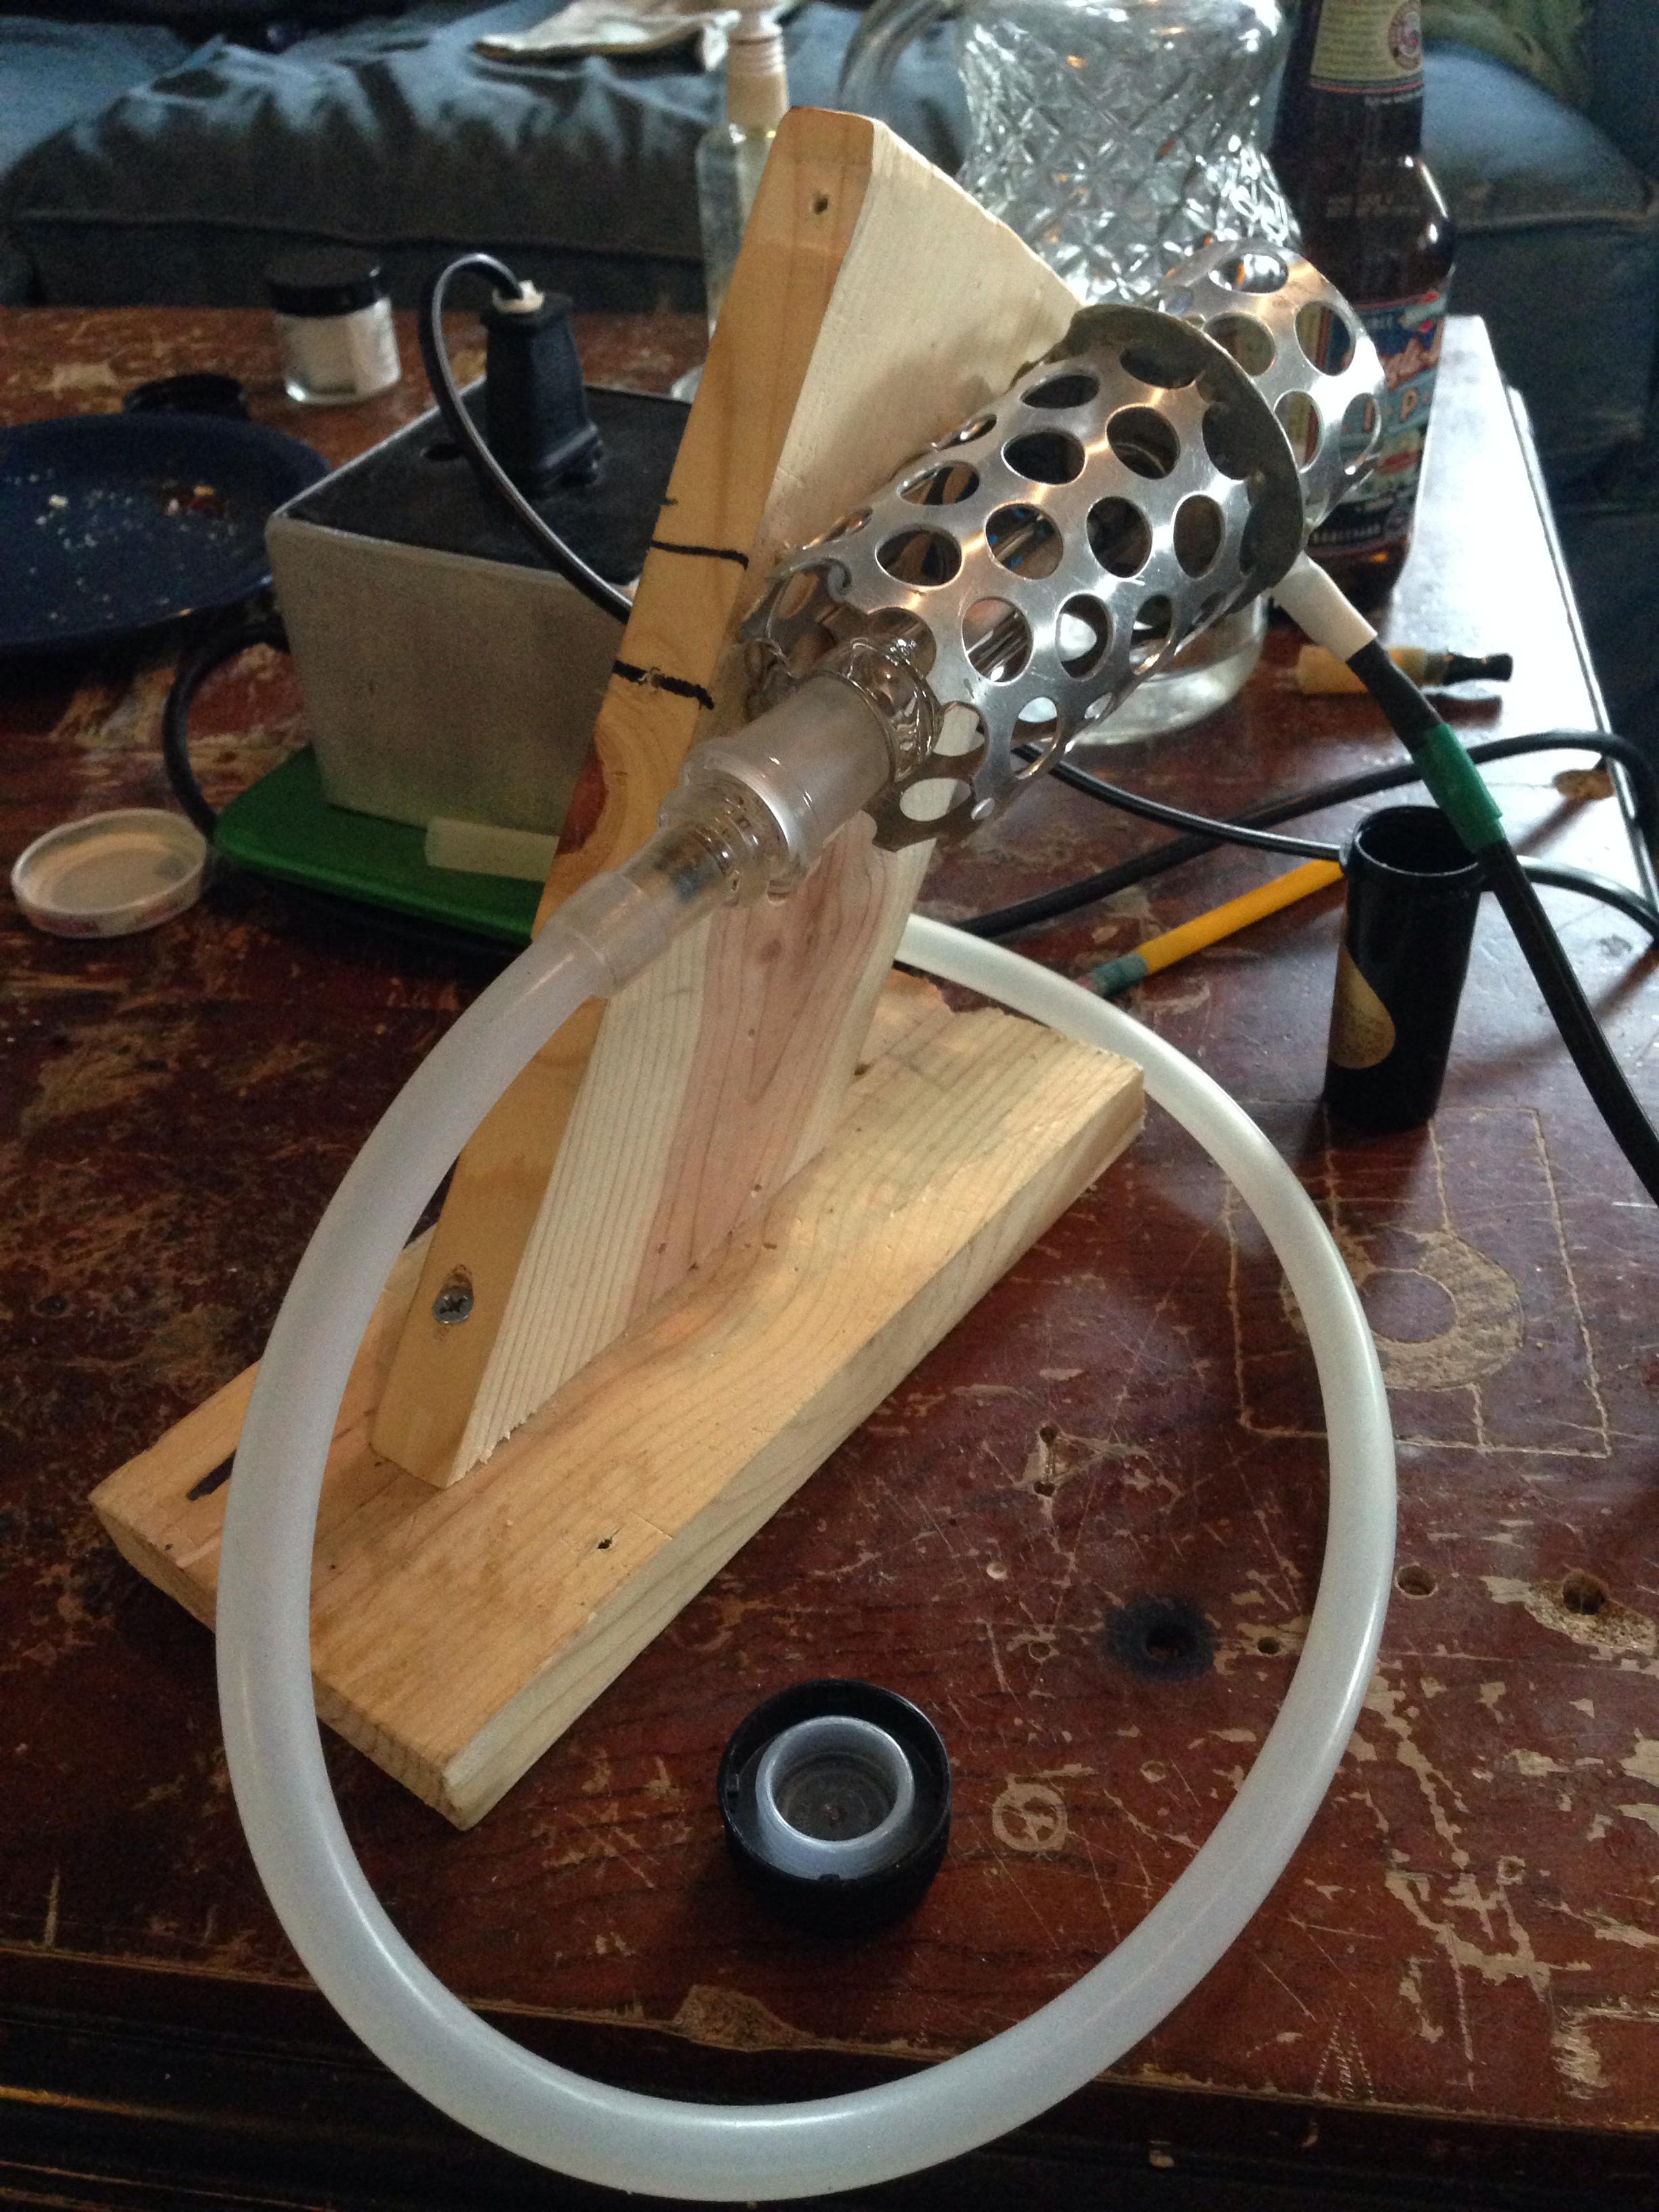
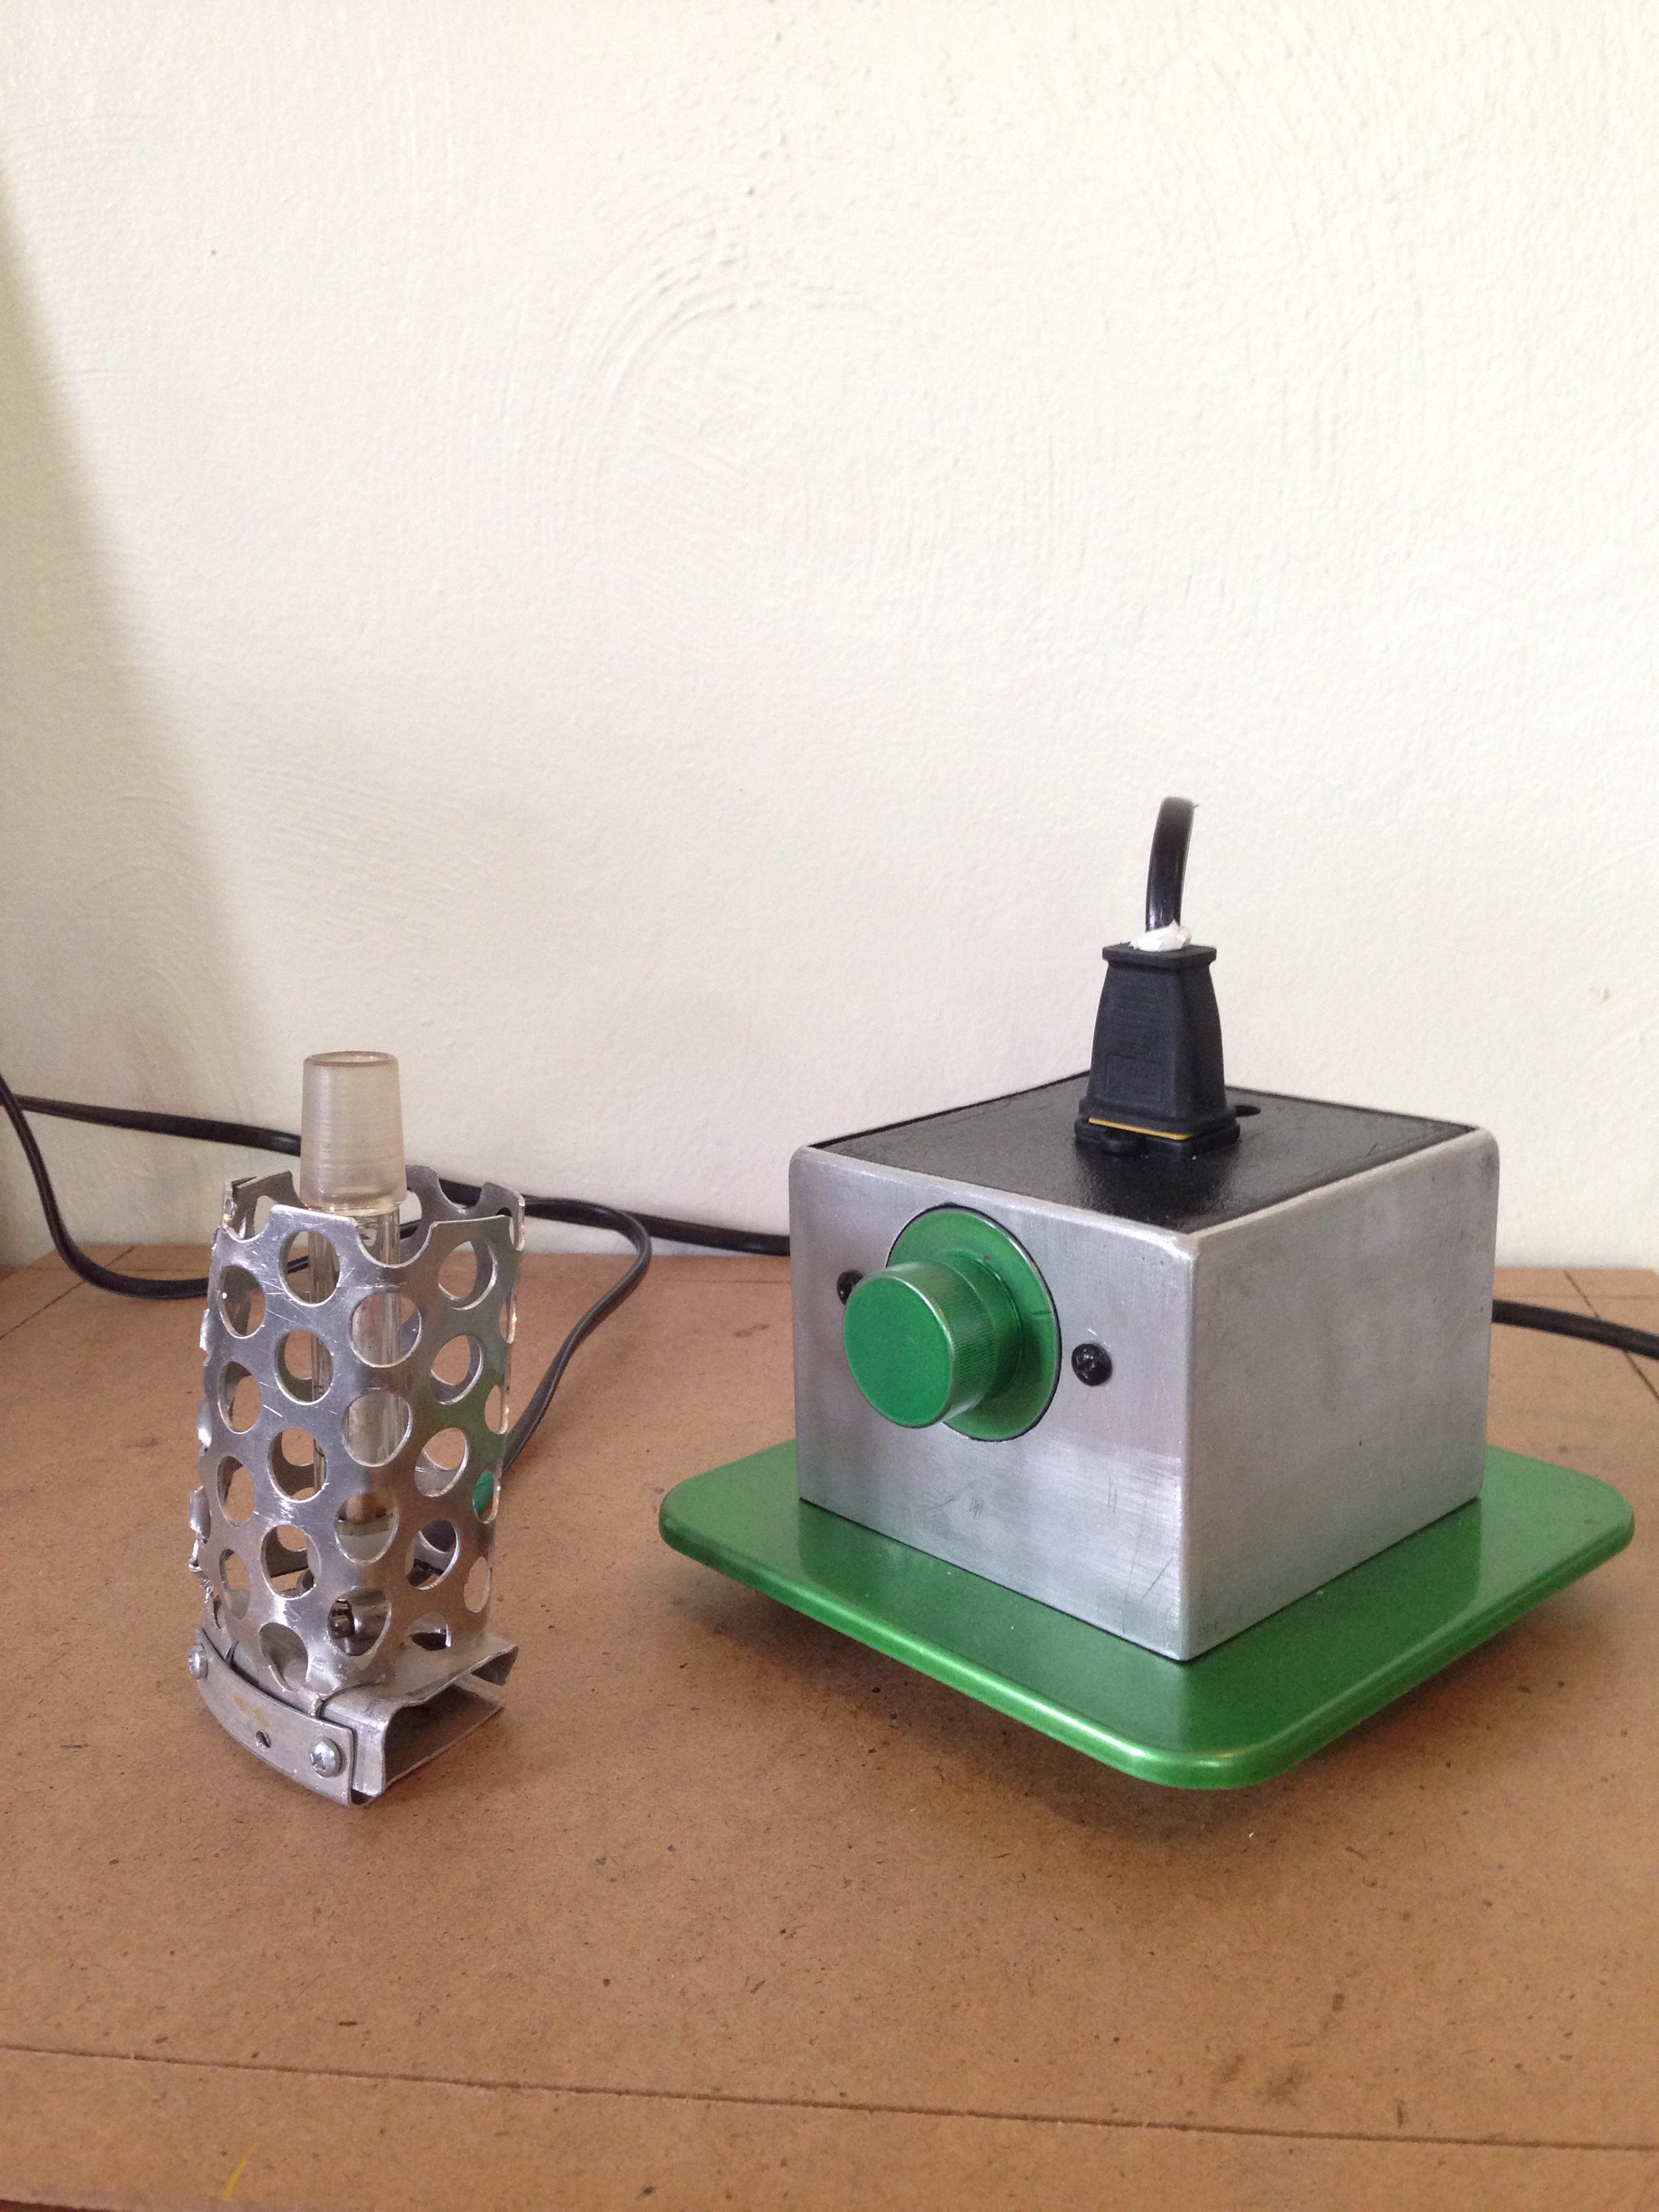
The first stage was to move everything into a smaller platform. I guess I forgot to take pictures, but it was just the box below with the heater element attached to the round aluminum piece (where the cord/silicon tubing is now). The ~1/2" of aluminum surrounding the element acts as a heat shield to the wood. The element was covered with the original heater cover, which left the glass completely exposed.
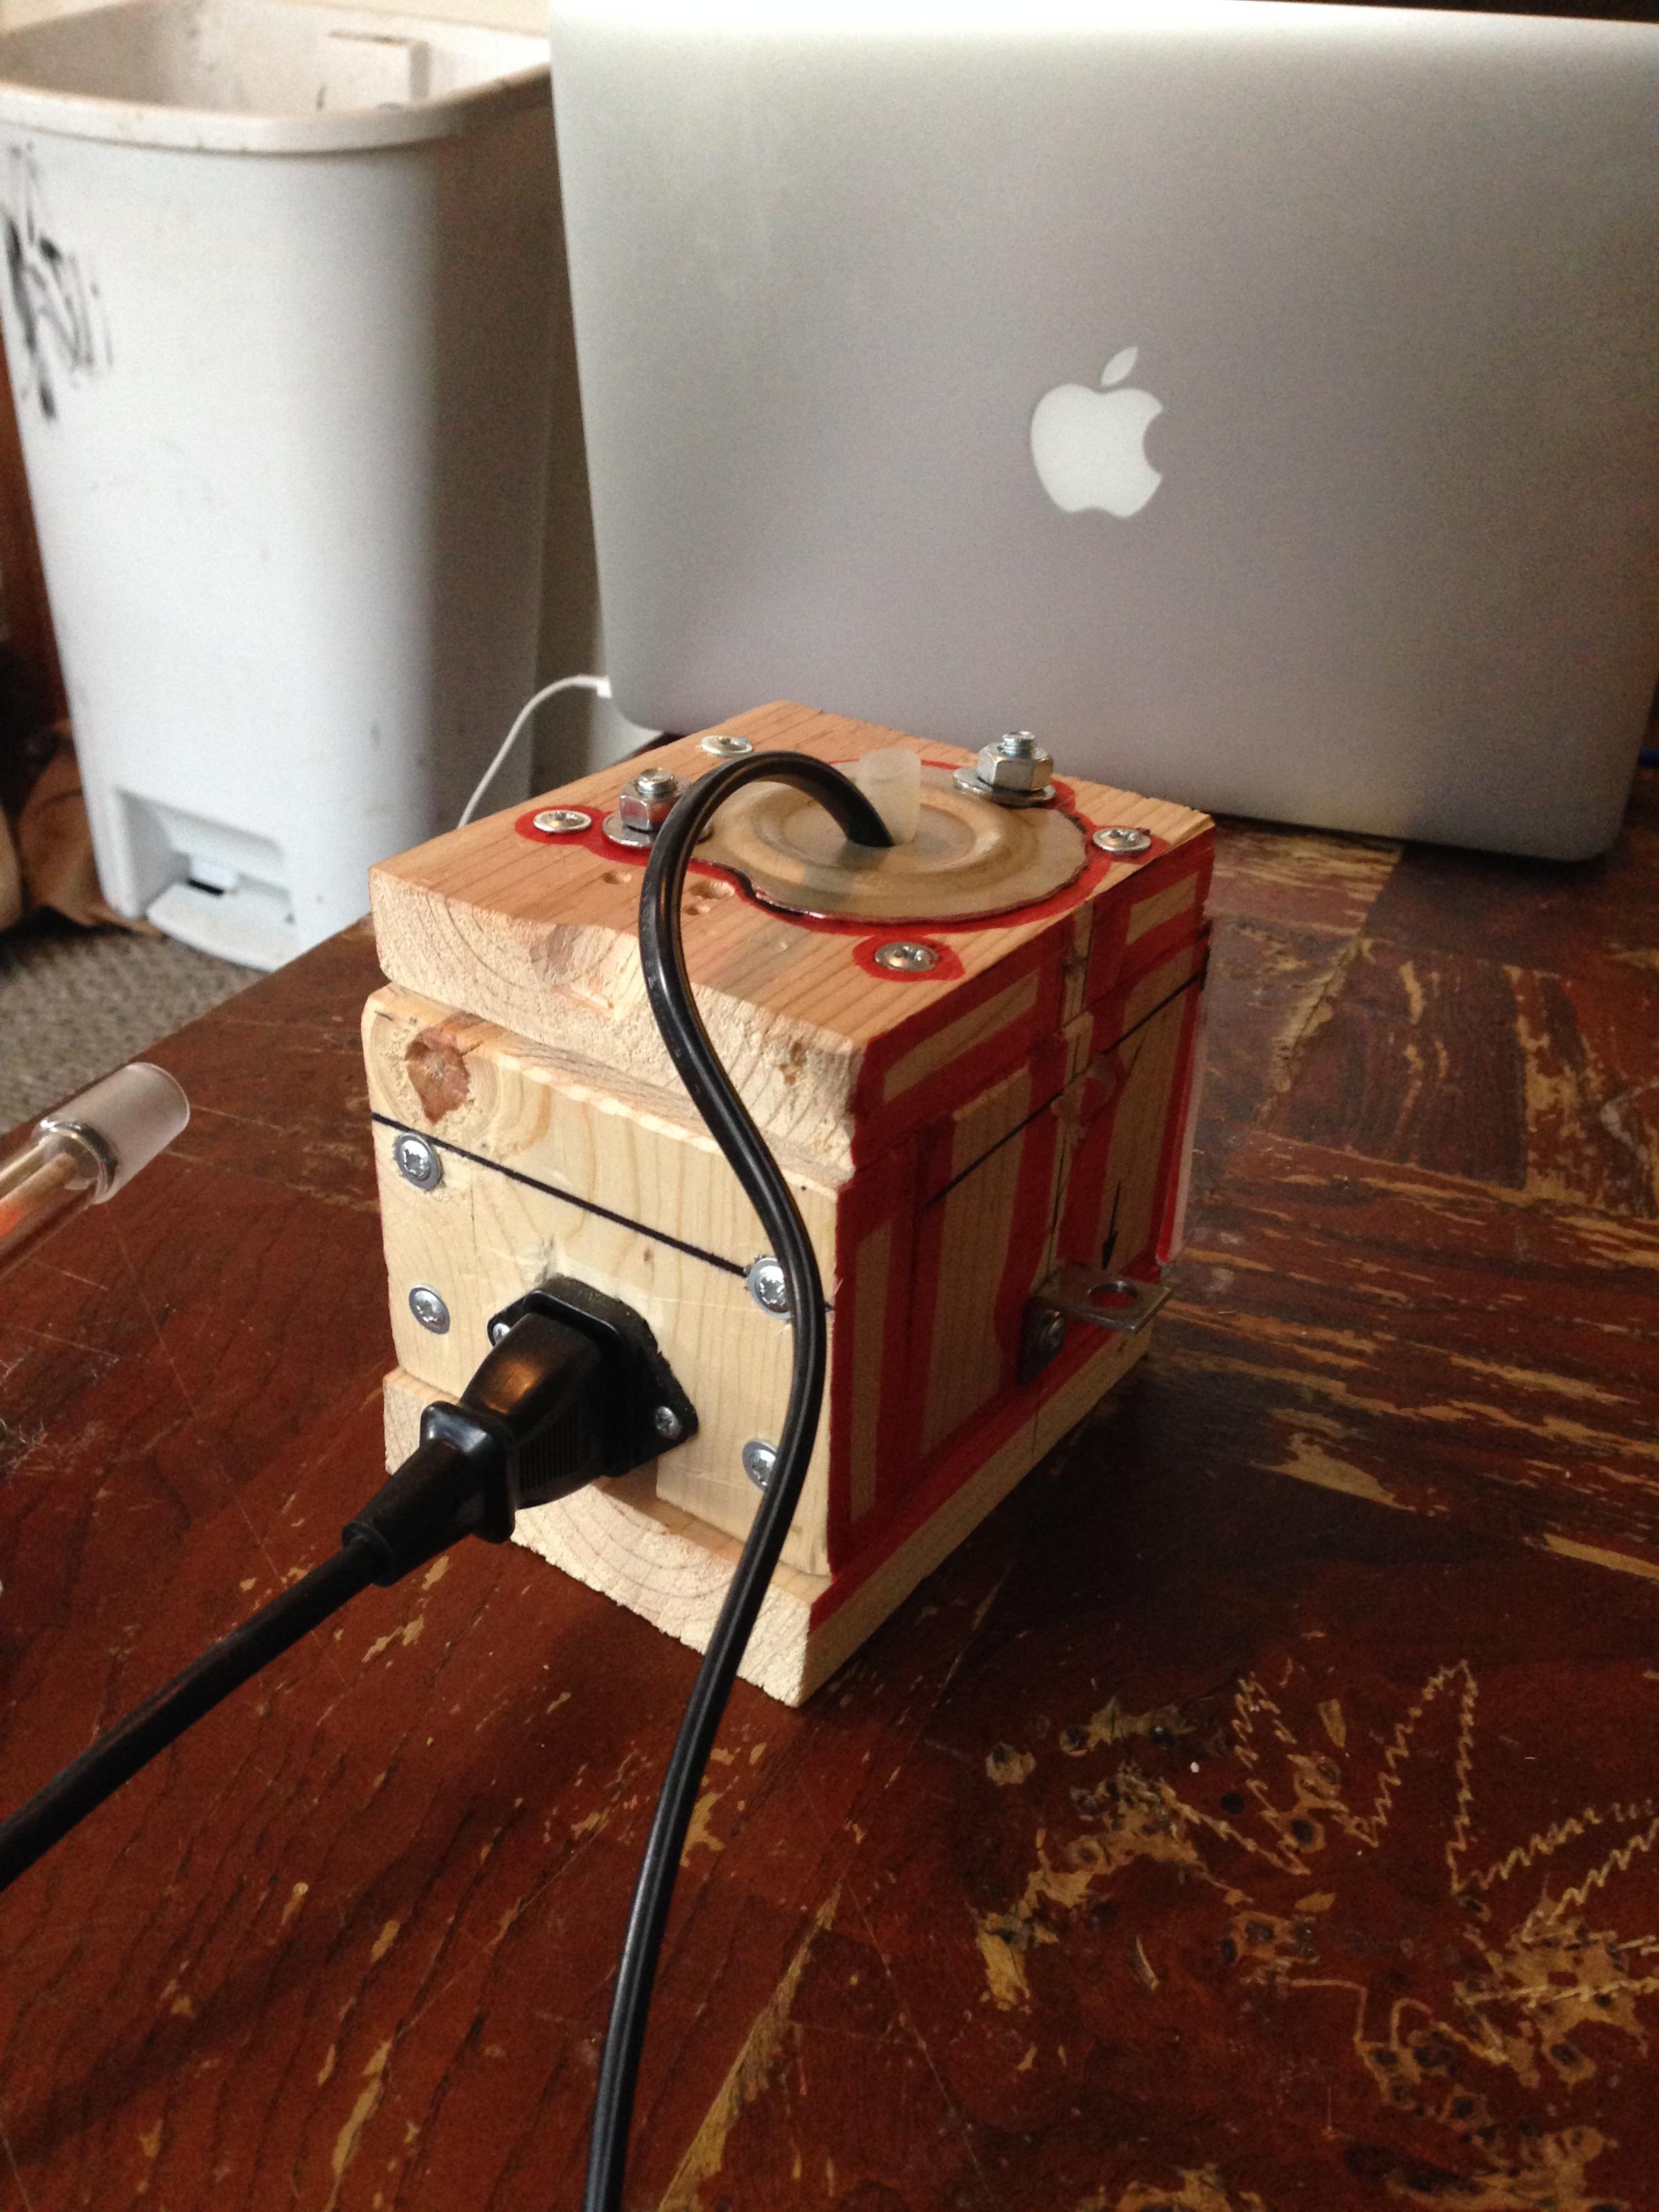
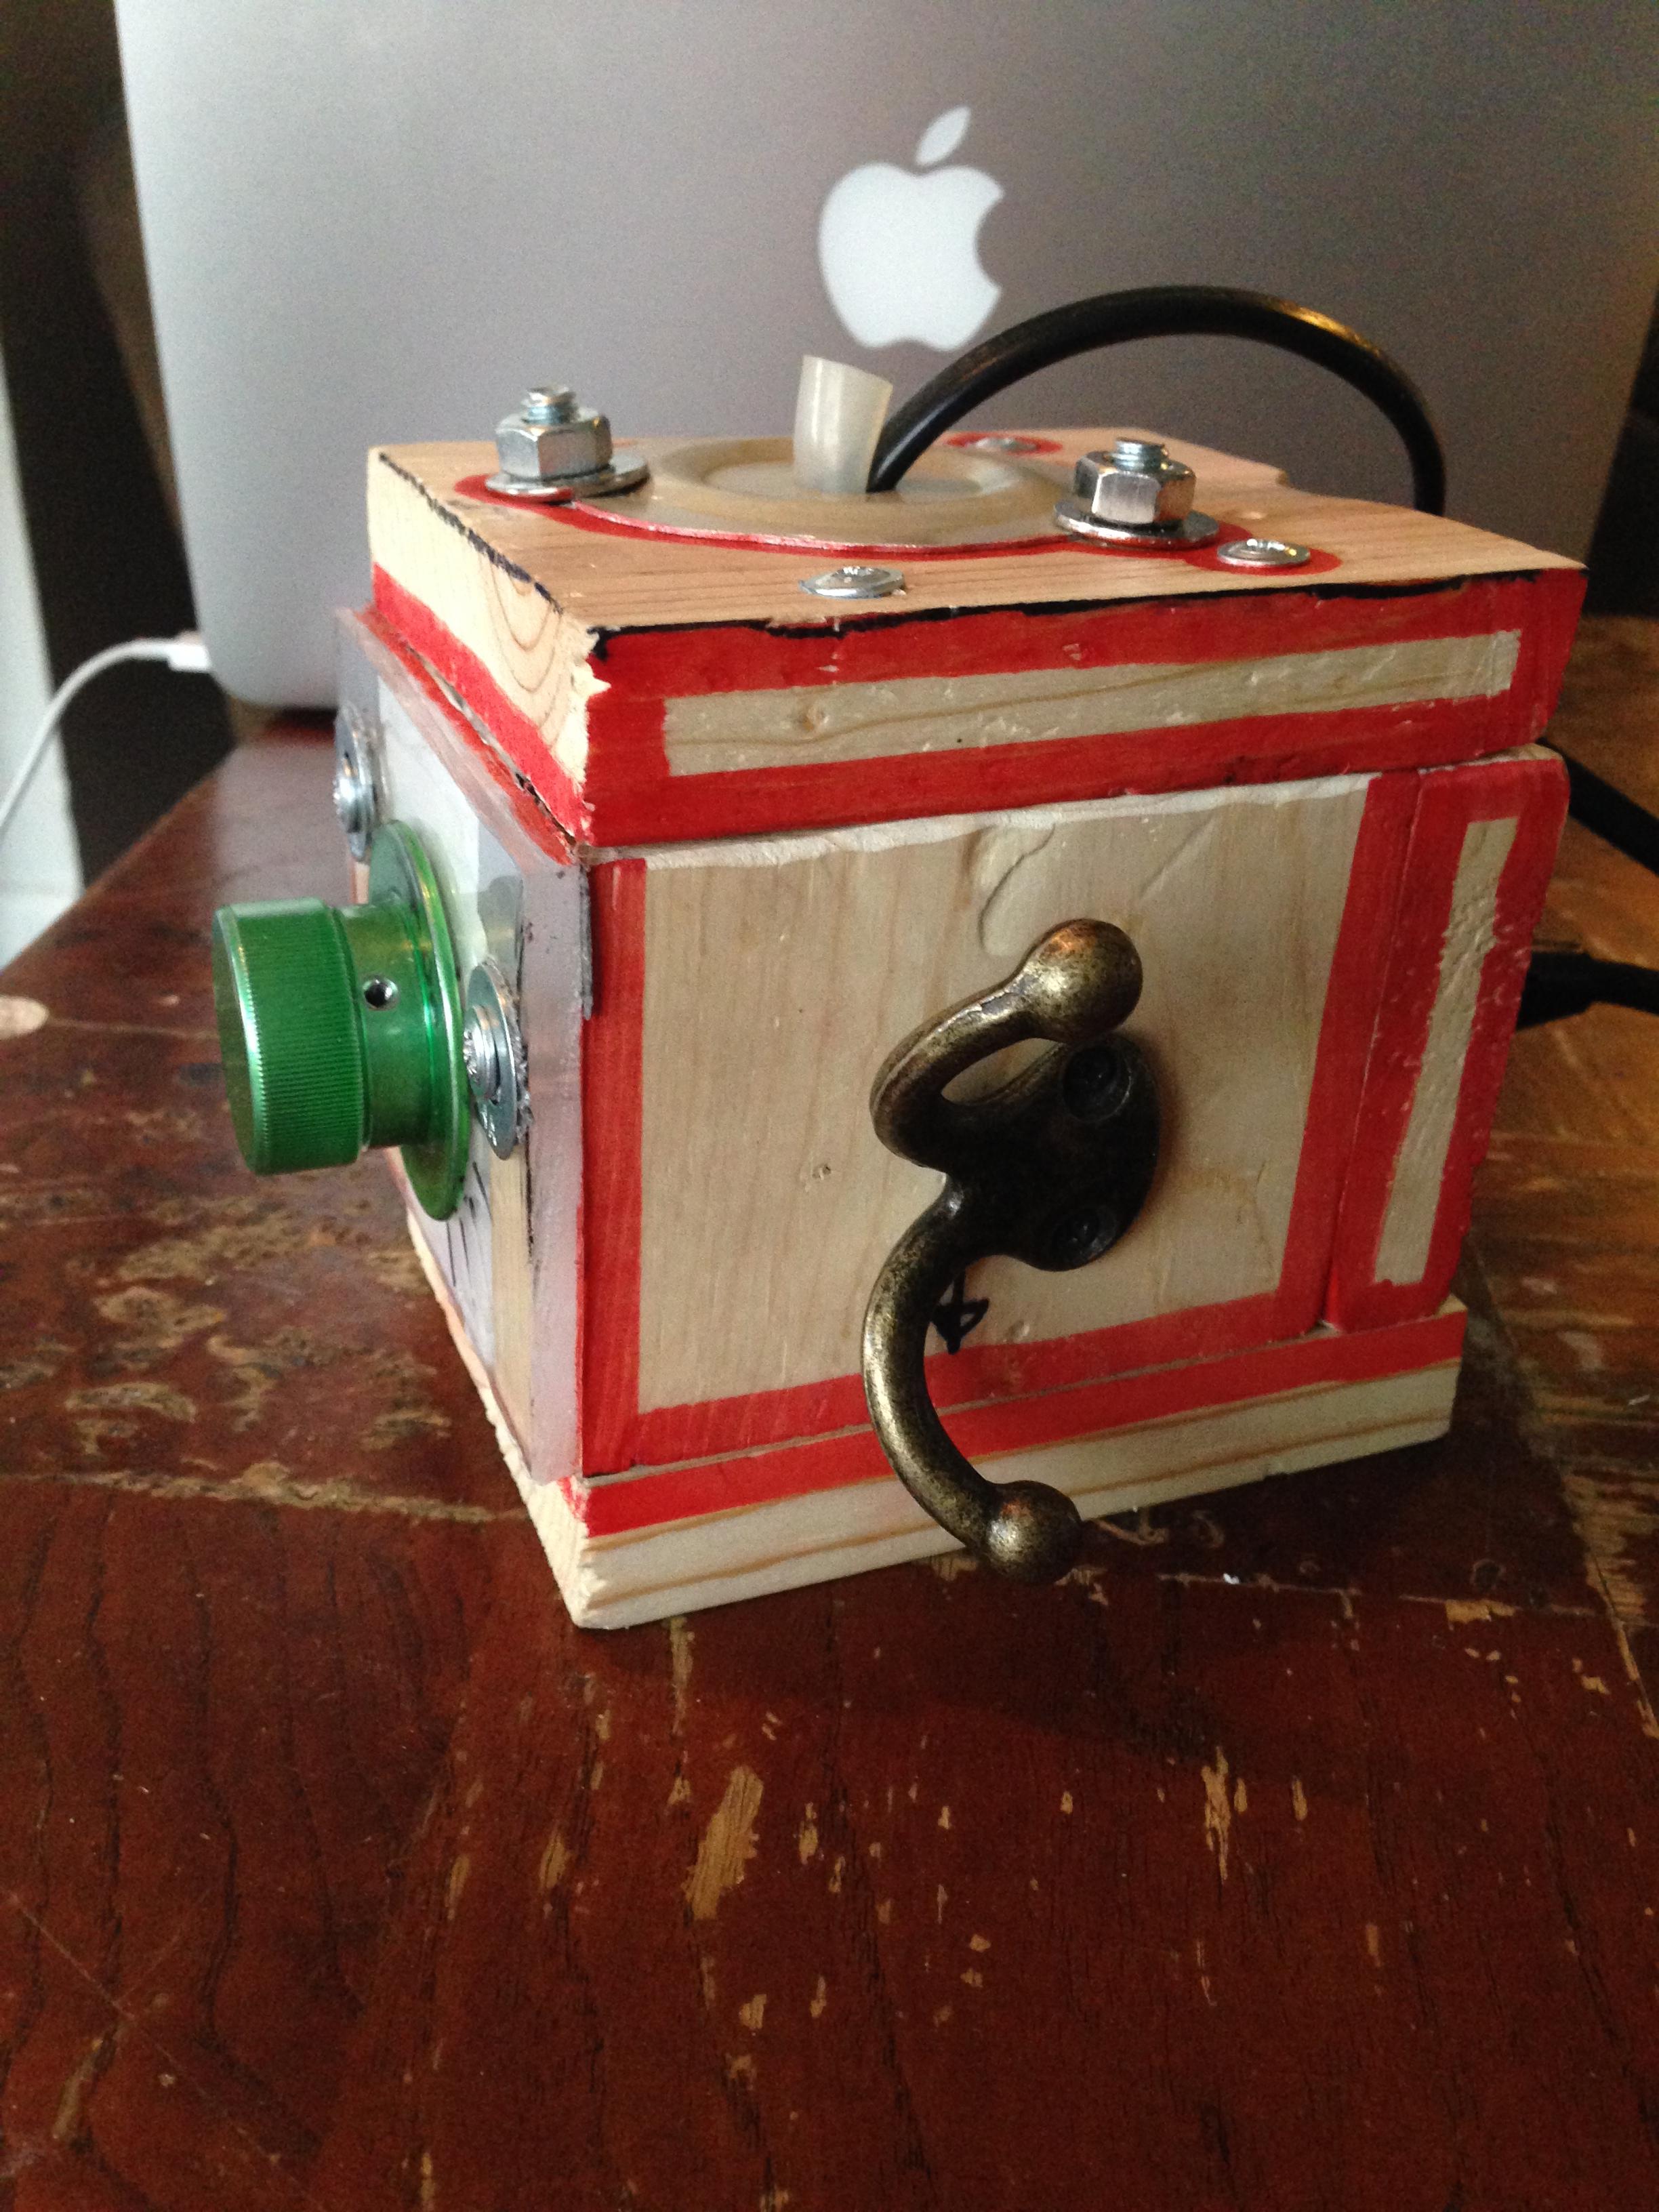
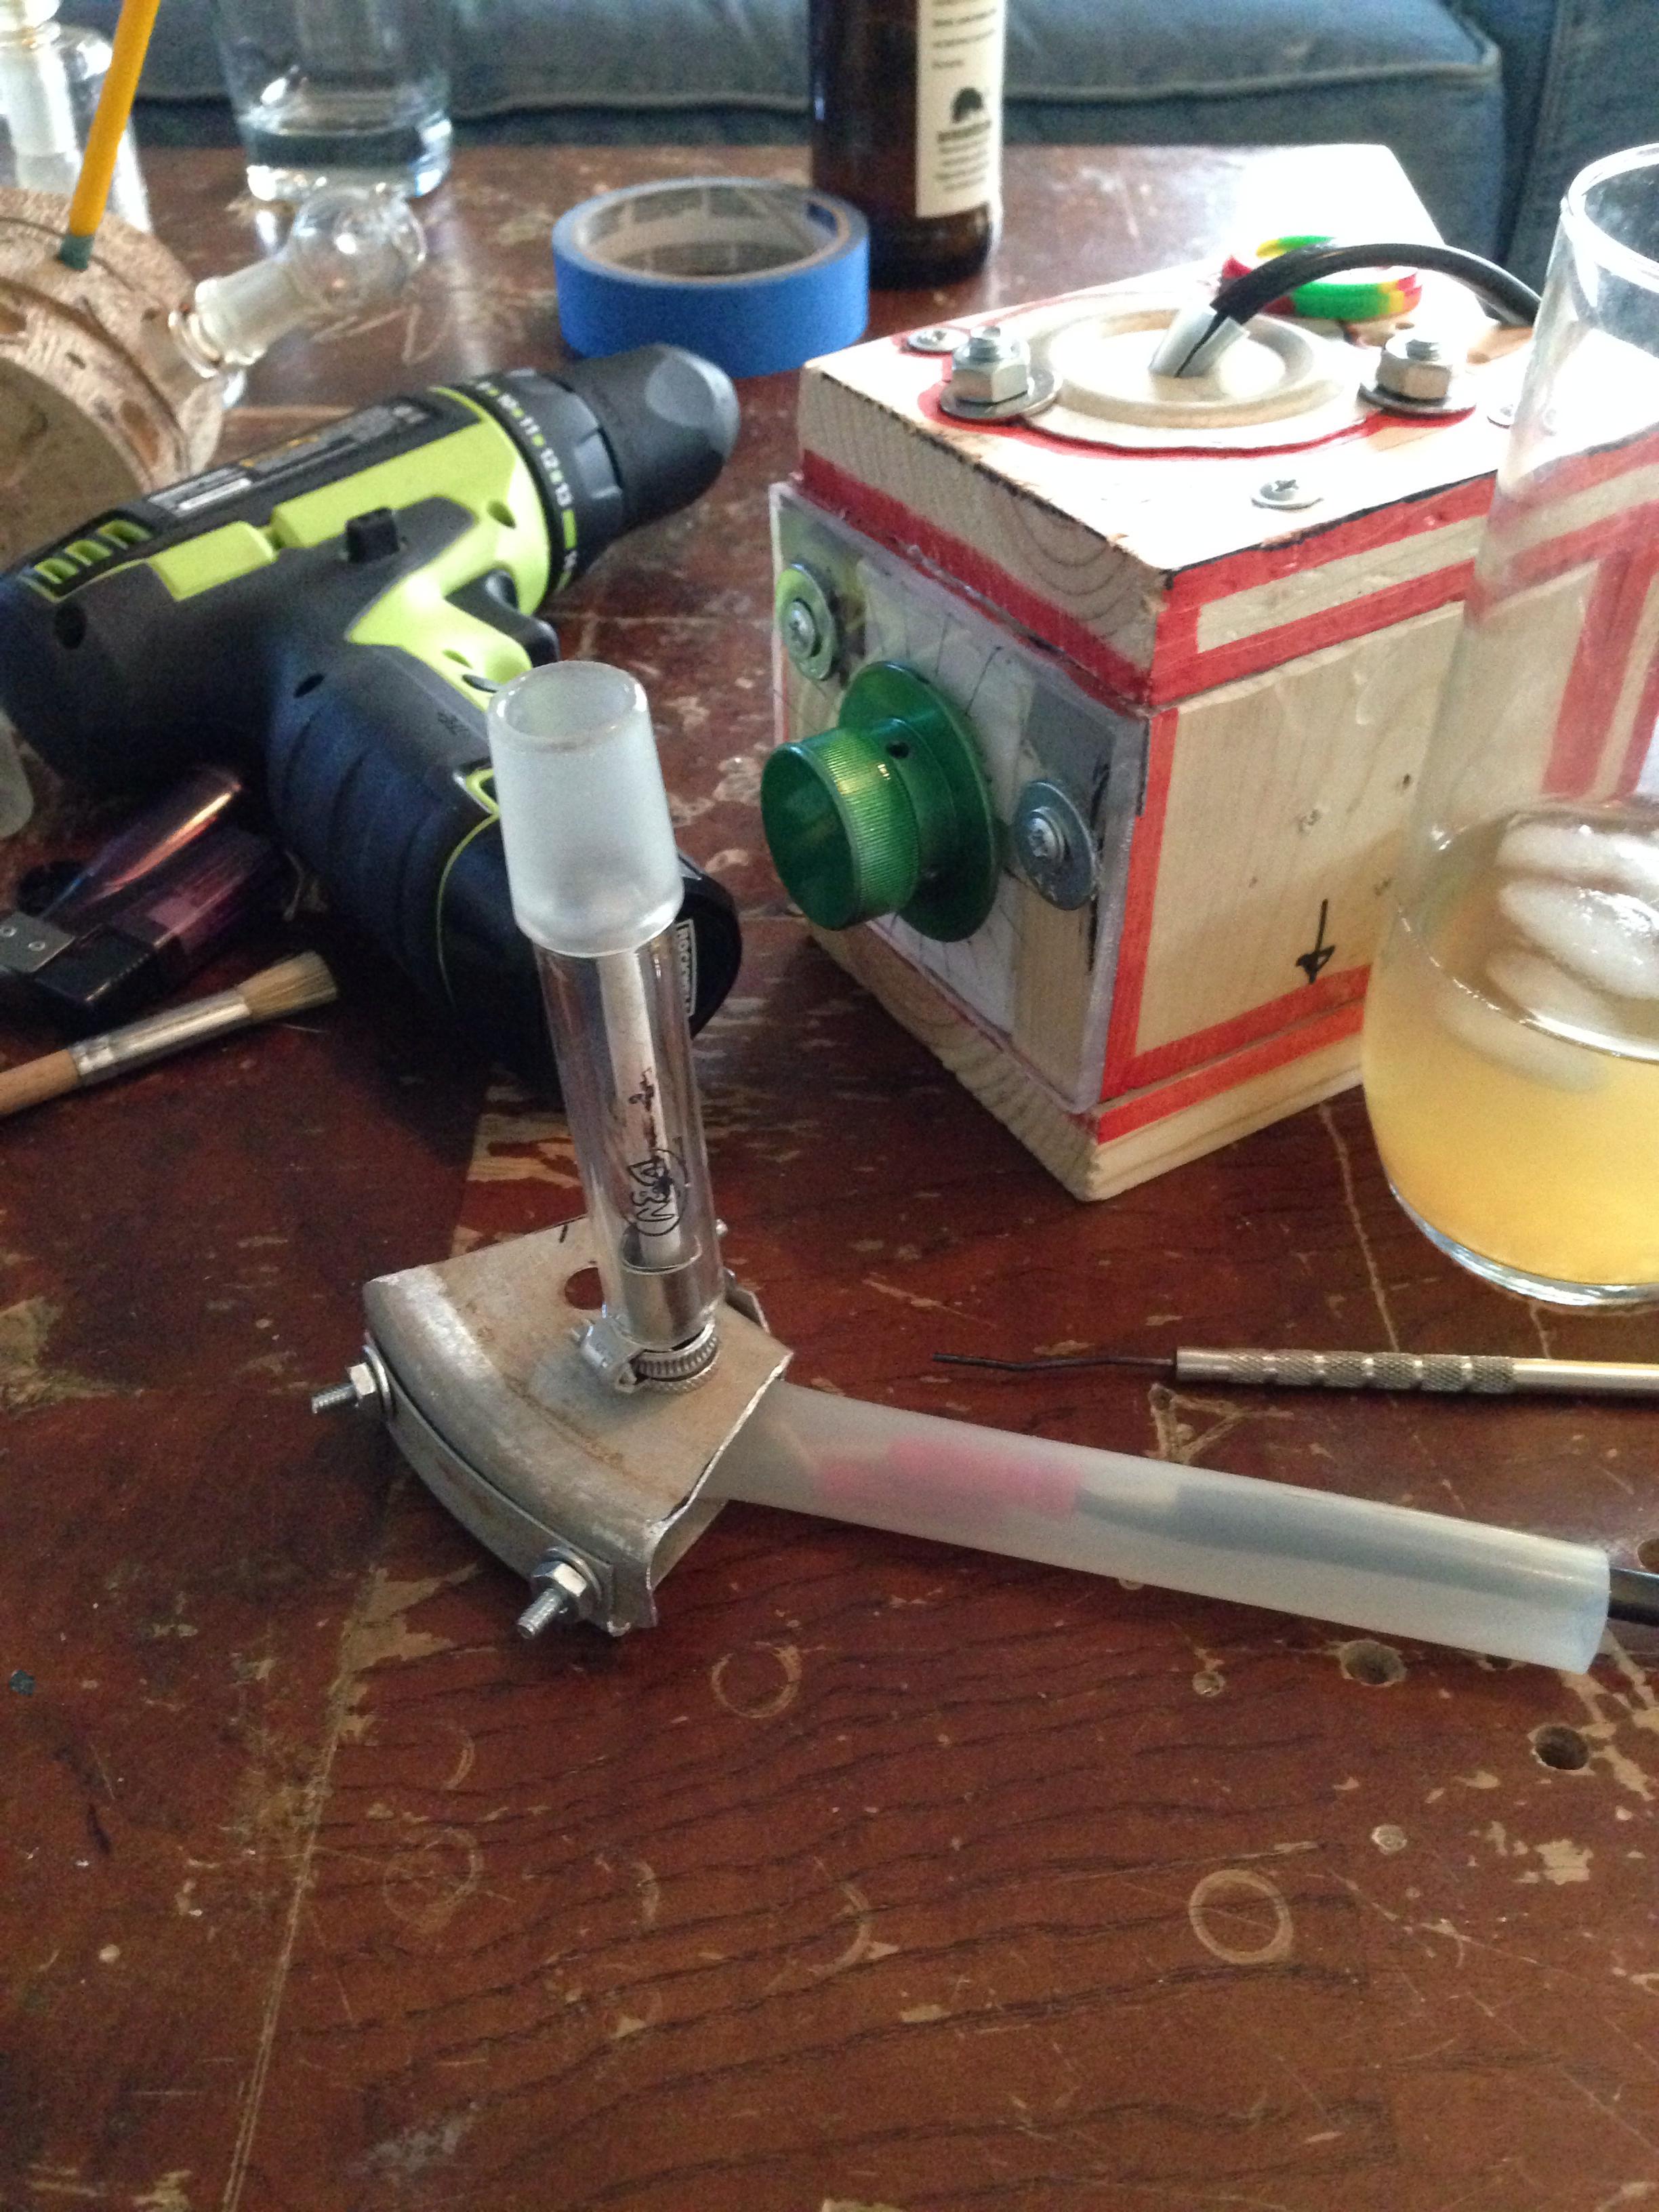
At that point there was no change in function from the original whip vape. I added a handle (the coat hanger) so I could experiment with direct-to-bong attachment. As you can imagine it was quite unwieldy.
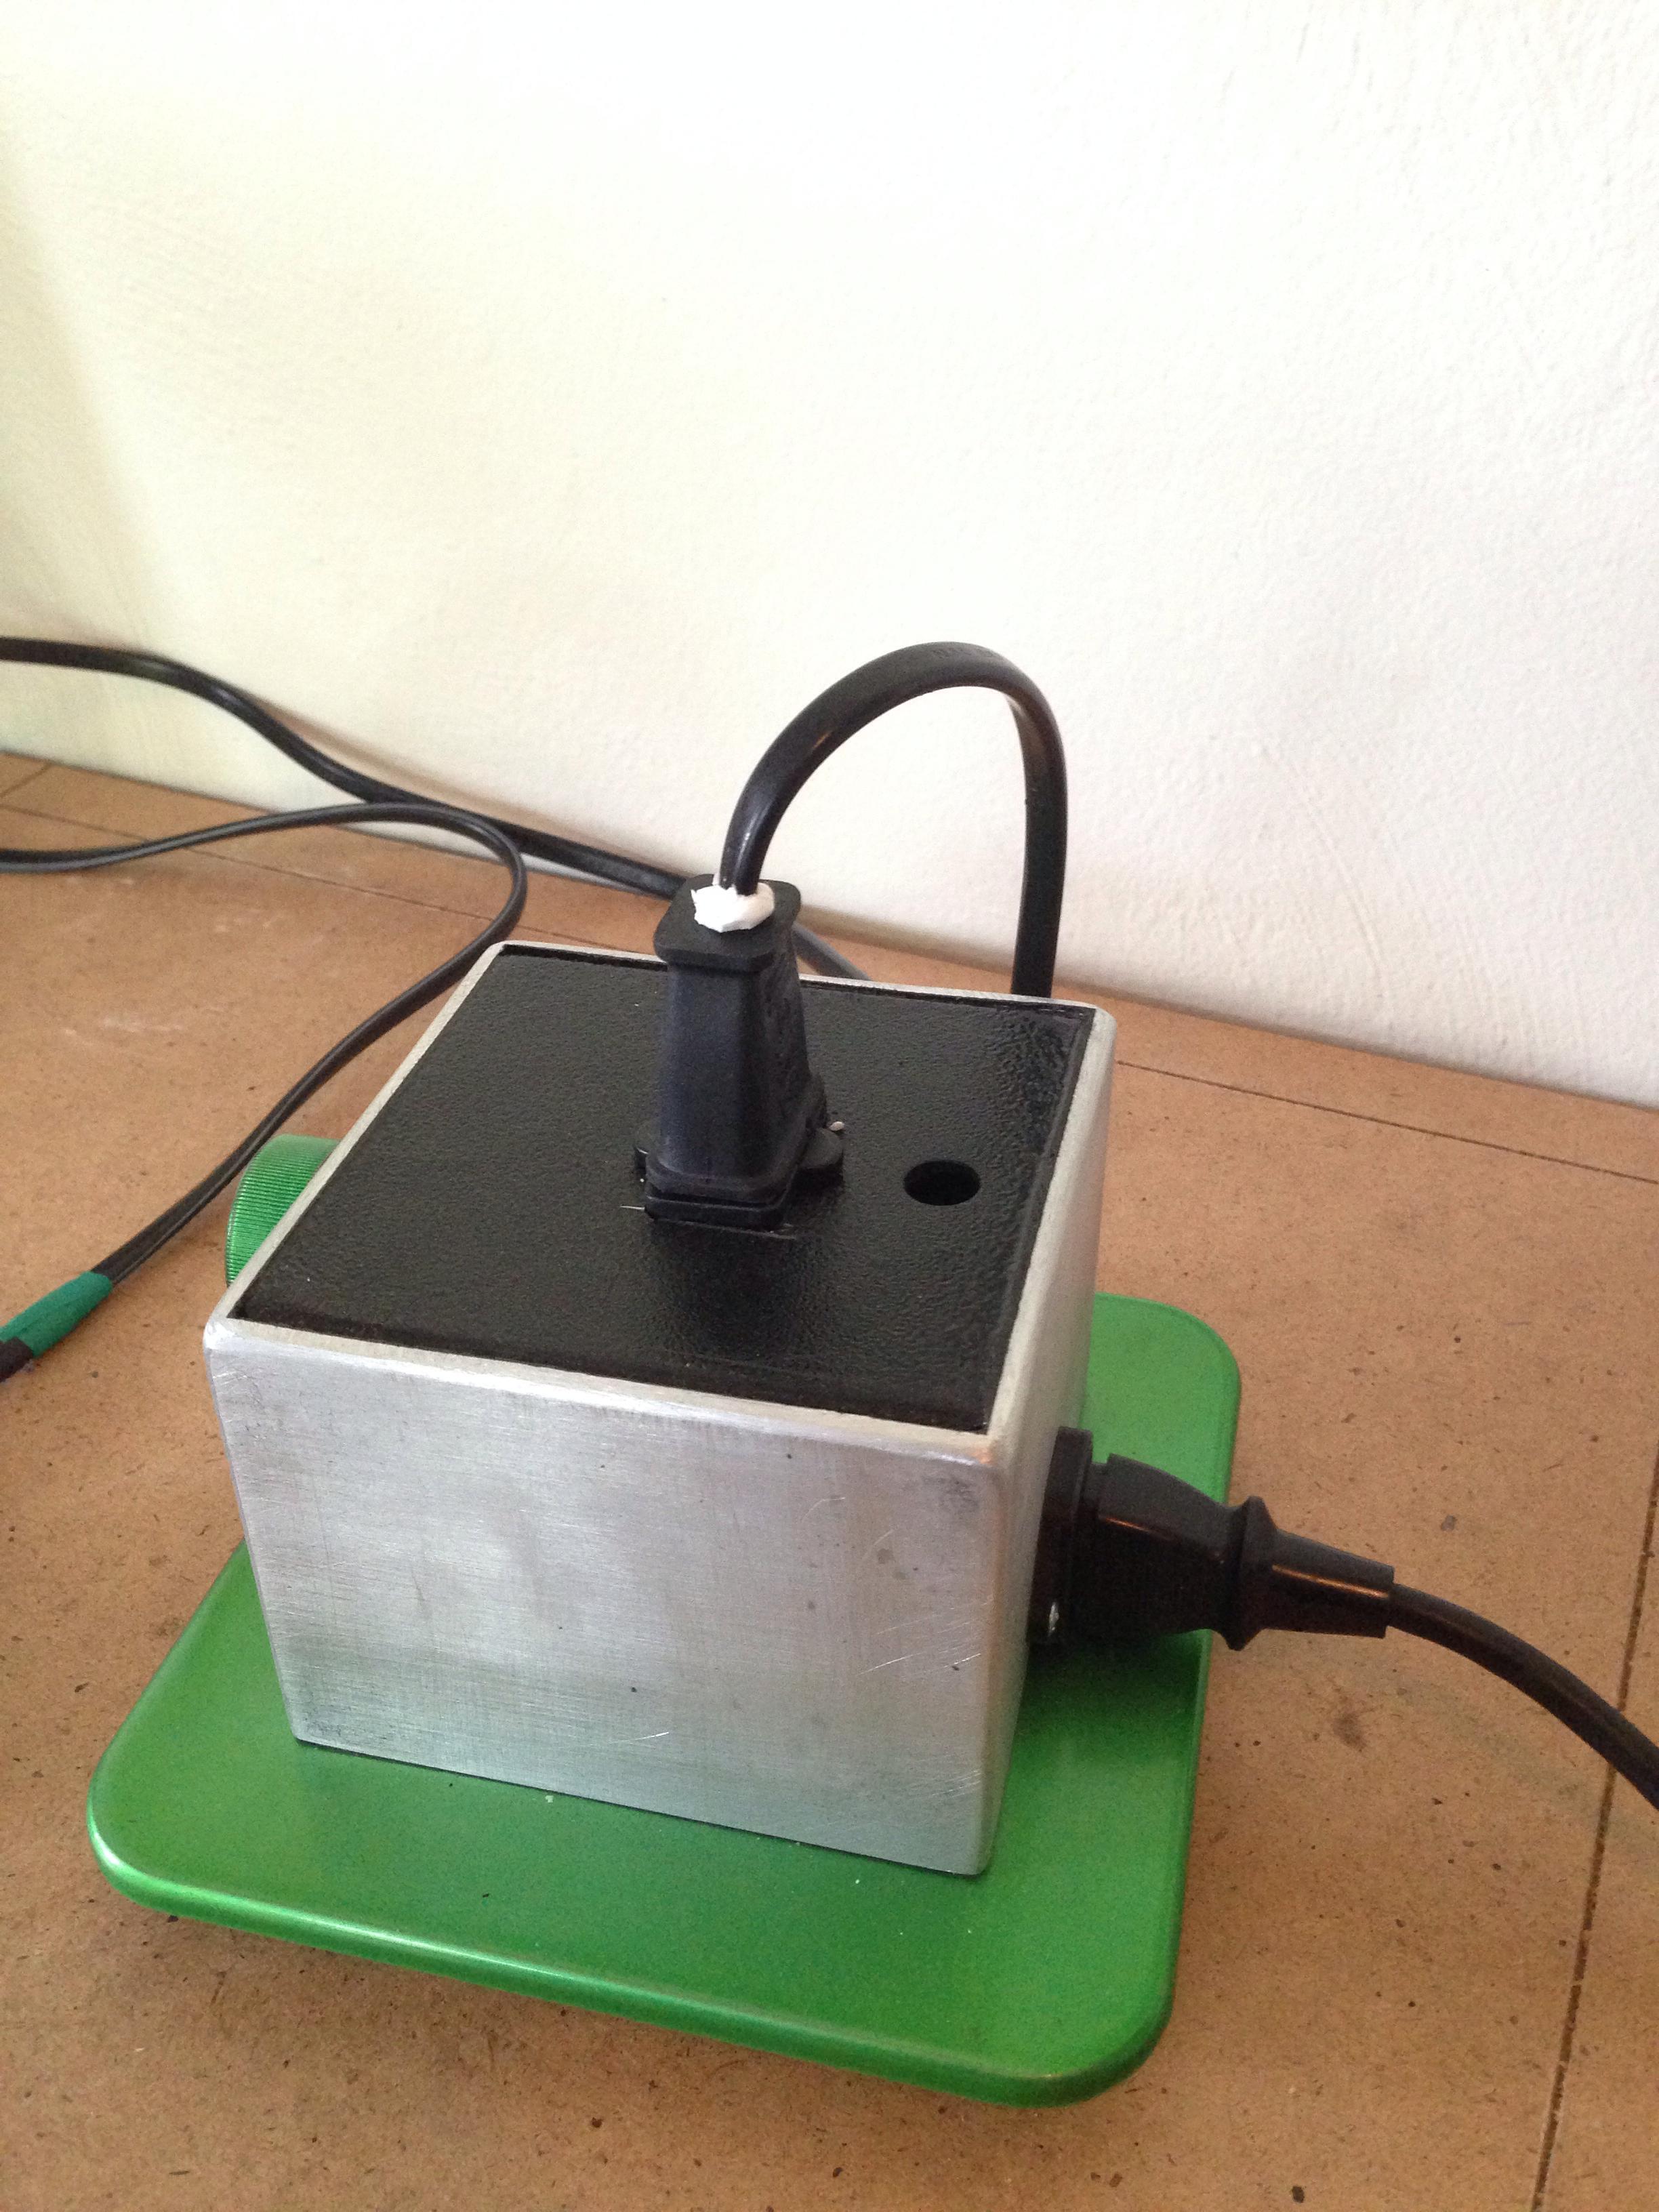
I found an old LSV bowl at my friends place, so I was thinking about just making an LSV clone. However I wanted something that was light enough to remain on a bong unsupported. I realized the switch panel and metal knob were too heavy and bulky for a self-supported unit, which led to the decision to separate them from the heater.
The heating element only has two wires; one attached to the power input, and one attached to the switch panel. Separating the heating element only requires an extension to be spliced in. I found an old printer cord which was perfect for the job; 18AWG and about 4 ft long.

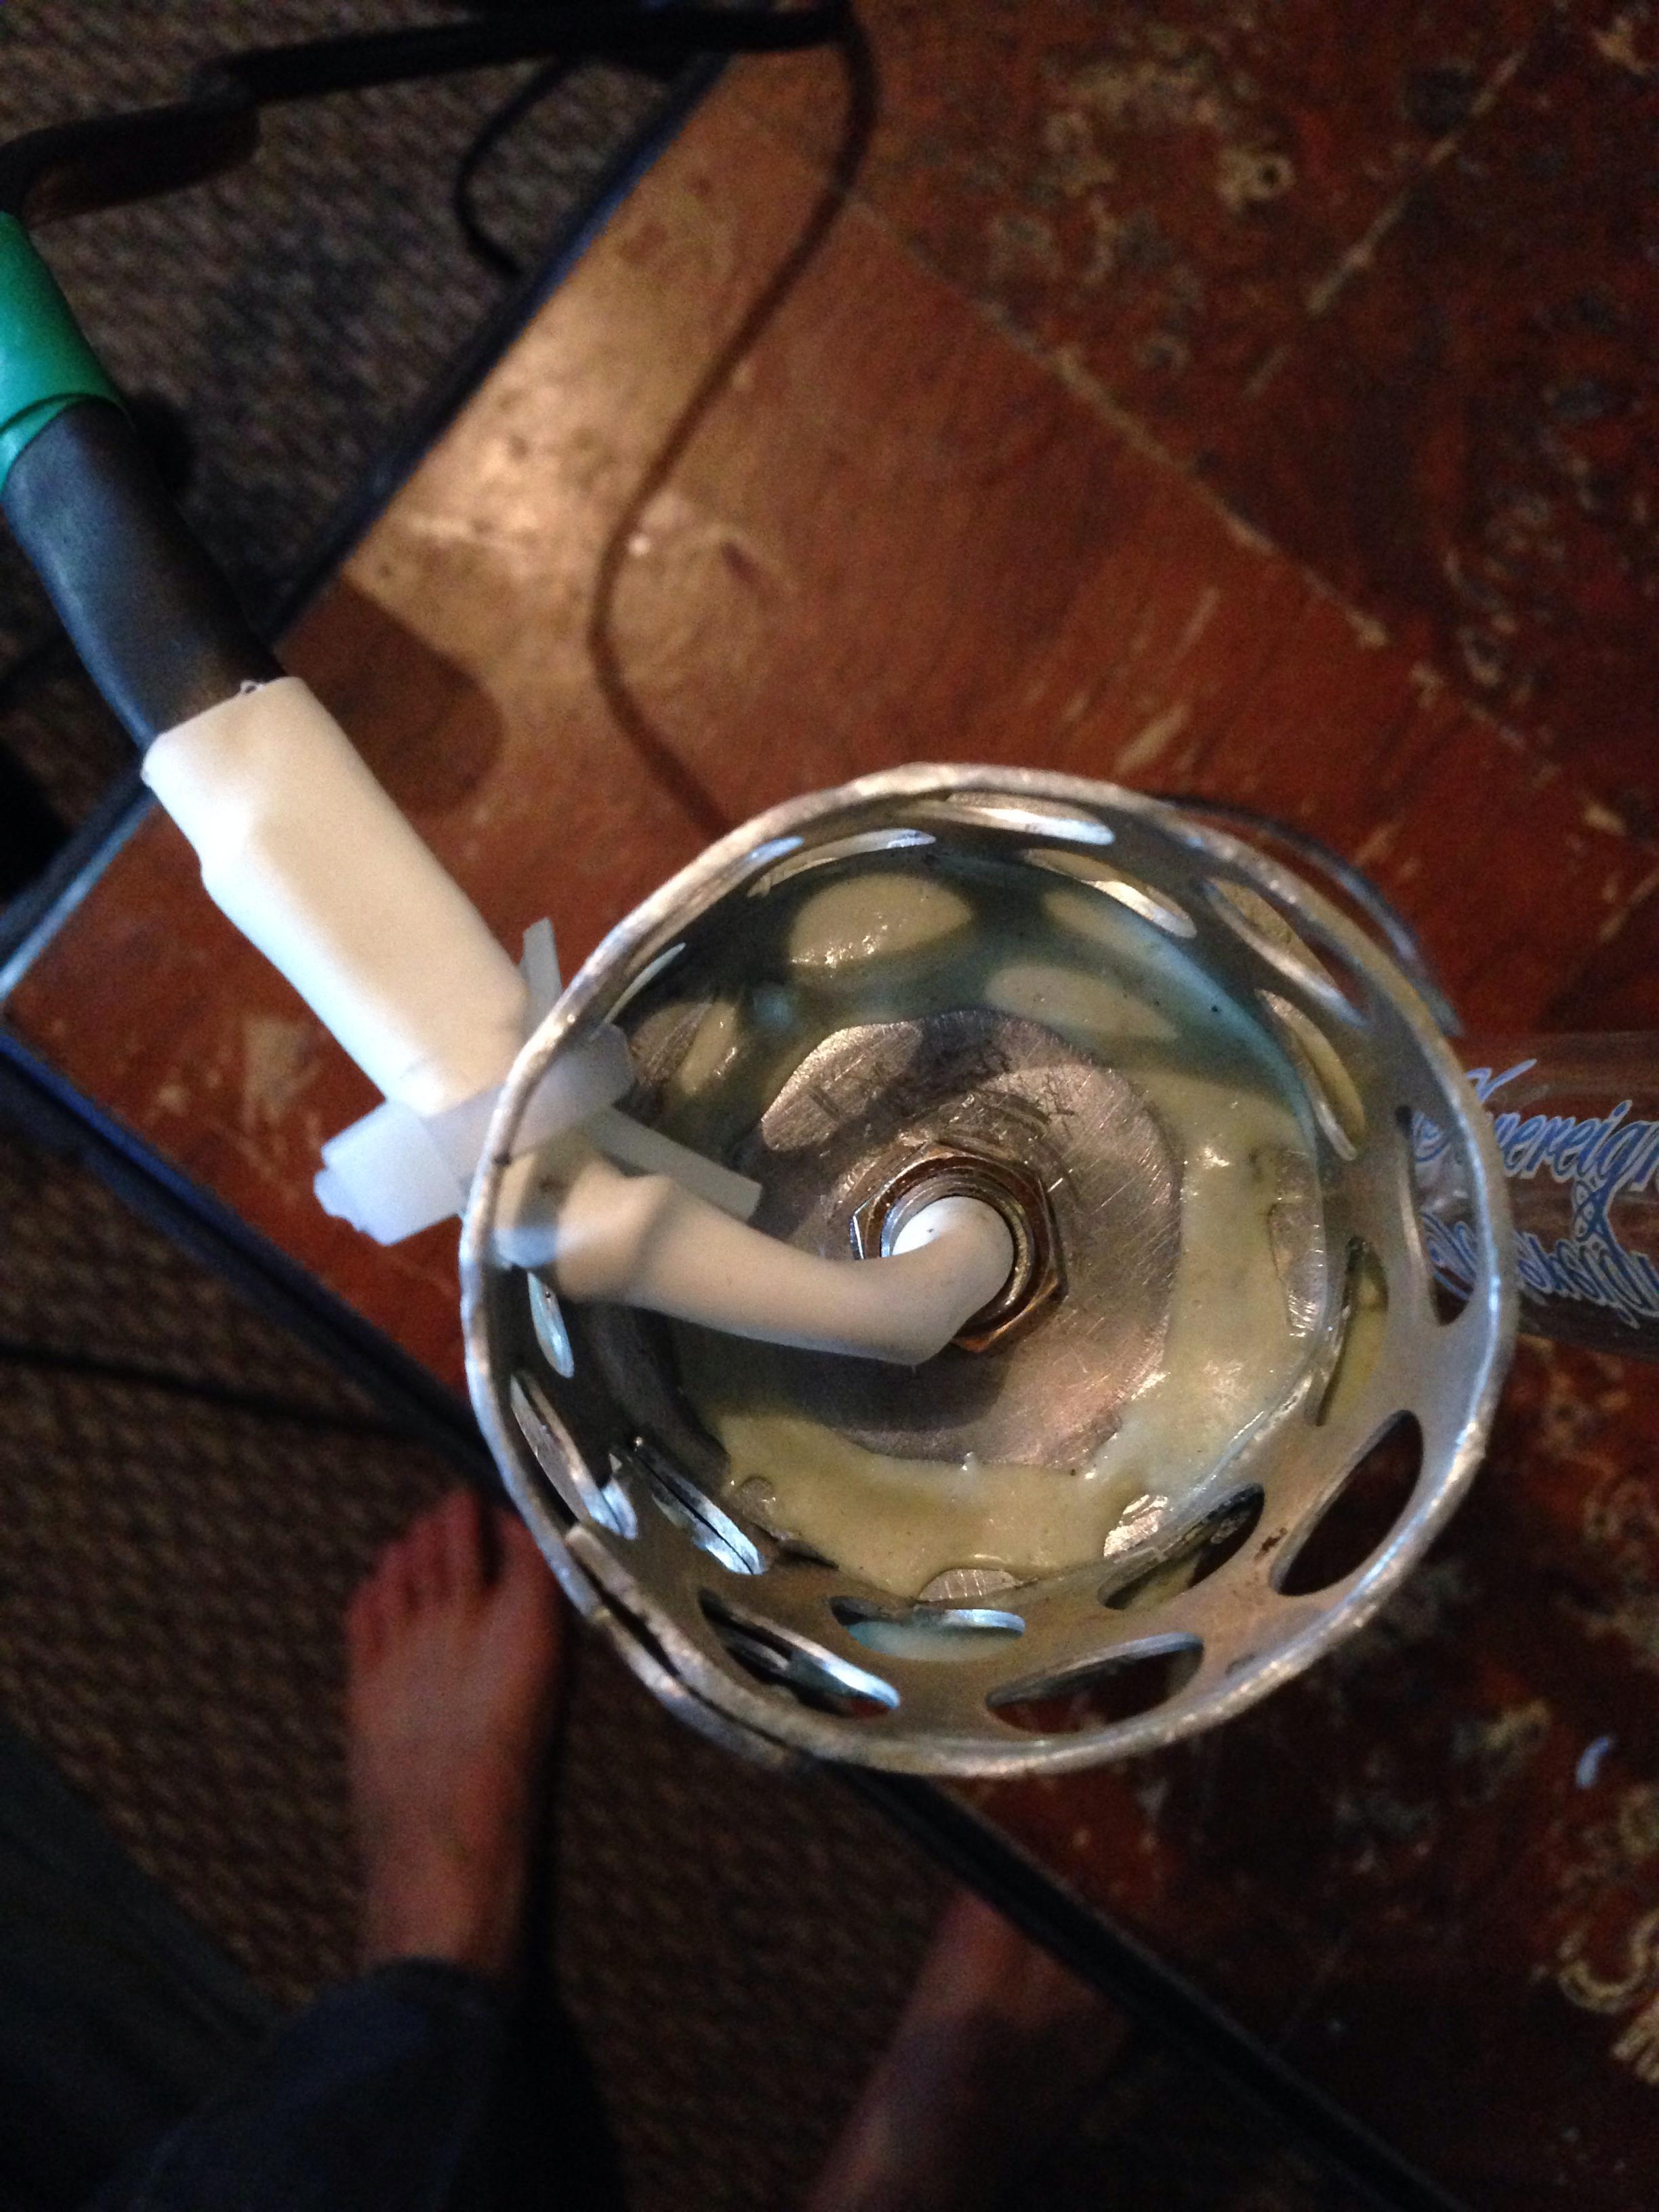
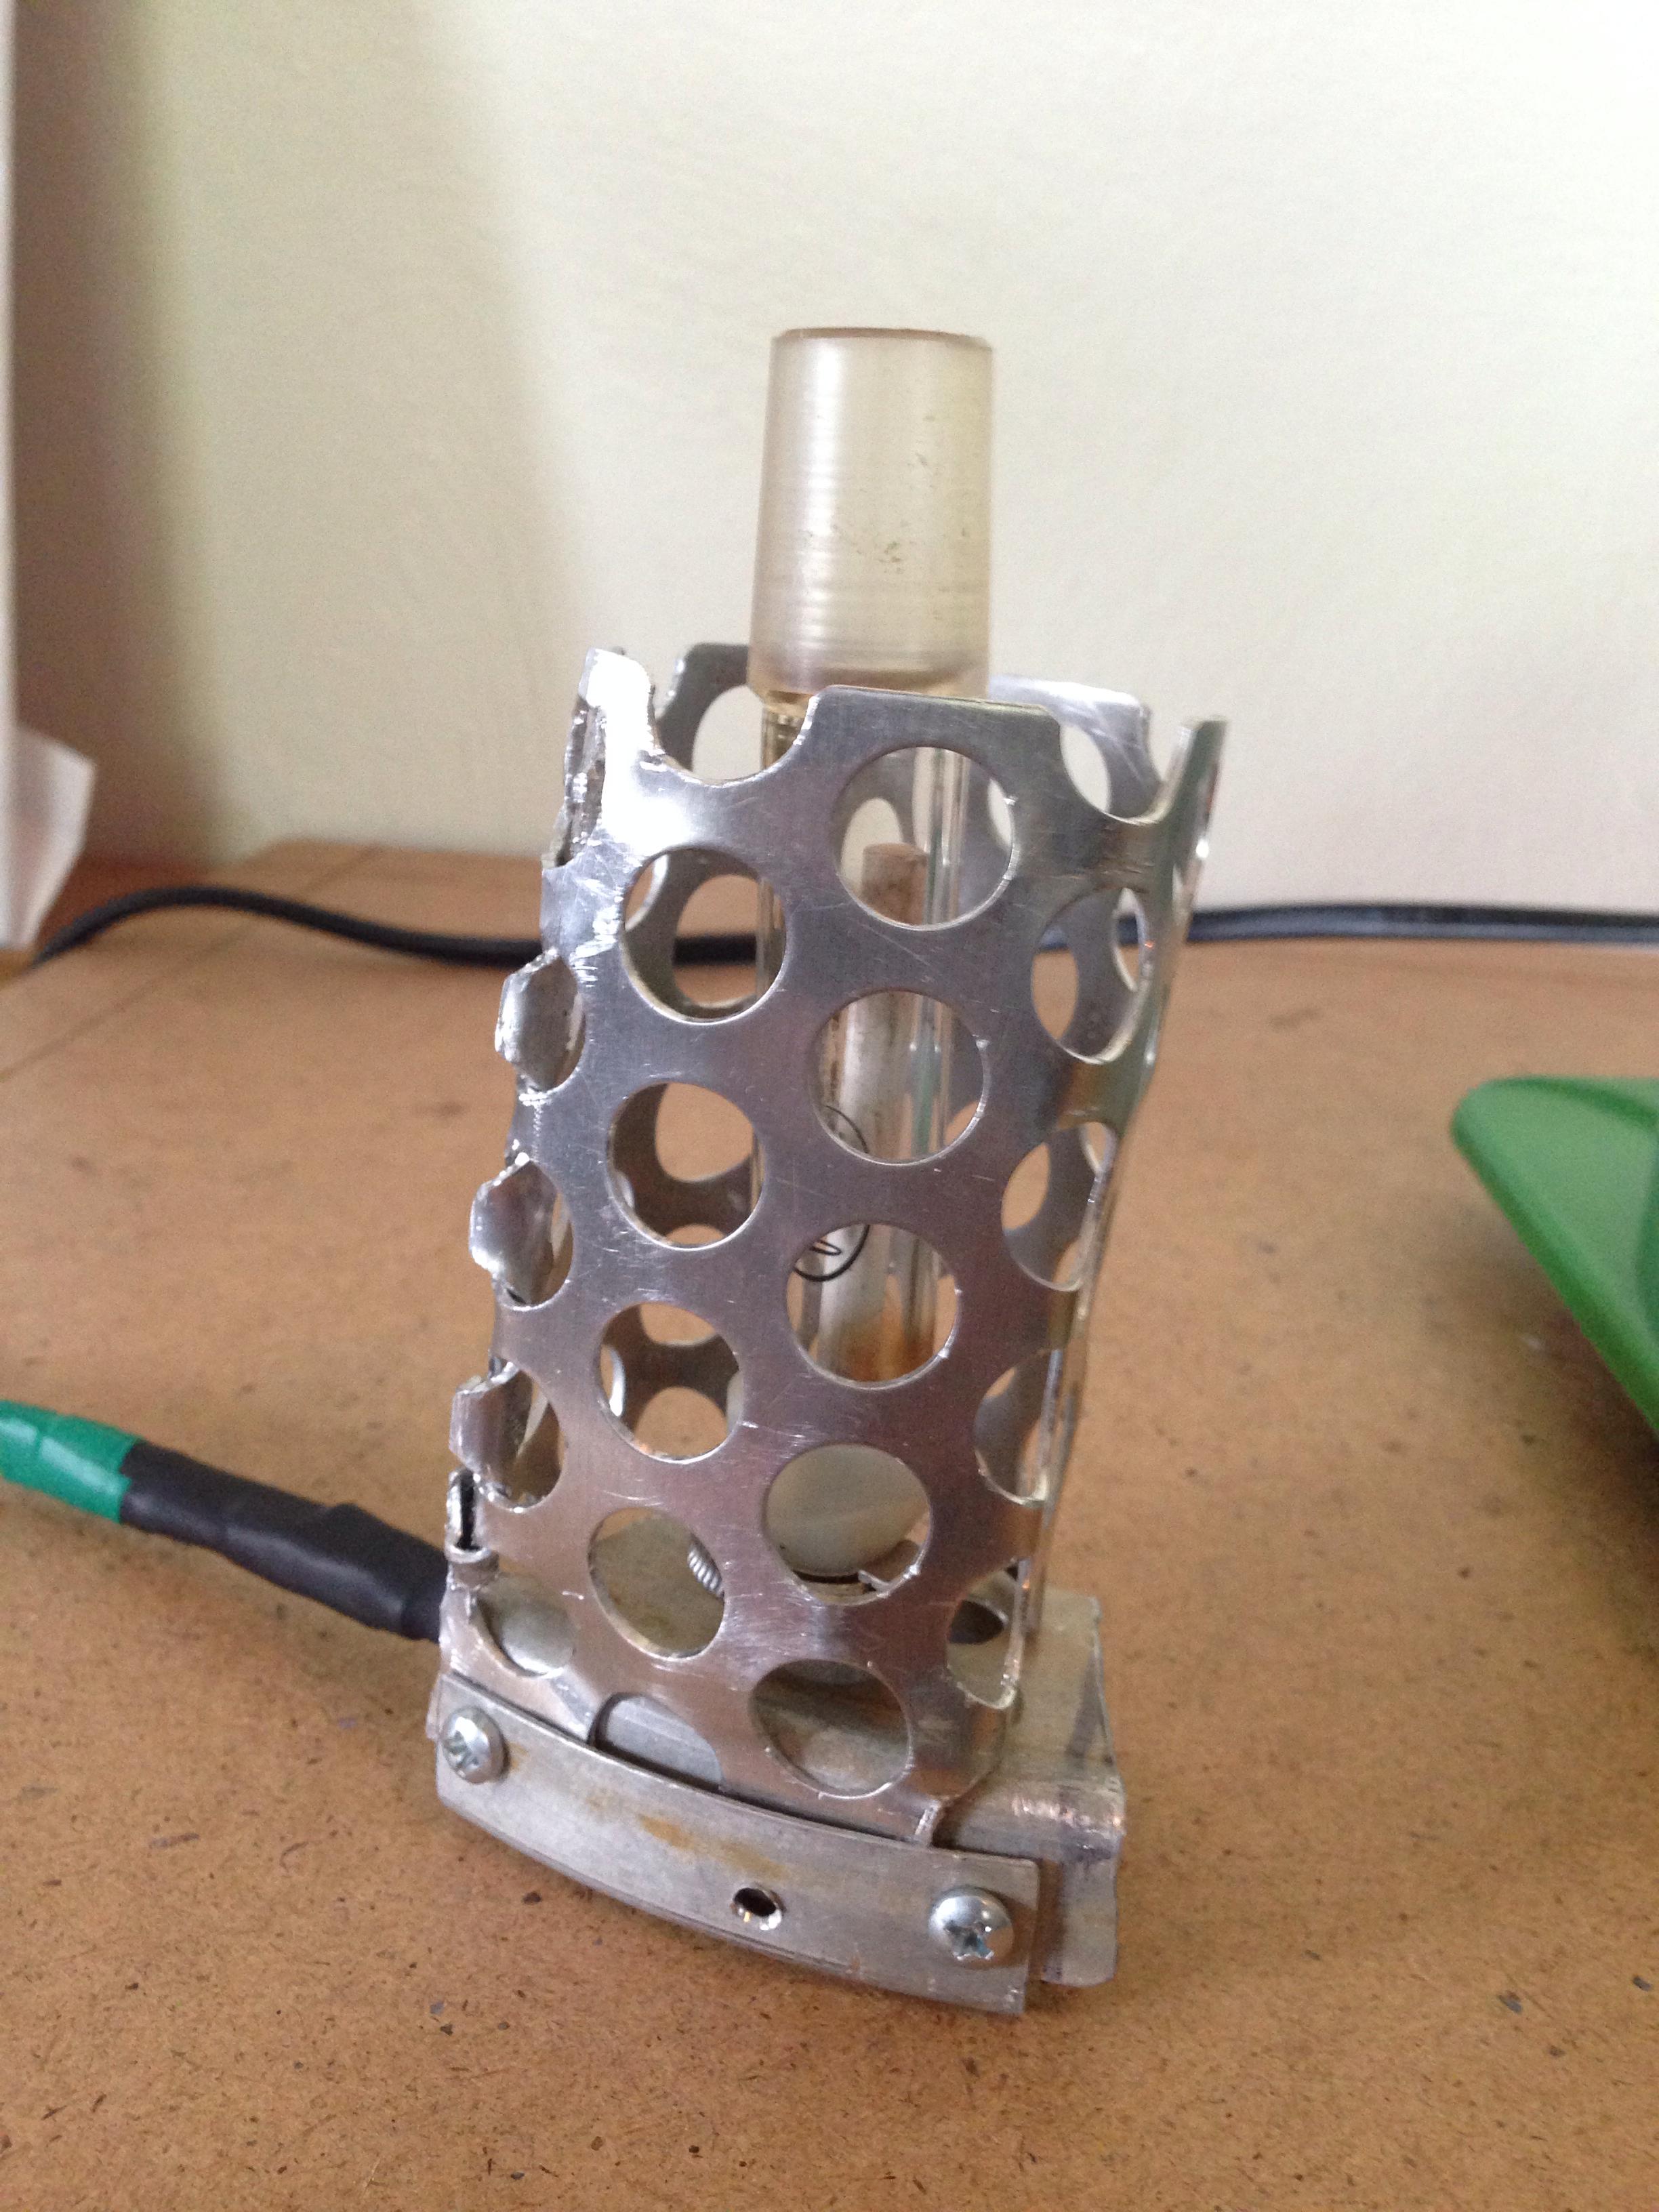
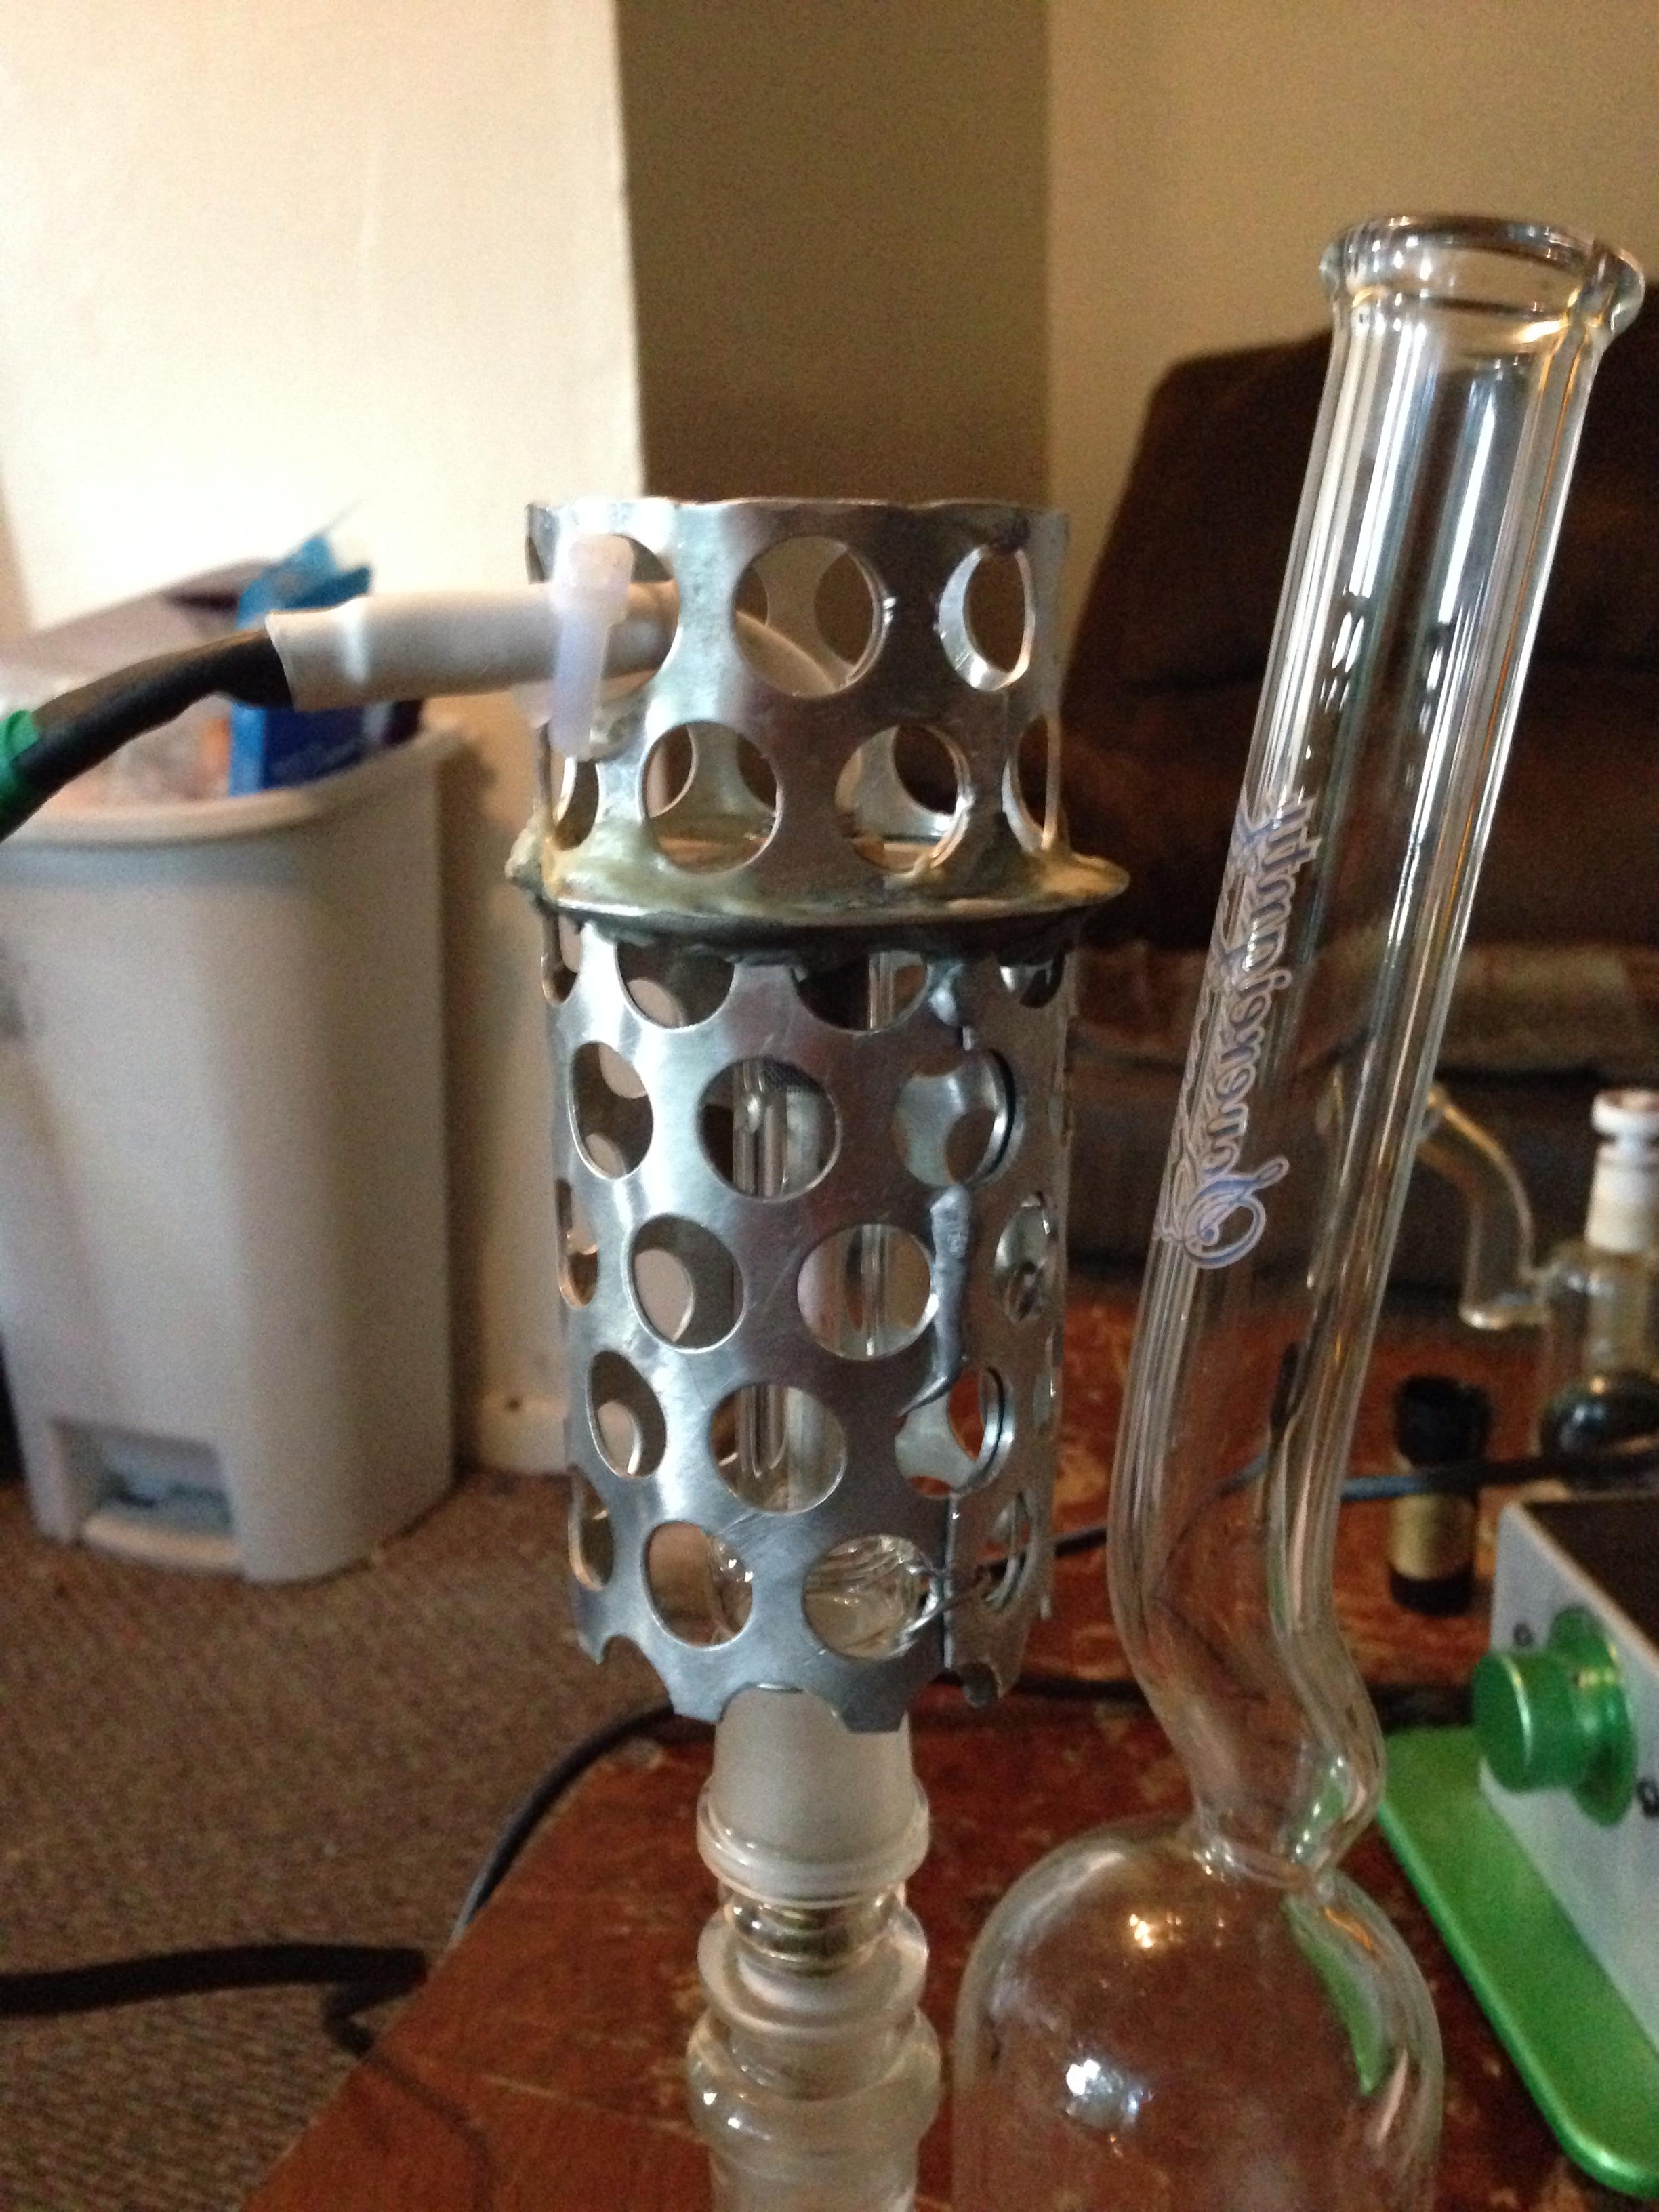
After wiring everything up, I made a platform for the new heater cover (again with aluminum). The threaded piece on the heater cover and included nuts made for an easy installation. A piece of silicon tubing was hose-clamped to the bottom of the element (<200F and not in the airpath) to protect the wire splice and reduce stress on the connections (heater element wires are very thin!).
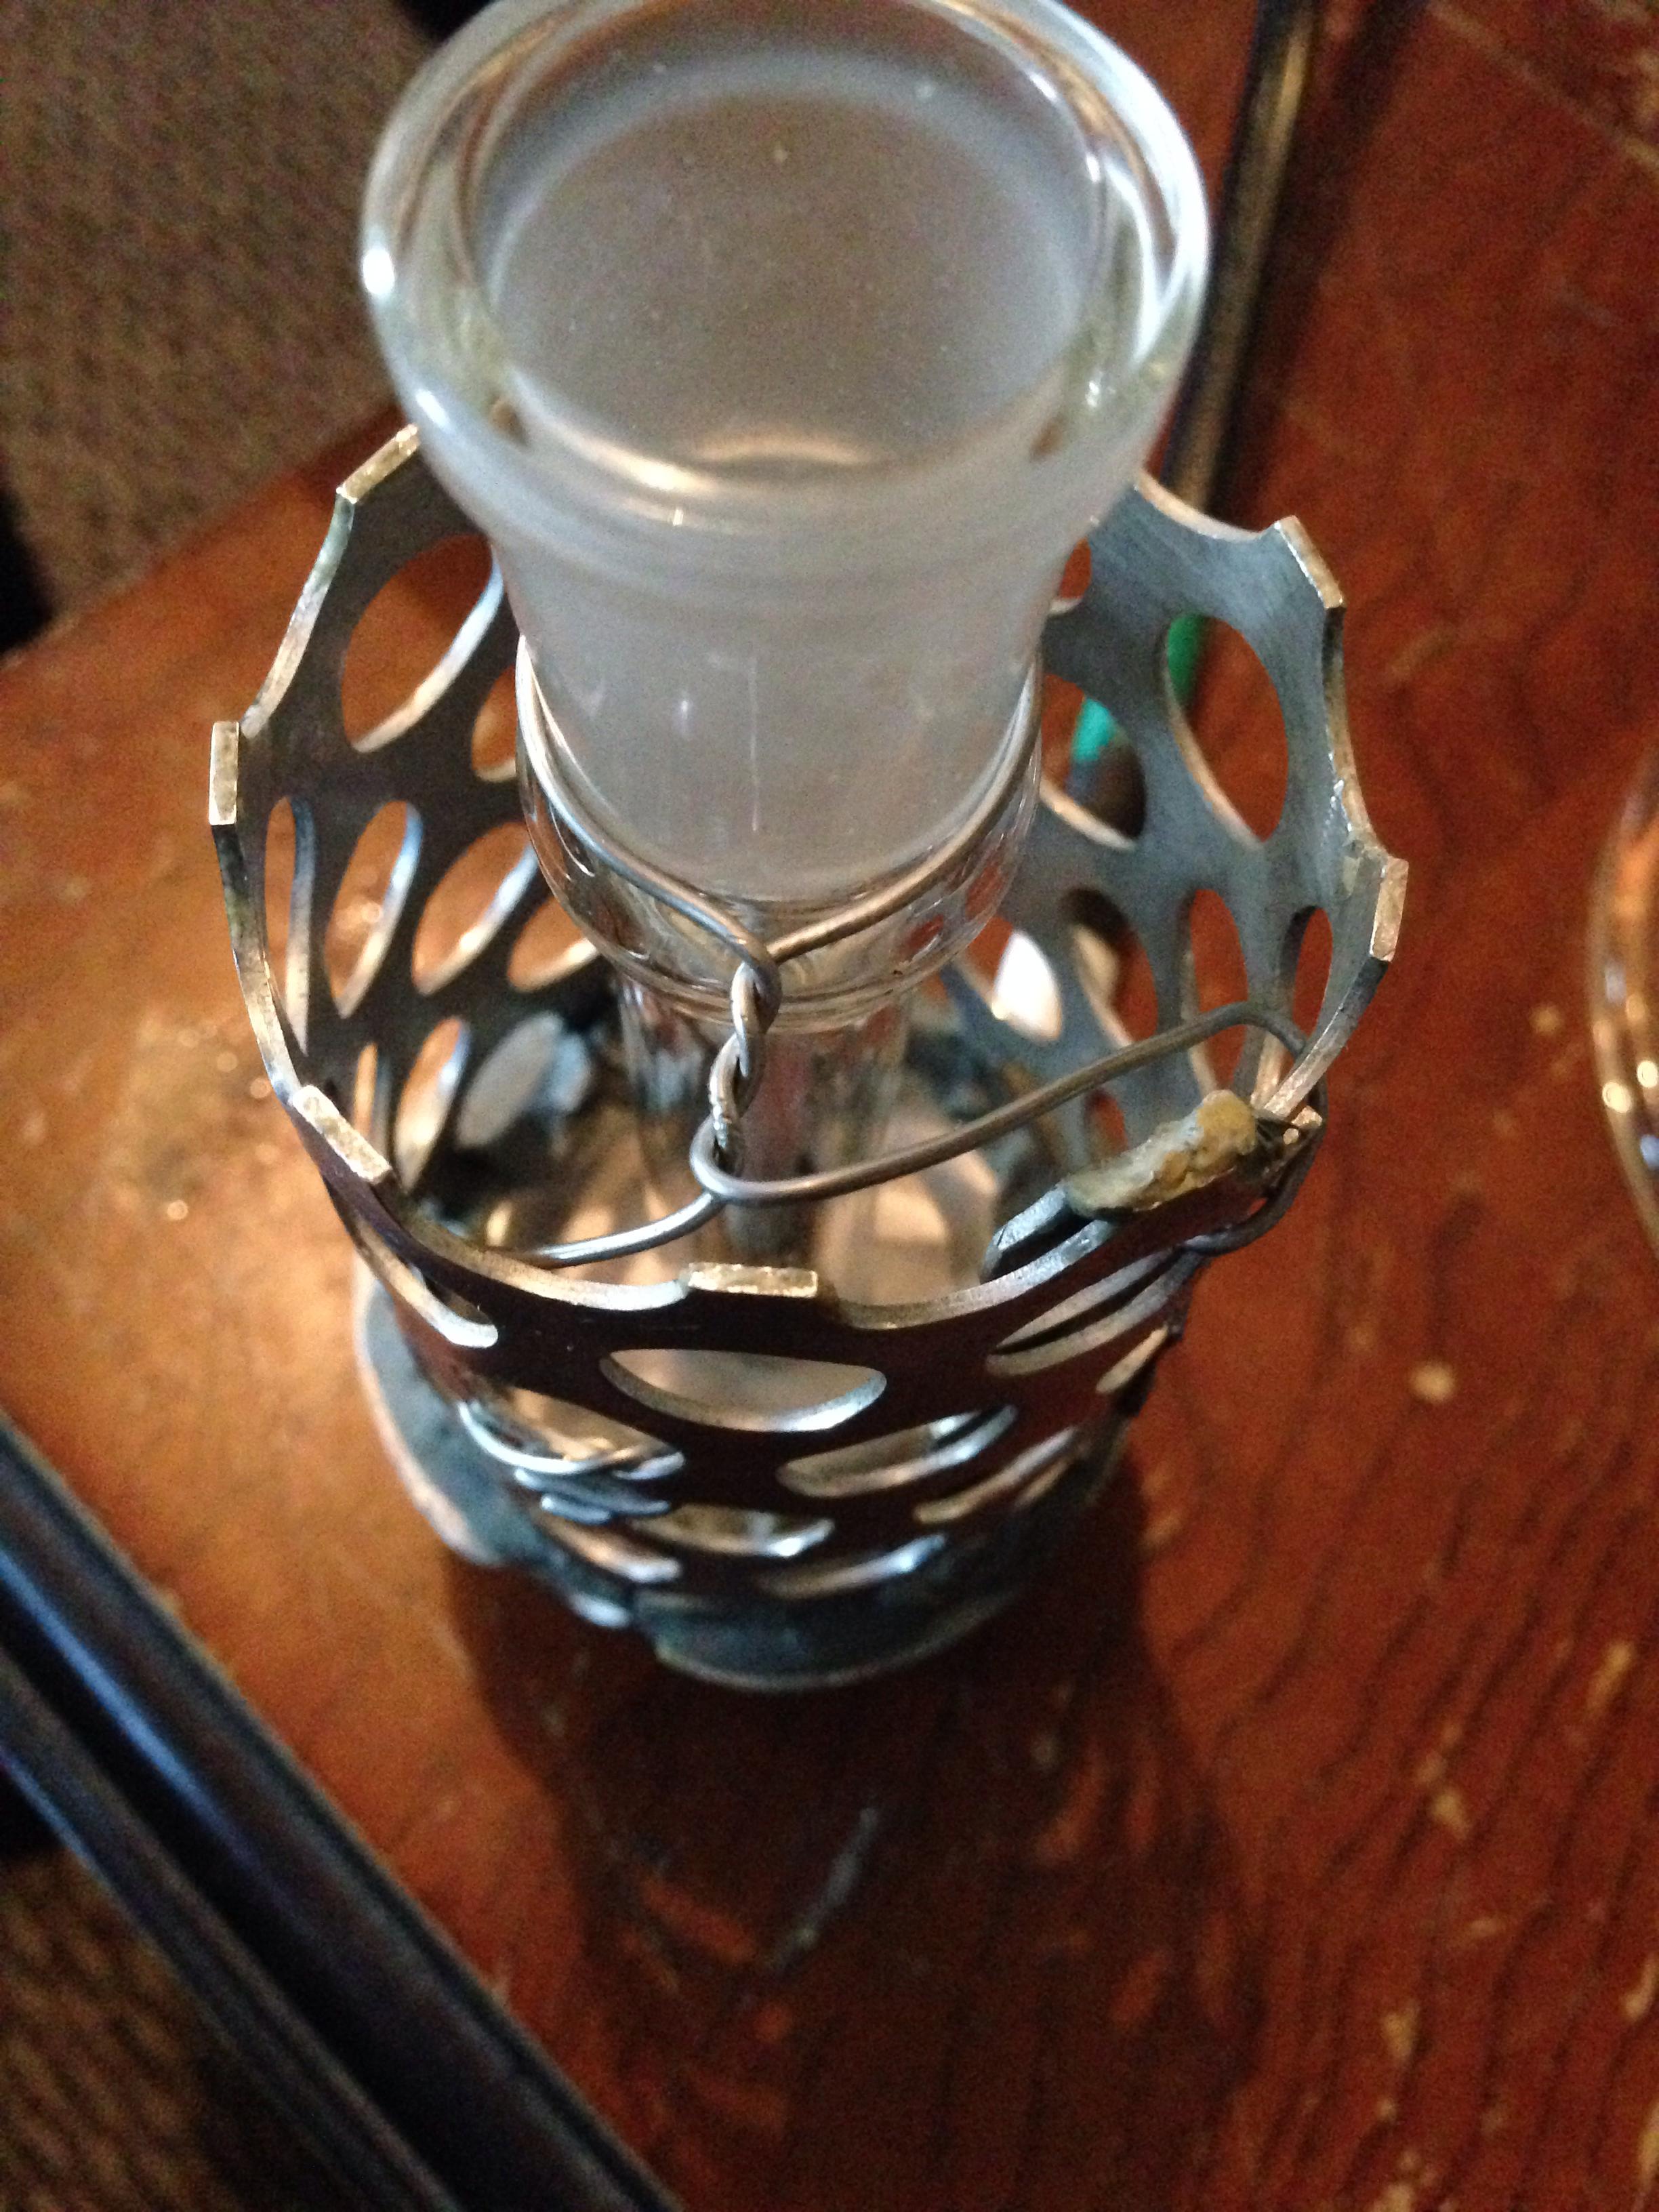
The next step was to create a heater cover. I used the original wand (or rather the replacement my roommate bought) and drilled a small hole for the intake. Given my limited experience with glass, I thought dremeling a small slit with a cut off wheel would be a better option. Nope. Just after getting through the wall (took about 10min) the bottom 1" of the heater cover broke off. So I sanded the edges and tried drilling with a small glass bit (~1/8"). This took about 2 min and left a [mostly] clean hole. I would've used the glass bit first, but I didn't think it'd work that well on boro (fortunately I was wrong).
The final step was to attach the new heater cover. I tried wrapping the heater cover threads with teflon plumbing tape (the thin white stuff, apparently rated to 500F) for a snug fit with the cover. I didn't bother measuring surface temperature but it definitely got too hot for the teflon; visible softening of the tape + a slight plastic smell. The heater element was pushed farther down than it should have been (perhaps why the tape failed) but I decided I didn't to mess with any plastic in the airpath. So I found some LSV shims and the heater cover slid right into place.
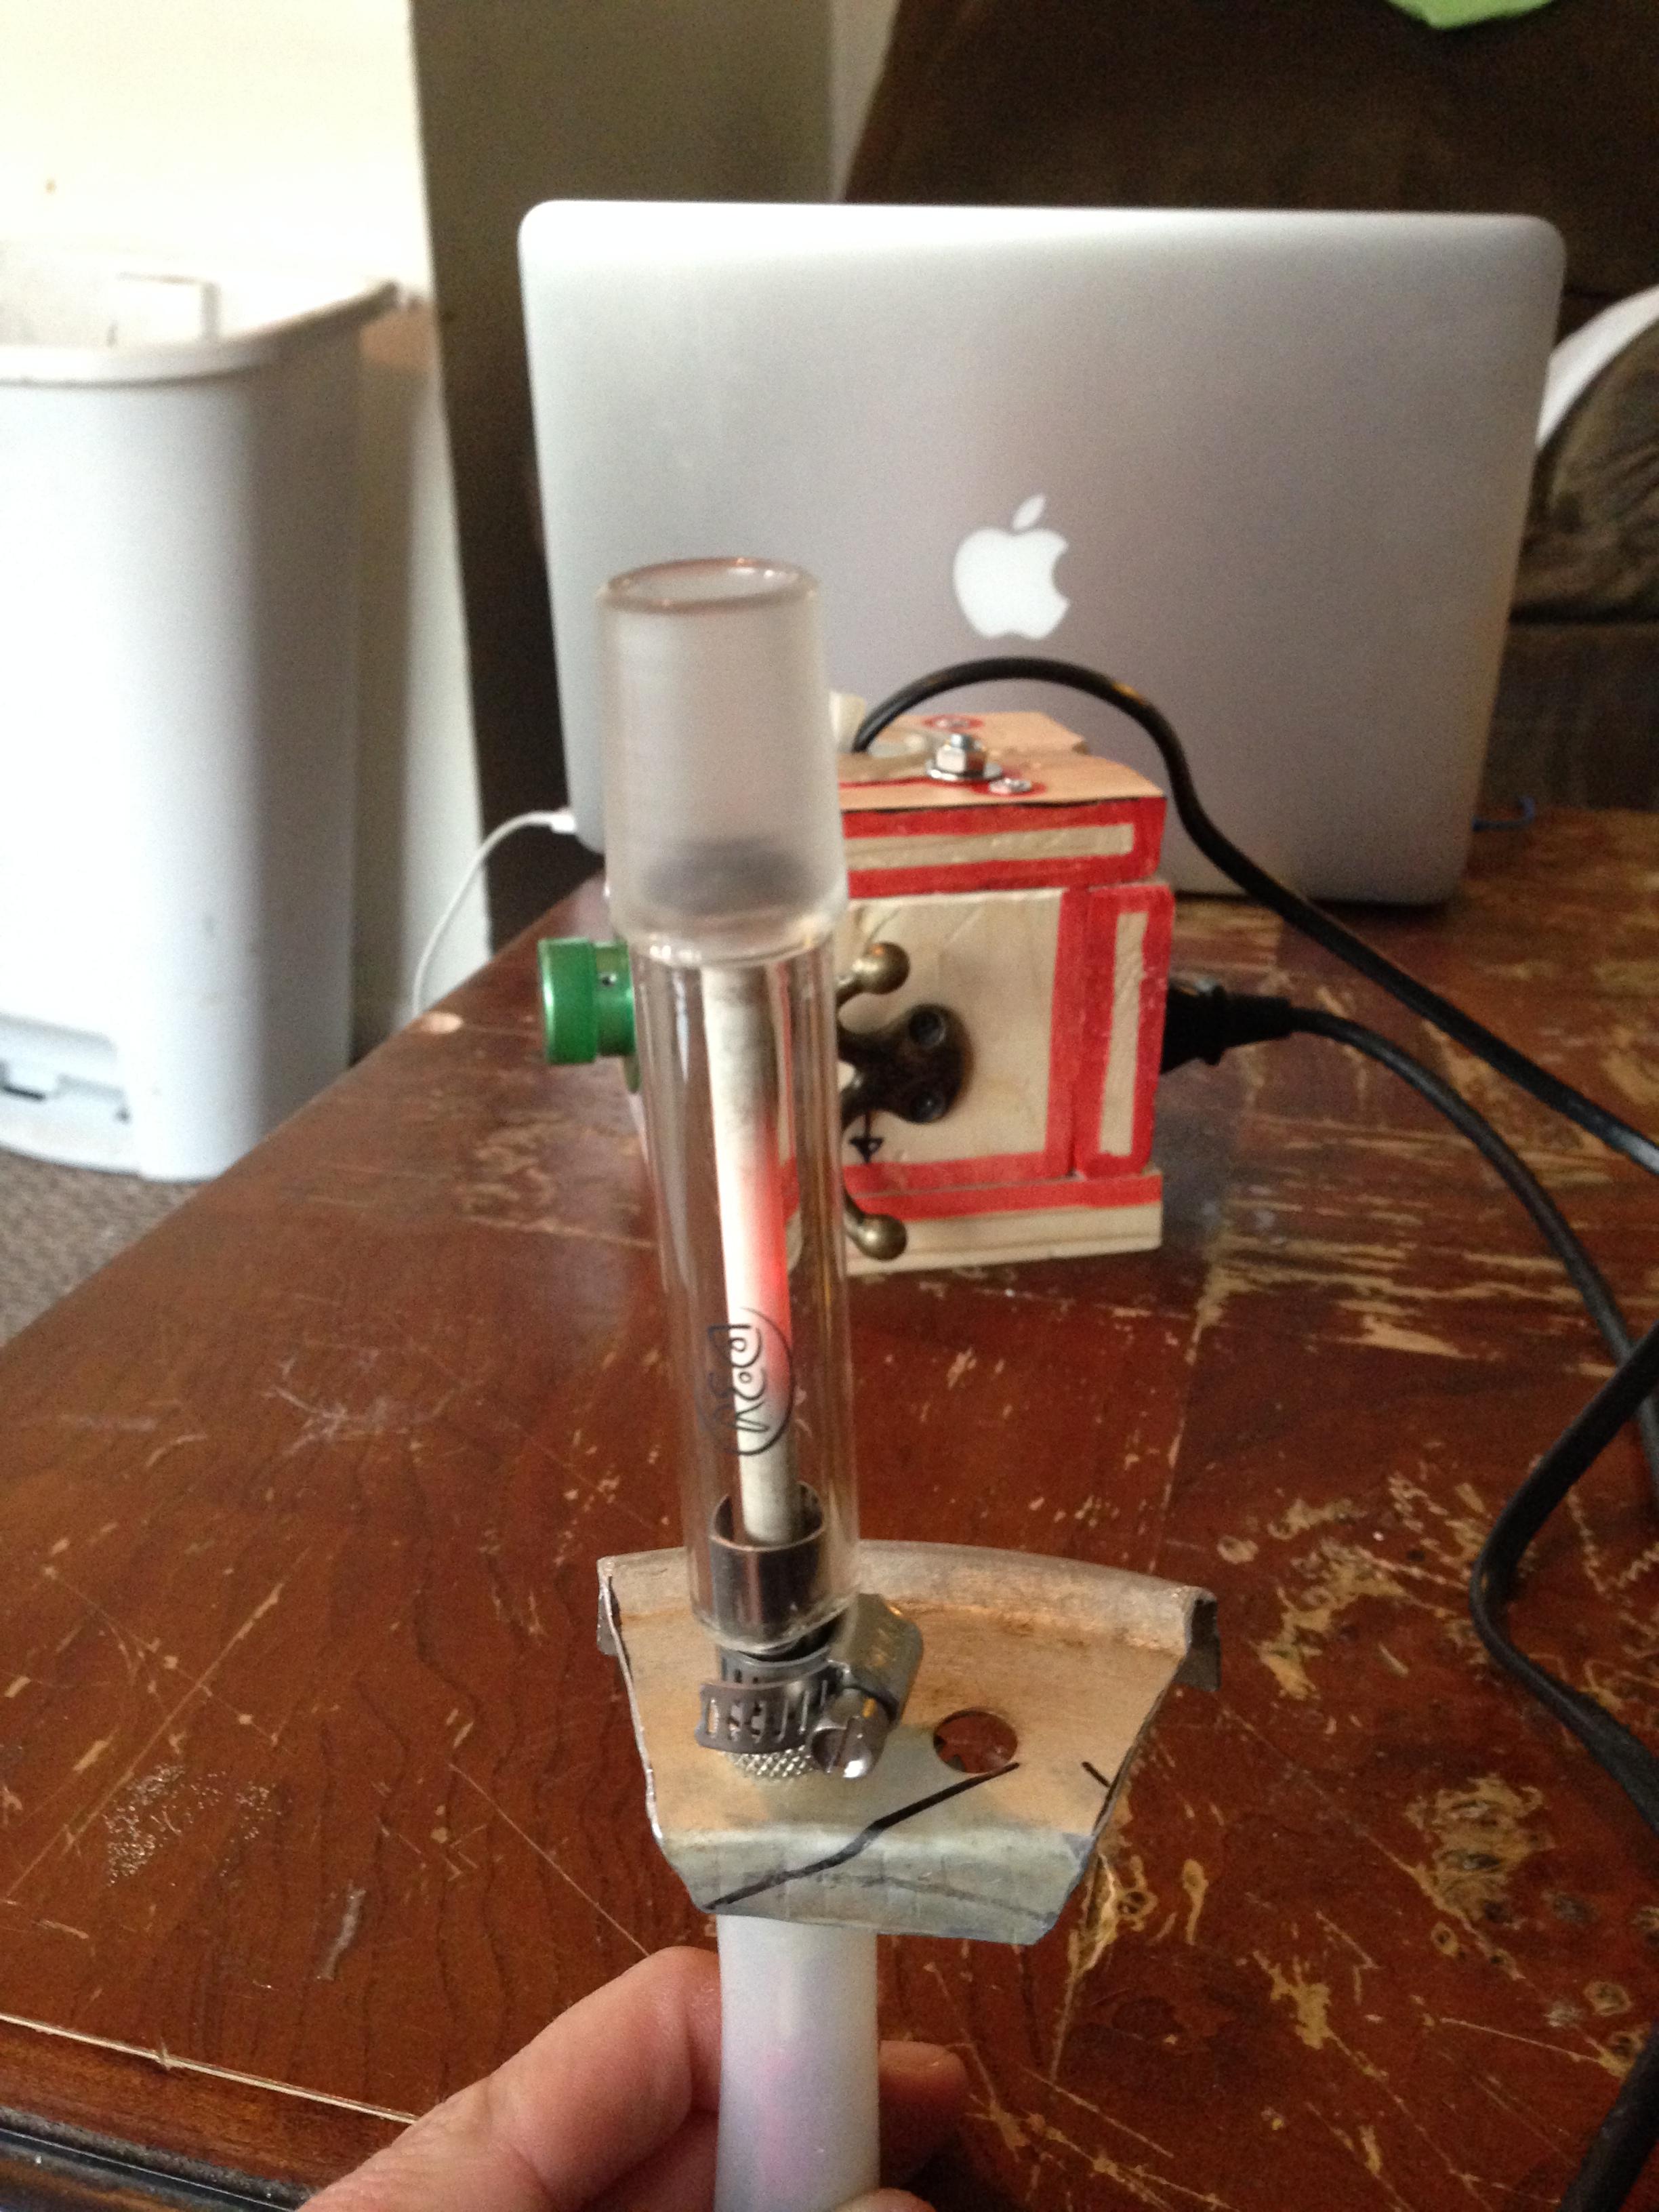
Bottom line: It works well, but I need to play around with temp settings (I borderline-combusted). I also need a better bowl system (currently just jamming the heater cover into a LSV WPA) and I'd like to refine the heater cover platform at some point.
It's called TheCan and is basically a square Da buddha. It worked well, but I vastly prefer vapes that attach directly to a bong. So began the conversion process.
The first stage was to move everything into a smaller platform. I guess I forgot to take pictures, but it was just the box below with the heater element attached to the round aluminum piece (where the cord/silicon tubing is now). The ~1/2" of aluminum surrounding the element acts as a heat shield to the wood. The element was covered with the original heater cover, which left the glass completely exposed.
At that point there was no change in function from the original whip vape. I added a handle (the coat hanger) so I could experiment with direct-to-bong attachment. As you can imagine it was quite unwieldy.
I found an old LSV bowl at my friends place, so I was thinking about just making an LSV clone. However I wanted something that was light enough to remain on a bong unsupported. I realized the switch panel and metal knob were too heavy and bulky for a self-supported unit, which led to the decision to separate them from the heater.
The heating element only has two wires; one attached to the power input, and one attached to the switch panel. Separating the heating element only requires an extension to be spliced in. I found an old printer cord which was perfect for the job; 18AWG and about 4 ft long.
After wiring everything up, I made a platform for the new heater cover (again with aluminum). The threaded piece on the heater cover and included nuts made for an easy installation. A piece of silicon tubing was hose-clamped to the bottom of the element (<200F and not in the airpath) to protect the wire splice and reduce stress on the connections (heater element wires are very thin!).
The next step was to create a heater cover. I used the original wand (or rather the replacement my roommate bought) and drilled a small hole for the intake. Given my limited experience with glass, I thought dremeling a small slit with a cut off wheel would be a better option. Nope.
Just after getting through the wall (took about 10min) the bottom 1" of the heater cover broke off. So I sanded the edges and tried drilling with a small glass bit (~1/8"). This took about 2 min and left a [mostly] clean hole. I would've used the glass bit first, but I didn't think it'd work that well on boro (fortunately I was wrong).The final step was to attach the new heater cover. I tried wrapping the heater cover threads with teflon plumbing tape (the thin white stuff, apparently rated to 500F) for a snug fit with the cover. I didn't bother measuring surface temperature but it definitely got too hot for the teflon; visible softening of the tape + a slight plastic smell. The heater element was pushed farther down than it should have been (perhaps why the tape failed) but I decided I didn't to mess with any plastic in the airpath. So I found some LSV shims and the heater cover slid right into place.
Bottom line: It works well, but I need to play around with temp settings (I borderline-combusted). I also need a better bowl system (currently just jamming the heater cover into a LSV WPA) and I'd like to refine the heater cover platform at some point.

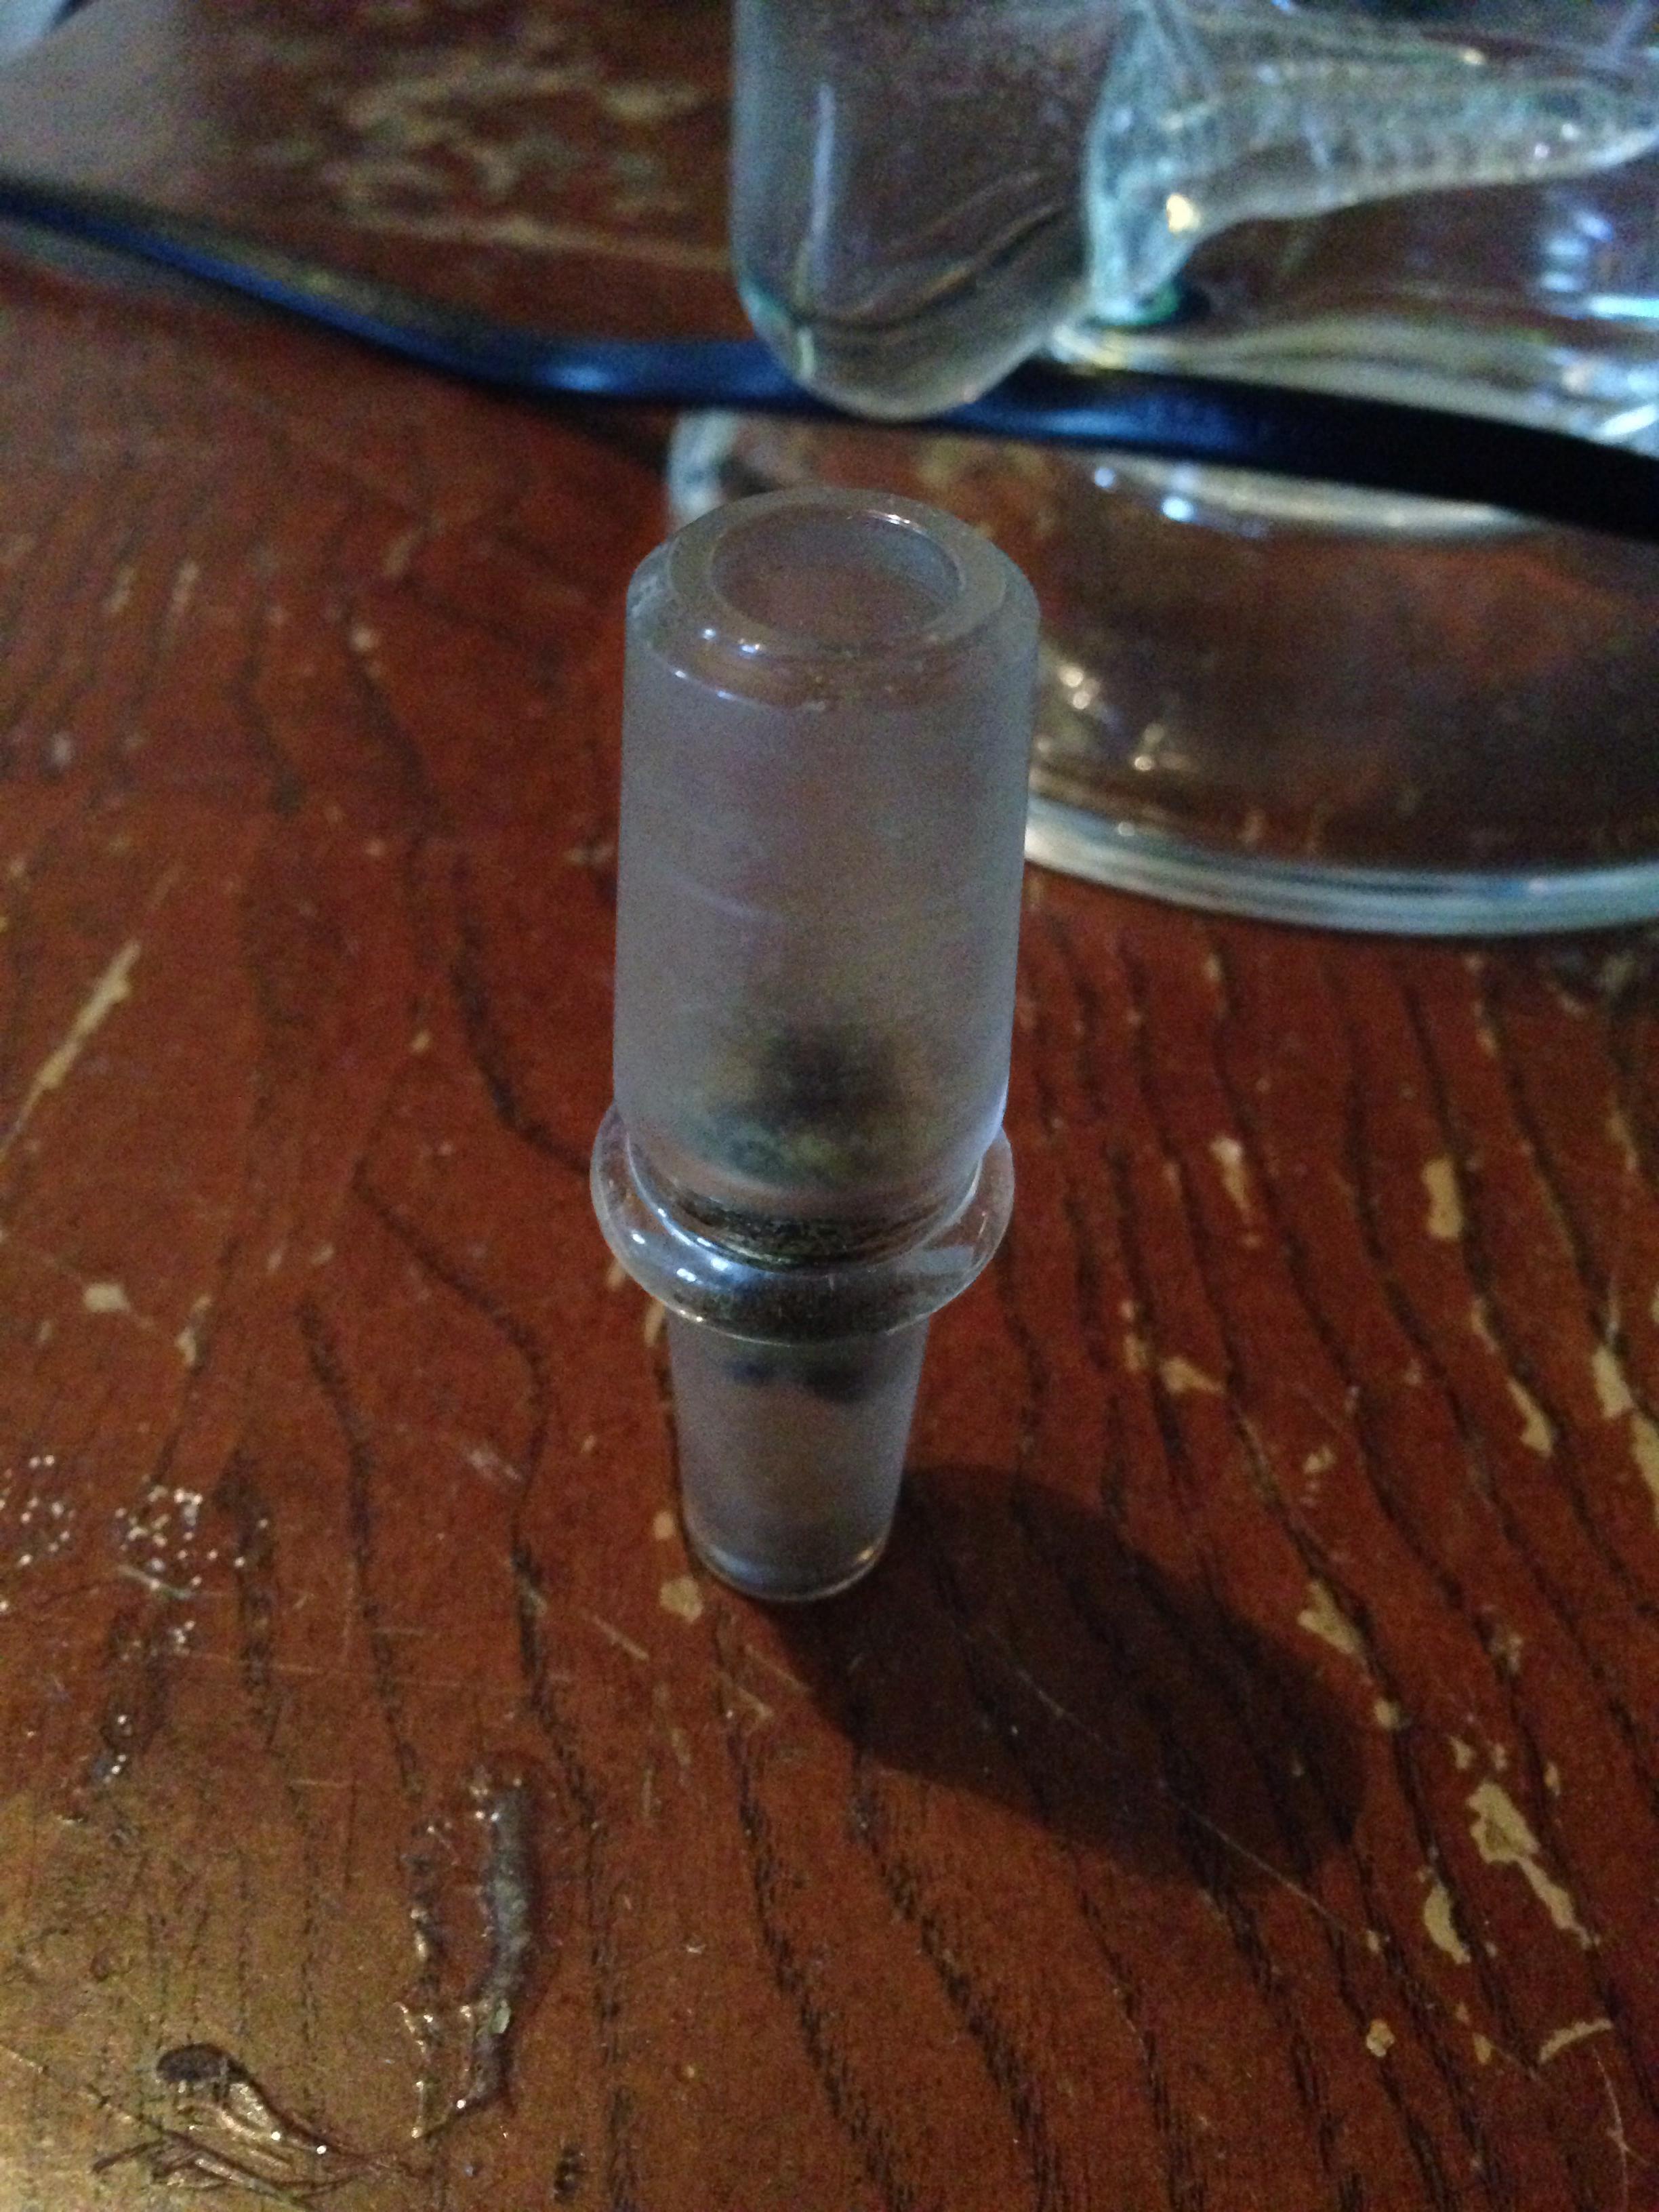
 . The female joint allows a male GONG to be used as a bowl, which is more efficient than the female bowl I was using. The 14-18 adapter makes for an incredibly versatile bowl.