Quetzalcoatl
DEADY GUERRERO/DIRT COBAIN/GEORGE KUSH
She's lurking around occasionally. She took an FC vacation!They must be using a softer material? Mine is like 1/5 years old and still not chips
Where is @Dreamerr ??? Been awhile since I have seen her in this thread or others
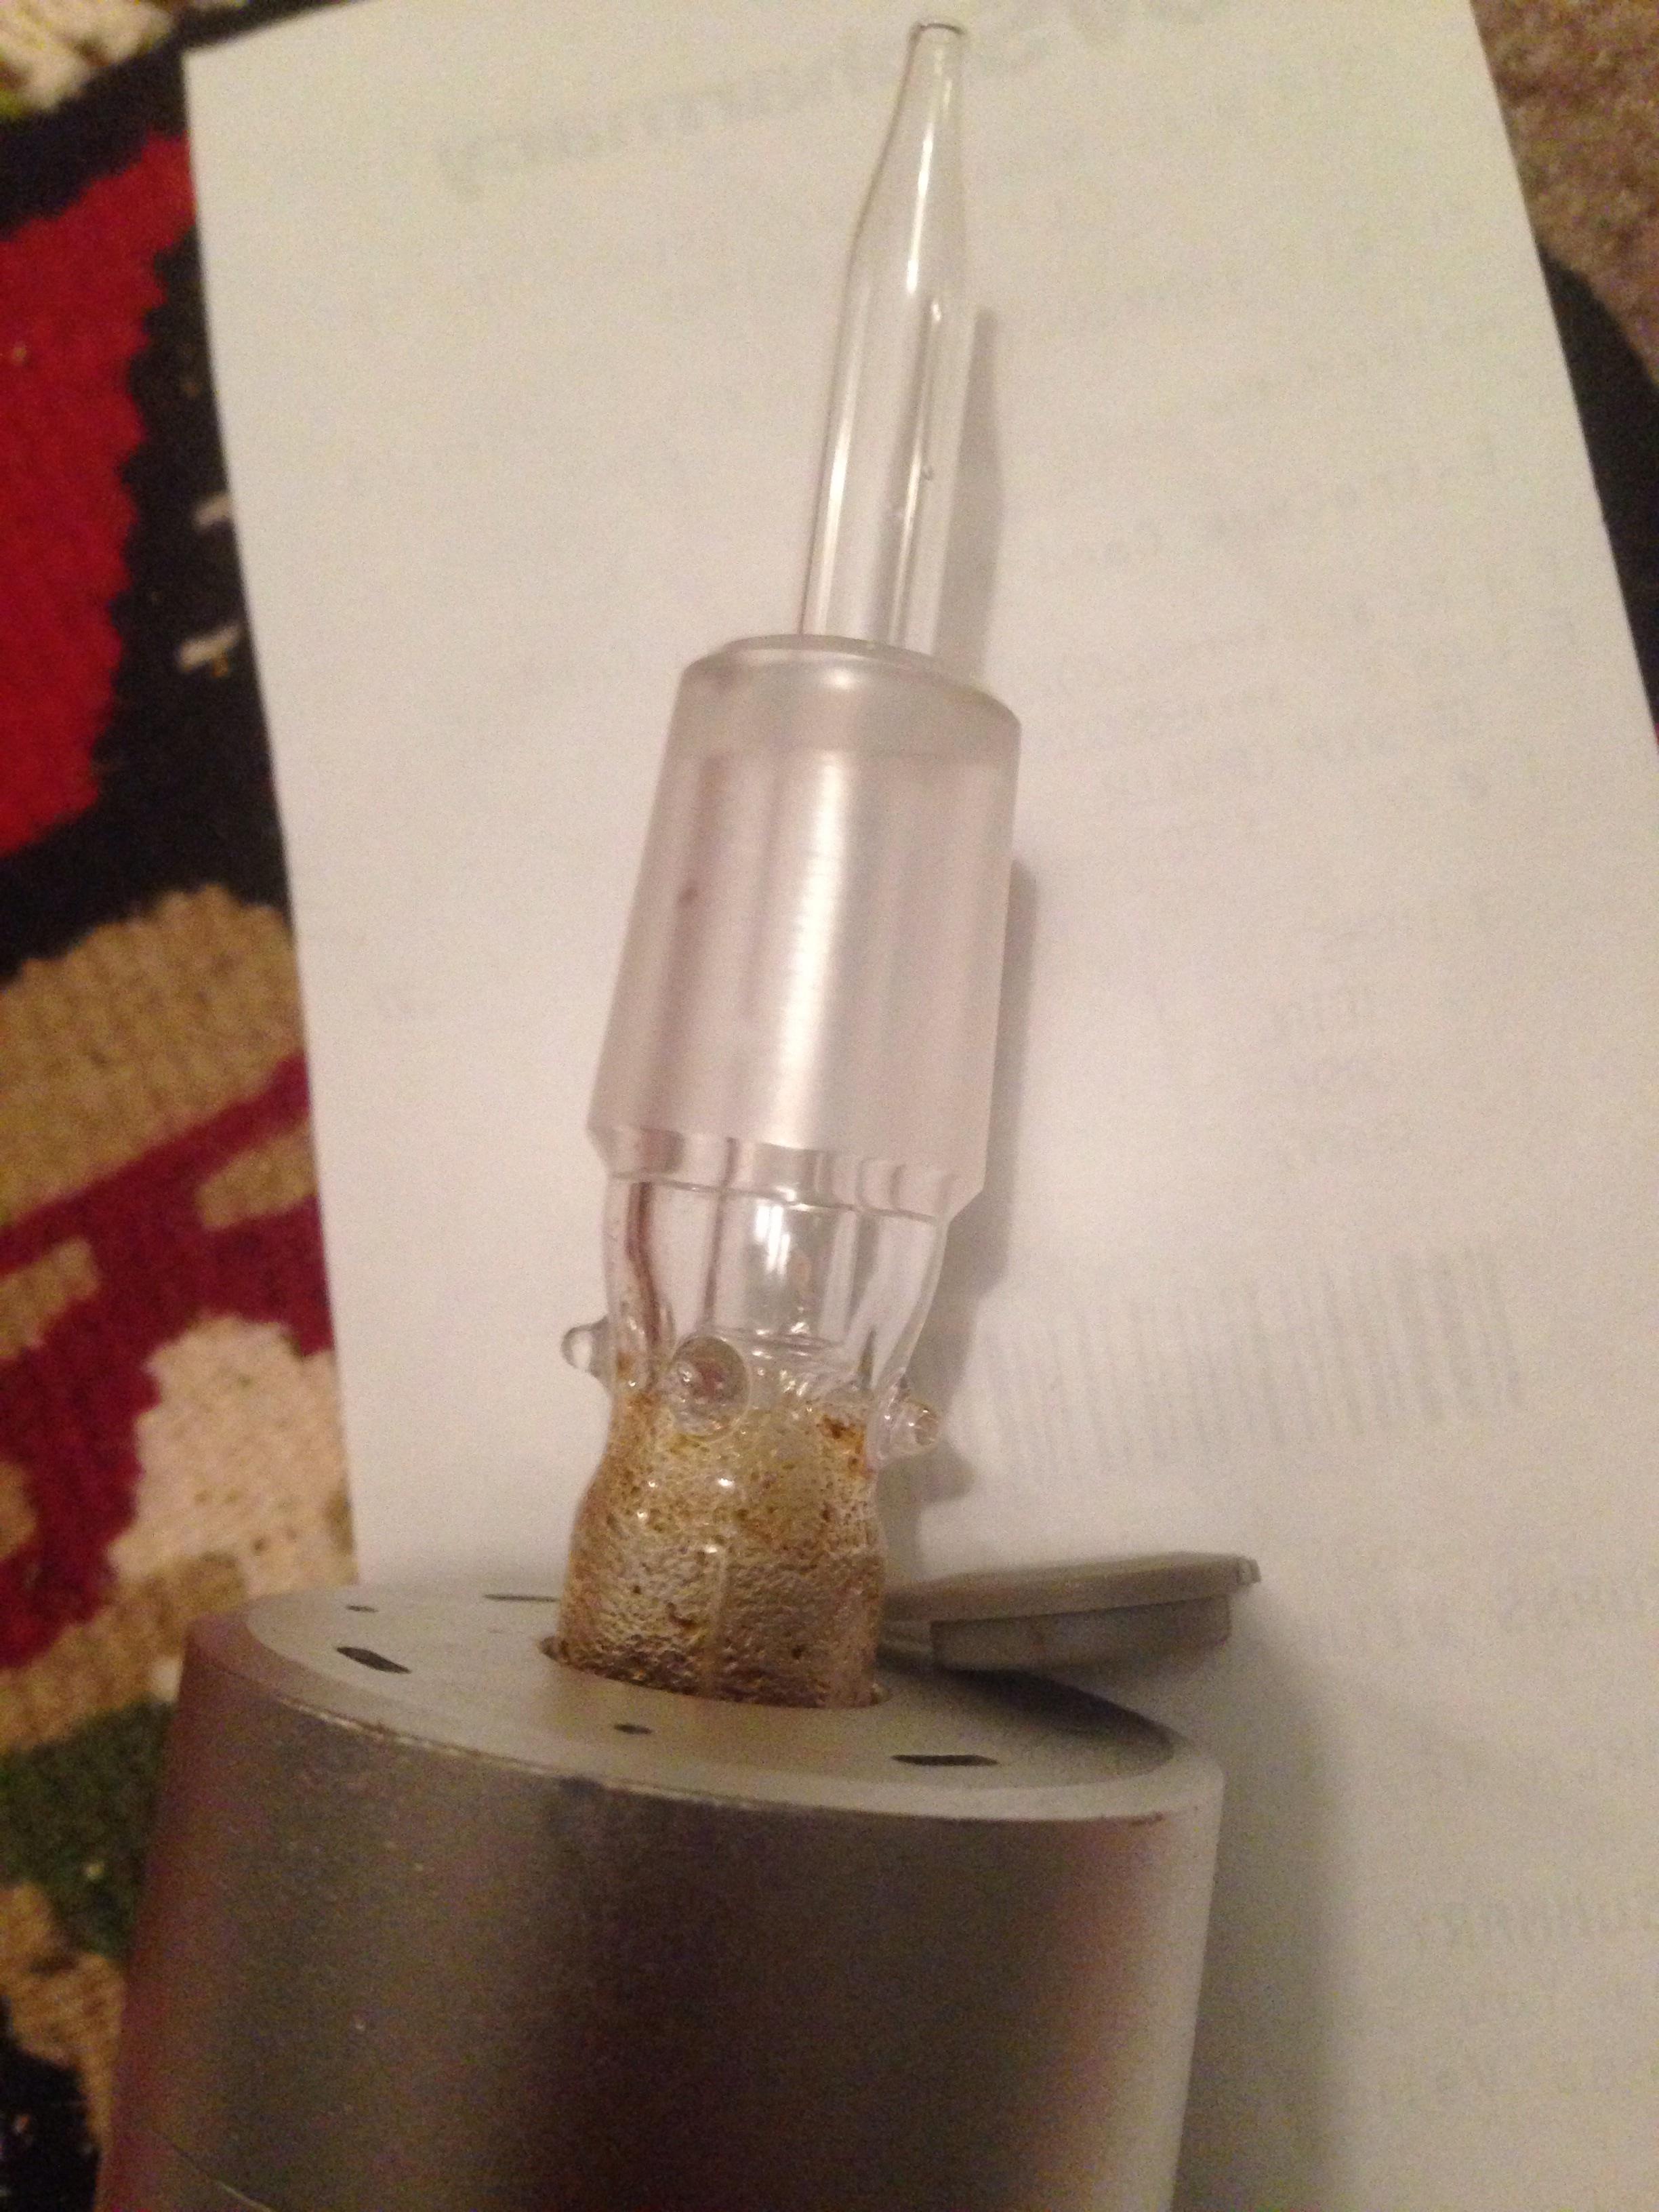
@Belgianvapor @OF regarding the reclaiming stem idea, I think the easiest route to go would be to get an 14mm GonG stem, a 14mm female-female adapter, and a stem thin enough to clear the glass and slip straight through to the glass screen. A small piece of silicone tubing could provide the seal. I've got one of those silicone ecig condoms, the bottom skirt piece might do the job. That should provide you with the GonG stem with the thin stem inside the bigger end of the Gong, and the silicone seal on top with the stem extending an inch or two above the female-female. Easy to take off, just pull the inner stem up. Just need to be careful about removing the female adapter with the glass stem inside, seems like it would be easy to snap it inside of the thicker ground joint part of the GonG stem. Seems much easier than getting custom stems, as we probably have some of these adapters around already, and if not they're obtainable online or at the shop. Rigged something like this up with my stuff, 18mm GonG stem, 18mm fem-fem, 18-14mm reducer. Should work in theory, anyone care to test it out?

By the way guys, new tech I just tried tonight. It might be my tolerance, I don't know. I loaded about enough J-1, ground through my 4 piece SharpStone, to cover the screen and vaped it at 5 for 1 hit, 6 for 1, and 7 for one. Stirred it, then added the same amount that I originally put in, and vaped through that at 5 for a bit, then 6. I didn't bother with 7, I caught myself watching the reflections off my glass instead of the vapor filling it up
 That was about an hour ago... I've spent about 30 minutes on this whole post so far rewriting like half of it
By the way, @fernand, about the serial numbers and model numbers we keep talking about, I'll have to refer all posts to my signature, where @ataxian so eloquently stated:
Doesn't anybody use the SOLO to VAPORIZE?
You can't vaporize serial numbers!

Ah yeah, someone was asking about the chipping at the bottom plate... Here's some good info
http://fuckcombustion.com/threads/arizer-solo.3833/page-756#post-459108
Last edited:
 . Can I please call you the squidman for now on