
You are using an out of date browser. It may not display this or other websites correctly.
You should upgrade or use an alternative browser.
You should upgrade or use an alternative browser.
FlashVAPE
- Thread starter natural farmer
- Start date

Lizard King
Well-Known Member
I giggle inside every time I see Stubby (in my head I call him Mini-FV). I don't know why. I like his new combat fatigues. Very chic.
Stubby is fucking cool as fuck
I to call him mini FV
My FV has become my gaming vape I live that I have have a hit when I die and the FV is cold be for I am back alive
I am also finding that it is more a personal vape and don't think I'm going to let pepole use it any more it works well for me but when with friends I will pass the solo
The FV has made me want a MFLB now for the days out I don't have a ultra stealth vape yet
juanavape
Well-Known Member
I'm still on the original screen. Blow it off between sessions and use a brush every 5-6 sessions.
Only clean with ISO about every other brushing. The key is to brush on the ISO generously and keep the ISO agitated and keep dipping the brush to add more as to keep from evaporating. Keeping this up for a minute or so and give a finial good addition ISO rinse. The ISO takes time to deeply dissolve and clean. I use a few Q-tips to clean up the sides, glass etc. Also, always give the O ring a good go around to ensure it is tight. I also always brush the inside of screen very softy to avoid it popping the screen. Has never come out since I've owned it. Close to a year now.
Let dry a good 5 minutes before re-assembling.
Another tip is to avoid heavy inhaling as to minimize the particles from getting the screen to begin with.
Using a PA really helps in this regard. I found once you find your sweet spot. For me it is when the screen has just a "fair" glow. I use in S2 mode and now never combust as can adjust to be just below that temperature. Suppose I could combust if inhale too slow from the start but easily mastered not to.
I start after about 3-4 seconds very slow until I see good vapor than give a little inhale burst to bring the heat up and cool the heater enough to avoid combustion. After the initial small burst I slow down the inhale and go as long as I can take. The slower the thicker the vapor.
A PA gives a way more faith in accidentally combustion. The use of a PA really changes the way I use this unit. Now my regular home unit. Just too freaking convenient. Truly vape on demand...

Thanks Pipes.... You're a genius !
I was getting pretty tired of ISO washing my (top) screen every second day thereabouts so I tried Pipes "blow" instead of brush after each session method, huge difference. Doing pretty well as he advised and only brushing when the screen actually starts causing restriction. Unbrushed is not a pretty sight after a few bowls but at least it's not plugging up nearly as often and I think I'm on day 6 (10 or 12 sessions) and have only brushed once and looks like I'm still good for at least another day or 2 :>) I really think (especially warm) brushing really smears the resin/goo into the screen mesh and plugs it much faster...... try it. I've just been blowing on it with lung power but canned or compressed air might do an even better job of it.
Something else I think may have been happening to me is that I was washing that screen in (beer coloured) used ISO and have been thinking maybe when it evaporates off it's leaving a gooey film that's making the screen more "sticky" and causing more stuff to stick to it. That's just theory at this point but I bought a fresh bottle of 99% to find out. All my other vapes I normally just "burn" the screens so nothing (sticky) is ever left on them.
Hope this helps others and I must say I probably wouldn't have figured any of this stuff out without this forum. Thanx FC.
Something else I think may have been happening to me is that I was washing that screen in (beer coloured) used ISO and have been thinking maybe when it evaporates off it's leaving a gooey film that's making the screen more "sticky" and causing more stuff to stick to it. That's just theory at this point but I bought a fresh bottle of 99% to find out. All my other vapes I normally just "burn" the screens so nothing (sticky) is ever left on them.
This isn't just a theory. I make ISO reclaim and I know that beer-coloured ISO is full of resin. If some evaporates on your fingers it will make them sticky. Another way to show this is to let a few drops of ISO evaporate on a smooth surface like the glass in the swivel cap. You'll see a film of resin that is slightly tacky to the touch.
Vitolo
Vaporist
I take my entire top section (with the glass Bezel removed) and I lower it into a cup with a few inches of 91% Iso.
I dip a couple of times, and it is like new...
I then run hot water through it, and gently blot dry with paper towels.
Finally I hold the top (glass still out) at the nozzle of a vacuum cleaner to perfectly dry it.
I am having such fun with the PA, that I have not taken pictures yet.
I am enjoying it at Stage 2 to a fault.
Loving this thing!
Vitolo
Vaporist
Oh heck......
... it is a back to back post.
This is the second time I have done this, and I have been around here for years!
I apologize if this is an offense, but whole new info, so I felt it would deserve it's own post.
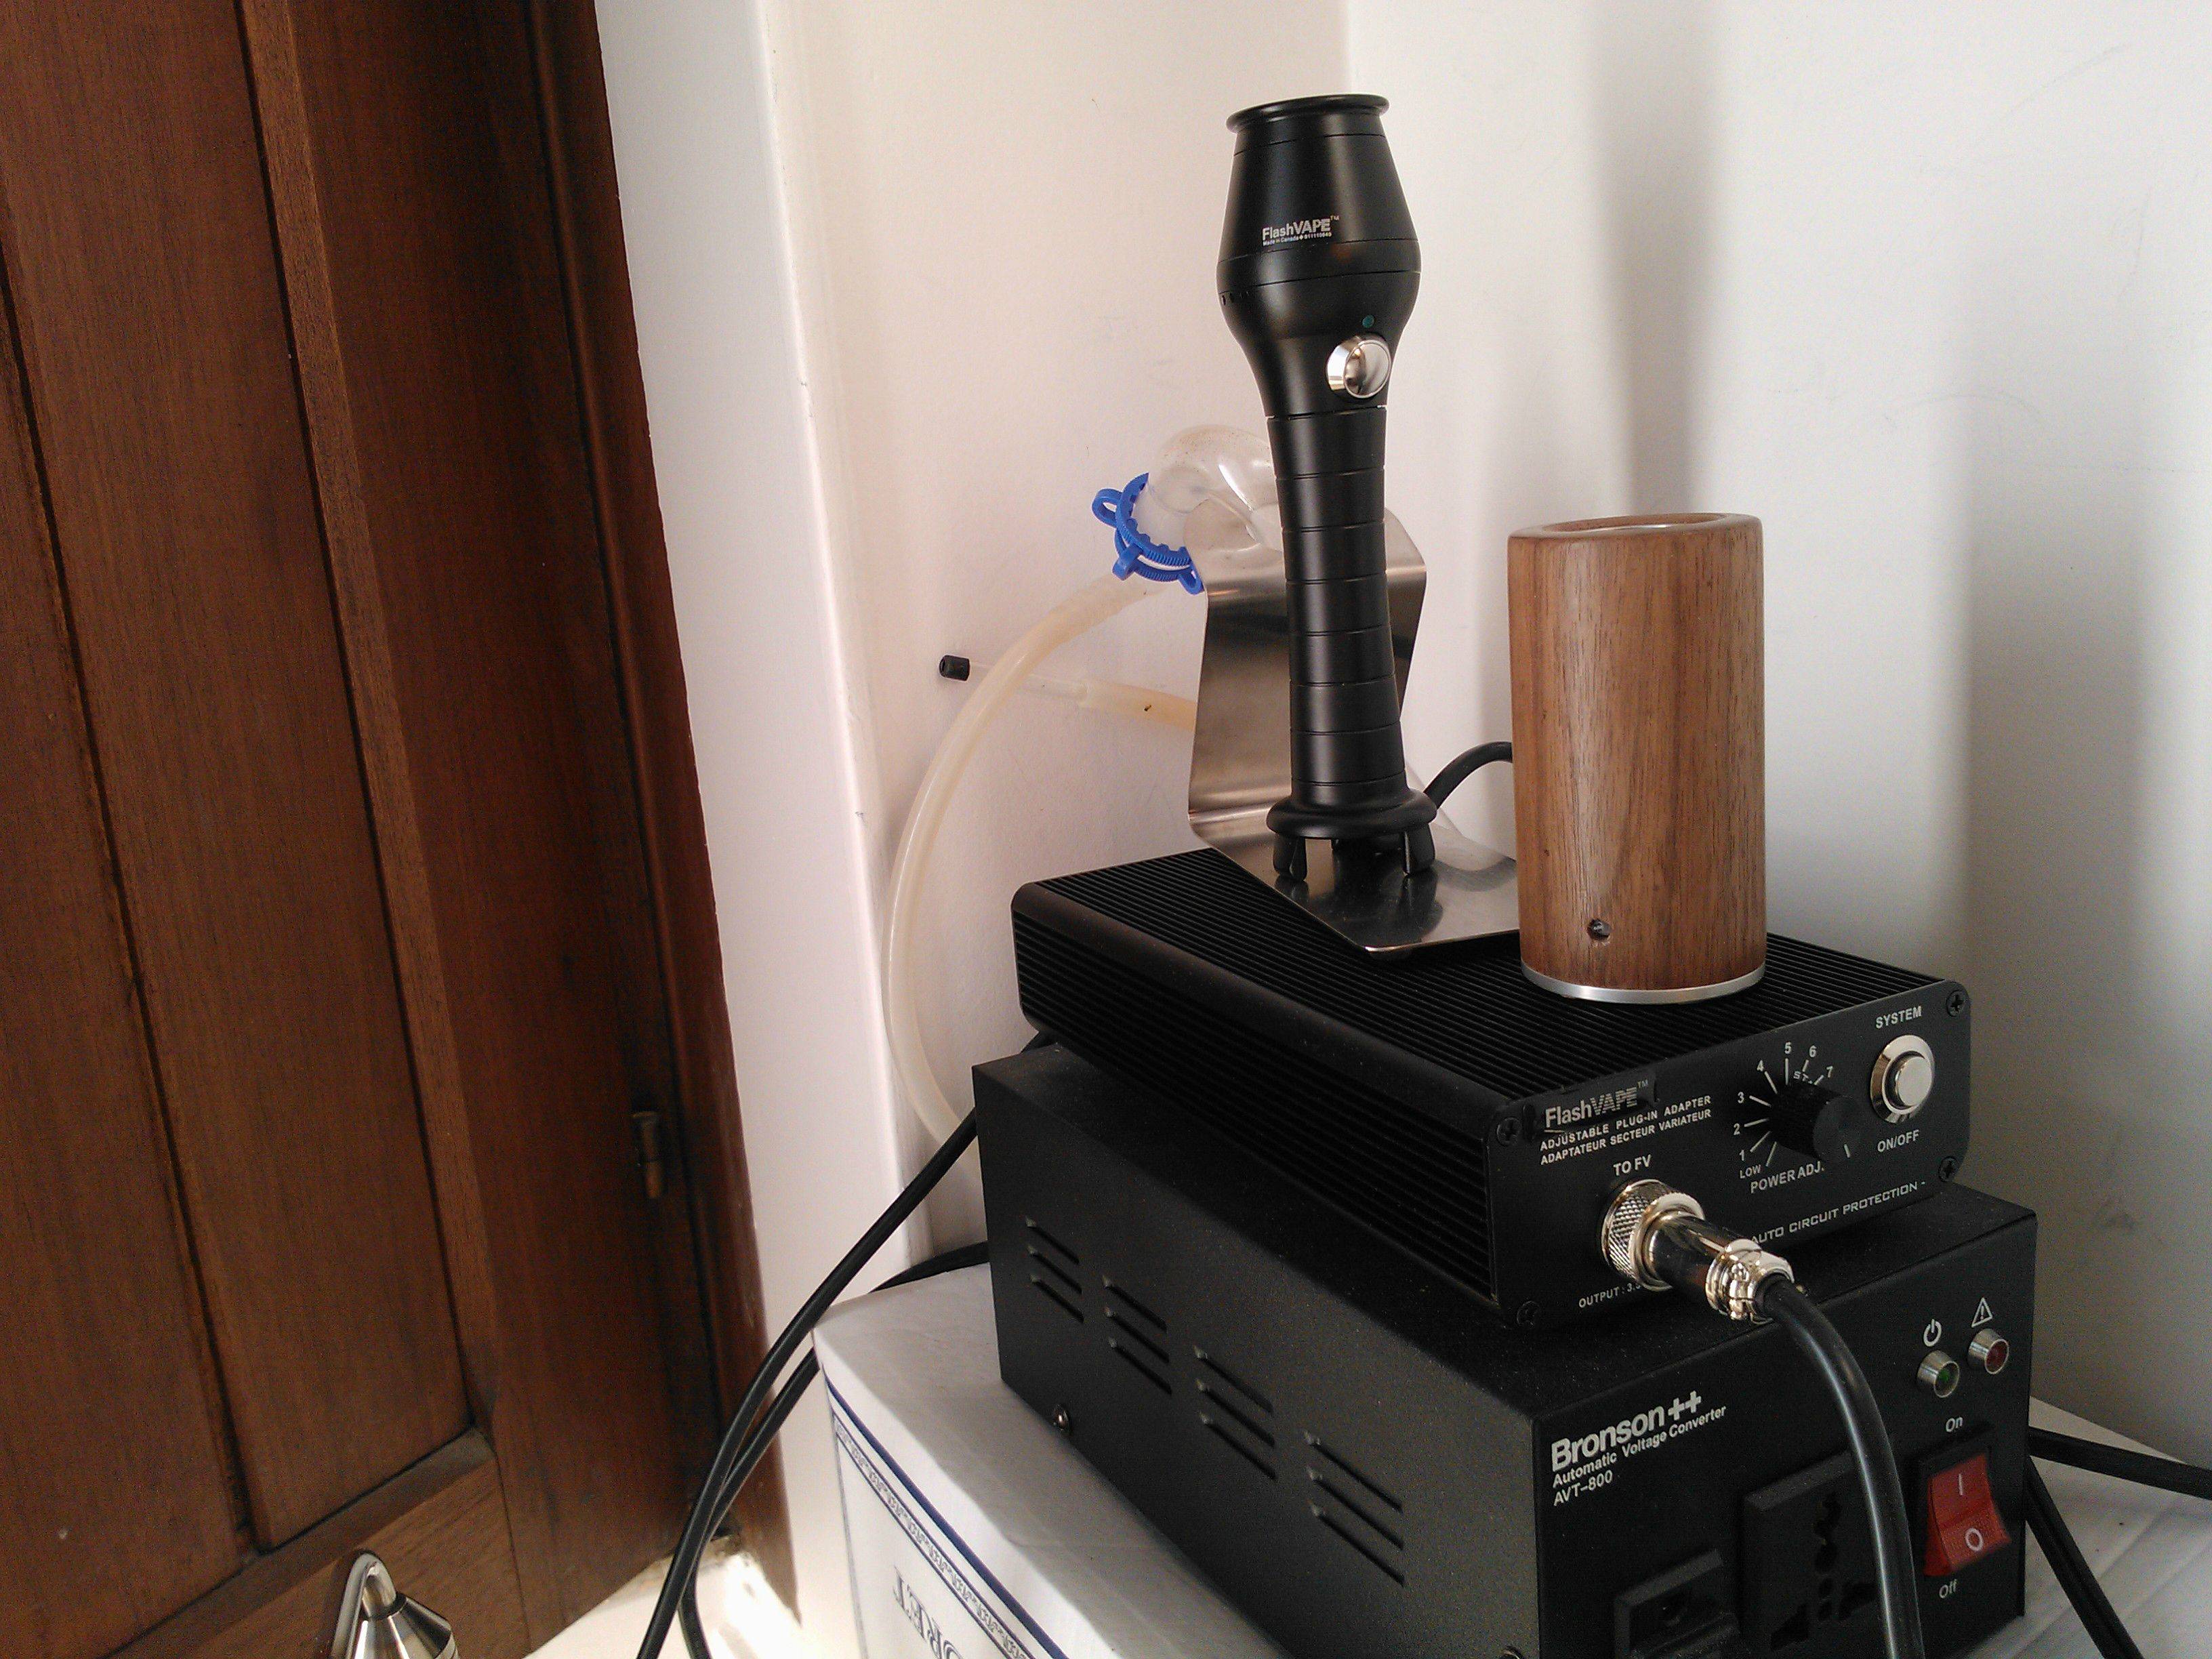
I just received the Power Adapter for this Vape.. which eliminates the need to charge batteries.
(It also ties you to an outlet, but I am not going anywhere soon!)
When I got this, I did not know what to expect. How could FV work well with a PA?
I learned fast that I was incorrect, because this thing rocks!
My FV with S2 installed has a very large capacity, and with PA is fool-proof.
I used the unit all evening, and stayed pretty darned happy.
FV did a remarkably detailed job at getting all of the instructions lined out for every part of the setup.
FV comes with great instructions, but there are separate instructions in specific detail for S2 and for PA as well.
The actual clean professionally labeled aspect is beautiful also, leaving NO chance to mistake what part goes with which, and which batteries go where. There is nothing "stick-on" about the parts. Each part proudly bears the FV logo, and was manufactured for or by FV.
VERY professional job with an eye on detail.
The PA allowed me to hold down that button with impunity when I desired longer thicker pulls... by a simple adjustment of level.


I hope you like the video!
... it is a back to back post.
This is the second time I have done this, and I have been around here for years!
I apologize if this is an offense, but whole new info, so I felt it would deserve it's own post.
FVS2PA
The FlashVape has been great fun for me.I just received the Power Adapter for this Vape.. which eliminates the need to charge batteries.
(It also ties you to an outlet, but I am not going anywhere soon!)
When I got this, I did not know what to expect. How could FV work well with a PA?
I learned fast that I was incorrect, because this thing rocks!
My FV with S2 installed has a very large capacity, and with PA is fool-proof.
I used the unit all evening, and stayed pretty darned happy.
FV did a remarkably detailed job at getting all of the instructions lined out for every part of the setup.
FV comes with great instructions, but there are separate instructions in specific detail for S2 and for PA as well.
The actual clean professionally labeled aspect is beautiful also, leaving NO chance to mistake what part goes with which, and which batteries go where. There is nothing "stick-on" about the parts. Each part proudly bears the FV logo, and was manufactured for or by FV.
VERY professional job with an eye on detail.
The PA allowed me to hold down that button with impunity when I desired longer thicker pulls... by a simple adjustment of level.
I hope you like the video!
wonderful post Vito, I really enjoyed your video.. good morning ! 
ok, there have been lots of requests for a FV stand... and you know how much we like to please:

wanna know how to build your very own? click on the picture!

allow me to also take this opportunity to introduce a new site we are launching:

The FV cafe is dedicated to all things FV related. Any interesting ideas for us? we are always listening!
To start off the launch, we will be doing a photo contest. The winner gets a brand new FV set in the color of their choice, with a shiny new FVPA to boot! the rules are real simple. Any photo with a FV shown or partially shown in it is eligible (illustrations, or PSed photos are always welcome too!).
The deadline for entry will be 3/31/2014, and all photos will be up on our contest section on FVcafe.com ready for your votes for 1 week afterwards, and the winner chosen by you!
As always, FV news posted on FC first !
ok, there have been lots of requests for a FV stand... and you know how much we like to please:
wanna know how to build your very own? click on the picture!
allow me to also take this opportunity to introduce a new site we are launching:
The FV cafe is dedicated to all things FV related. Any interesting ideas for us? we are always listening!
To start off the launch, we will be doing a photo contest. The winner gets a brand new FV set in the color of their choice, with a shiny new FVPA to boot! the rules are real simple. Any photo with a FV shown or partially shown in it is eligible (illustrations, or PSed photos are always welcome too!).
The deadline for entry will be 3/31/2014, and all photos will be up on our contest section on FVcafe.com ready for your votes for 1 week afterwards, and the winner chosen by you!
As always, FV news posted on FC first !
juanavape
Well-Known Member
Oh heck......
... it is a back to back post.
This is the second time I have done this, and I have been around here for years!
I apologize if this is an offense, but whole new info, so I felt it would deserve it's own post.
FVS2PAThe FlashVape has been great fun for me.
I just received the Power Adapter for this Vape.. which eliminates the need to charge batteries.
(It also ties you to an outlet, but I am not going anywhere soon!)
When I got this, I did not know what to expect. How could FV work well with a PA?
I learned fast that I was incorrect, because this thing rocks!
My FV with S2 installed has a very large capacity, and with PA is fool-proof.
I used the unit all evening, and stayed pretty darned happy.
FV did a remarkably detailed job at getting all of the instructions lined out for every part of the setup.
FV comes with great instructions, but there are separate instructions in specific detail for S2 and for PA as well.
The actual clean professionally labeled aspect is beautiful also, leaving NO chance to mistake what part goes with which, and which batteries go where. There is nothing "stick-on" about the parts. Each part proudly bears the FV logo, and was manufactured for or by FV.
VERY professional job with an eye on detail.
The PA allowed me to hold down that button with impunity when I desired longer thicker pulls... by a simple adjustment of level.
Loved the video BUT now I really need to order up an S2 insert sometime soon !!!.
FVS2PA
Awesome, and I take it you like setting 9....? You sure put it down quick after that. hehe
Loved the vid.
That's a great idea. Need to turn the FV around so the stem to his head. Teasing the poor manikin.wonderful post Vito, I really enjoyed your video.. good morning !
ok, there have been lots of requests for a FV stand... and you know how much we like to please:
wanna know how to build your very own? click on the picture!
allow me to also take this opportunity to introduce a new site we are launching:
The FV cafe is dedicated to all things FV related. Any interesting ideas for us? we are always listening!
To start off the launch, we will be doing a photo contest. The winner gets a brand new FV set in the color of their choice, with a shiny new FVPA to boot! the rules are real simple. Any photo with a FV shown or partially shown in it is eligible (illustrations, or PSed photos are always welcome too!).
The deadline for entry will be 3/31/2014, and all photos will be up on our contest section on FVcafe.com ready for your votes for 1 week afterwards, and the winner chosen by you!
As always, FV news posted on FC first !

Going to get into this contest for sure.
")
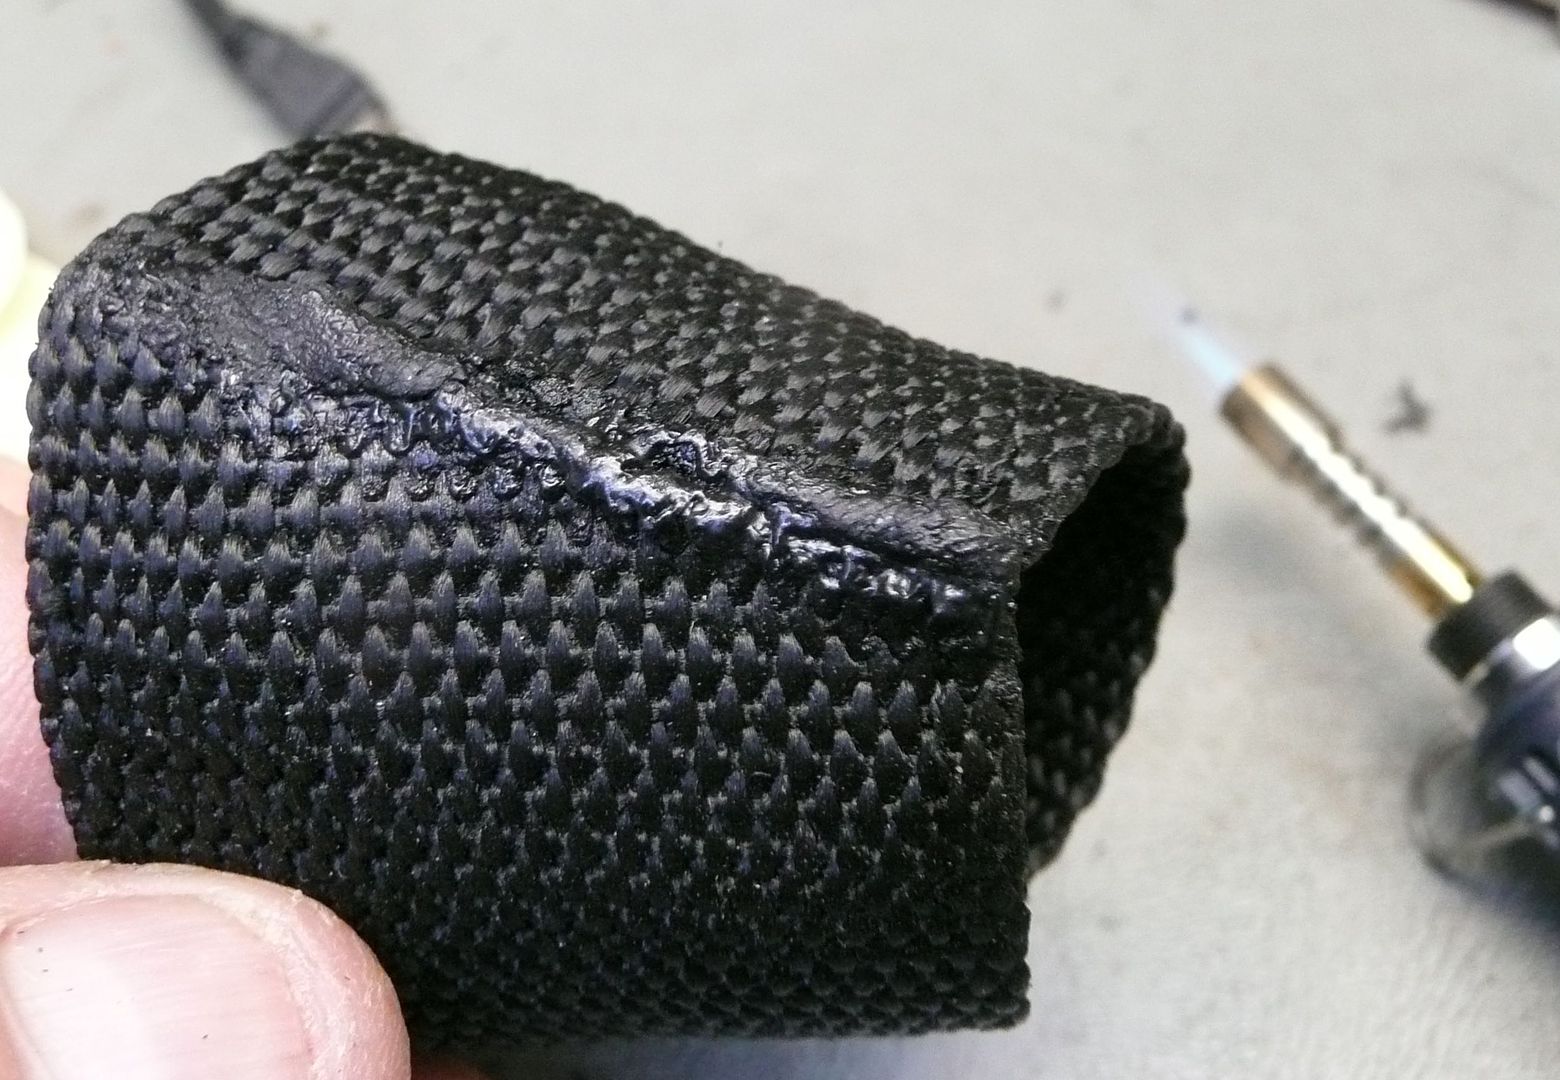
So I made a change to Stubby's combat outfit. As I mentioned before I wasn't satisfied with leaving the power button exposed. My poor thumb was getting hot.
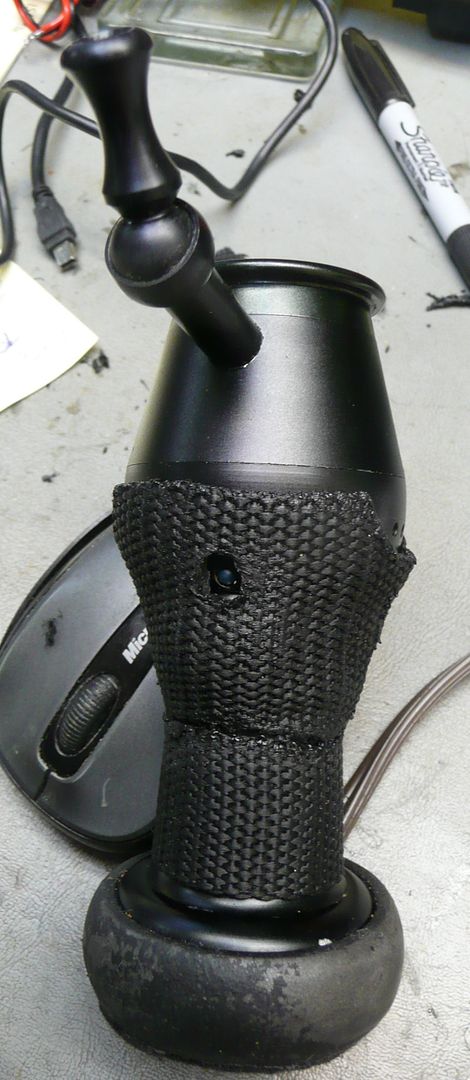
This time I took pics of the process. I found it very useful for relieving the external heat from ones hands.
Some of you may want to give a try.
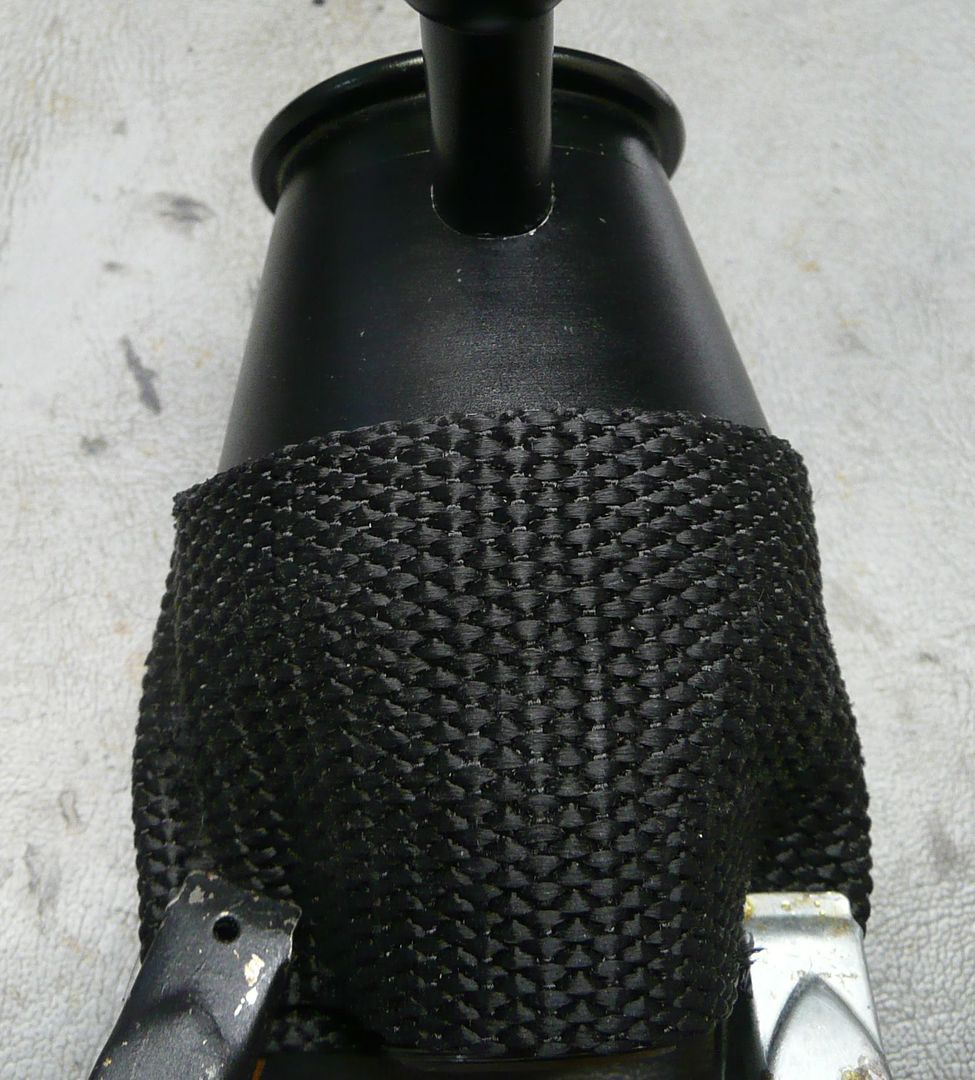
The bottom section is done the same and could be incorporated into the normal length units as well.
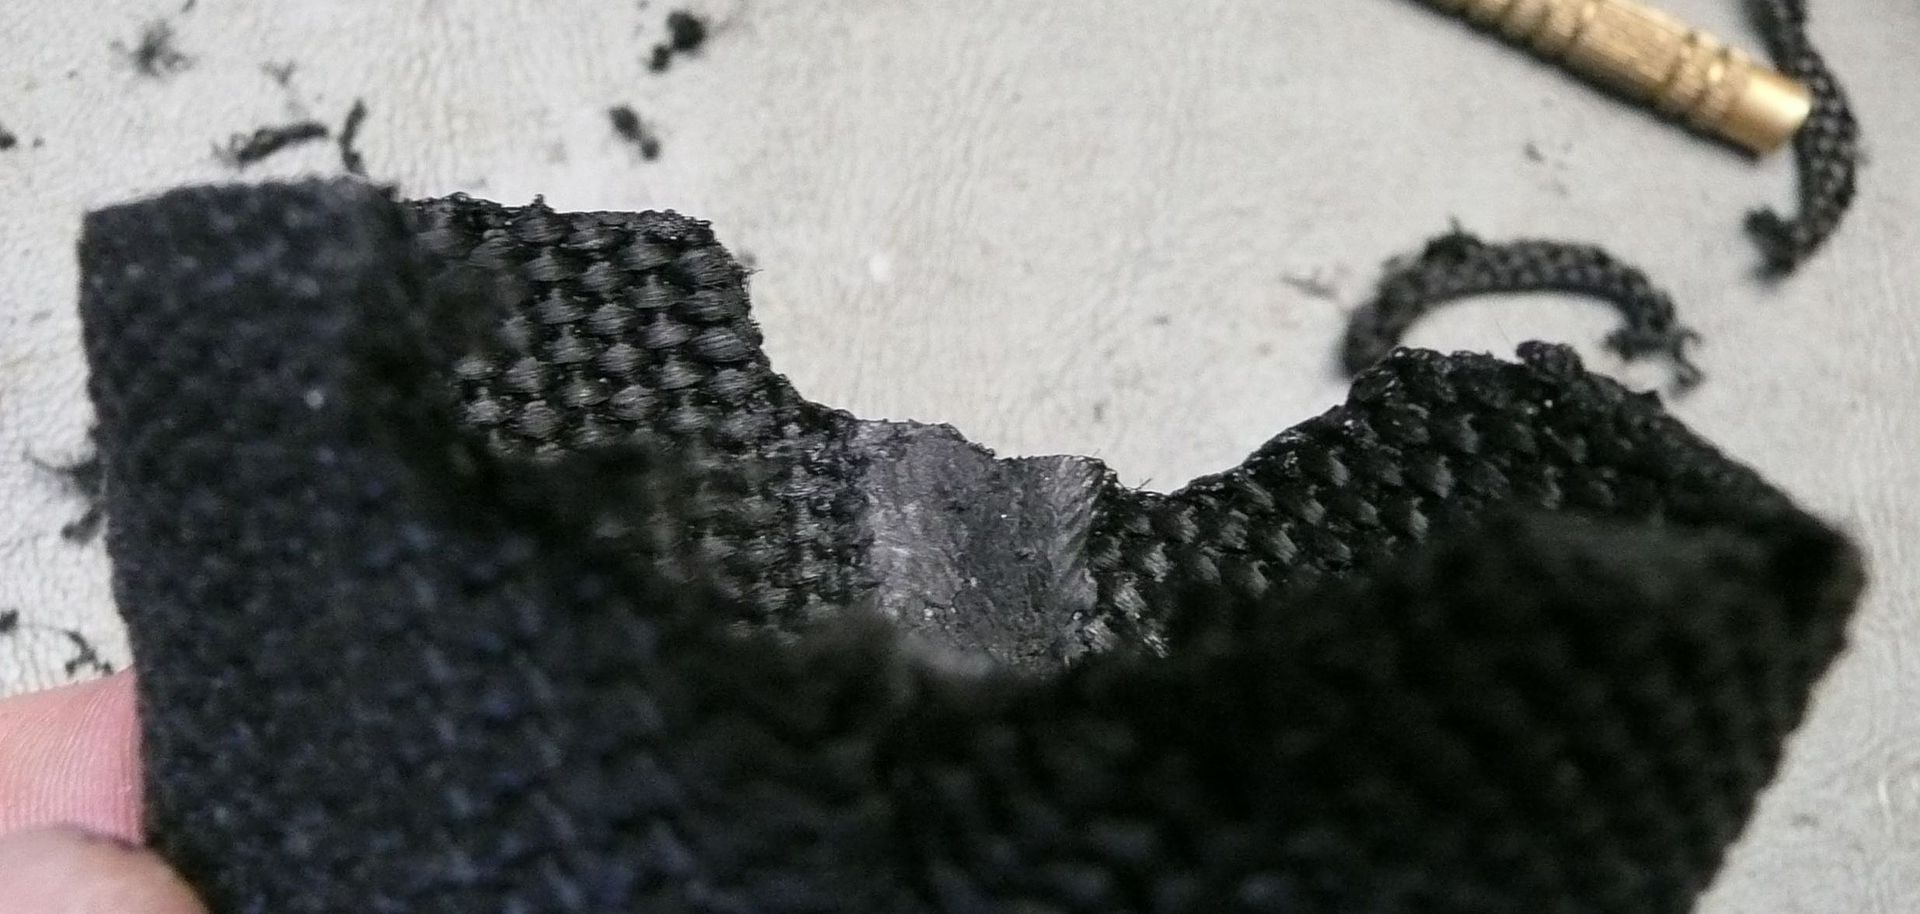
The material I used is from old MagMite flashlights but assume it can be bought by the foot where heavy duty strapping is sold. It melts easy and can be pushed together while hot. I had used this method in making a heat shield for my VG Aluminum bat as well.
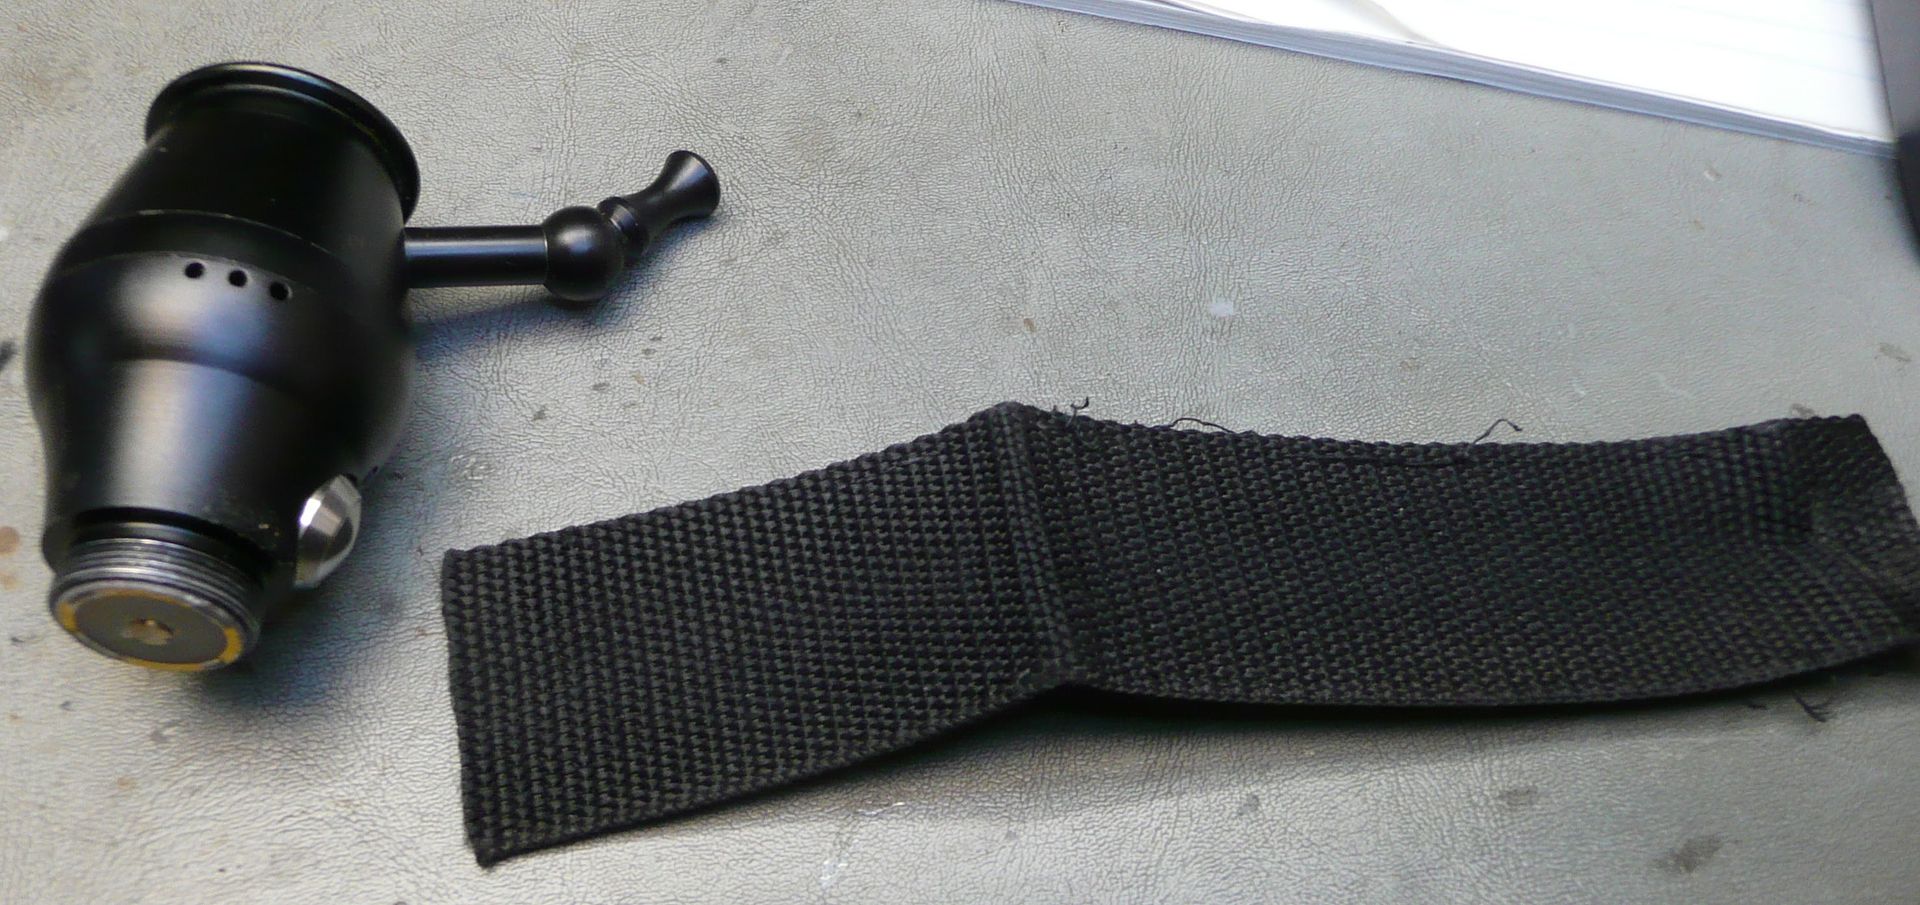
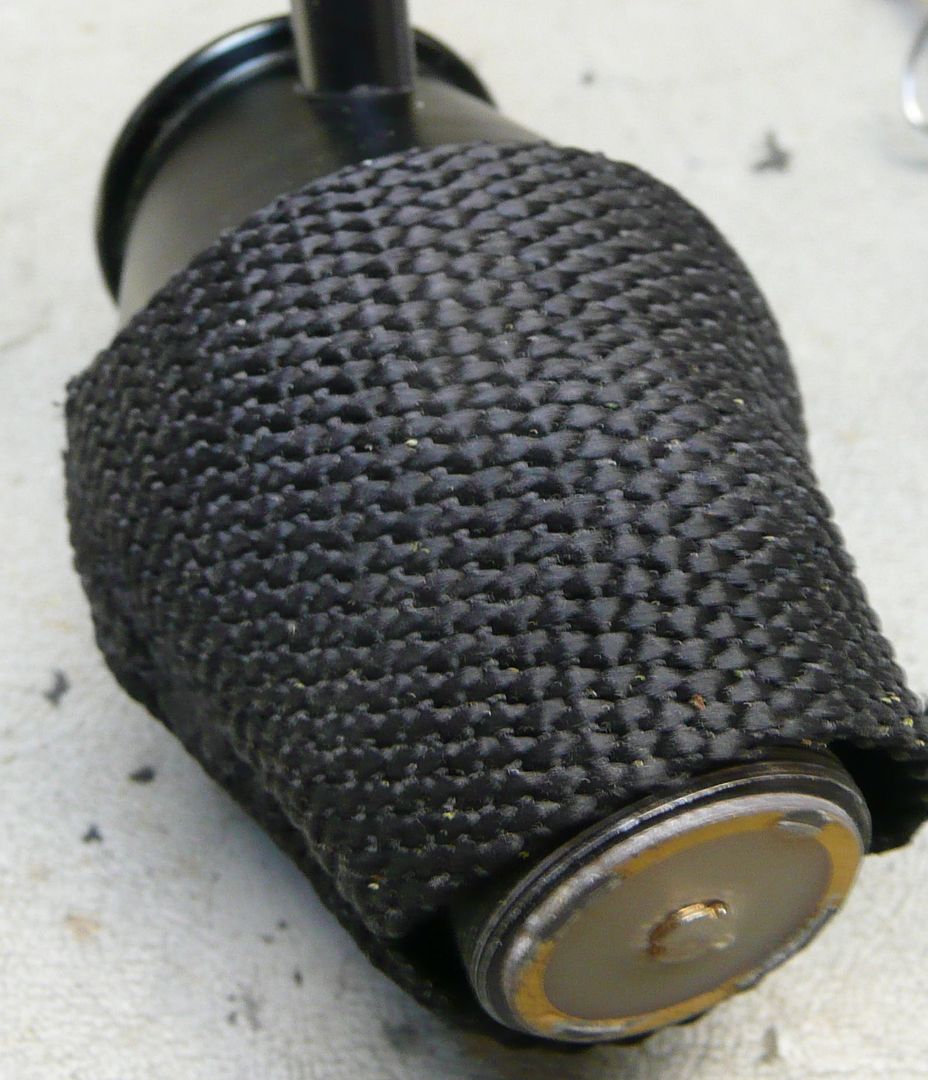
Cut the length such that it is slightly longer than needed to wrap around the top of FV. This is to make a basic cylinder. Also is the method for making the lower section of shield. The bottom portion pushes against this top part to keep in place.
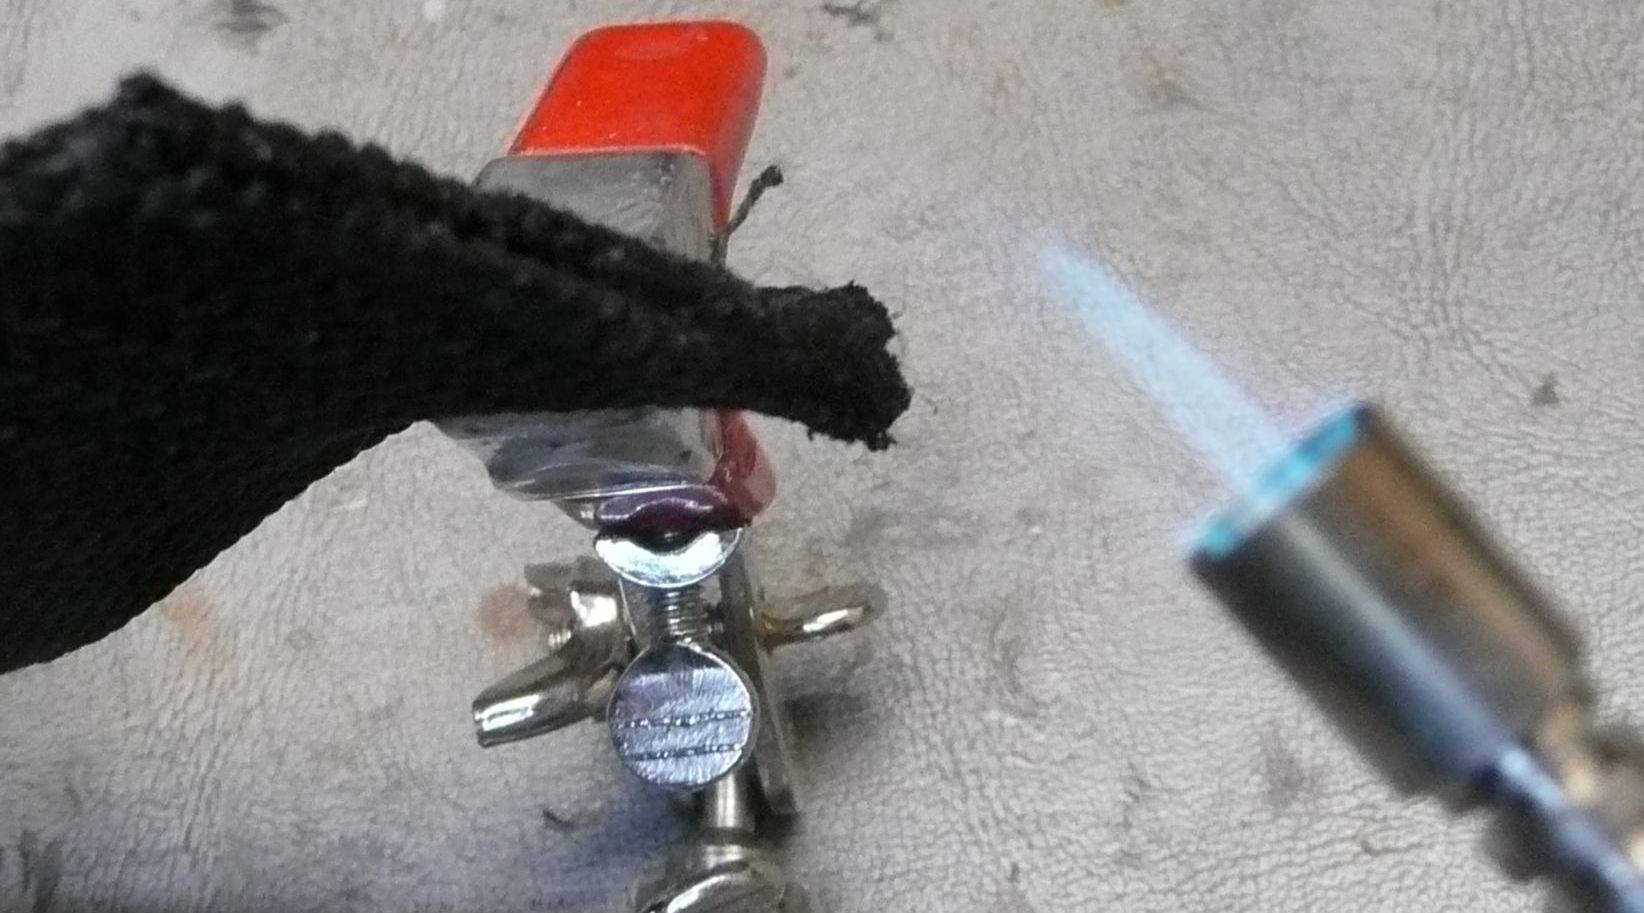
I used a micro torch to heat and pinch the seam together. Just did a little at a time until it was melted all the way along.
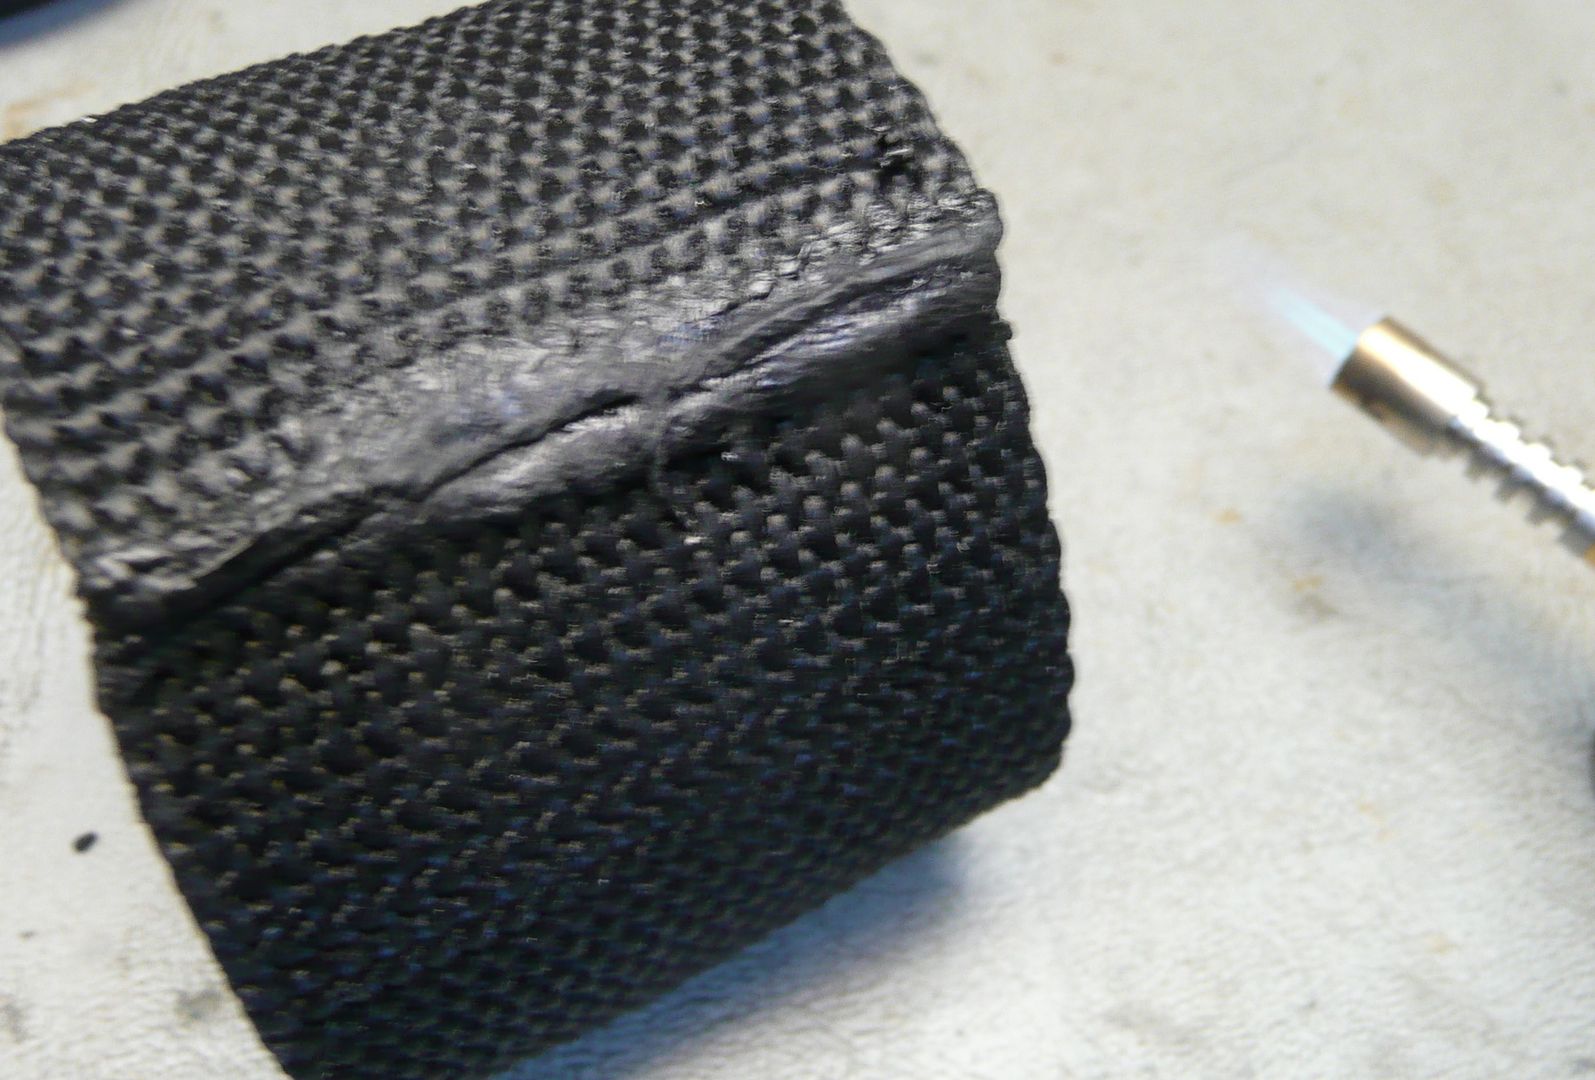
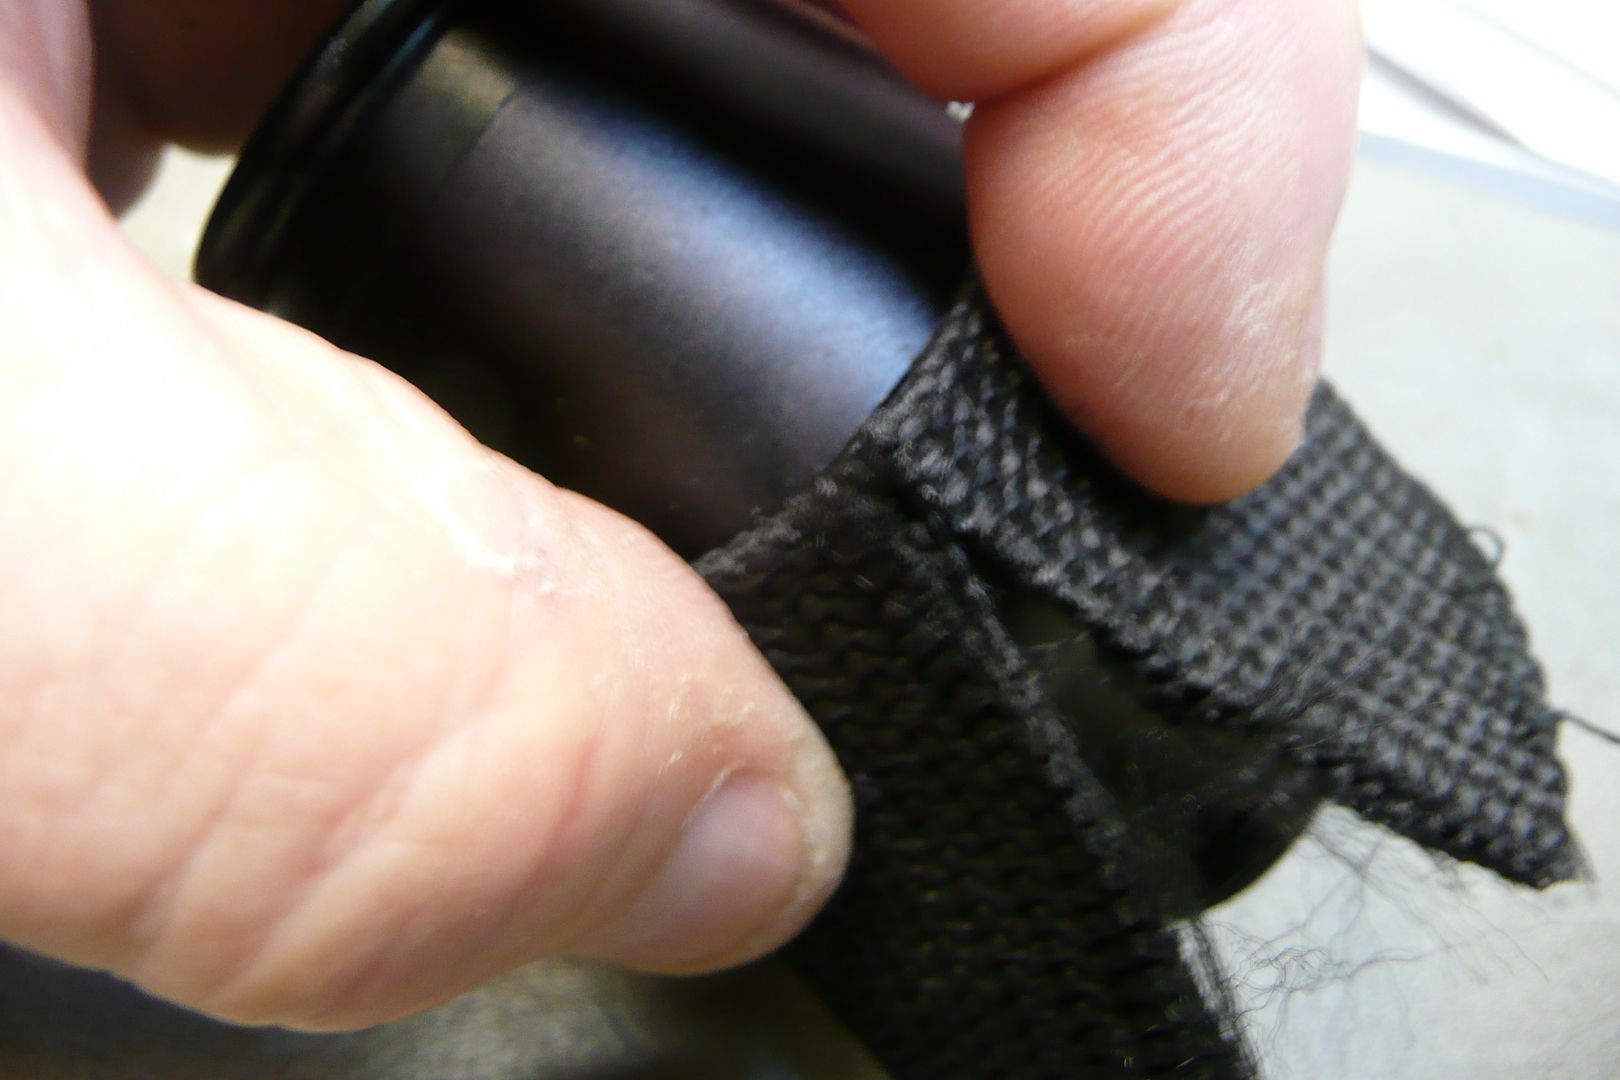
Once it is done I turned it inside out to have the better looking side facing out.
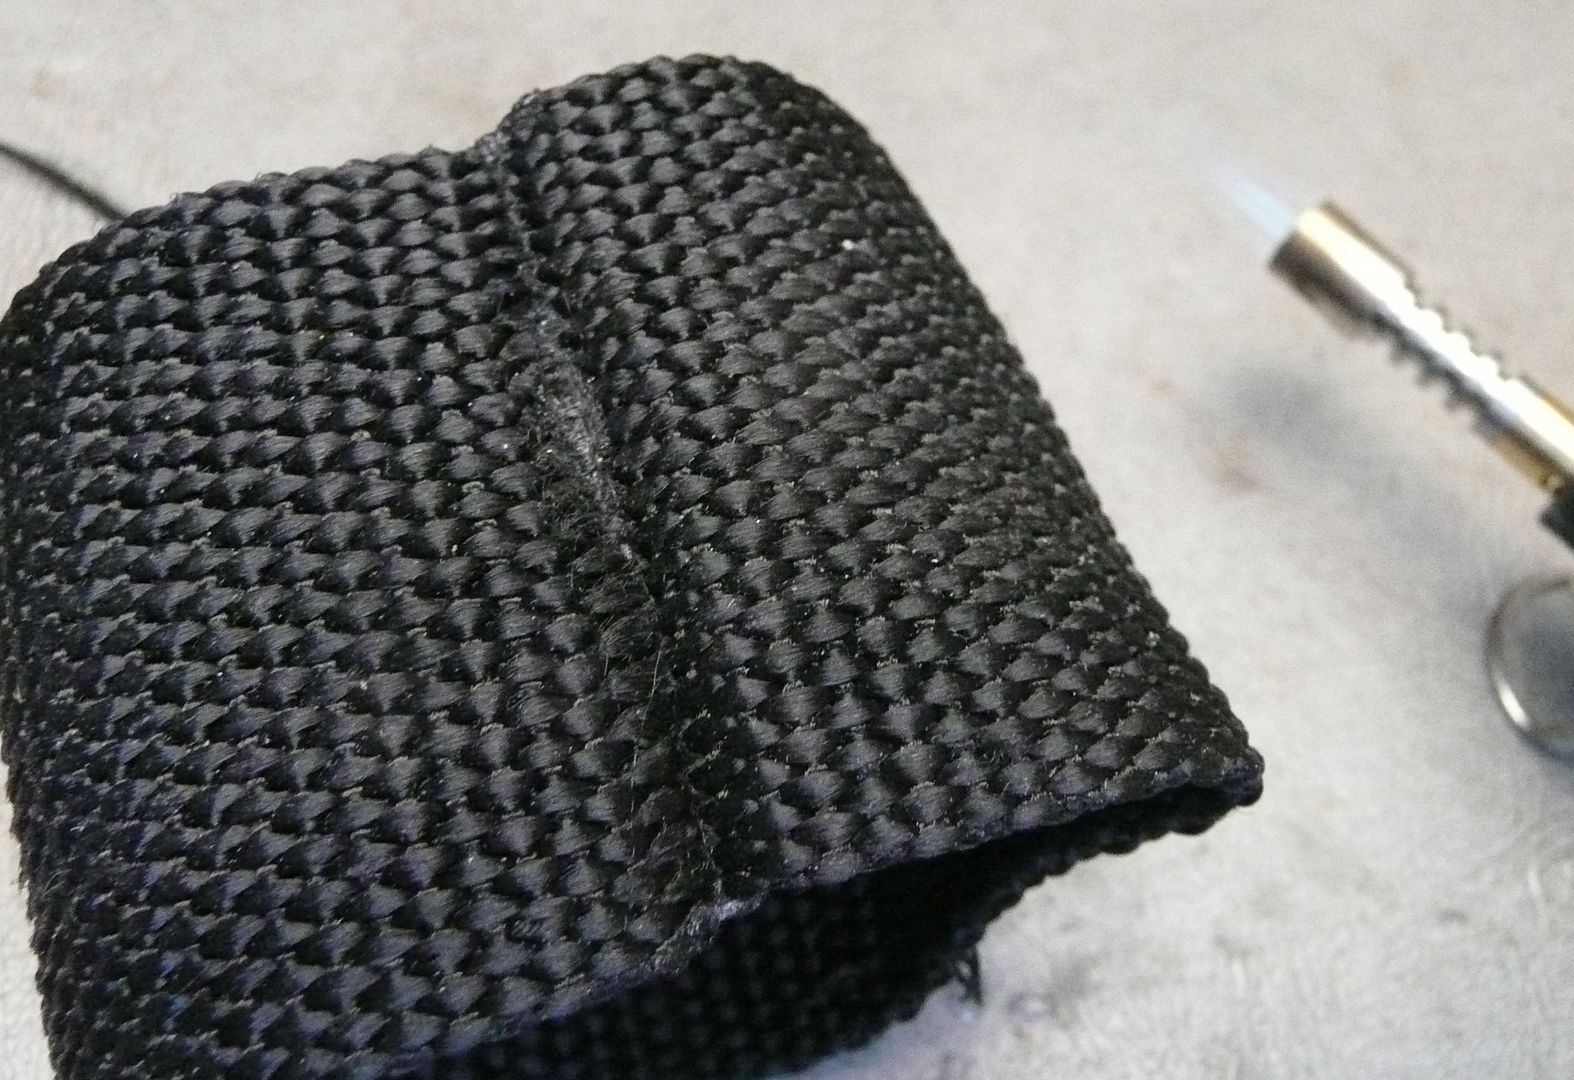
Pinched off the side and cut out 2 slices.
Then it's the same routine with the torch.

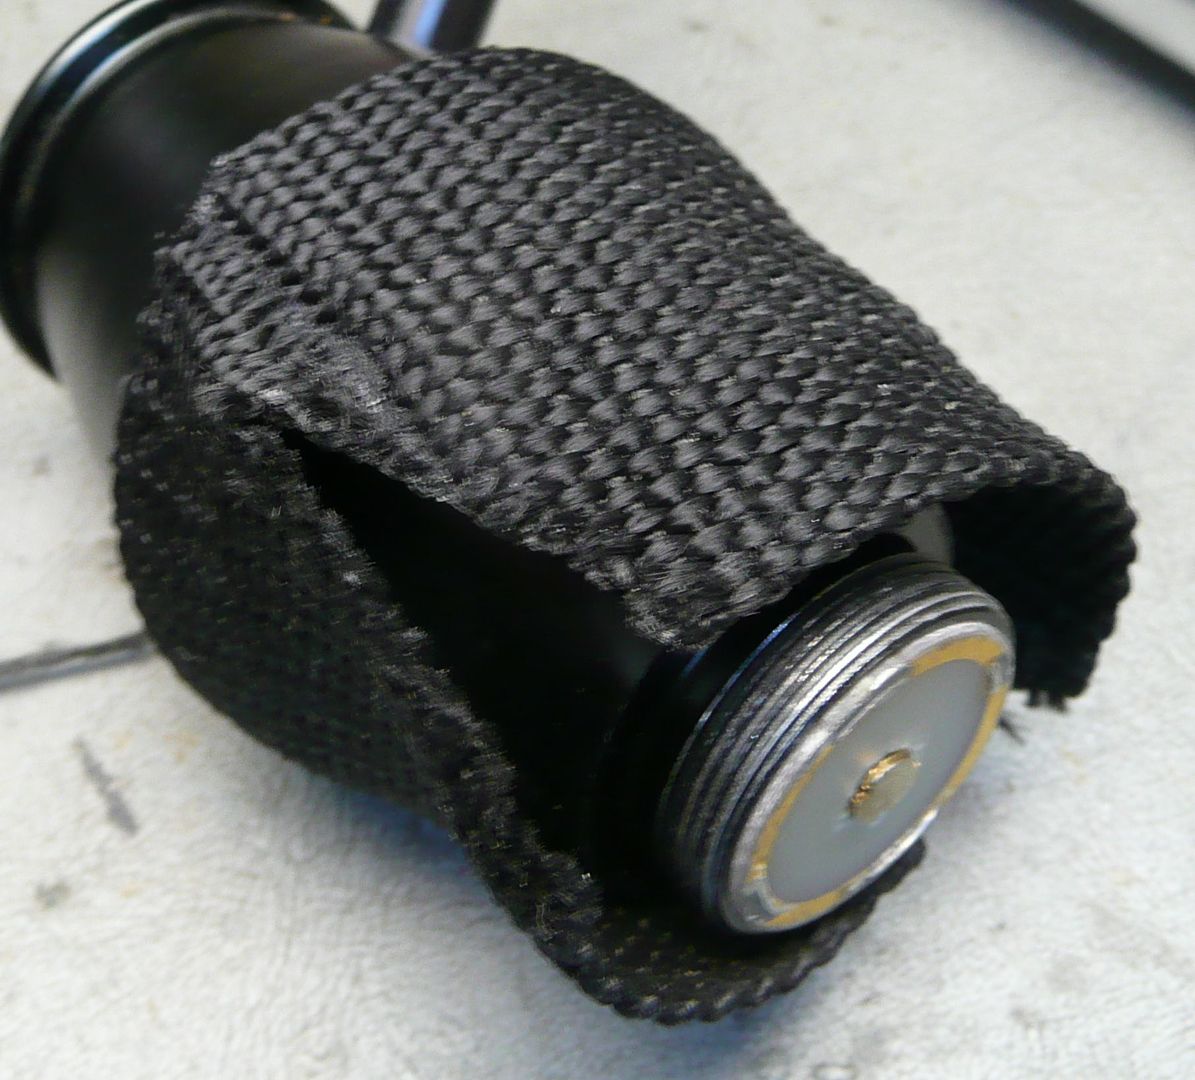
Now it's just a matter of finding where to make a hole for the light and cut some of the top away for the air intake. I also cut it to even out the roundness of top and bottom. Torching stops the un-raveling.
 !!!!!!!PA MODE ROCKS!!!!!!
@FlashVAPE where do we post the pic hear on fC ? I'm confused but don't worry that happens easy lol
Thank for the awesome prize up for grabs if I win I will gift the FV away and keep the PA for my self
That's a good question. If the pictures are to be posted on FC then @FlashVAPE has to set up a contest in the Contests sub-forum.
@FlashVAPE where do we post the pic hear on fC ? I'm confused but don't worry that happens easy lol
Thank for the awesome prize up for grabs if I win I will gift the FV away and keep the PA for my self
ok, get your pictures ready... we are setting up a photo contest section on FVcafe.com where users will be able to post the section. I will let everyone know as soon as it is up and ready
I will also set-up a contest in the Contests sub-forum so more people can get involved. thanks for the heads up pakalolo !
- Sorry for the back to back posts, as time period for edit has expired. Mods, please merge if possible -
Hi everyone, the FV PHOTO CONTEST site is ready for your pictures! Please use this link below to upload your images, check contest details, etc etc.... and good luck!
https://fvcafe.com/fv-photo-contest/
Post your FV pictures on FVcafe for the world to see, and WIN!!!
Hi everyone, the FV PHOTO CONTEST site is ready for your pictures! Please use this link below to upload your images, check contest details, etc etc.... and good luck!
https://fvcafe.com/fv-photo-contest/
Post your FV pictures on FVcafe for the world to see, and WIN!!!
Vapodudule
Well-Known Member
hey hey!!!
I waited PA to offer myself the last FV improvements and yay i got back my double spacer FV!!
The dabbing kit:
I tried once briefly as designed with sublimate, should be blasting tears.
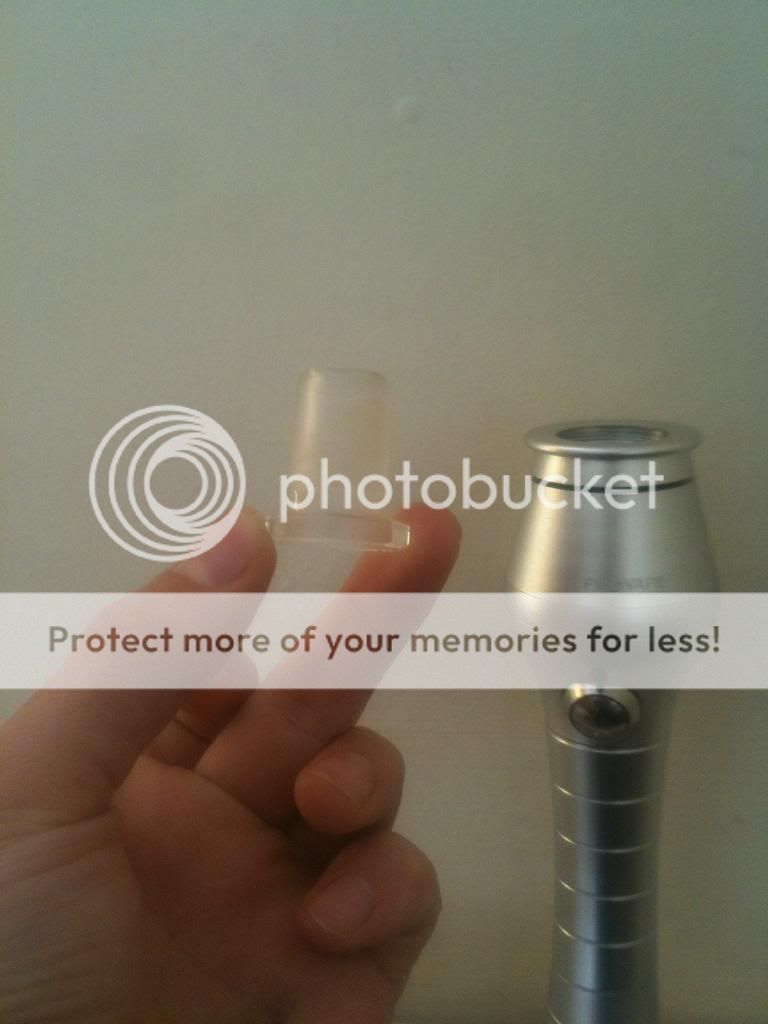
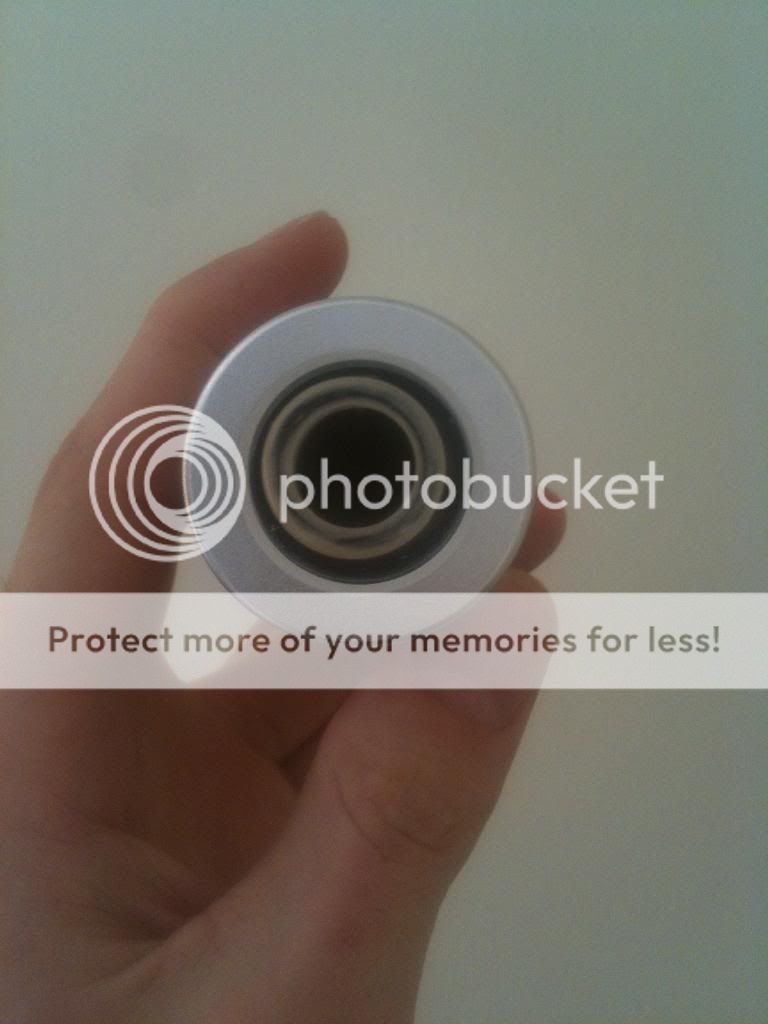
The changing top screen tool:
Adopted at first use after reading the how-to, 10 seconds to put back the screen now.... If you soak the screen in ISO, it comes as new, so as soon as no mechanical stresses the screen, its lifespan should be huge.
The PA himself:
I had pb with the first one, but tadaaaaa FV customer service is awesome. My actual heating element could performs a better connection as the colored surface says it all so the setting is full blast, no thin setting yet.
I could reopen the FV unit and access the heating element and rods pretty easily now (i had tough time to do so).
Tremendous device, a must-have to get rid of any variations in the experience of extractions.
I waited PA to offer myself the last FV improvements and yay i got back my double spacer FV!!
The dabbing kit:
I tried once briefly as designed with sublimate, should be blasting tears.
The changing top screen tool:
Adopted at first use after reading the how-to, 10 seconds to put back the screen now.... If you soak the screen in ISO, it comes as new, so as soon as no mechanical stresses the screen, its lifespan should be huge.
The PA himself:
I had pb with the first one, but tadaaaaa FV customer service is awesome. My actual heating element could performs a better connection as the colored surface says it all so the setting is full blast, no thin setting yet.
I could reopen the FV unit and access the heating element and rods pretty easily now (i had tough time to do so).
Tremendous device, a must-have to get rid of any variations in the experience of extractions.
juanavape
Well-Known Member
hey hey!!!
The changing top screen tool:
Adopted at first use after reading the how-to, 10 seconds to put back the screen now.... If you soak the screen in ISO, it comes as new, so as soon as no mechanical stresses the screen, its lifespan should be huge.
Nice, that's exactly what I wanted to hear (10 seconds), waiting for mine in the mail. No more gunky screens for me.
Hi all,
since few weeks the top part of my FV is really loose..If I turn it up side down the top part will fall on the floor...I m not sure if this can affect it's efficiency ...I have noticed that now (I have it since 7 month) it is more difficult to warm it up...and even if I keep on red for 12 sec ll never reach combustion..at the beginning after 6 sec was easily reaching combustion.
Thanks for your attention
Vapodudule
Well-Known Member
hi @cat420
The top part can be loose because of adjustment of blacks joints all over. at very first i would try to unmount them, carefully without damaging them, wash them with soap, dry and remount.
The loosefullness of top part does not affect efficiency IMO, few airflow does not really affect the whole process, may be requires to hit stronger , but FV it really a sip unit. Hard hitting and you top screen is gunked.
The loss of efficiency you experience could be due to heating element or batteries getting old. The better is to replace them as FV is a wide user replaceable unit.
Last edited:
Hi all,
since few weeks the top part of my FV is really loose..If I turn it up side down the top part will fall on the floor...I m not sure if this can affect it's efficiency ...I have noticed that now (I have it since 7 month) it is more difficult to warm it up...and even if I keep on red for 12 sec ll never reach combustion..at the beginning after 6 sec was easily reaching combustion.
Thanks for your attention
The loose top is not a big problem. You probably need new O-rings. As Vapodudule suggests, you can try removing them and re-seating them.
If your FV is not one of the early units, you can remove the heater bezel and ceramic bowl, carefully lift up the copper rods, and slide the heater screen out. Hold it up to a strong light and inspect carefully for pinholes in the screen trenches. If there are any, you need a new heater screen. If not, you need new batteries.
If yours is an early unit you can still do this but you need to use extra force to overcome the Locktite on the bezel threads.
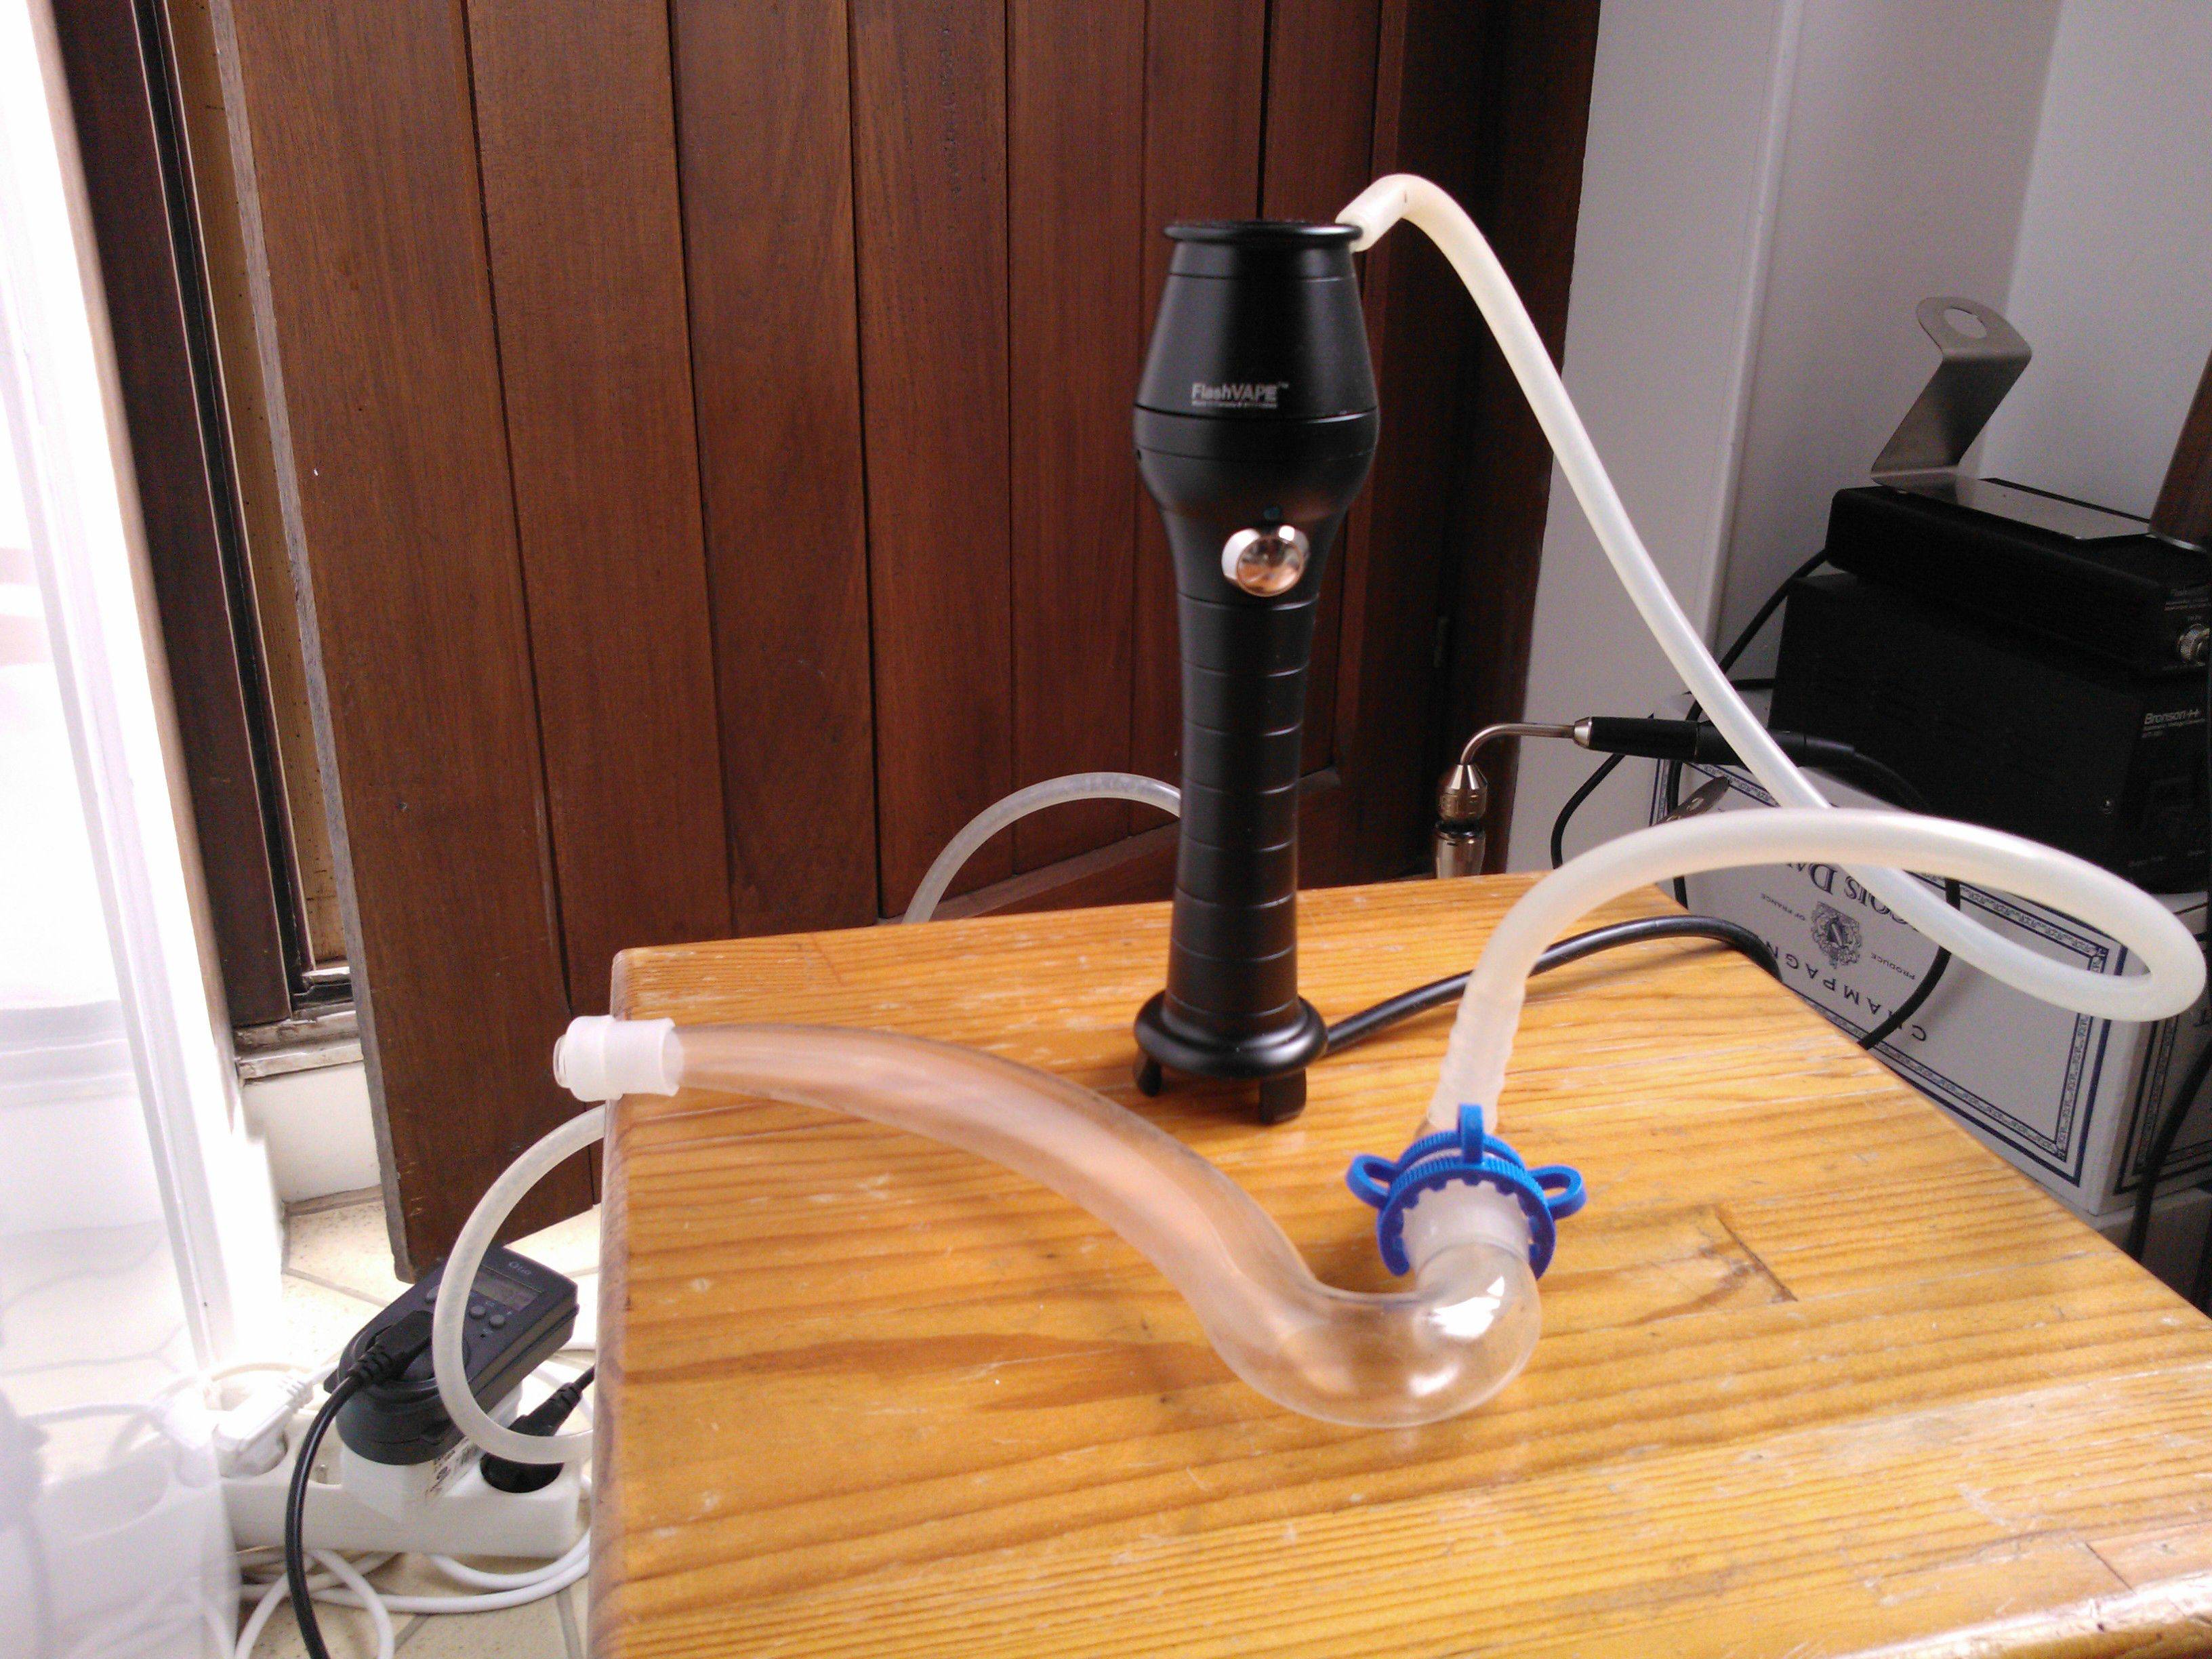
As a updat to pipes mod
I had a look at bits and bobs I have and found a 18/14 reducer that fit in the top with a reasonable seal
Only thing is all my glass ATM is 14mm and I don't have a PA or s2 batters so probly would not work upside down but still shows what I think would be a real sick vape boning set up with a PA

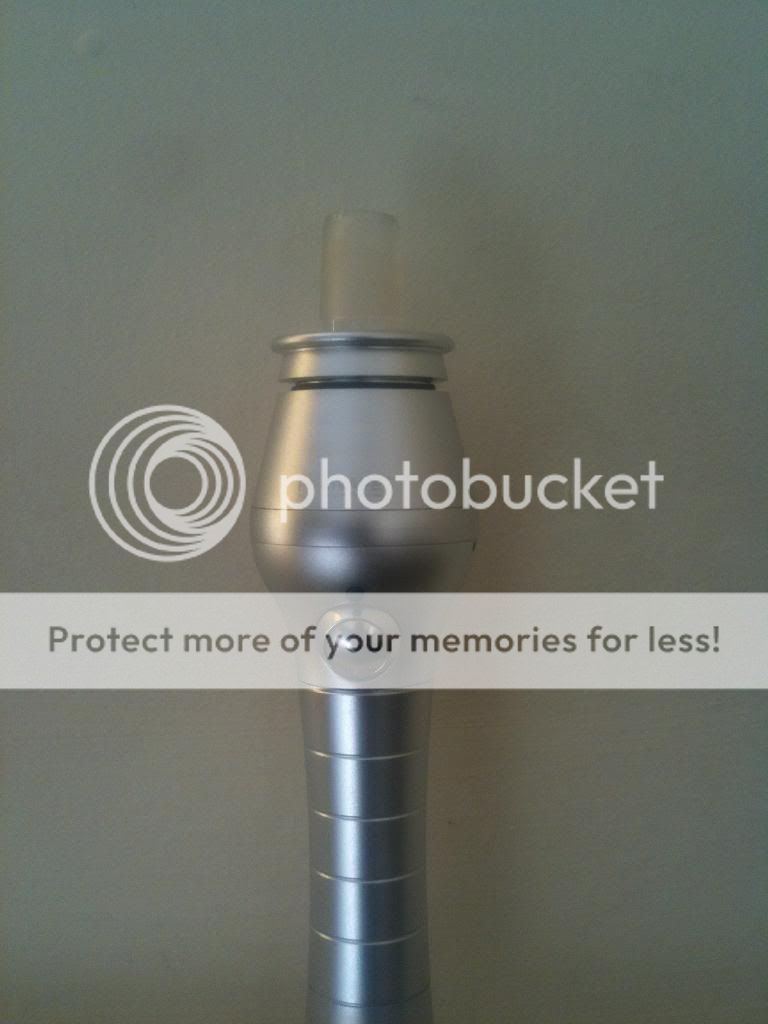
I will try it out direct draw In a bit and report back
EDIT: i tried it out direct draw and i fell it would work very well if the seal was air tight
i think i much prefer the flash vape like this i just need to plug that draw hole and might look into geting a glass blower to make me a better GonG or see if @Ed's TnT could do a wood verson that shit would be dope. with the draw hole at the top i find it to be more stealthy and can be slid in to the pocket with out having to remove MP
I had a look at bits and bobs I have and found a 18/14 reducer that fit in the top with a reasonable seal
Only thing is all my glass ATM is 14mm and I don't have a PA or s2 batters so probly would not work upside down but still shows what I think would be a real sick vape boning set up with a PA
I will try it out direct draw In a bit and report back
EDIT: i tried it out direct draw and i fell it would work very well if the seal was air tight
i think i much prefer the flash vape like this i just need to plug that draw hole and might look into geting a glass blower to make me a better GonG or see if @Ed's TnT could do a wood verson that shit would be dope. with the draw hole at the top i find it to be more stealthy and can be slid in to the pocket with out having to remove MP
Last edited:
As a updat to pipes mod
I had a look at bits and bobs I have and found a 18/14 reducer that fit in the top with a reasonable seal
Only thing is all my glass ATM is 14mm and I don't have a PA or s2 batters so probly would not work upside down but still shows what I think would be a real sick vape boning set up with a PA
I will try it out direct draw In a bit and report back
EDIT: i tried it out direct draw and i fell it would work very well if the seal was air tight
i think i much prefer the flash vape like this i just need to plug that draw hole and might look into geting a glass blower to make me a better GonG or see if @Ed's TnT could do a wood verson that shit would be dope. with the draw hole at the top i find it to be more stealthy and can be slid in to the pocket with out having to remove MP
good work! That is almost the exact same setup we are working on for the FV GonG solution!
With the FVPA and GonG, the FV will make a sick pipe vape for sure!
good work! That is almost the exact same setup we are working on for the FV GonG solution!
With the FVPA and GonG, the FV will make a sick pipe vape for sure!
I don't use water tools but I have given this some thought. With S2 batteries, or even better the FVPA, a top-mounted GonG will work in any orientation. The FV will be mostly or entirely convection, depending on how far from vertical you turn it, since the load will be less and less in contact with the heater and tabbed screen.
juanavape
Well-Known Member
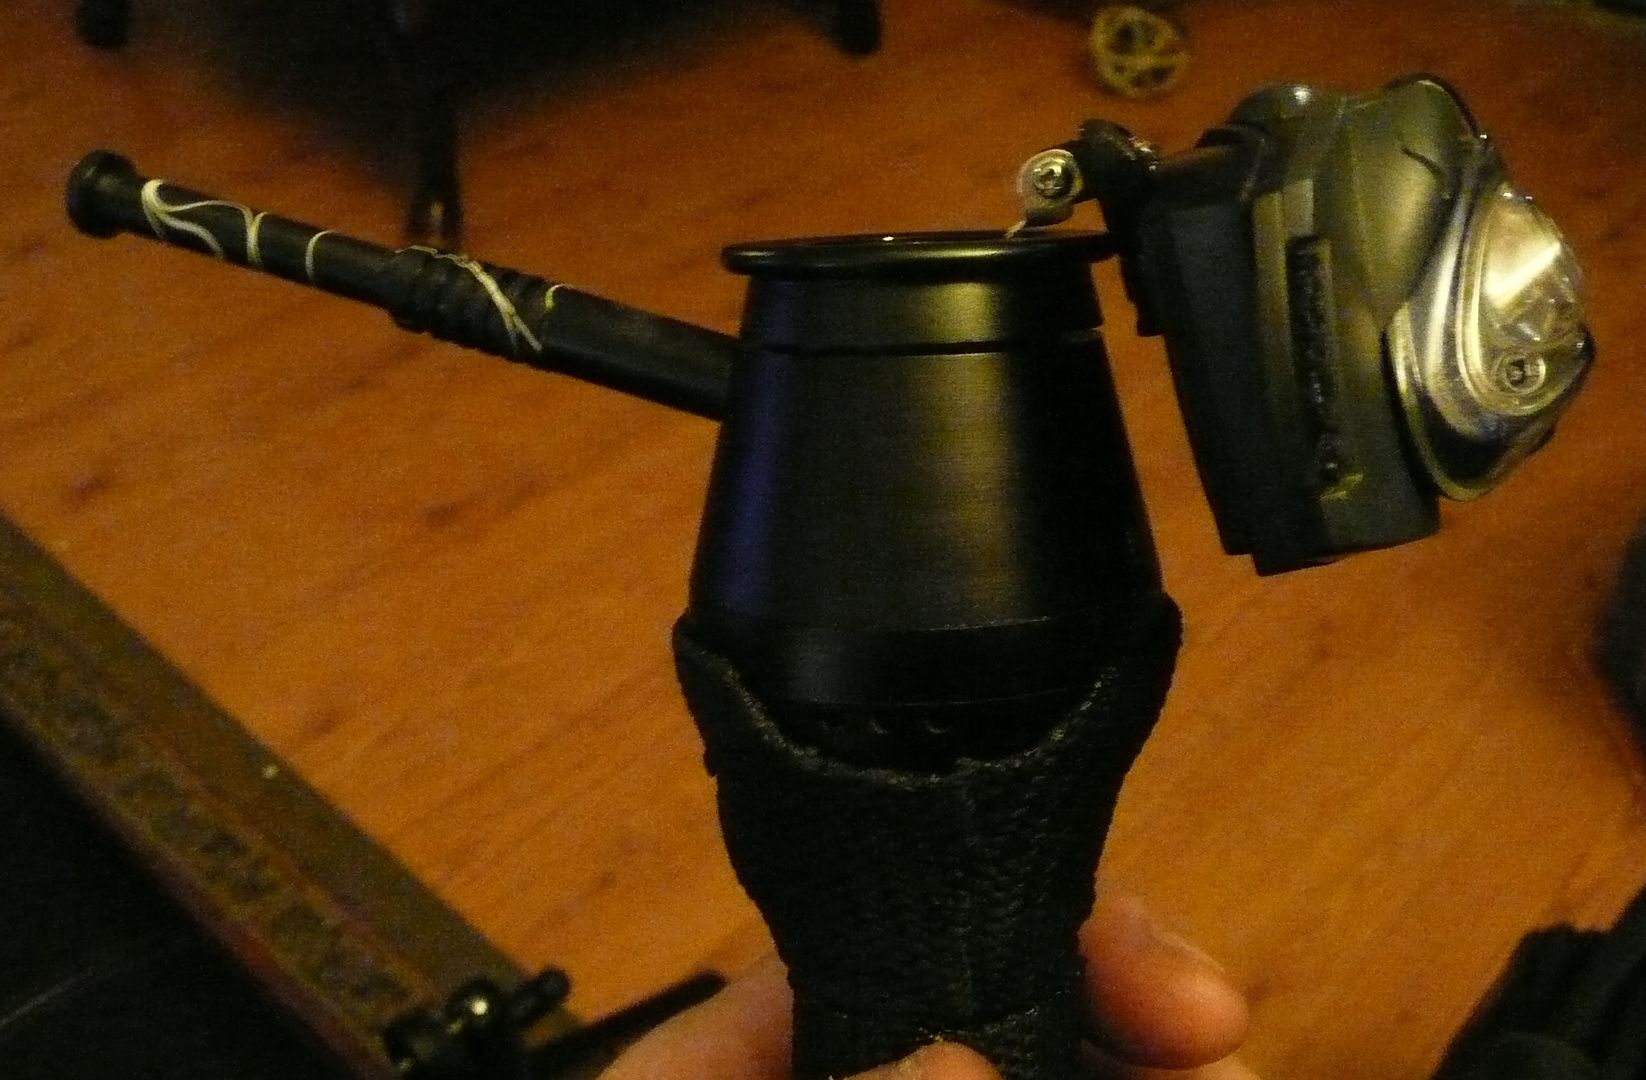
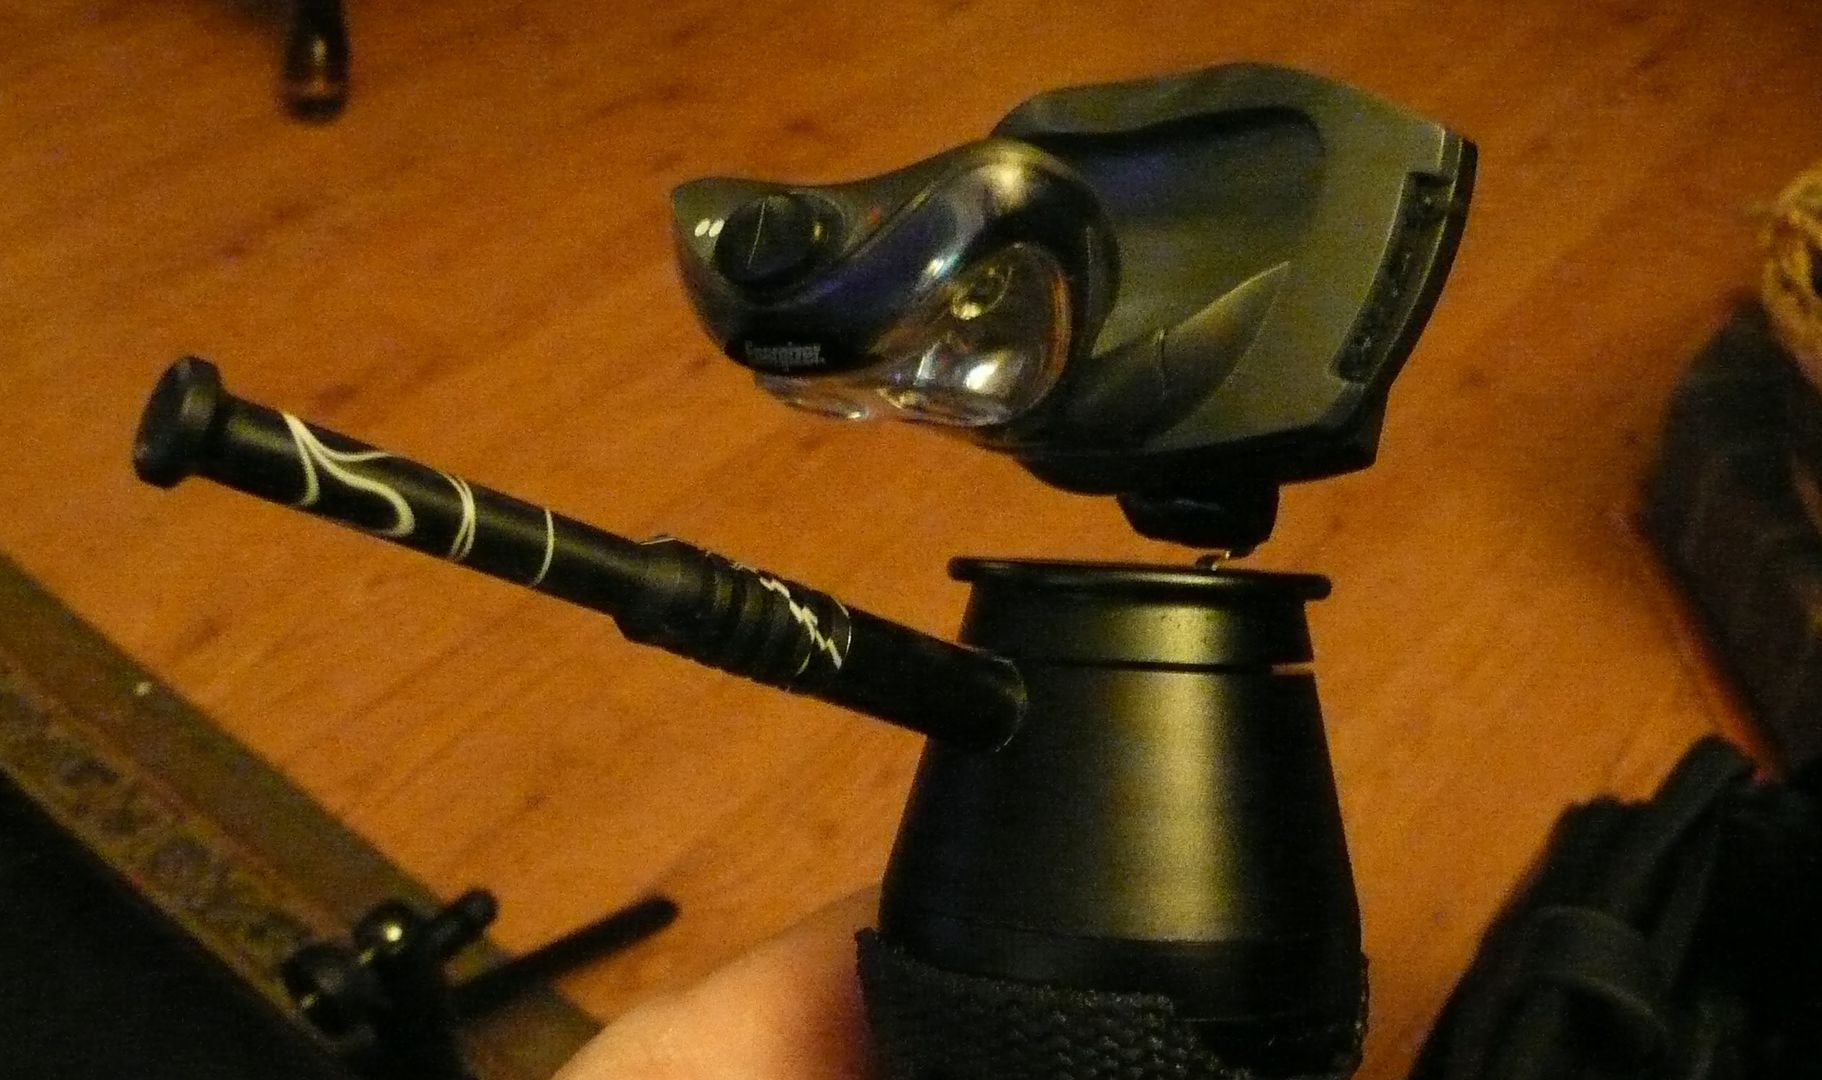
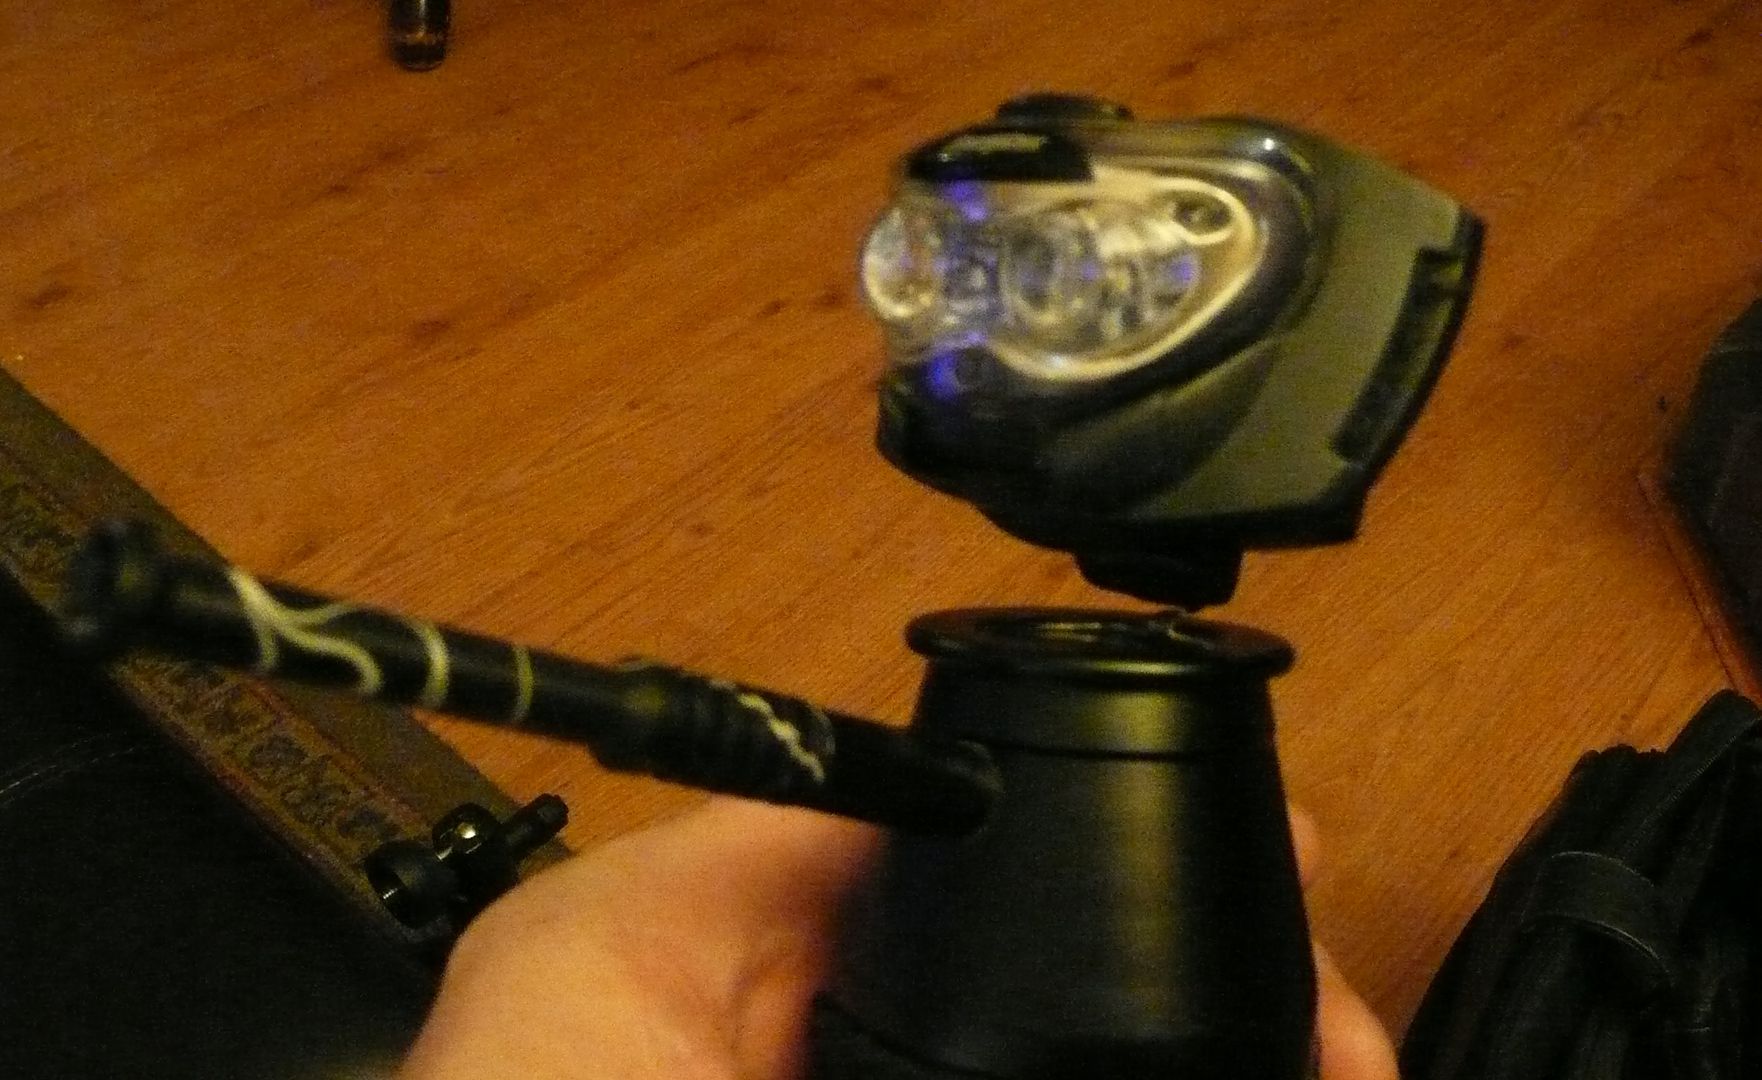
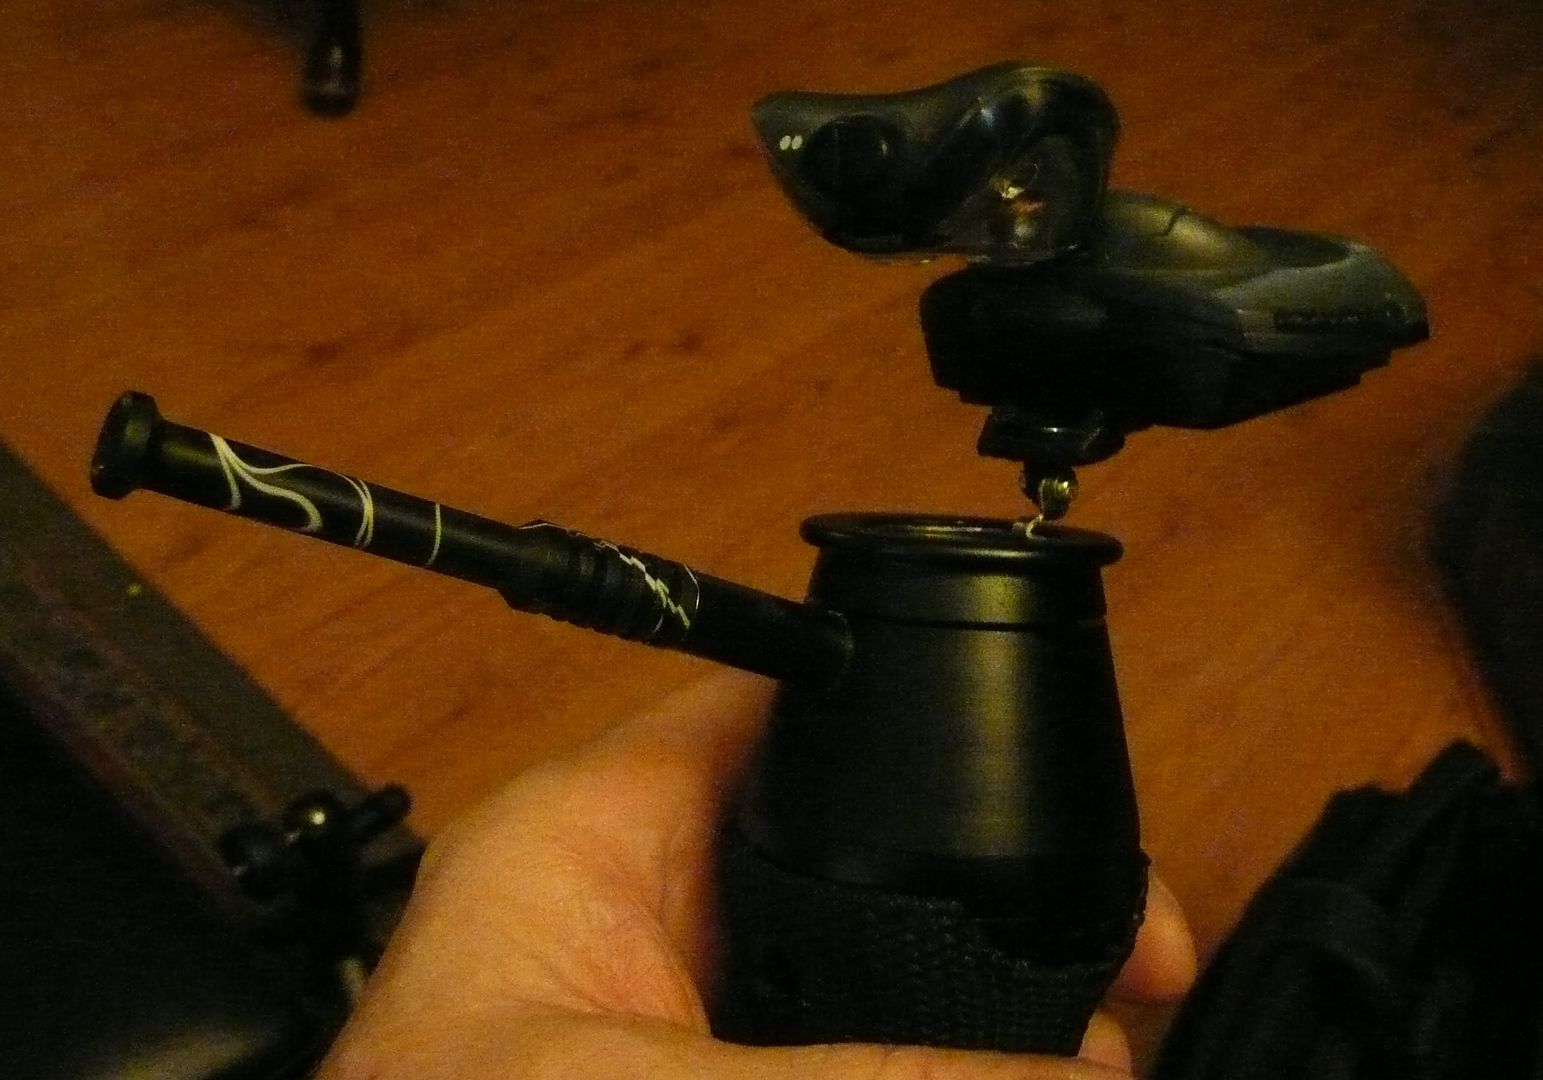
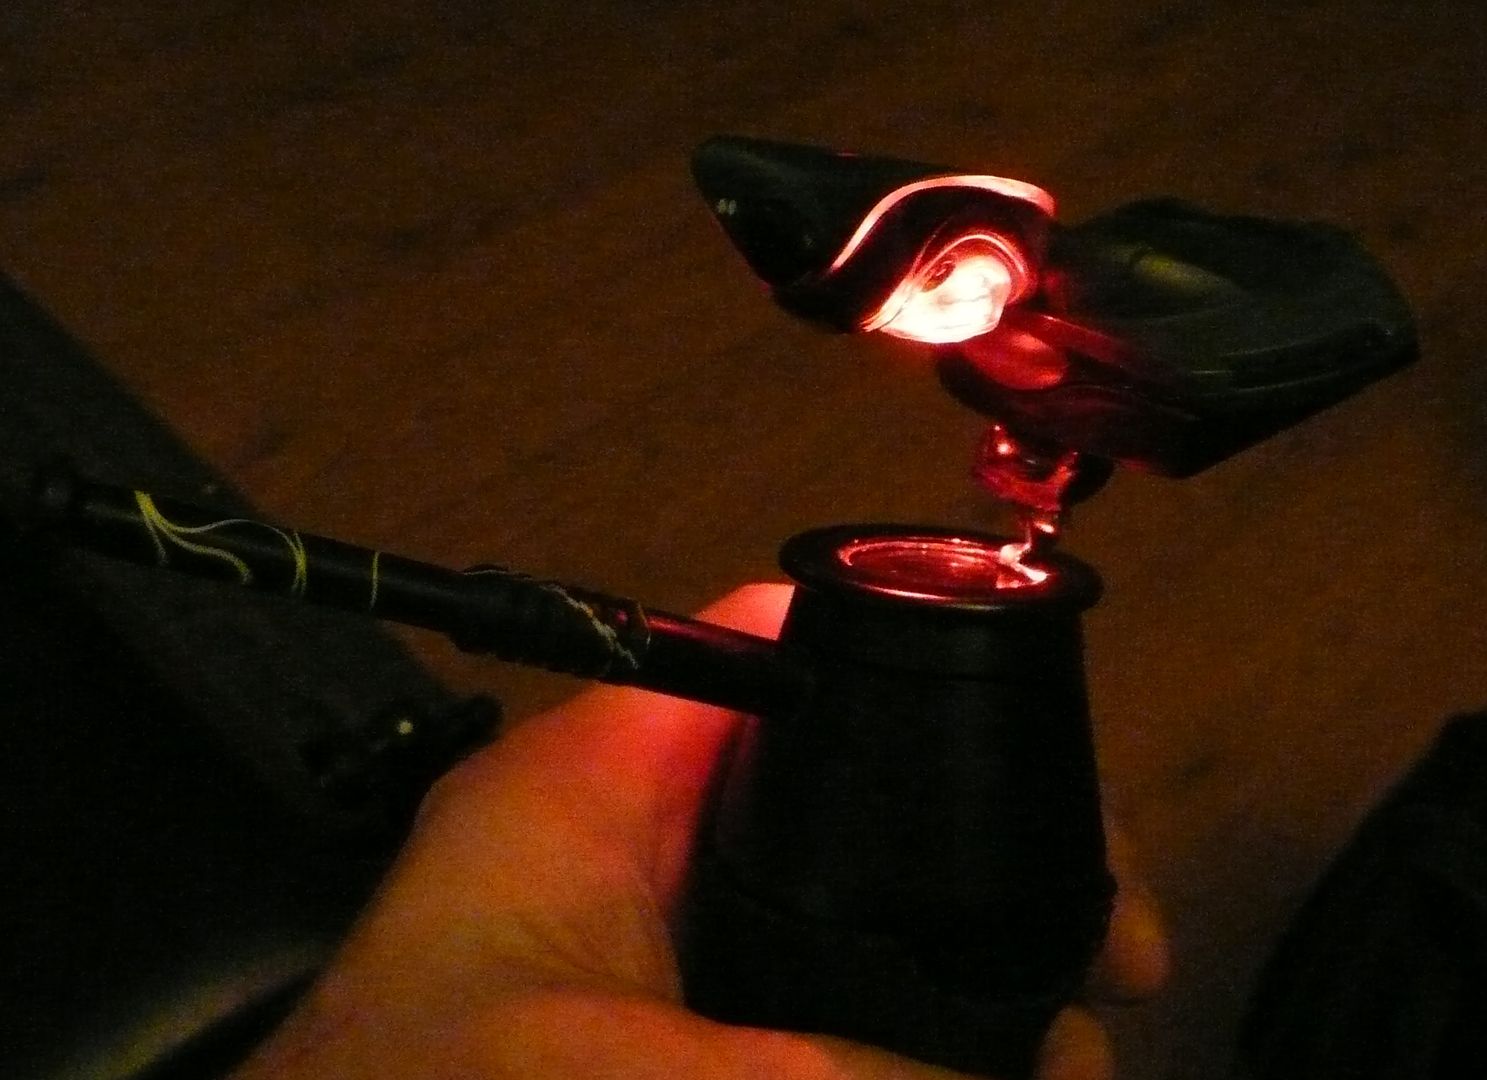
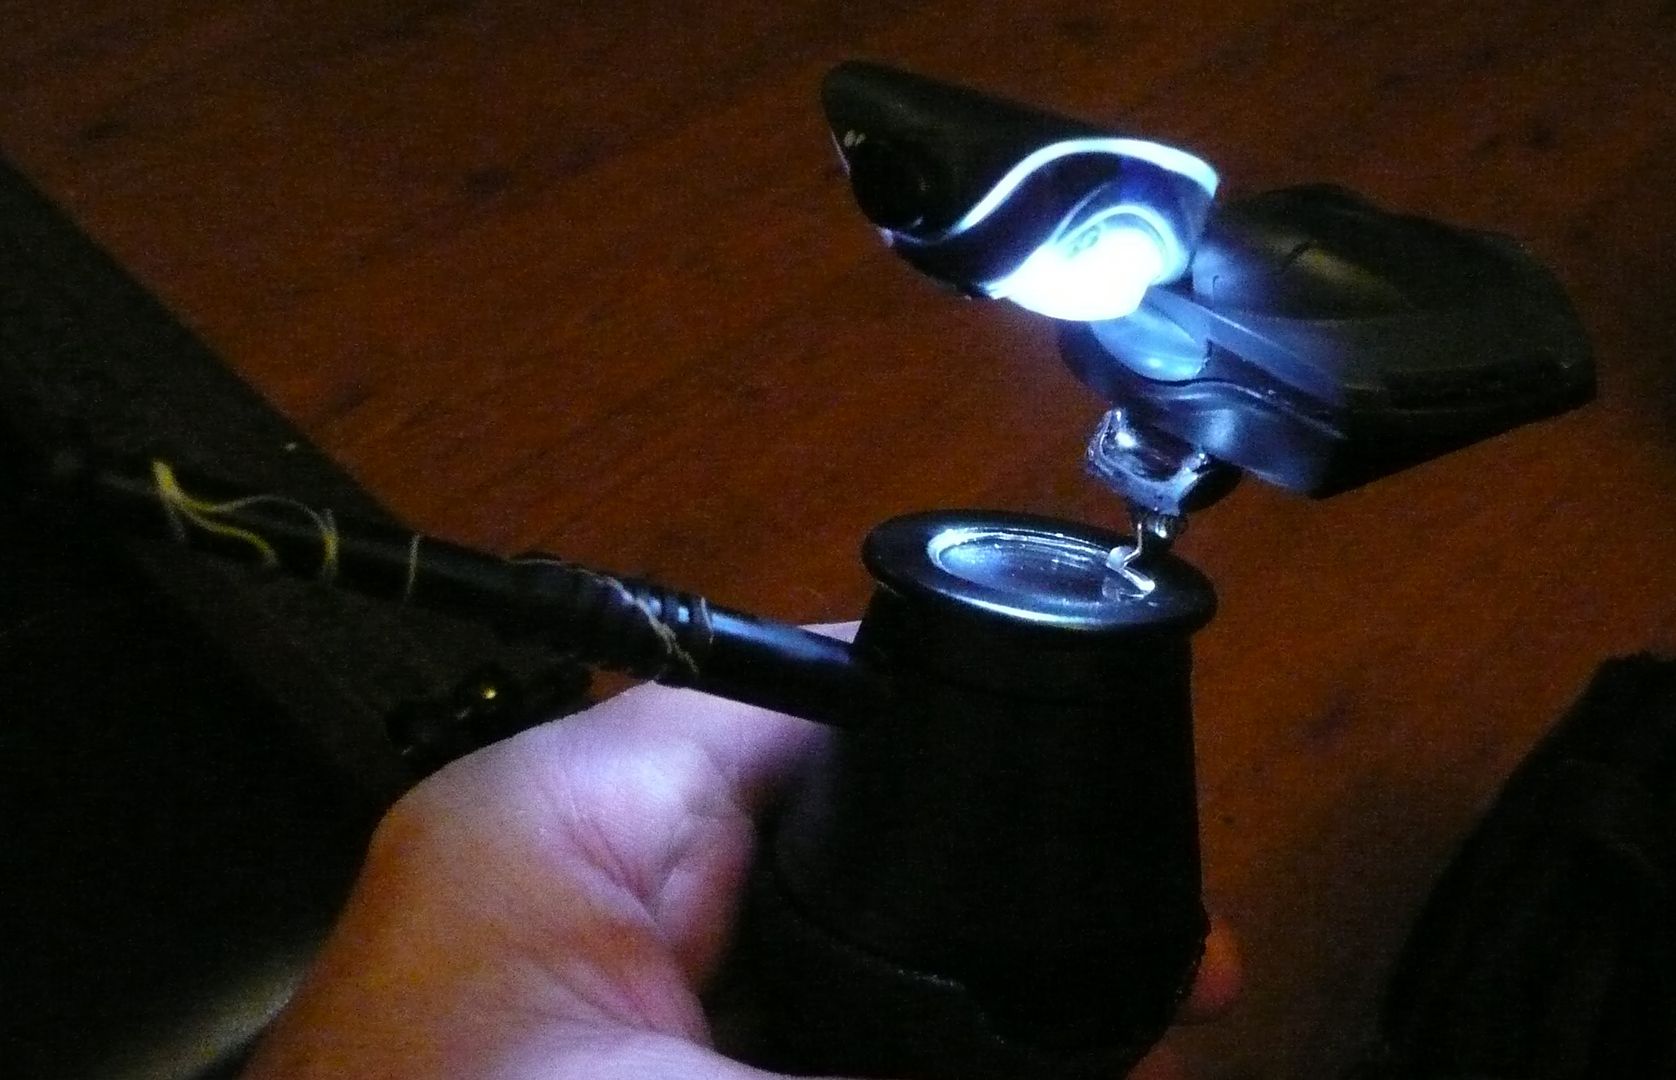
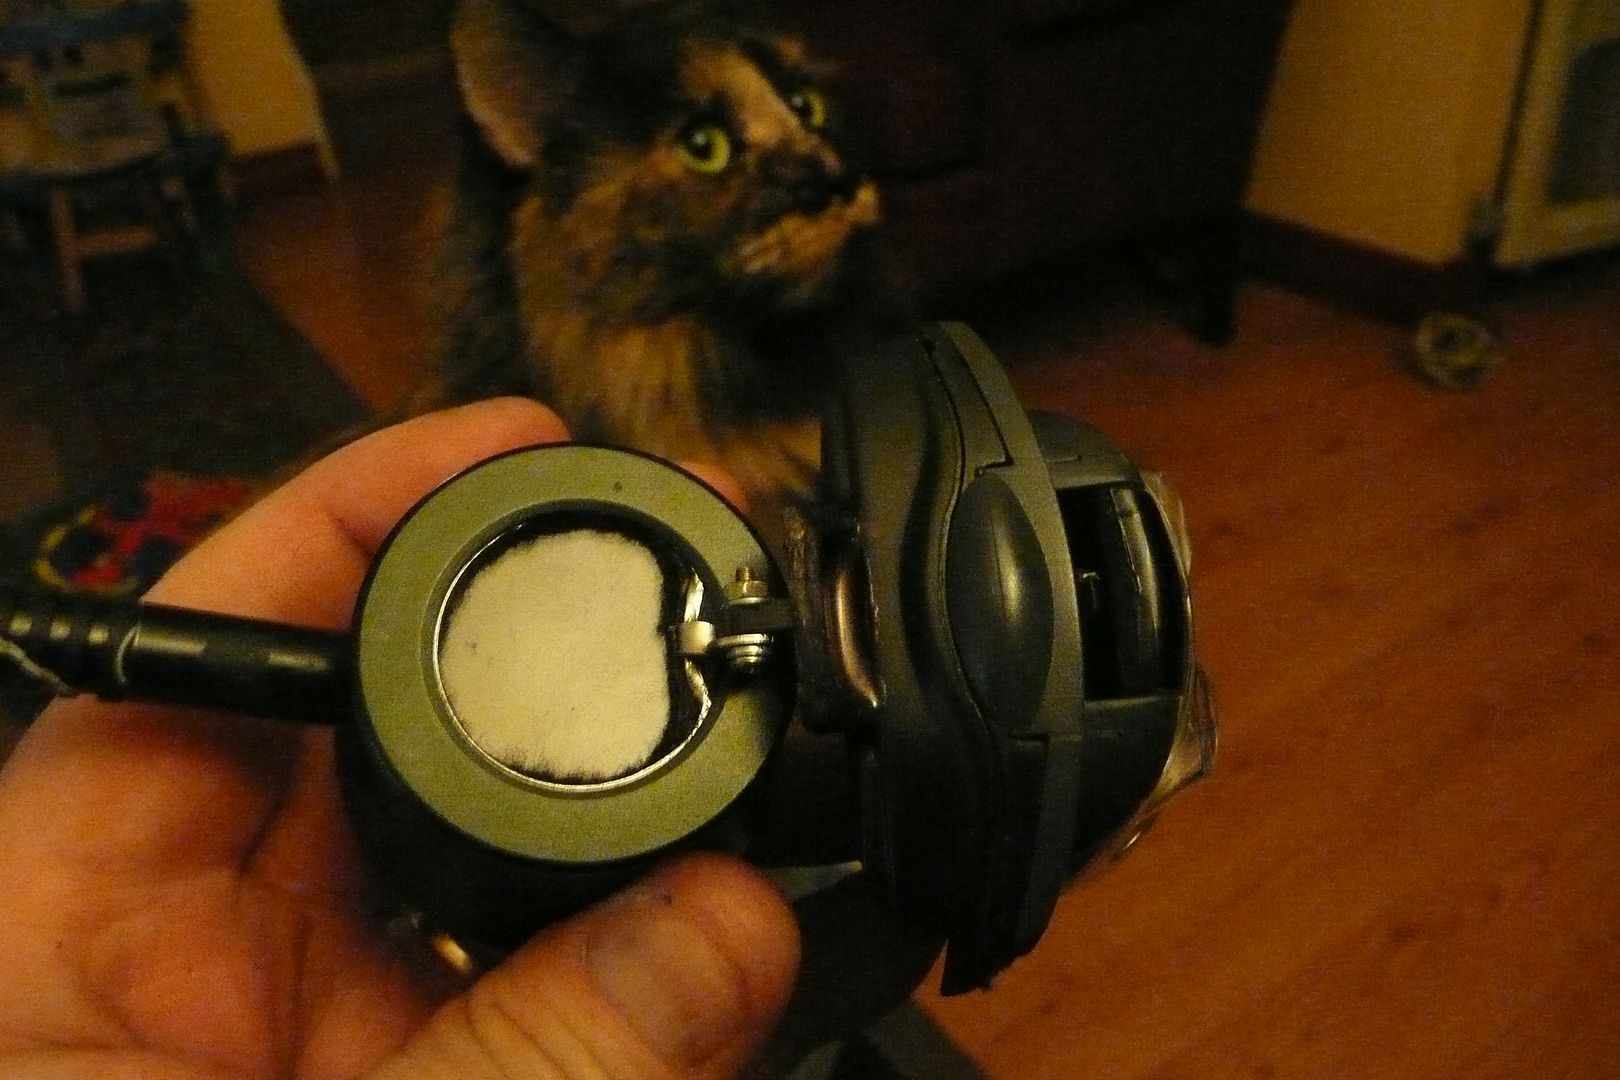
Well I made a new armament piece for when Stubby goes into battle.
Makes him a transformer with dual guns. I prefer the red ray of doom...

Got board today...
As you were.
Very cool ! I think that might be a "must have" in a few more years as my eyesight worsens.