Very tidy bit of glasswork there

Do you need to wait til the neighbours are out ?

.
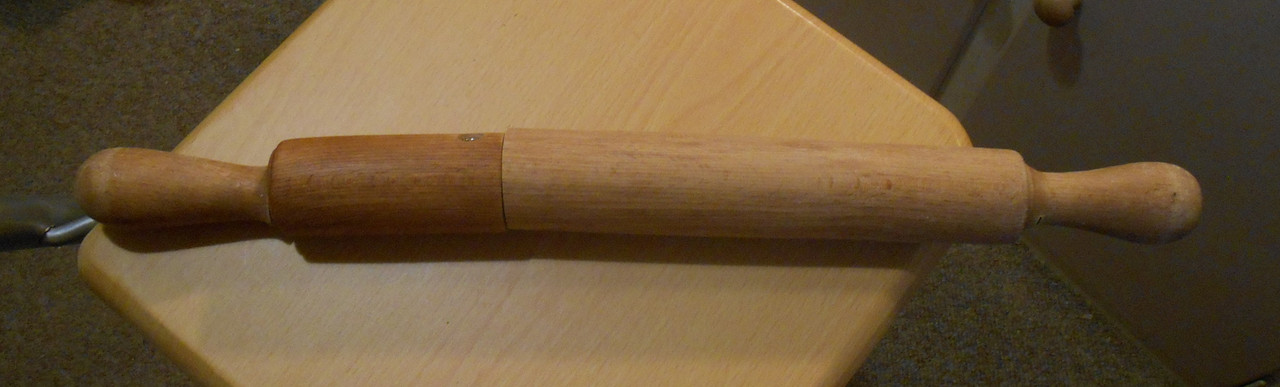
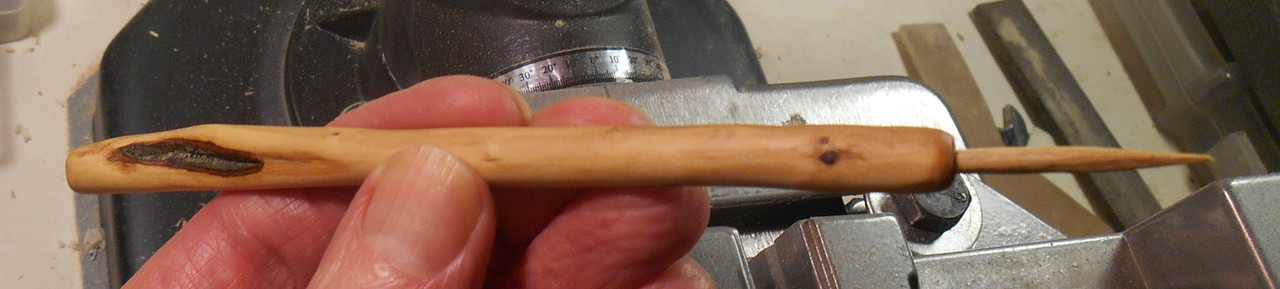
A friend of mine suggested, a few weeks back, that rolling pins could be used for making log bodies.
Then, few days ago, he handed me a couple that he'd found in a charity shop. They didn't look very interesting, tbh, but thought I'd give the reddish one a go - and I'm glad I did.
Here's the log and donor rolling pin briefly reassembled for the picture.
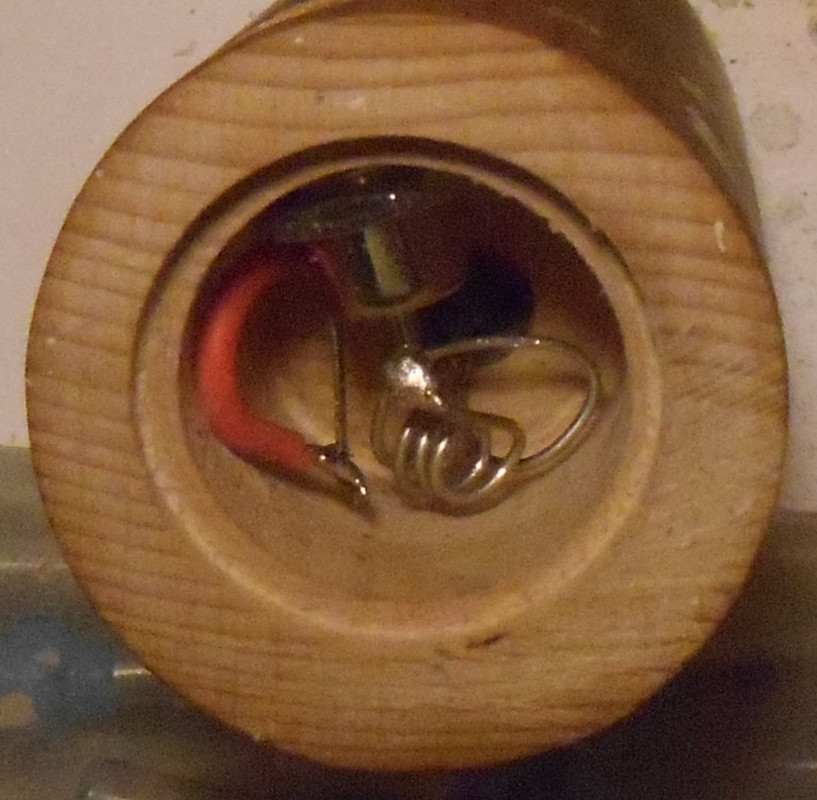
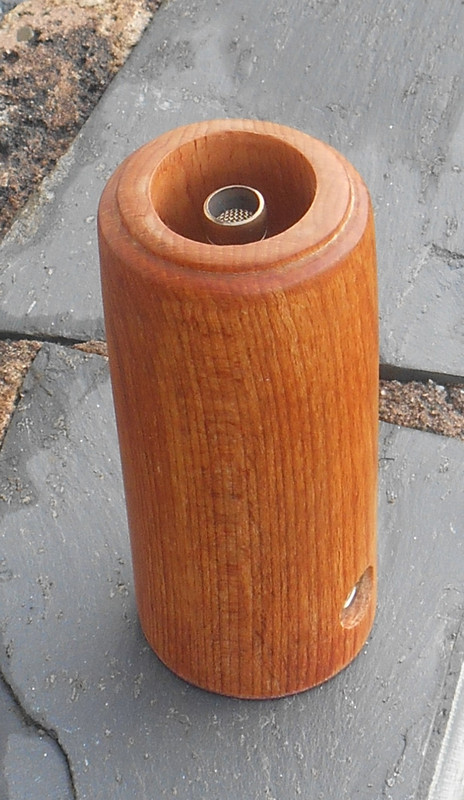
A resistor build with the usual hybrid wiring. Coils on the solid wire for heat dissipation but note the absence of a screw
")
.
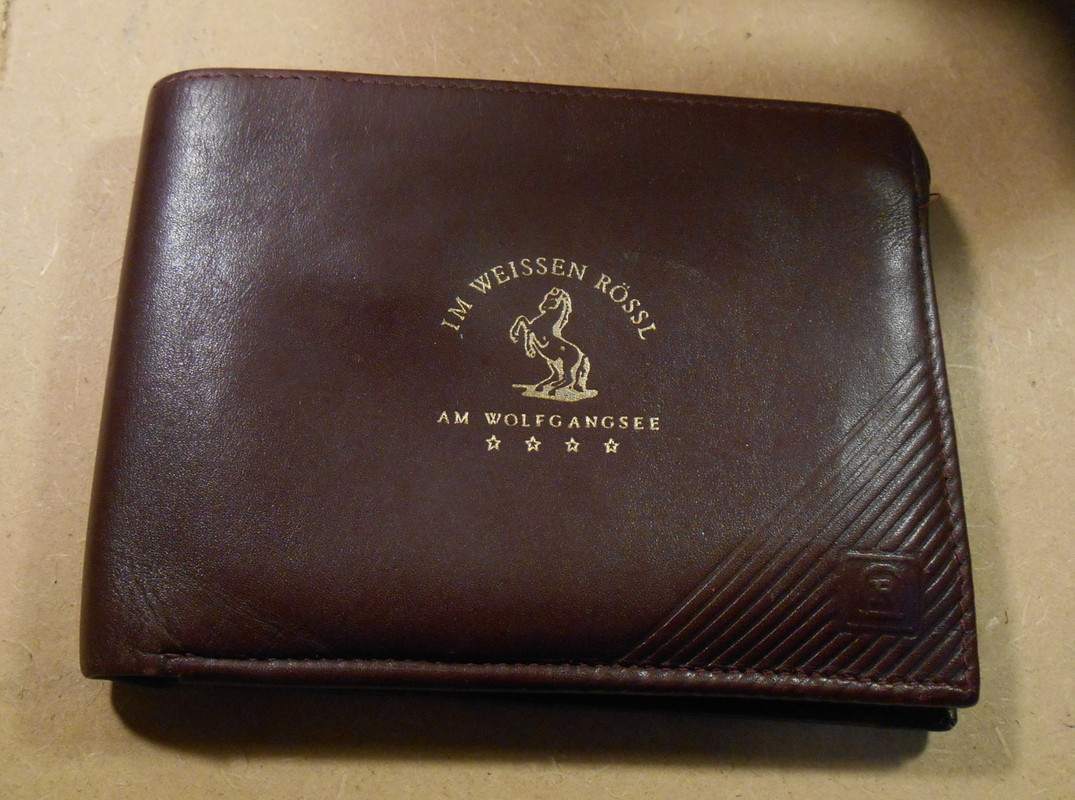
Keeping with the charity shop theme, thought I'd use leather from this wallet I picked up for 50p.
I'll save the white horse logo for something else (apparently, it refers to a musical comedy that's very popular in the German speaking world, as Bloke informs me
).
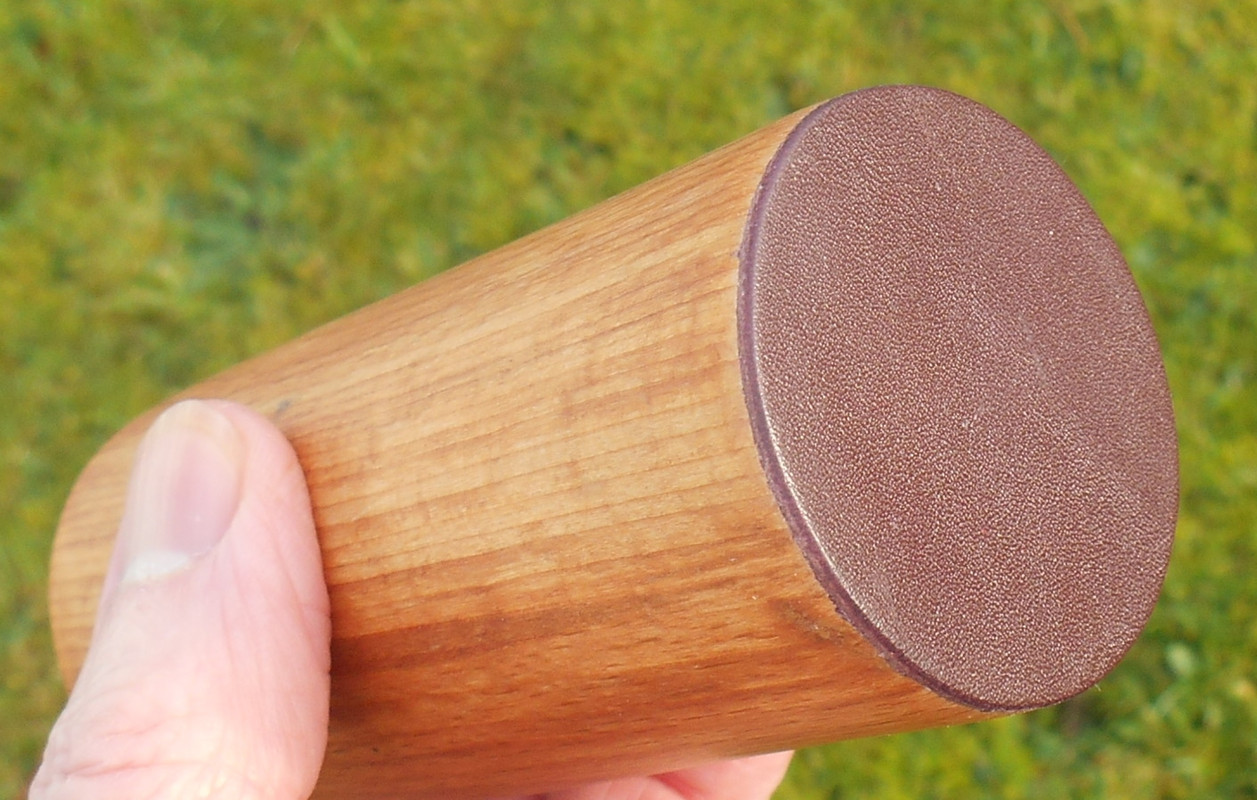
Sadly, post-construction, I found a crack had appeared at the through hole - but I ran the unit for a good
24 hours after that and it didn't get any worse - so I closed up the base.
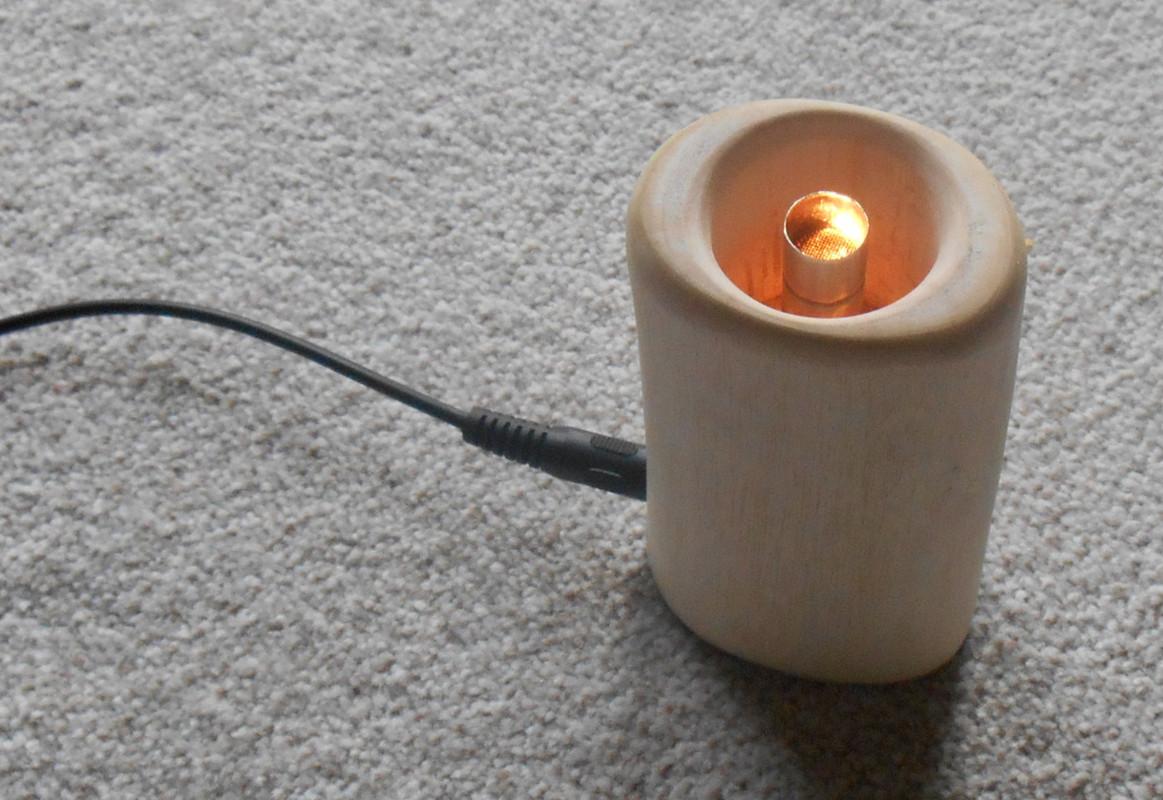
That raised bit at the top is where the handle began.
A bit of sanding, polishing and conditioning has brought the wood up very nicely.
Diameter on this one is 42.5mm but some rolling pins may be a little too thin.
Worth keeping an eye out for a good one - cheap and convenient material for log bodies
.
And you get a log that'll roll small quantities of pastry - say, enough for a mince pie
.


")