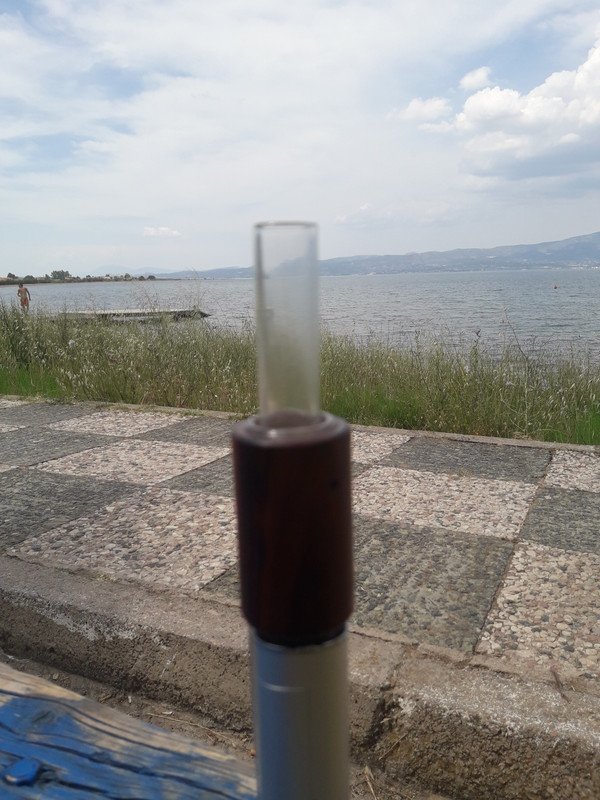
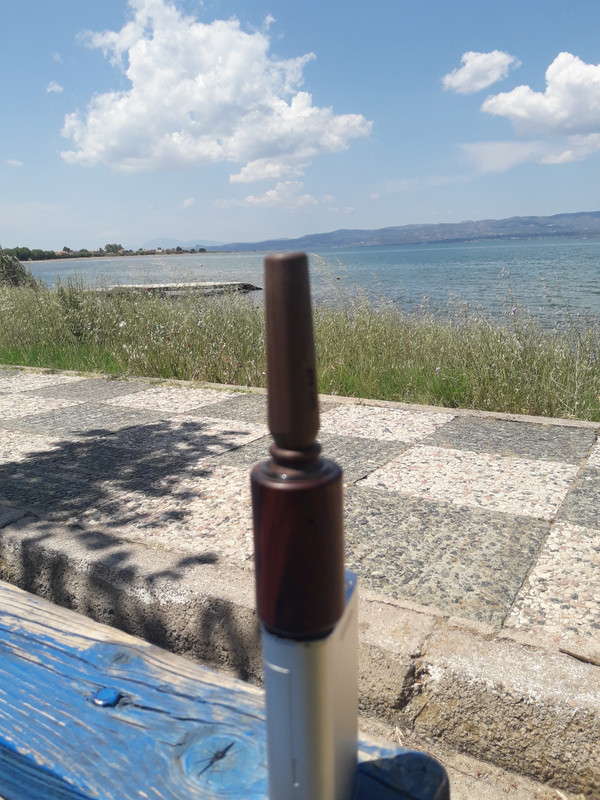
Received my DDave Ultimate Cooling unit yesterday. Simply the value and obvious care that went into the package is really, really refreshing. Not only a beautifully made glass gem, but a large bag of screens, a simple screen insertion tool, a brush, some beeswax pellets (glass 'lube') and a small package with two smooth-tumbled stones -- nice touch (excuse the pun...)! All of this for twenty bucks. Oh, and page of directions about screens and a separate note from DDave saying thanks, etc.
I used it dry for one bowl and had a very pleasant experience of cool, flavorful draws, though this is not enough use for me to rave, yet. I would like to have a container for it, maybe a tube like
@Consolidated 1 pictures ^.
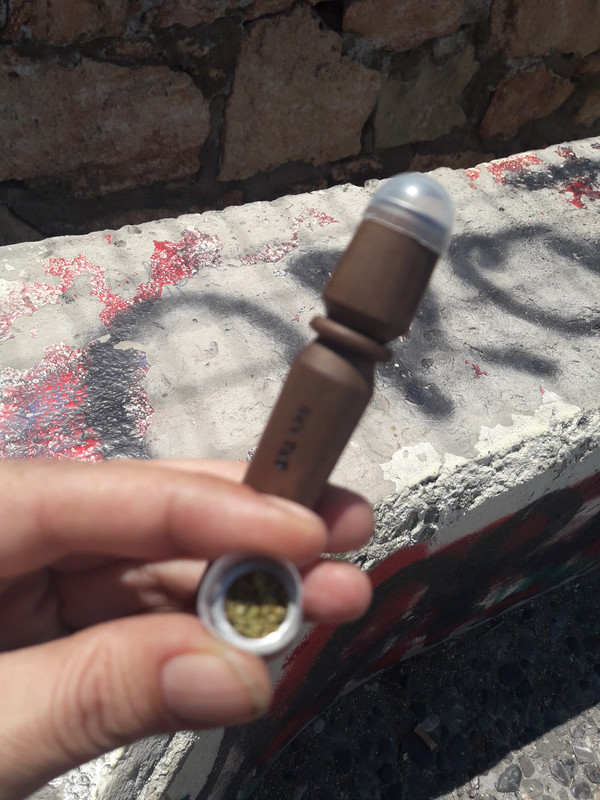
I do have questions about water use with this piece. Before any flower use I tried slowly adding water from top and it soon was drippy all over. In my experience with in-line bubbler, water can come out the bottom until you dial in right level. At one point I was drawing and it seemed to be percolating nicely, but by then everything was so wet that I emptied it and set it aside to dry a couple of hours before that first dry use. Is it best to fill it, set it off to dry a while, then come back, load & enjoy?
@DDave (or others), my questions obviously are about filling and technique for proper use with water. Any link to previous discussion? A video would be really helpful, I believe.

")


")


