@brainiac
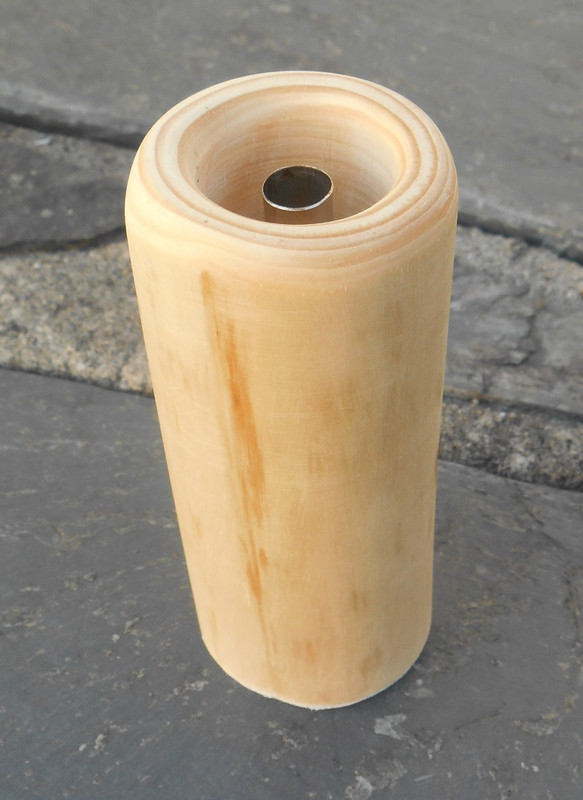
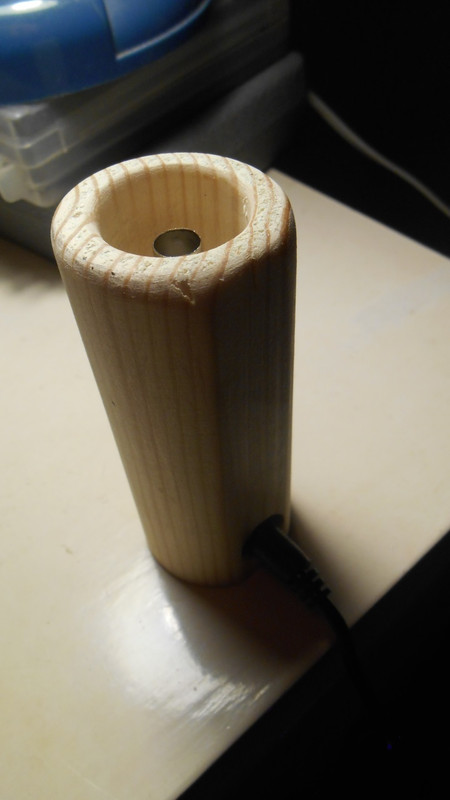
Your rustic log looks absolutely stunning

Really well done!

Isn't it a really great feeling, being able to build a functional vaporizer all by yourself!?

I just love it!
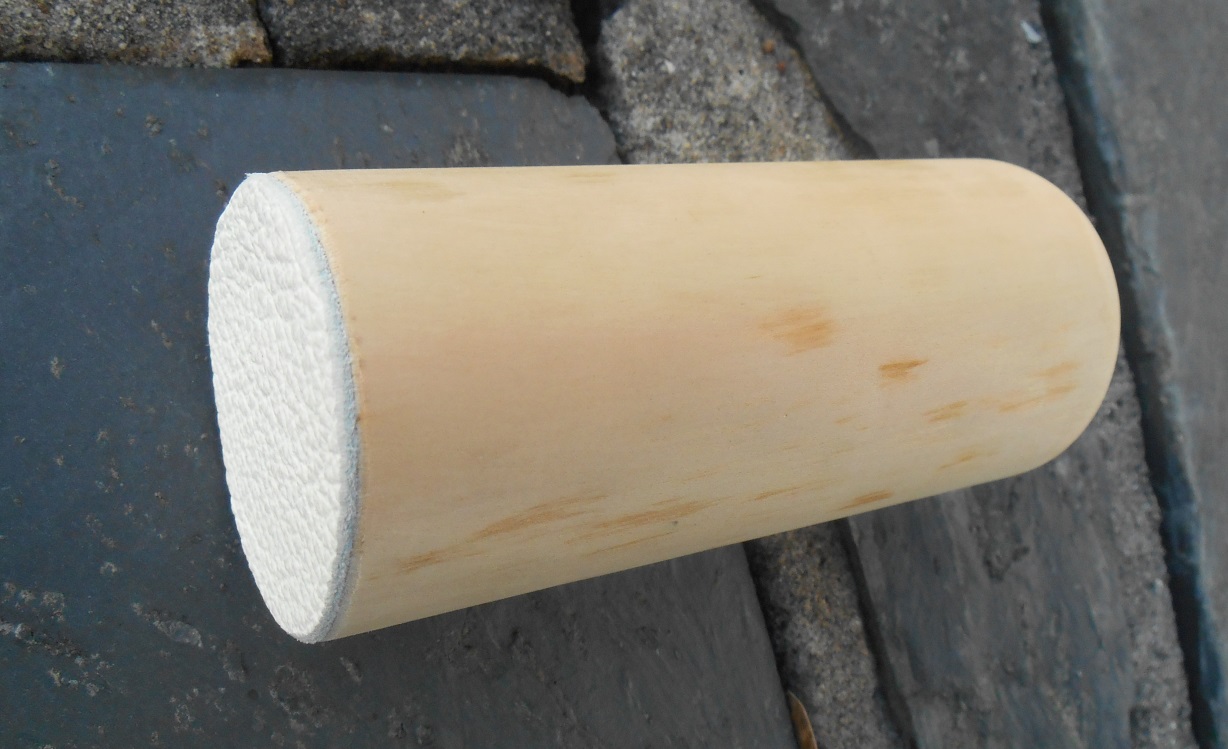
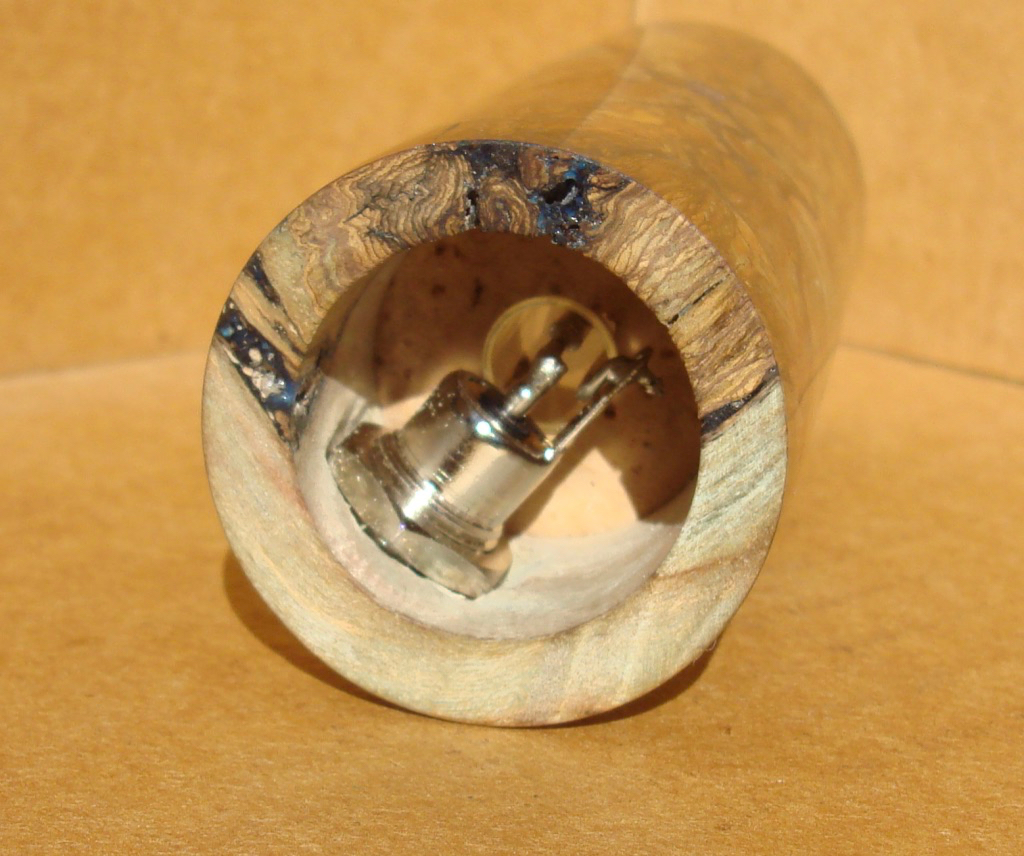
I think, the white leather bottom looks classy! Much better, then my early approach with the felt
And after a week of continuous use, I guess, it won't crack now. Though, I'm really no specialist there, as I've-never worked with relatively fresh wood myself here.
@Megaton
Have your new ss tips (3) ready and will post them tomorrow morning
Thanks for your patience.
@all
Sorry for not being able to attend more here at the moment, but after finally finishing my taxes, the job turned into a friggin' freak show recently, demanding lots of my time. If this goes on, I'm seriously considering opening up a store for tenant warfare, selling barbed wire, fences, baseball bats, knifes and maybe hand grenades


But as carnival season is upon us by end of next week (which usually turns the whole region here into a bloody alcohol drenched freak show, BTW), I can close the business for a few days, taking a short holiday myself and so will have more time to get a bit more serious log work done
")
Tonight, I'll load up my recent walnut Misty, brew a pot of nice tea and will settle in with an audiobook copy of Machen's The Great God Pan and Other Weird Tales, which seems just the right treat for a dark and rainy night like this

")
And then I've also yet to take a look at the BBC2 adaption of China Mieville's The City & The City, which I downloaded a couple of weeks ago already but simply found no time to watch! Loved the book!


 there hope to get a
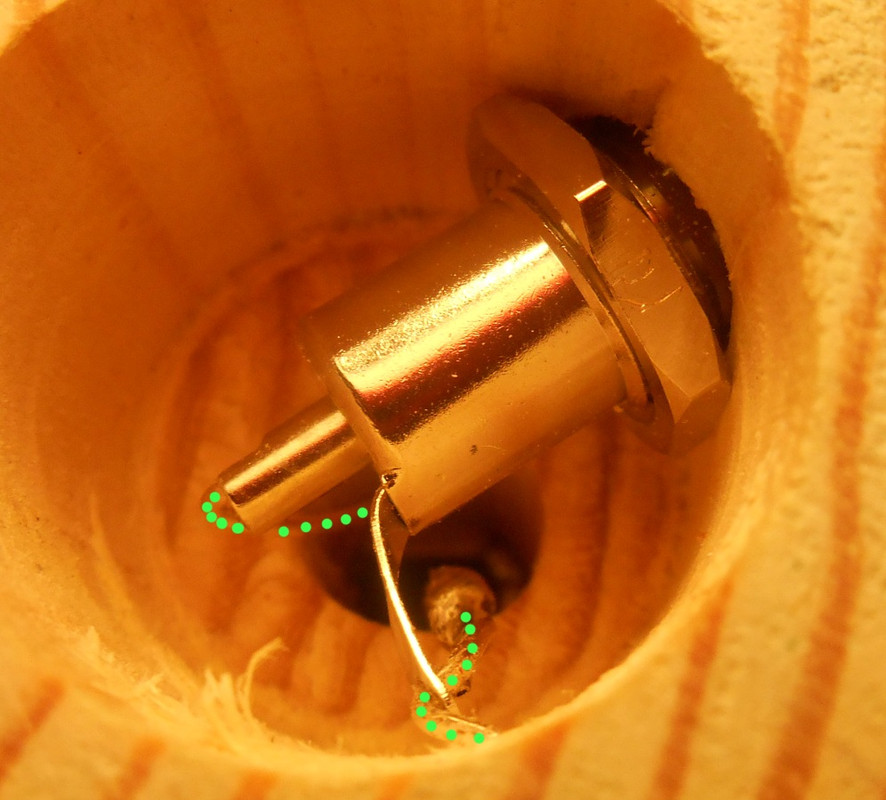


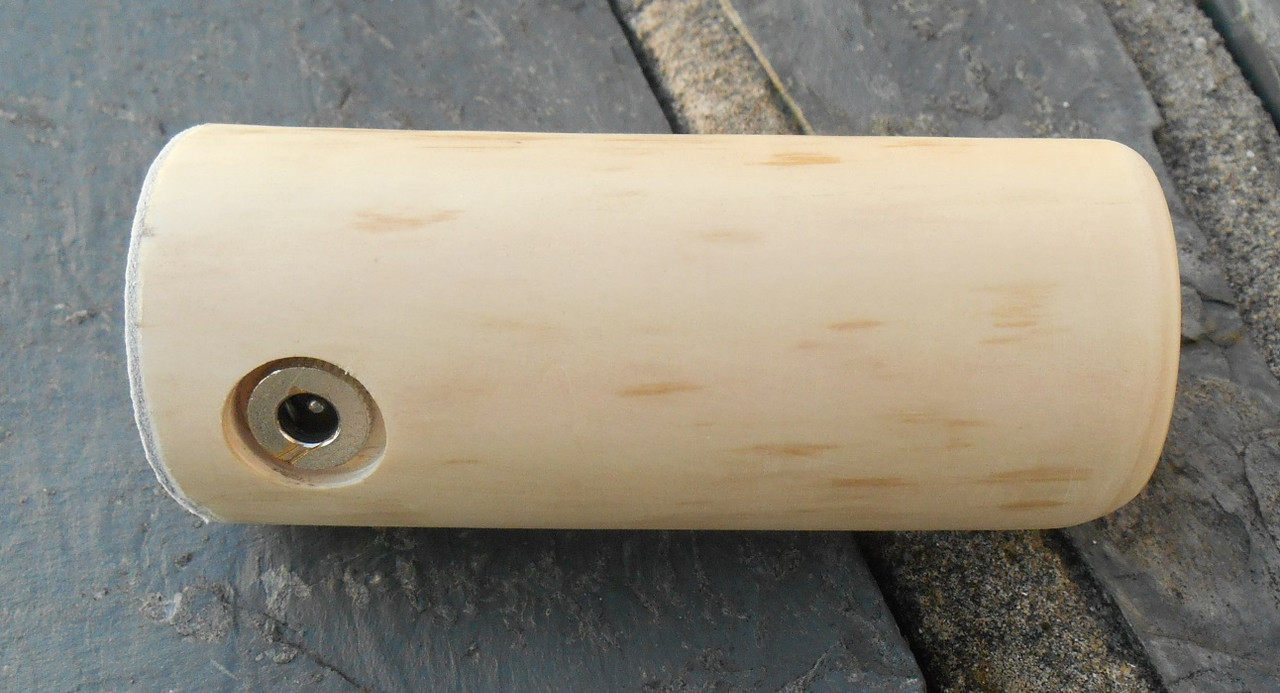
 (perhaps I'm overly risk-averse). Pity they don't make an M9 x 25mm. Original plan was to cover the screws with a washer and hold the washer in place with a clipring but it's still going to be difficult to get the ringclip down the 5cm into the heater well when the bore is only 25mm. Just not enough room for the pilers with the heater cover in place so I'd have to bash it down the final 1-2 cm.