My experience it that the glass-tipped caps heat up almost twice as fast as the Ti. Time to compare stopwatches?It takes a bit longer with a glass tip


My experience it that the glass-tipped caps heat up almost twice as fast as the Ti. Time to compare stopwatches?It takes a bit longer with a glass tip
Any thoughts about the new "M" vapcap with a stainless steel tip? ..
It takes a bit longer with a glass tip, works great though.
I expect the ss will work similar to glass..

My experience it that the glass-tipped caps heat up almost twice as fast as the Ti. Time to compare stopwatches?
I should clarify this. I meant that the click comes quicker with the glass, not necessarily that the load comes up to temp faster. With all the energy being absorbed by the tip (the glass doesn't interact with the induction heater) it is logical that the click comes quicker than it does in the Ti model.My experience it that the glass-tipped caps heat up almost twice as fast as the Ti. Time to compare stopwatches?
This makes sense to me, I think my screen is in the middle position on my ti woody (never adjusted it) and I try for 1-to-2 hit extraction so I like to lean on it a bit. I go 3-4 seconds after the second click with ti, 4-5 seconds with glass. So as I said just a bit longer. I'm looking forward to compare how the ss behaves.I should clarify this. I meant that the click comes quicker with the glass, not necessarily that the load comes up to temp faster. With all the energy being absorbed by the tip (the glass doesn't interact with the induction heater) it is logical that the click comes quicker than it does in the Ti model.
 Not the dead one soldered on board. The messy one thats on my desk with digital stuff on a breadboard. I've got an NPN->PNP pair, and it has the functionality I want (on when pin HIGH). Yep yep. just got it to work. I put a low pass filter on the gate input, connected to an NPN that drives a GPIO input. I have a rising edge interrupt and count the cycles. I can then derive a frequency, which rises as I put a work piece in! So, if I run my bitbanger at 0.5% (1 step), the thing draws just a few milliamps, and this will be a ready-idle state. , and can reliably detect when I insert the vapcap, which can activate the PID and increase duty cycle accordingly. when I remove the vapcap, the frequency drops again and I am back in idle with PID off. I haven't implemented all this yet - but it does detect insertion Now.. zzzzz
More clarification from me now...I think my screen is in the middle position on my ti woody (never adjusted it) and I try for 1-to-2 hit extraction so I like to lean on it a bit. I go 3-4 seconds after the second click with ti, 4-5 seconds with glass. So as I said just a bit longer. I'm looking forward to compare how the ss behaves.


 Memories have just been dug out!! I was never a so "deep lvl" programmer but I always appreciate reading some code, comments are missing though
  , and just imagine what could those lines do to the whole project... I'd never thought that I'd see that kind of knowledge and open source style projects going around the FC Forum.... Hail to that dear fellow Stoner Scientists ya'all!!!


Update on the Portside.
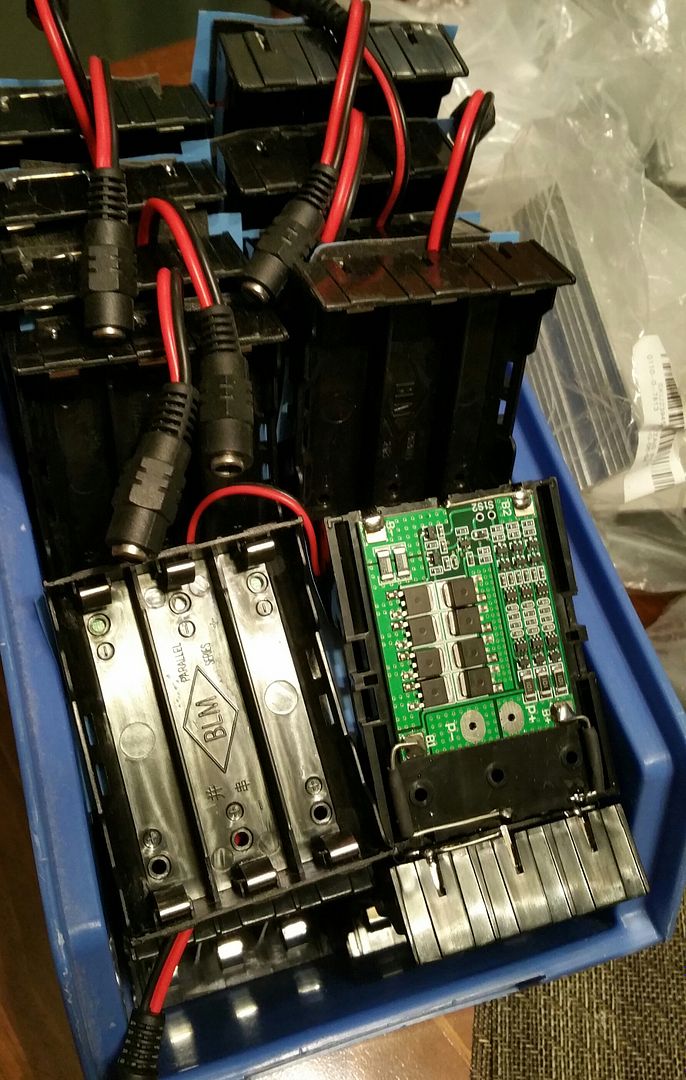
So sorry, but have another delay. In using it for a while, it became apparent that a battery gauge was really needed. So, I ordered these guys. Will be easy to mount as just need a small hole and double sided thin tape.
Those dang enclosures are still somewhere on route from BC to me... Sat in BC for 13 days with no movement... Grrr....
Decided to re-orient the box so the screw lids are top and bottom. This is mostly do to punching the main hole is a bitch with the thick sided heat finned aluminum. Don't want to screw any up.
The good news is that I'm well on the way to having the wiring and coil orientating all complete. So once the final pieces do make it to my door, assembly will be quick.
Hang in there!!!
OK guys, my list for the Portside is now FULL.
The possibility of more batches will depend on how this batch fairs.
I received the enclosures yesterday and it was one unit shy. The carton was bashed up pretty bad from shipping and one corner ripped away and was taped back up. Suspect that's where the missing unit escaped. So this batch is 16 units instead of 17. Have opened a ticket with Banggood but have no high hopes there. Oh well.
Have two Jarheads left and can still make more and also have Skeletor units.
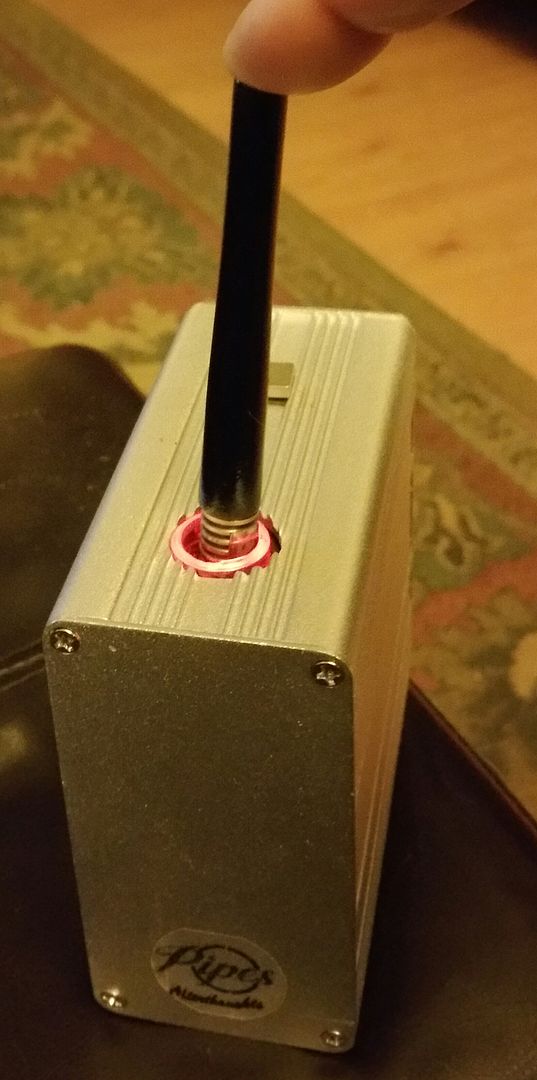
Have decided on the method to make the glass tube glow for a heater on indicator for the Portside. Hooking up 3 red LEDs in series around the bottom of tube just under the work coil. These LEDs will be held in place by shrink wrap and the light passes via the tube to the top. Using 2 each, 180 ohm resistors, one on each leg of the serial LED package, for a 360 ohm series resistance.
Pics coming soon...
Hmm, must admit, didn't think about that.
The light isn't going to be bright enough to draw attention during the day or under modest lighting conditions. But in the evening it might.
Don't think there would be a whole lot of situations that this should be a problem though. The heater could be placed down low or wherever, as you are not bringing it to your face.
Need some examples if you guys think it's a valid "enough" concern.
")
A little production progress pic.
And here is the LED placement.


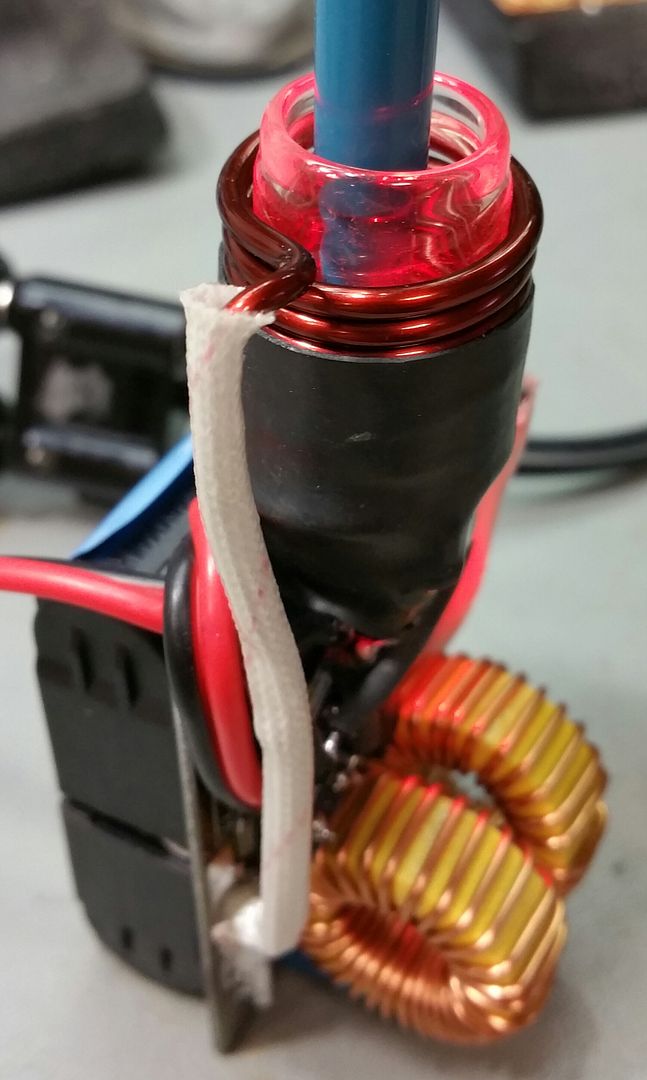
Keep in mind, you will only see the top mm or so.
Heading into the home stretch!


")
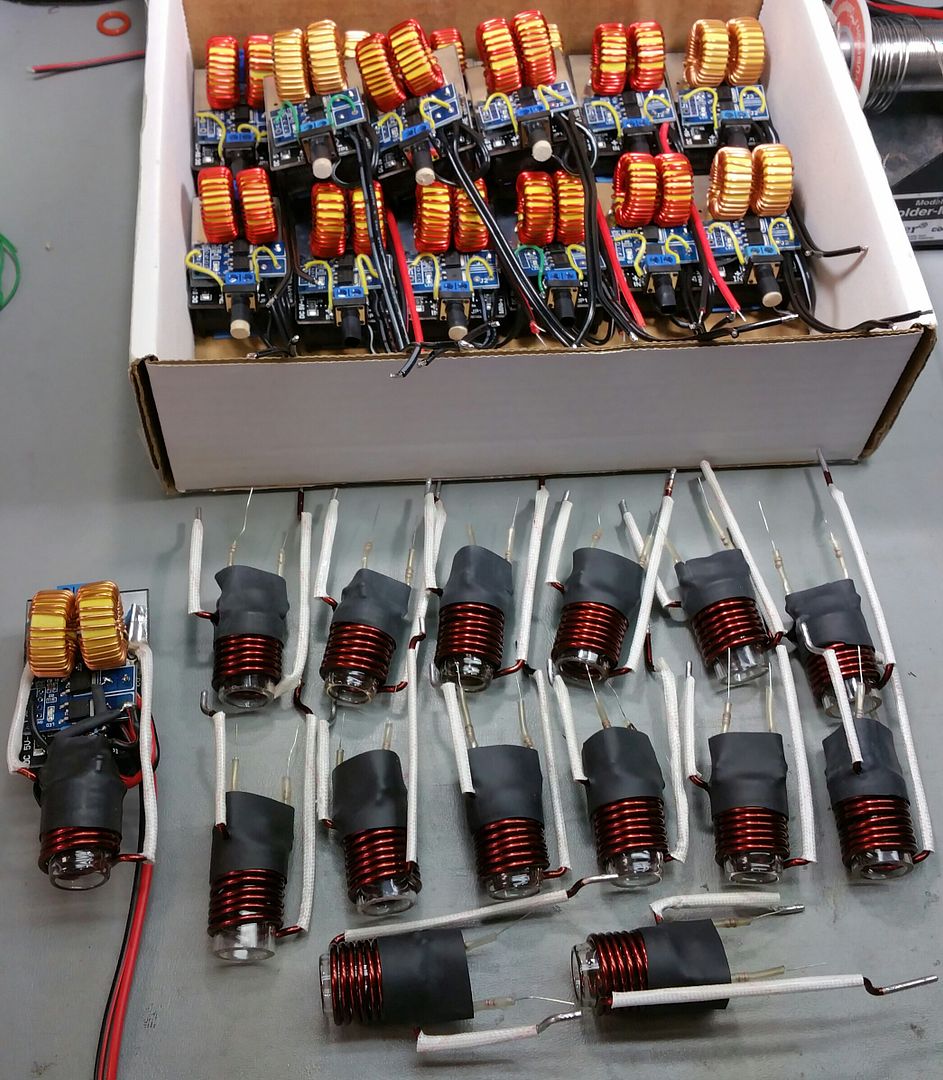
Progress report.
All the main modulars are made and tested.

As are the battery holders with BMS wired in.
Along with the Enclosures and Kill switches.

Here is my updated Beta unit with the LEDs added. This is in a brightly lit kitchen.
It shows brighter in living room lighting.
What is still needed to be done.
Looks like I have to punch the enclosures the same as the beta unit after all. Not enough width to rotate the guts. Gonna have to eat my Wheaties to punch those holes.
Drill the power switch holes and hole for battery gauge.
Get the battery gauges in hand. Are in early part of a of 6-20 day transit.
So last hurtle is getting the holes punched. Using a manual twist type punch, so cutting through that thick aluminum is a real pita.
Once that is completed, the rest is a piece of cake.

It is incredible to watch the development progress on this. It really looks amazing. I hope I'm on that list.


