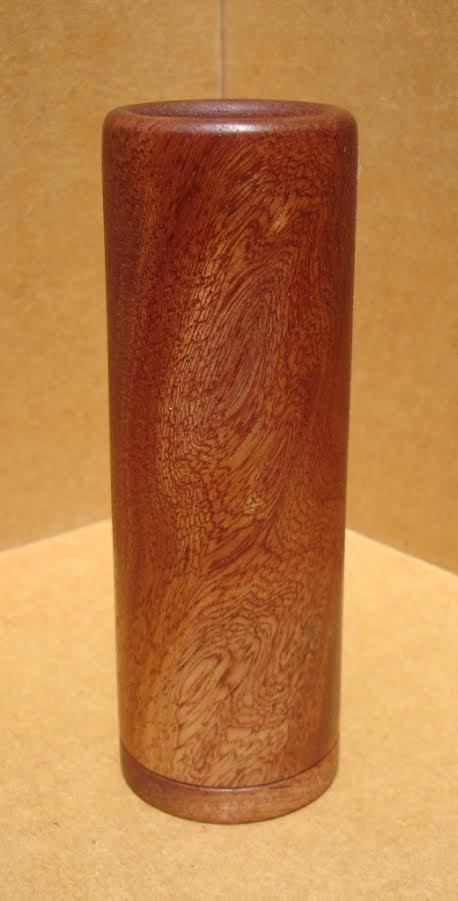
@ZC - Thanks for posting the photo. That is the first time I have turned that type of wood. It looks even better in person. Hope to get it to you soon.
Thanks for the assistance
@6079Smith. I have also mixed coconut oil with the beeswax to get a consistency like lip balm. It works great for your lips as well as the wood.
@Abysmal Vapor - You have some very good thoughts regarding the bamboo log. It does work quite well.
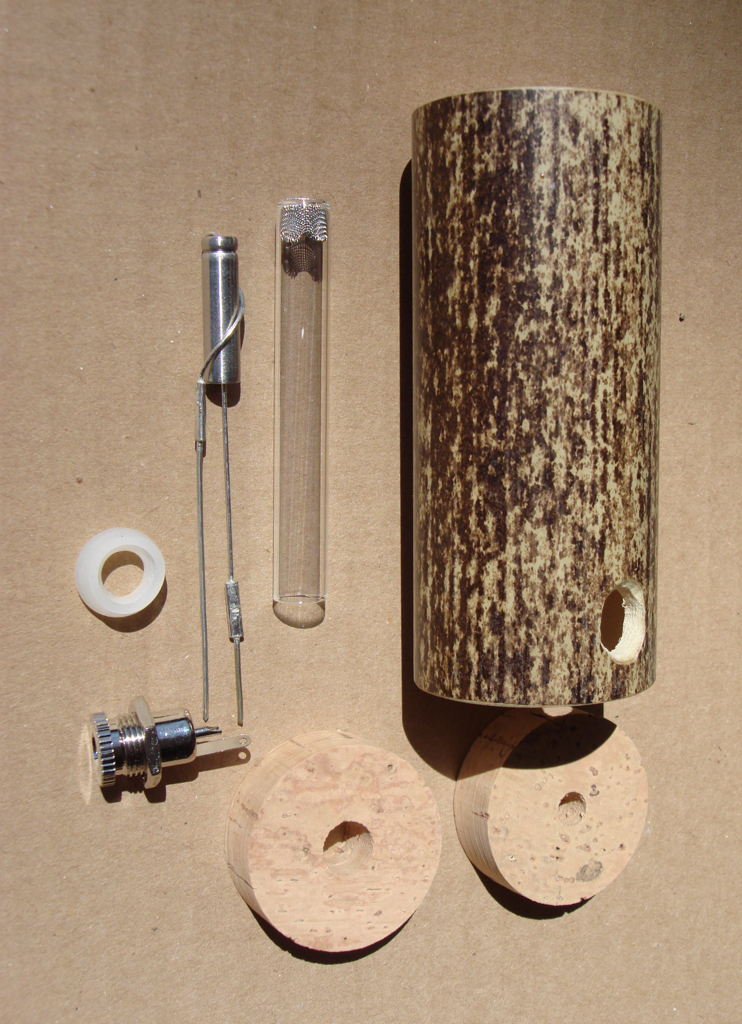
Here is a photo of the parts I use to make one with a glass heater cover.
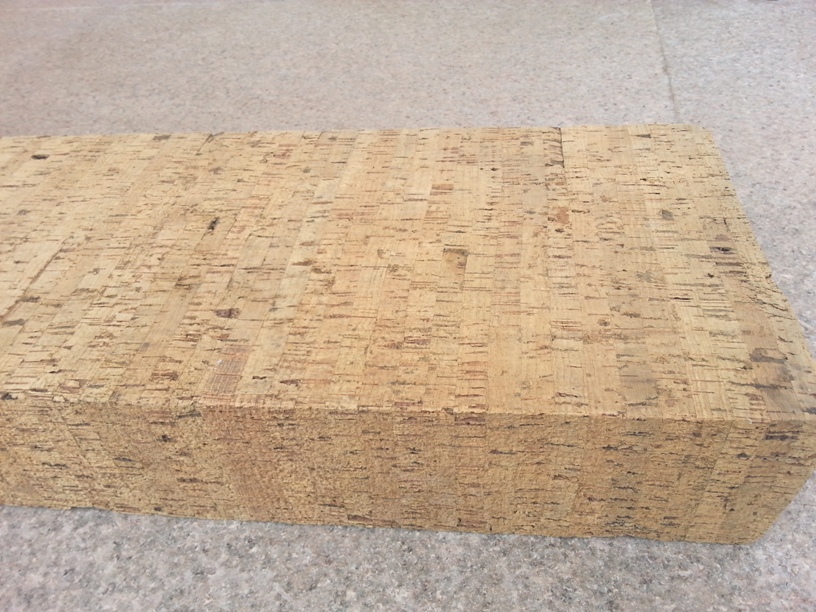
The heater cover is a 10mm borosilicate glass tube w/ a screen in the end. It fits snugly into the 3/8" hole in the 1/2" thick cork ring which then fits snugly into the bamboo pole. Another cork ring closes off the bottom hole. The cork just needs to be sanded to fit the shape of the hole. It is best to use very round bamboo.
The power socket can be held in place with the nut since the bamboo is so thin. The heating element has been covered in a 1/4" ss sleeve to limit the amount of radiant heat energy that is lost through the glass heater cover. It also provides some additional surface area for heating the air. The stiffness of the wire provides the support for the heating element to connect directly to the power socket. Be careful if you are going to use a cartridge heater since the air will be traveling over hot wire insulation unless you can figure out a way to isolate it from the air path. The traditional resistor heater does get hot enough.
All connections are soldered to ensure maximum electrical conductivity.
The silicone ring is to cover the exposed metal part of the power socket as it gets quite warm after a while.
I am selling the glass heater cover bamboo HI's for $50 excluding power supply and roasting tube. There is no wood turning or finishing which is the majority of the cost of a HI. This is all the more I can justify charging for them.
Be careful when making the power socket hole. Bamboo does not like to be drilled. Care is also needed when cutting the bamboo to avoid splitting the edge.
The full size and mini are wooden heat island styles. The bamboo HI is 4" tall.
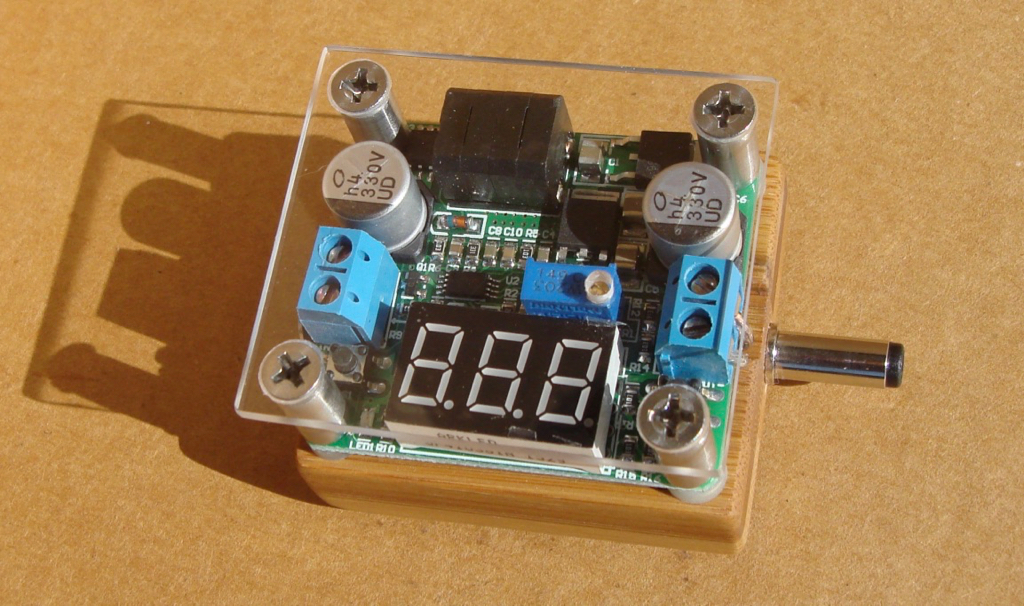
I have also been working on a on-demand vaporizer unit that is shaped just like a log. Here is a link to the thread.
http://fuckcombustion.com/threads/insta-heat-aka-iheat.24839/#post-1140793
It can also be used as a portable using a mod box.

")

 I've had this idea of bamboo log vape in my head for a few weeks.which came after seeing some bamboo furniture..,even ordered a 3 meter stick..lol..I have this plan on making some DIYs as gifts for combusting friends,that really need to quit it already,but are not being able to afford a nice vape.I decided that bamboo is so nice,that some must have thought about it already..and hit the search tool and it is no wonder that Alan got to it ,made it awesome,and now i want a bamboo HI glass core badly.. I will still try to DIY myself at least one but i doubt the standart log vape resistor will be hot enough..i guess i have a long road to walk and very little patience .. ..