sickbabies
Well-Known Member
Hi all! Made an account just so i can try and snag one of these works of wonder!
...How would one go about that haha...
...How would one go about that haha...

What... one of these?snag one of these works of wonder!


Love ita friend with a big roach clip

Love it
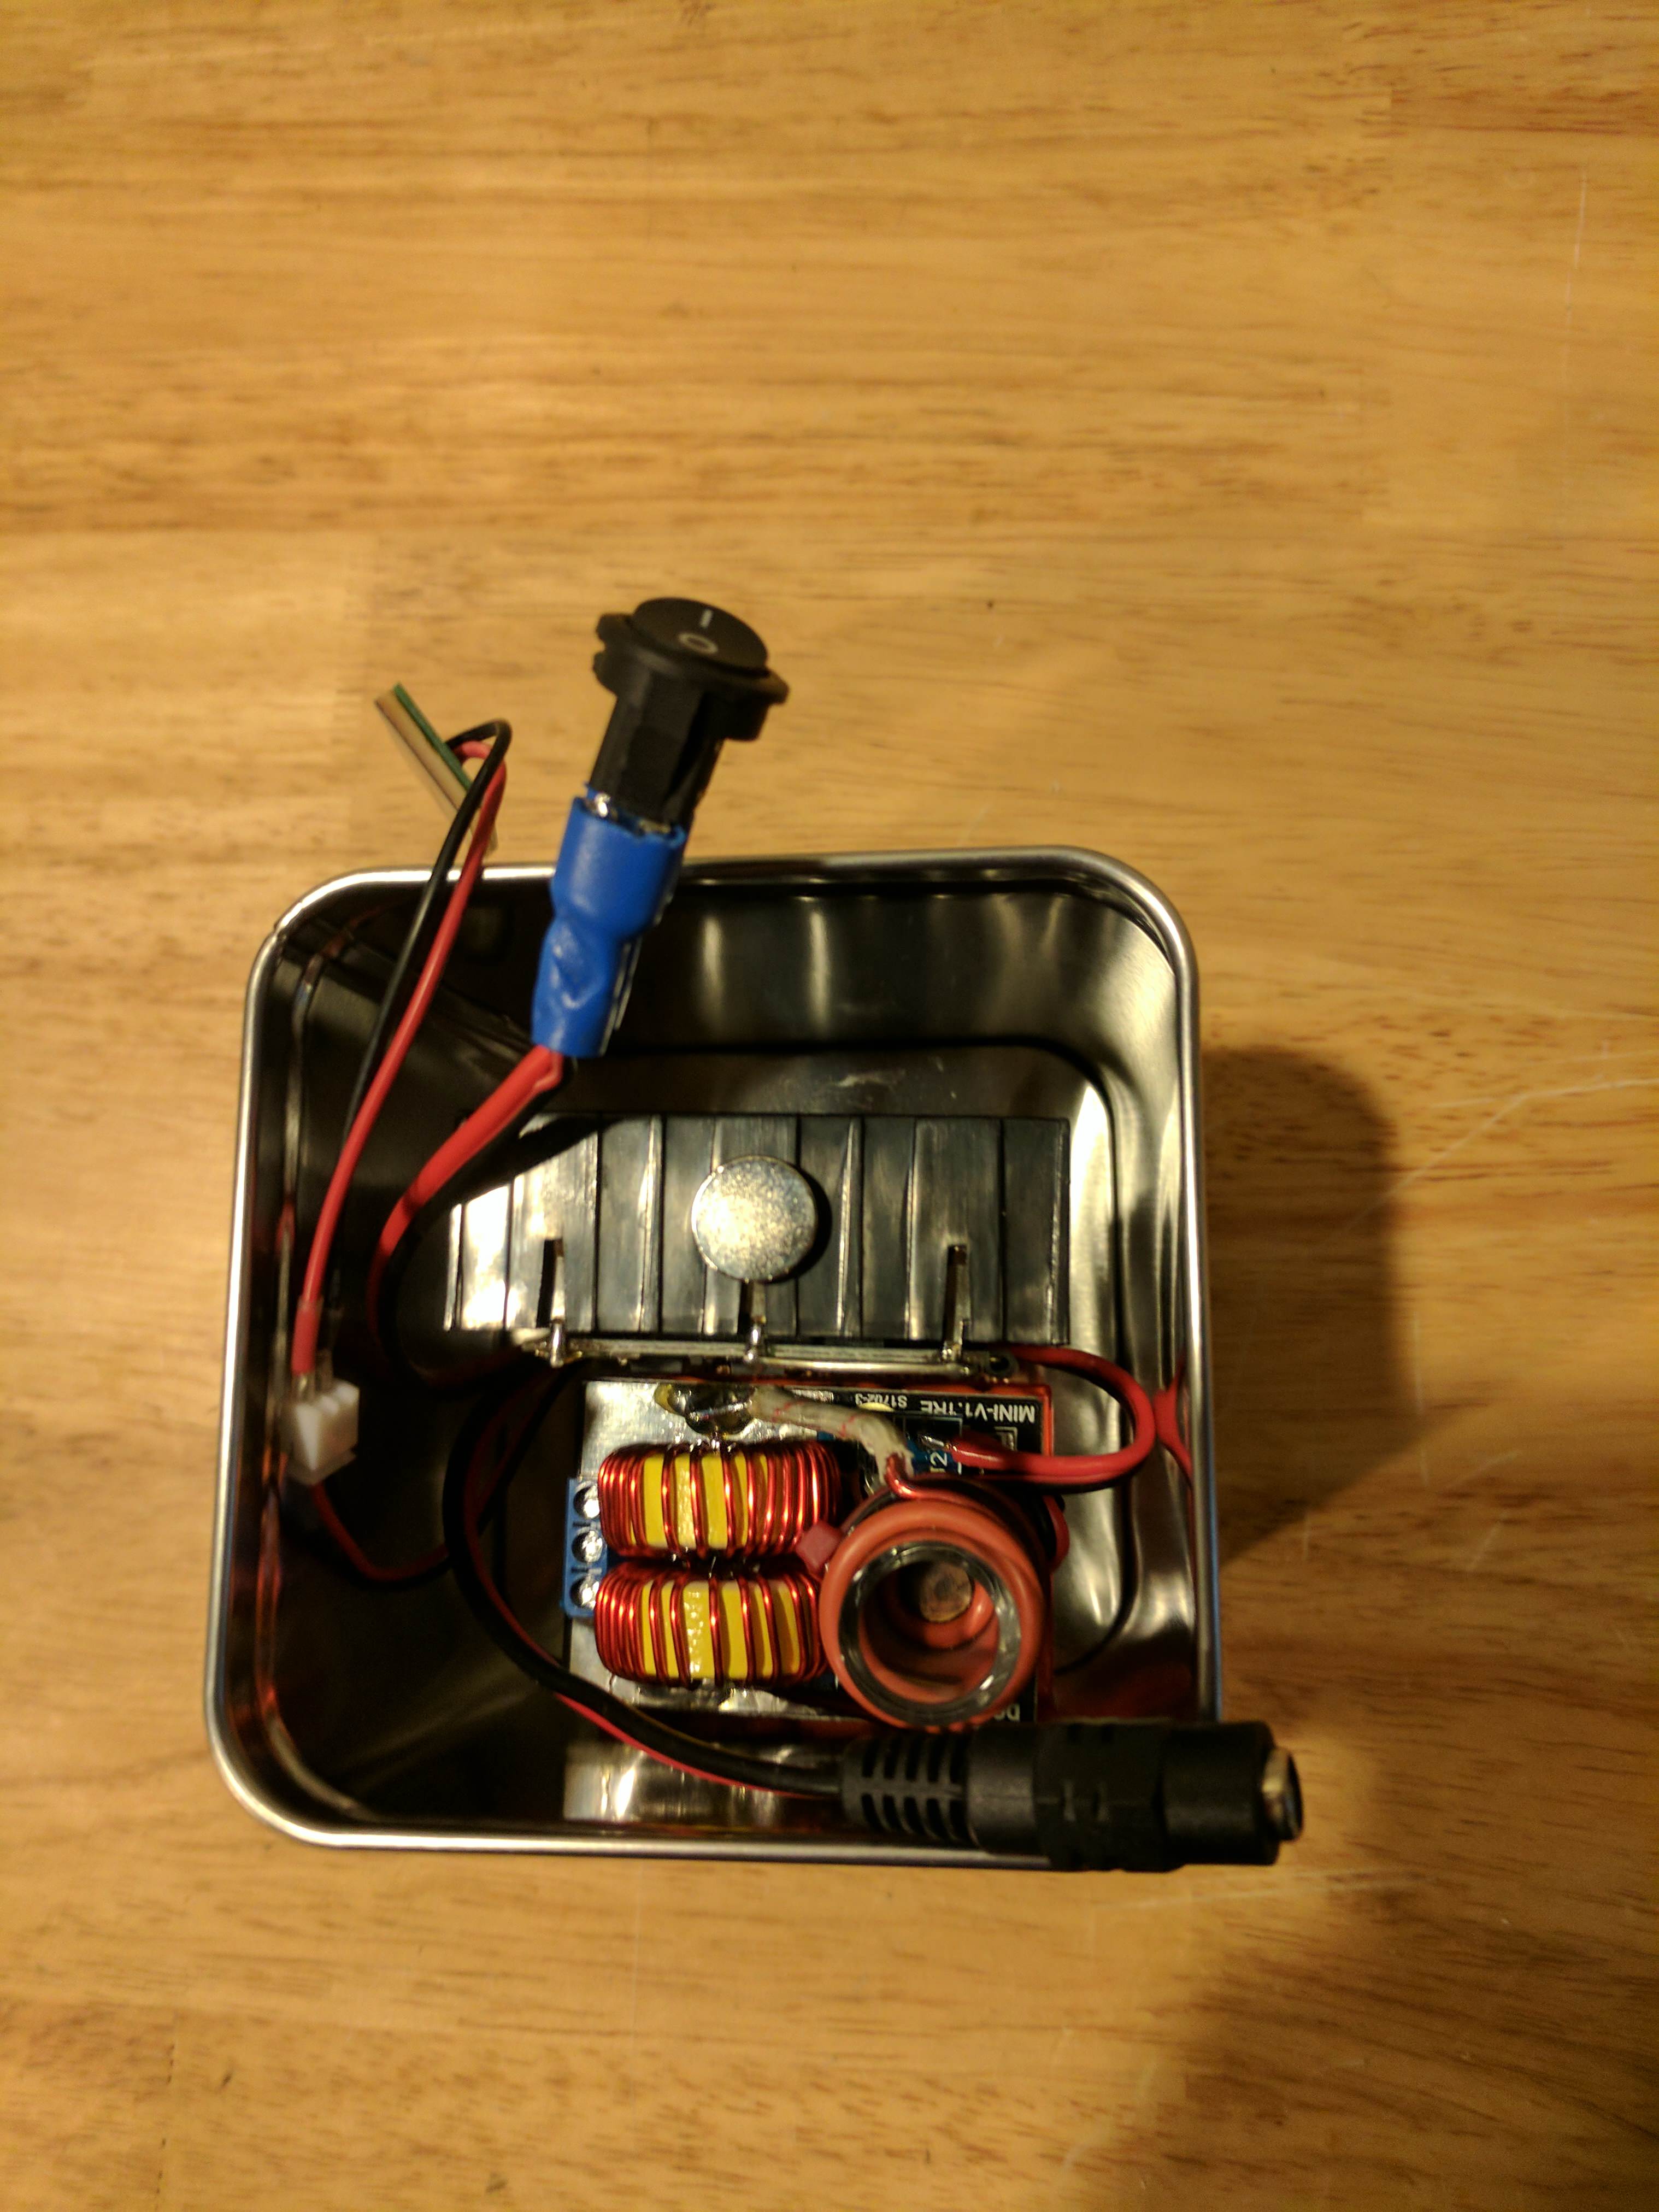
Here's a little instructional to fit the Skeletor into the tin can.
There are many ways to go about this, this was just my initial attempt as I try to find a more eloquent solution.
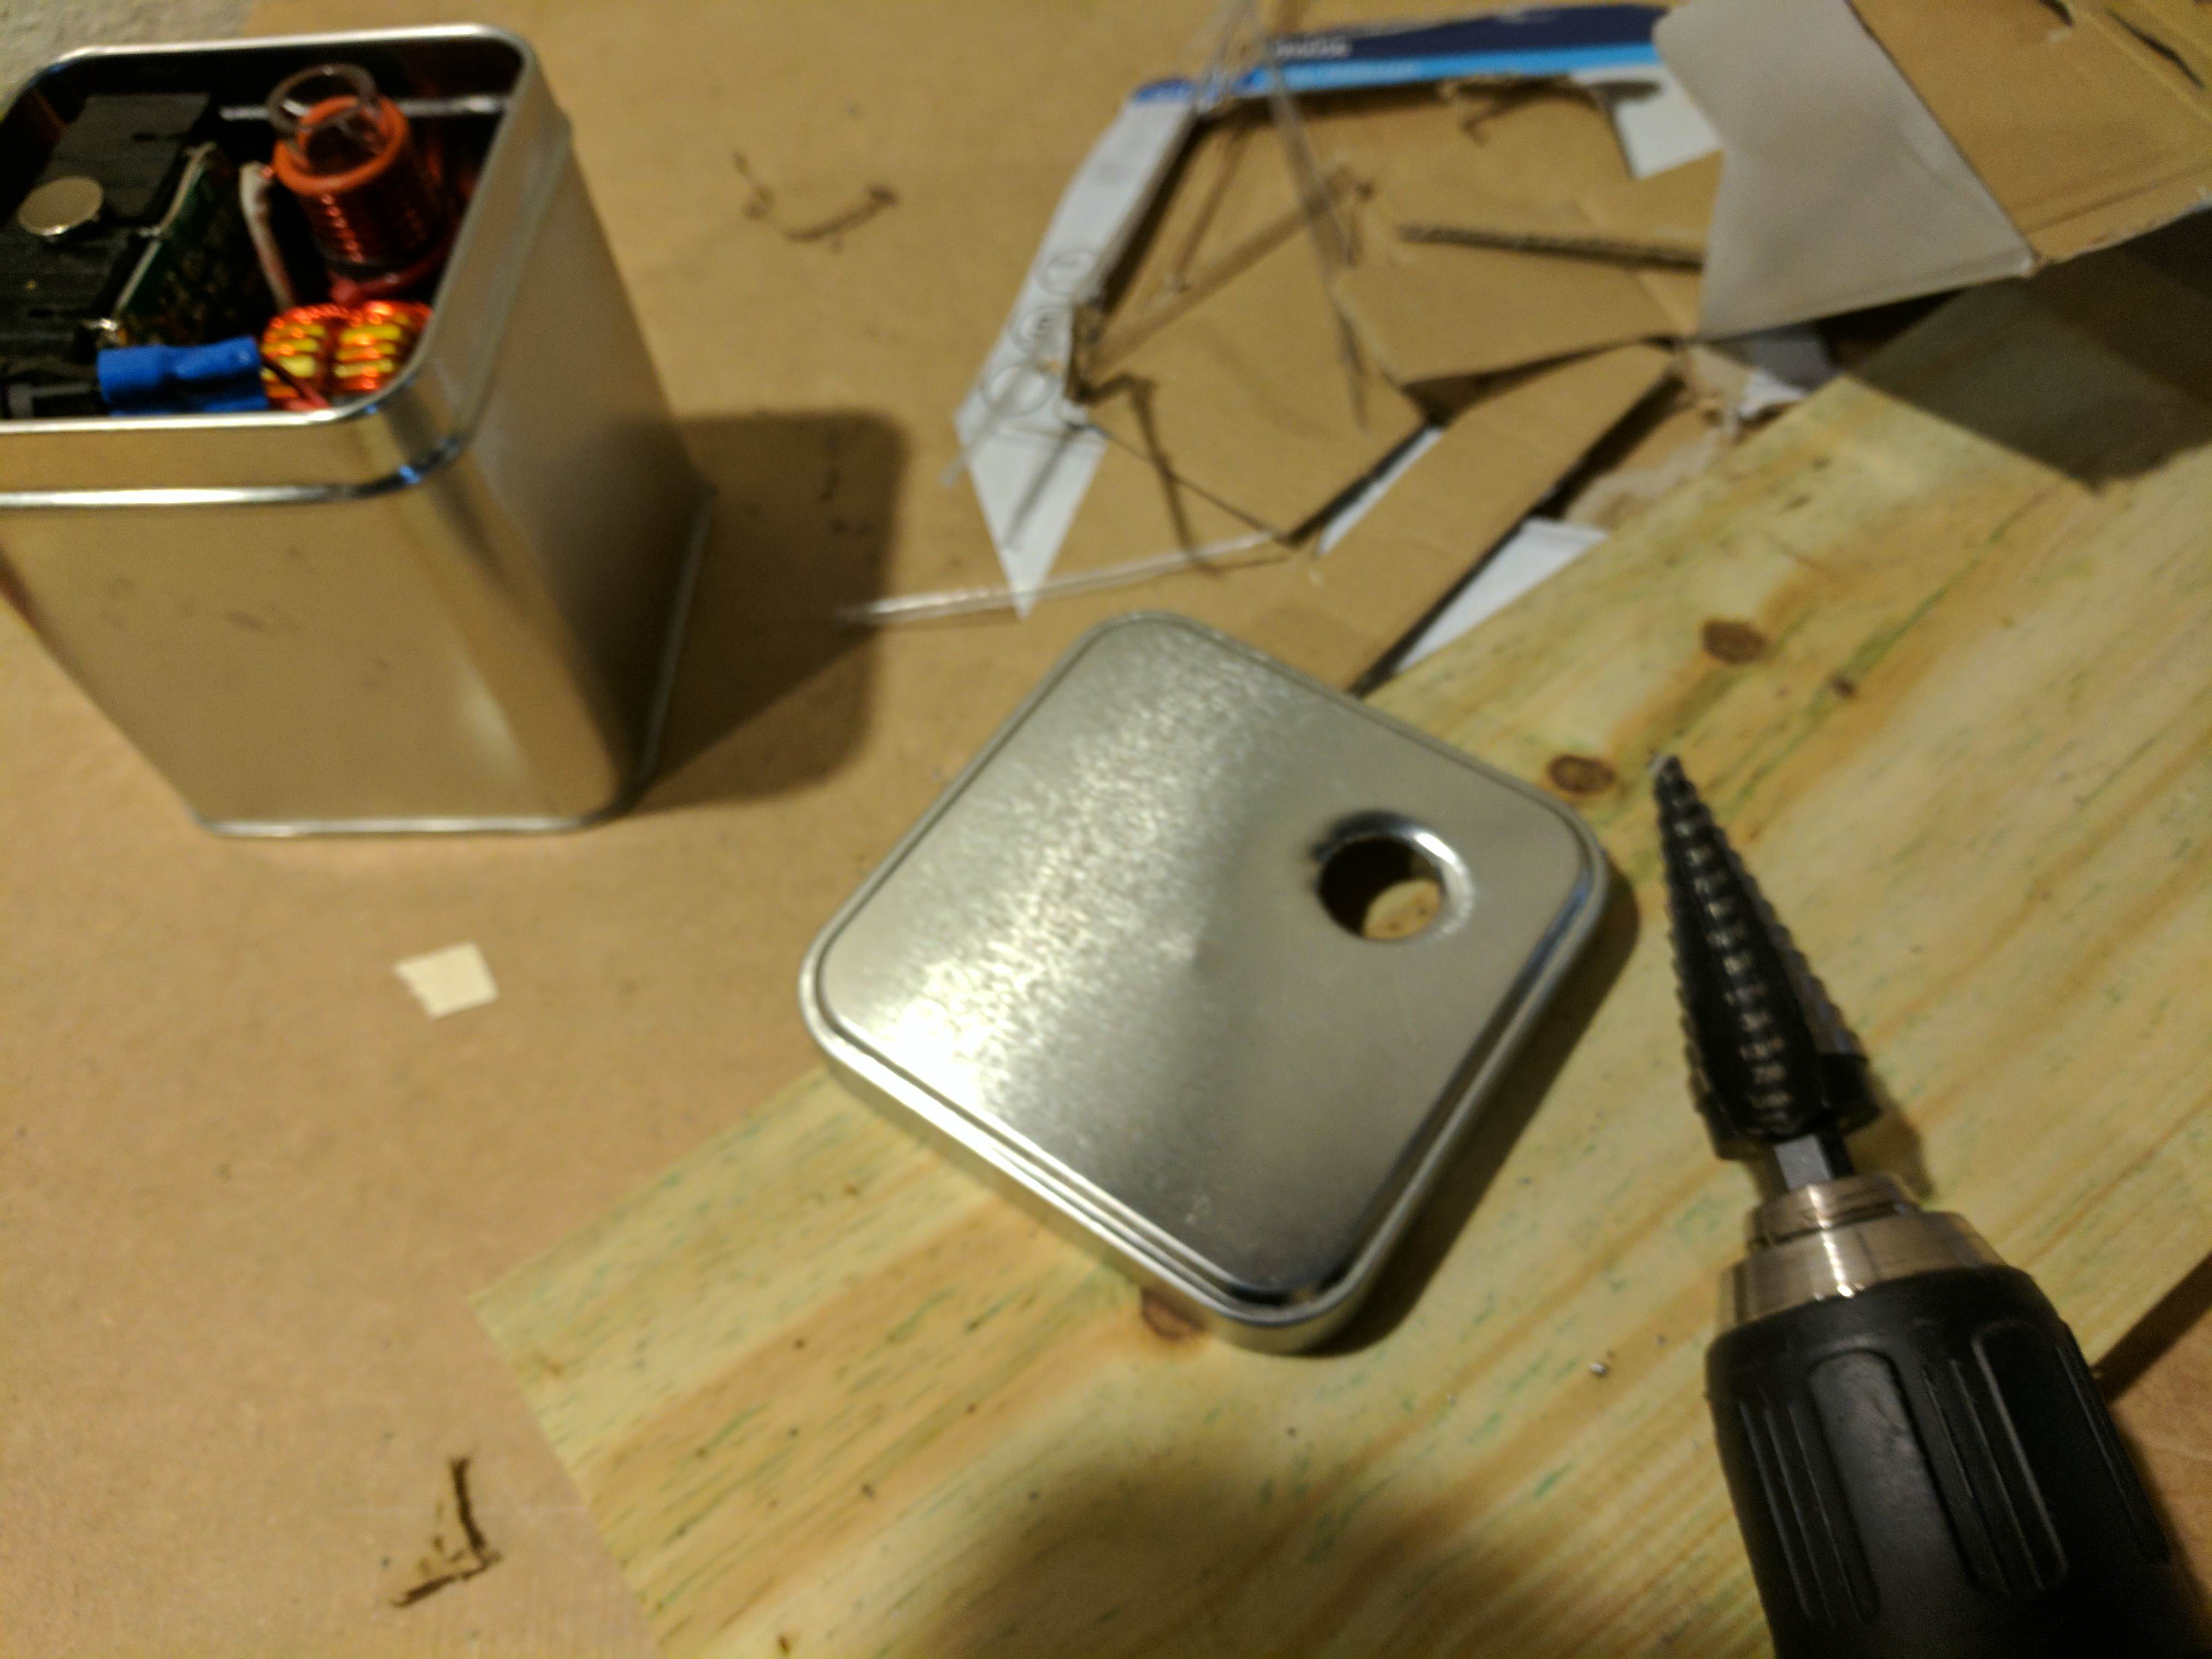
Tools I used:
step drill bit
small round file
blade
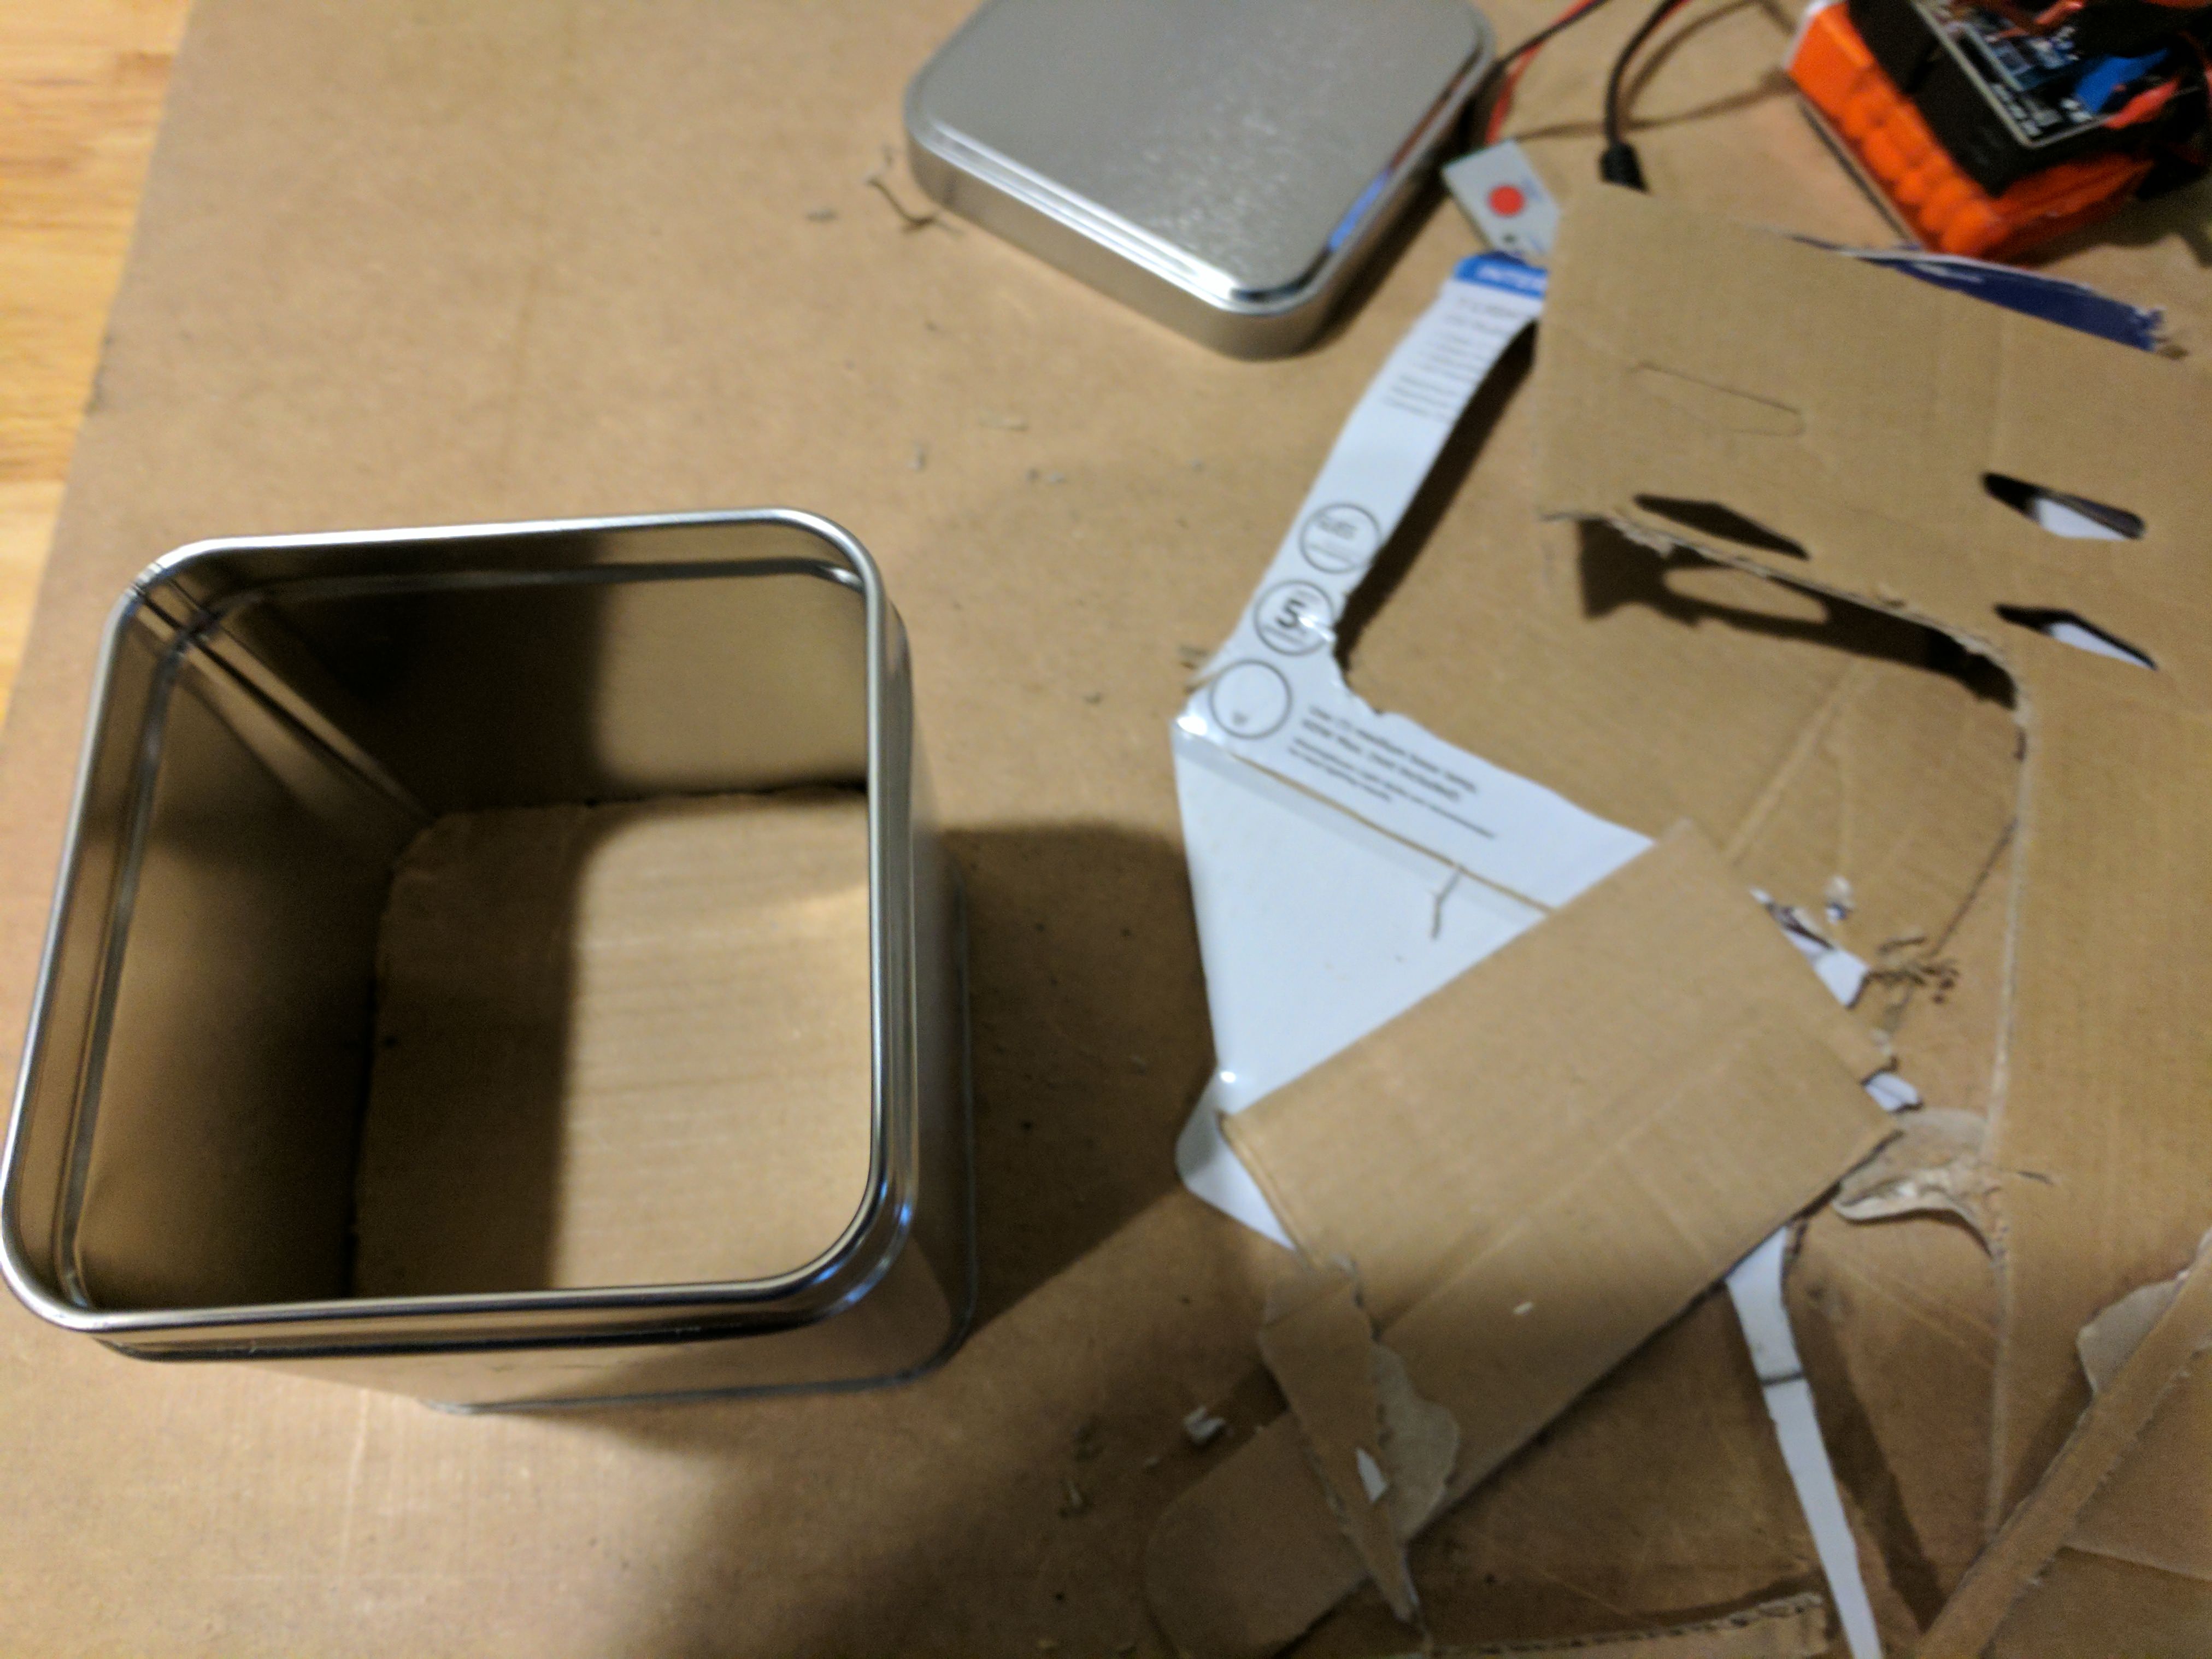
First I cut spacers out of some cardboard to fit into the bottom and lift Skeletor to the proper height.
Then I drilled out the holes with a step bit.
Then I cleaned up the jagged edges with a file.
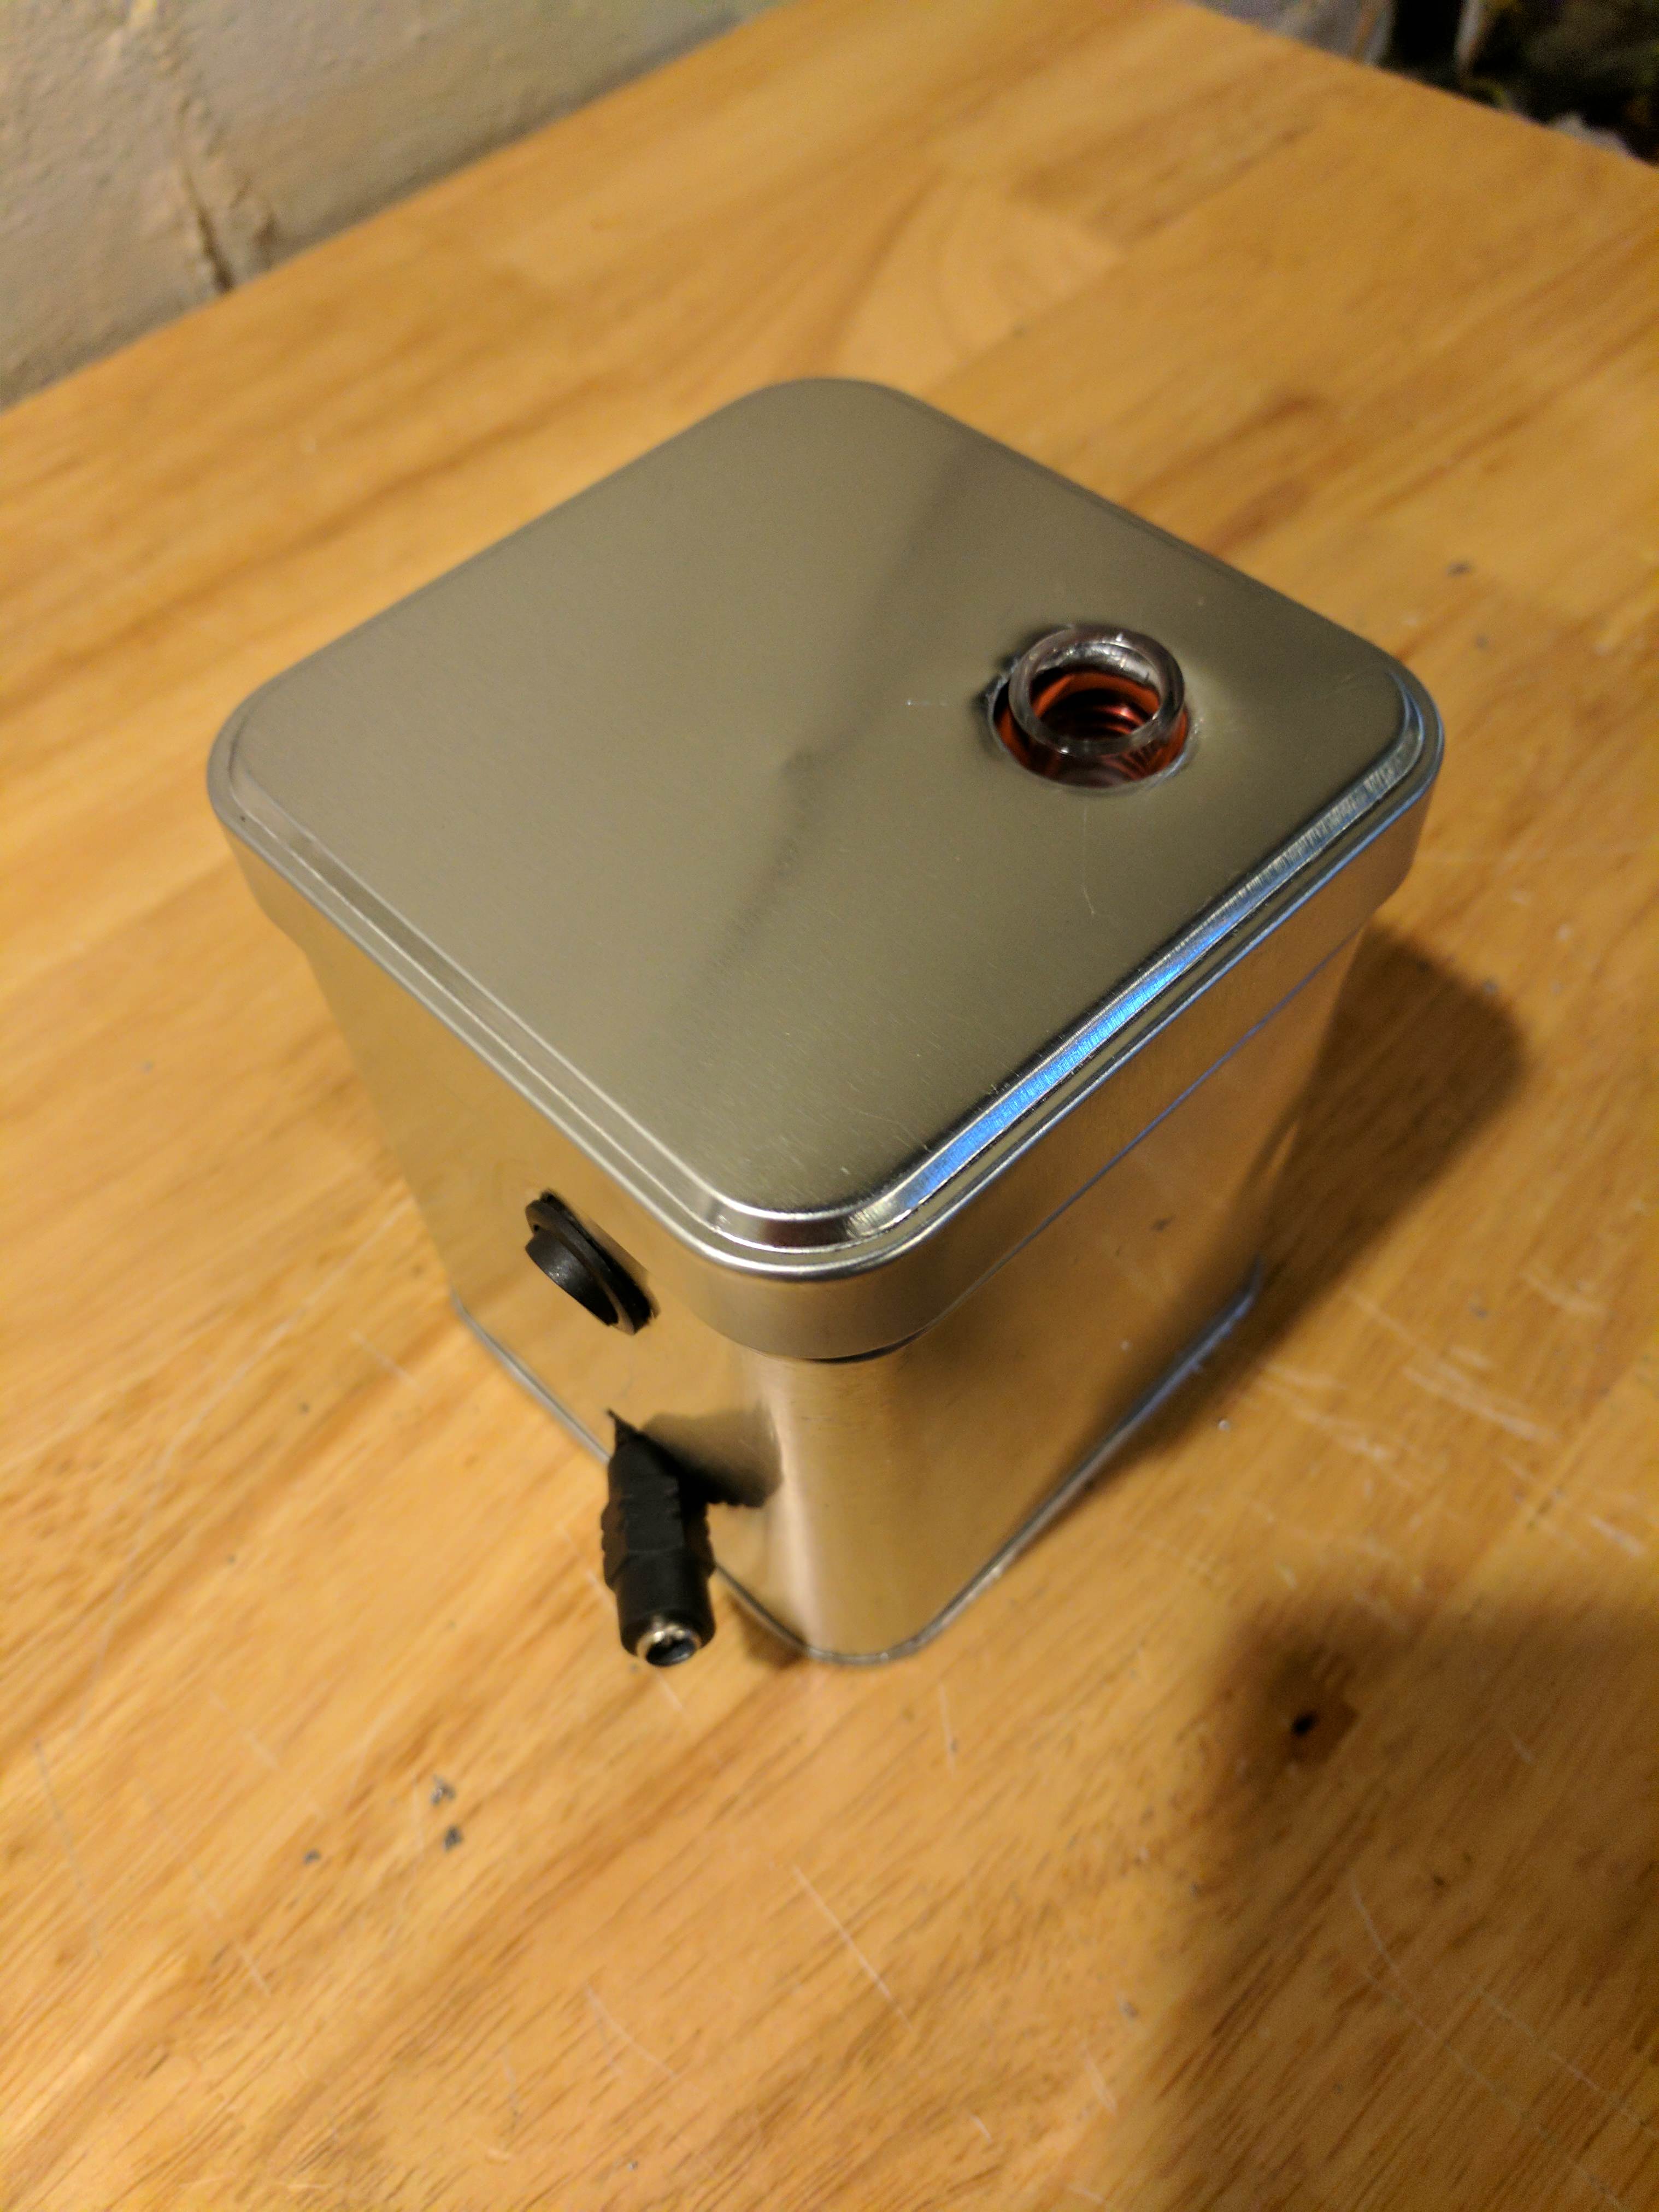
And got to here.
I'll need a better solution for the charging cable as there is no way to fasten it to a container unlike the power switch.


Those are actually the ones I now use on the Portsides. Looks very nice when mounted.Nice job!
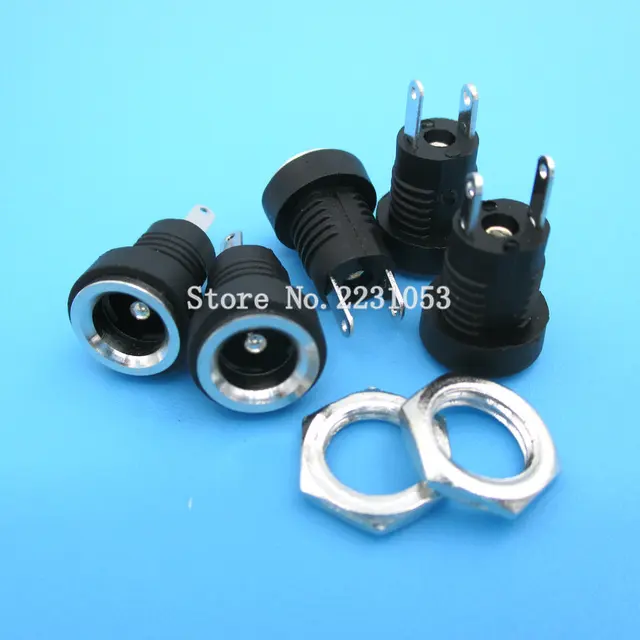
You might be able to use something like the below if you are happy to replace the power connector, would require a bit of solder and some heat shrink tubing.
DC022B 3A 12v DC Power Supply Jack Socket Female Panel Mount Connector 5.5X 2.1mm Plug Adapter 2 Pins 5.5*2.1 DC-022B
You might need to double check with @Pipes to confirm it's the correct size before ordering.
That is a thingalways saying to yourself 'I wonder if it'll fit in there?'
Nice, very nice!!!
So I put together a video of how to remove and insert the height spacer.
@goodpunk6, I'm afraid your best option is to get a friend over with a big roach clip.... How do you live without tools? I'd die.
Careful not to drop the small pieces, if your like me that stuff disappears to an alternate dimension never to be seen again.
Sand the spacer down by 2 mils and re-insert. Test, oh and don't forget to be beside a strait wall.


Ordered me a skeletor!!!! So friggin pumped!! Any of you good souls know which batteries/ charger to use? I am noob to batteries. Thanks and Cheers! D.
Ordered me a skeletor!!!! So friggin pumped!! Any of you good souls know which batteries/ charger to use? I am noob to batteries. Thanks and Cheers! D.
The supplied charger is a 12.6 volt 1 amp smart charger, which stops the charge cycle once battery is fully charged. Only use this type charger while batteries are inserted.
Batteries are the responsibility of the buyer. Flat top 18650 cells with at least a 20 amp rating are recommended.
Good info folks.
Thanks.
How about the gauge @Pipes?
Are there alternatives that would be easier to mount?
@Pipes , I got some good news and some bad news.
The good news is that I finally had the time to putz with this sucker and after shedding some height, we're on a magic carpet ride over here. Almost literally, I think I did 5 caps in testing and I can't stop fidgeting or giggling.
The bad news is, now I really hope I'm on the list for one of those Portsides you're almost done with. If I'm in a later batch, I may just come and sit on your porch until you finish mine! (with a long extension cord so I can keep using my JH).
I felt like I was playing operation tonight, rather than trying to measure and guess, I just pulled it out and slowly ground it down with my Dremel. On a seven fin Ti tip, I took the width of one fin plus have the space in between fins. Maybe a little more than a 1/16"?
I ended up using a bent long nose tweezers and a straight locking forceps like you used. I also needed a long sail needle to pull the o-ring out to be reinserted. The first time I tried to put the peg spacer back in, it pushed the ring flush with the button. Fished her out and was careful after that!
The pictures aren't great, but you can see before and after pretty clear.
This thing rocks my friend, you dun real good!
**Edit - I forgot to add, I have not had any power supply hiccups since the adjustment, I think we're golden.
No, it's still a little higher than I want, but way better. Fixing it isn't too bad if you have some long narrow tweezers or the like and can see into it. That was my issue, eyesight is going.no more burned tip?


